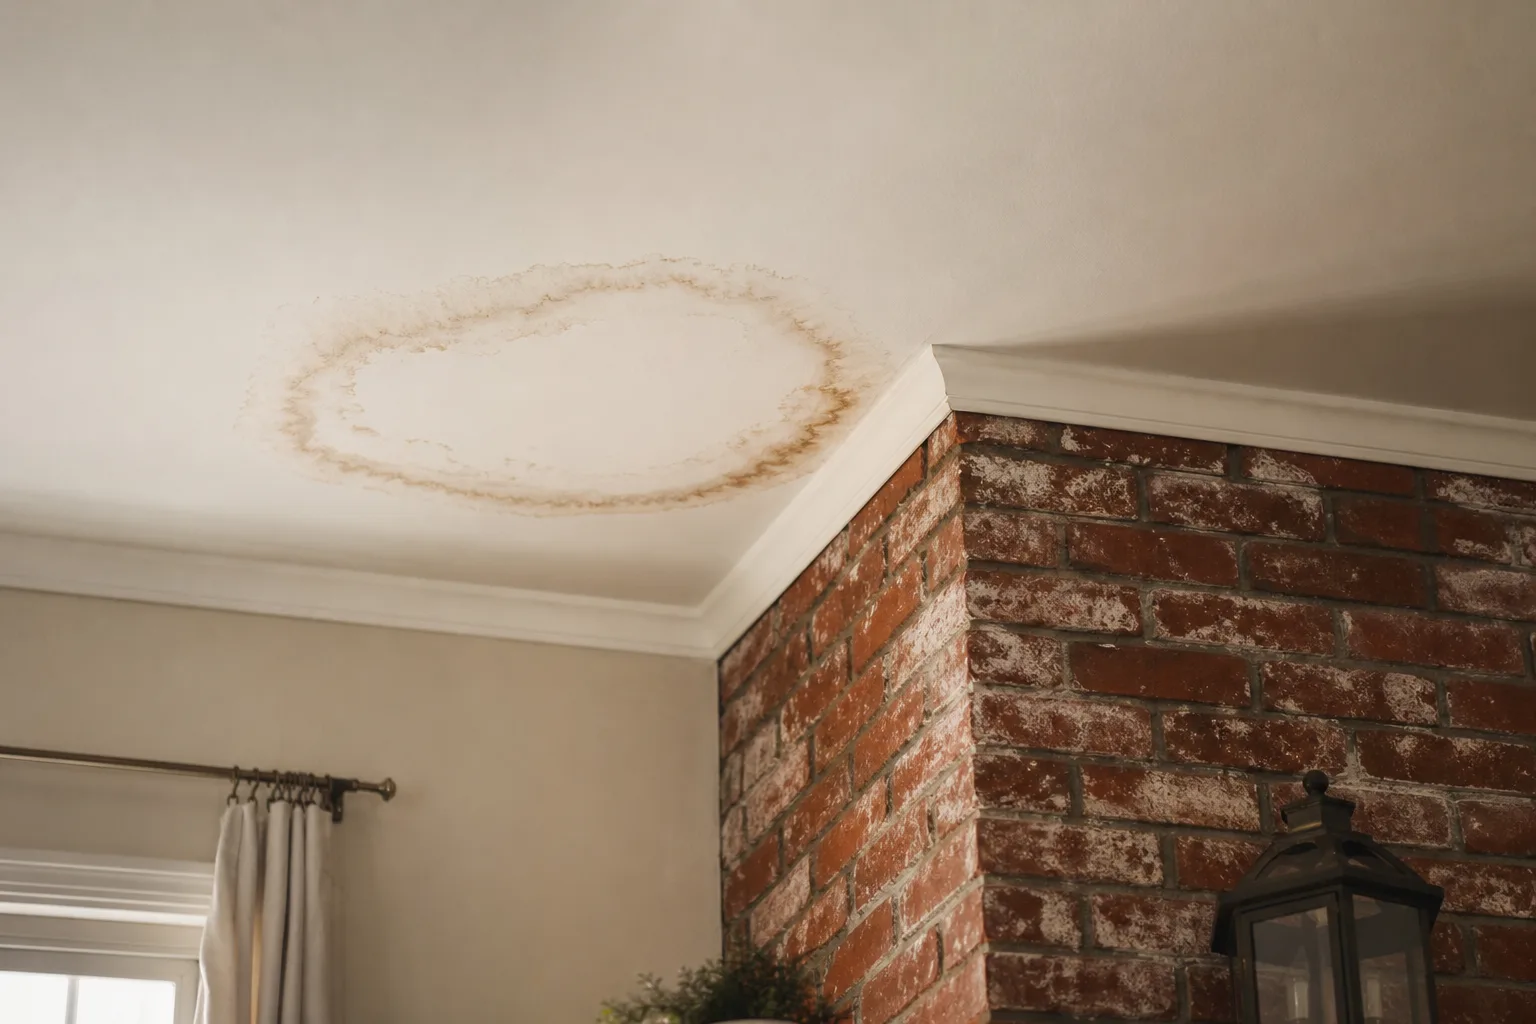



Chimney service

Chimney Tuckpointing and Masonry Repair

Failed mortar joints cut out and replaced in a matched mix. The repair that stops water at the source, before it becomes a rebuild.

5.0/5
8 verified reviews
Ethan MillerEthan Miller · Chimney specialist, VIO CHIMNEYLast reviewed July 20265 min read
The short answer

Get the mortar wrong and the repair does more damage than leaving it alone.

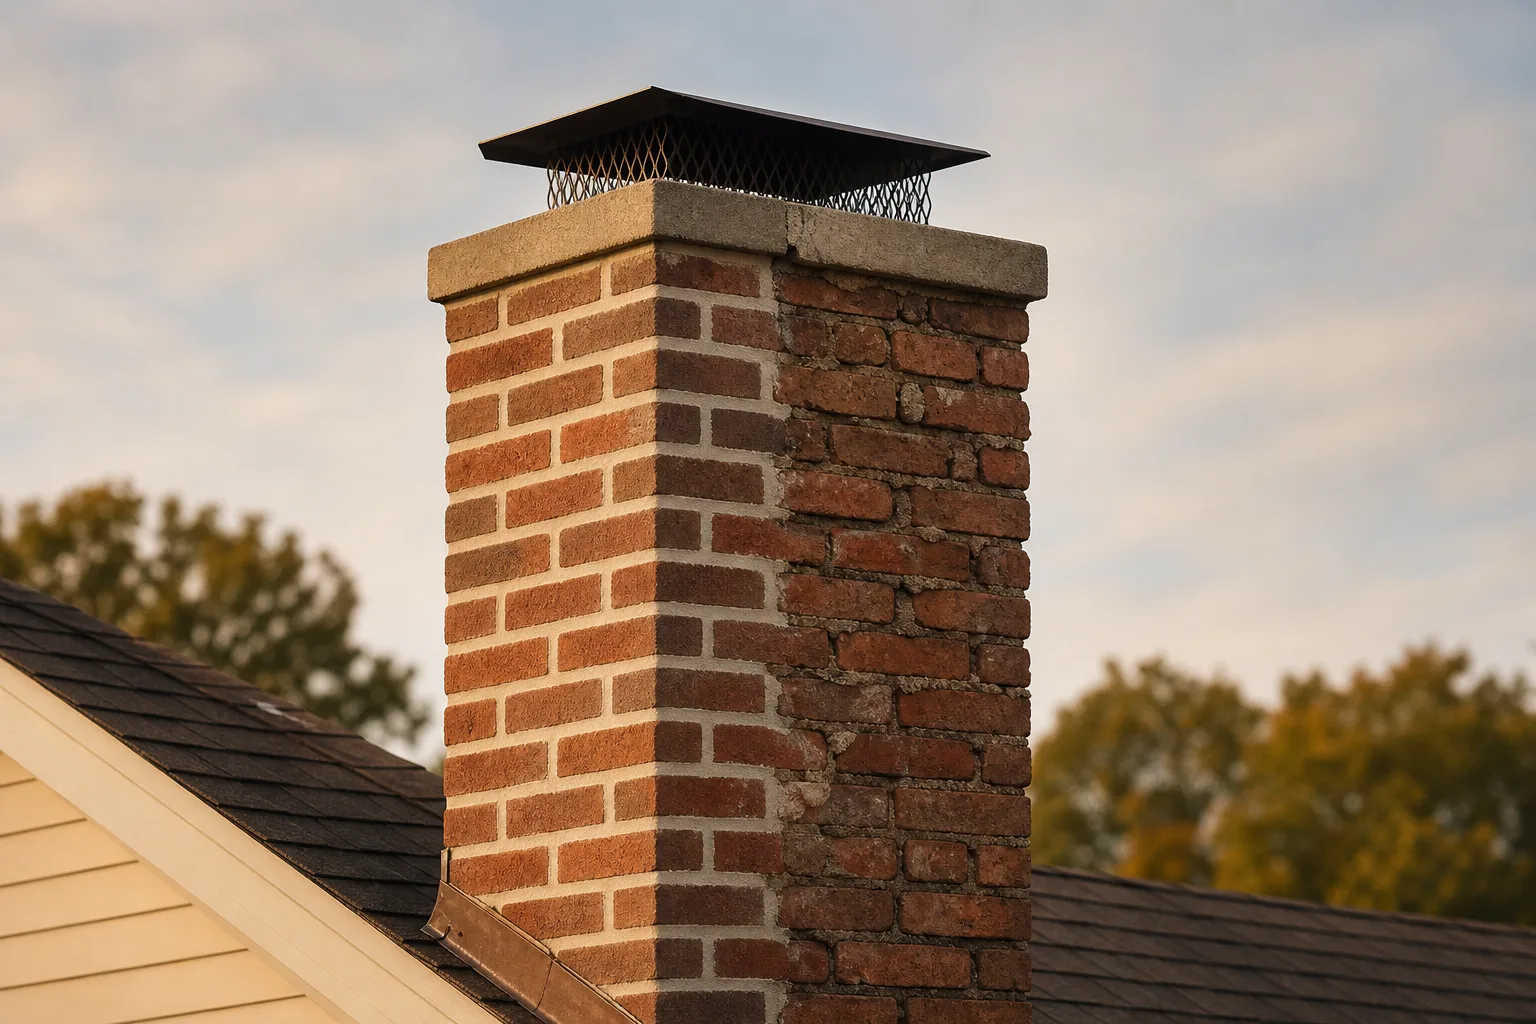
Chimney tuckpointing is cutting failed mortar out of the joints and packing new mortar in. The labour is straightforward. The decision that matters is the mix: pre-war brick is soft and was laid in lime mortar, which is meant to be the sacrificial part of the wall. Point it in modern Portland cement and the joints end up harder than the brick, so the next freeze breaks the brick face instead of the mortar. That is why a cheap repointing job on an old chimney often looks worse in three years than it did before.

The work itself

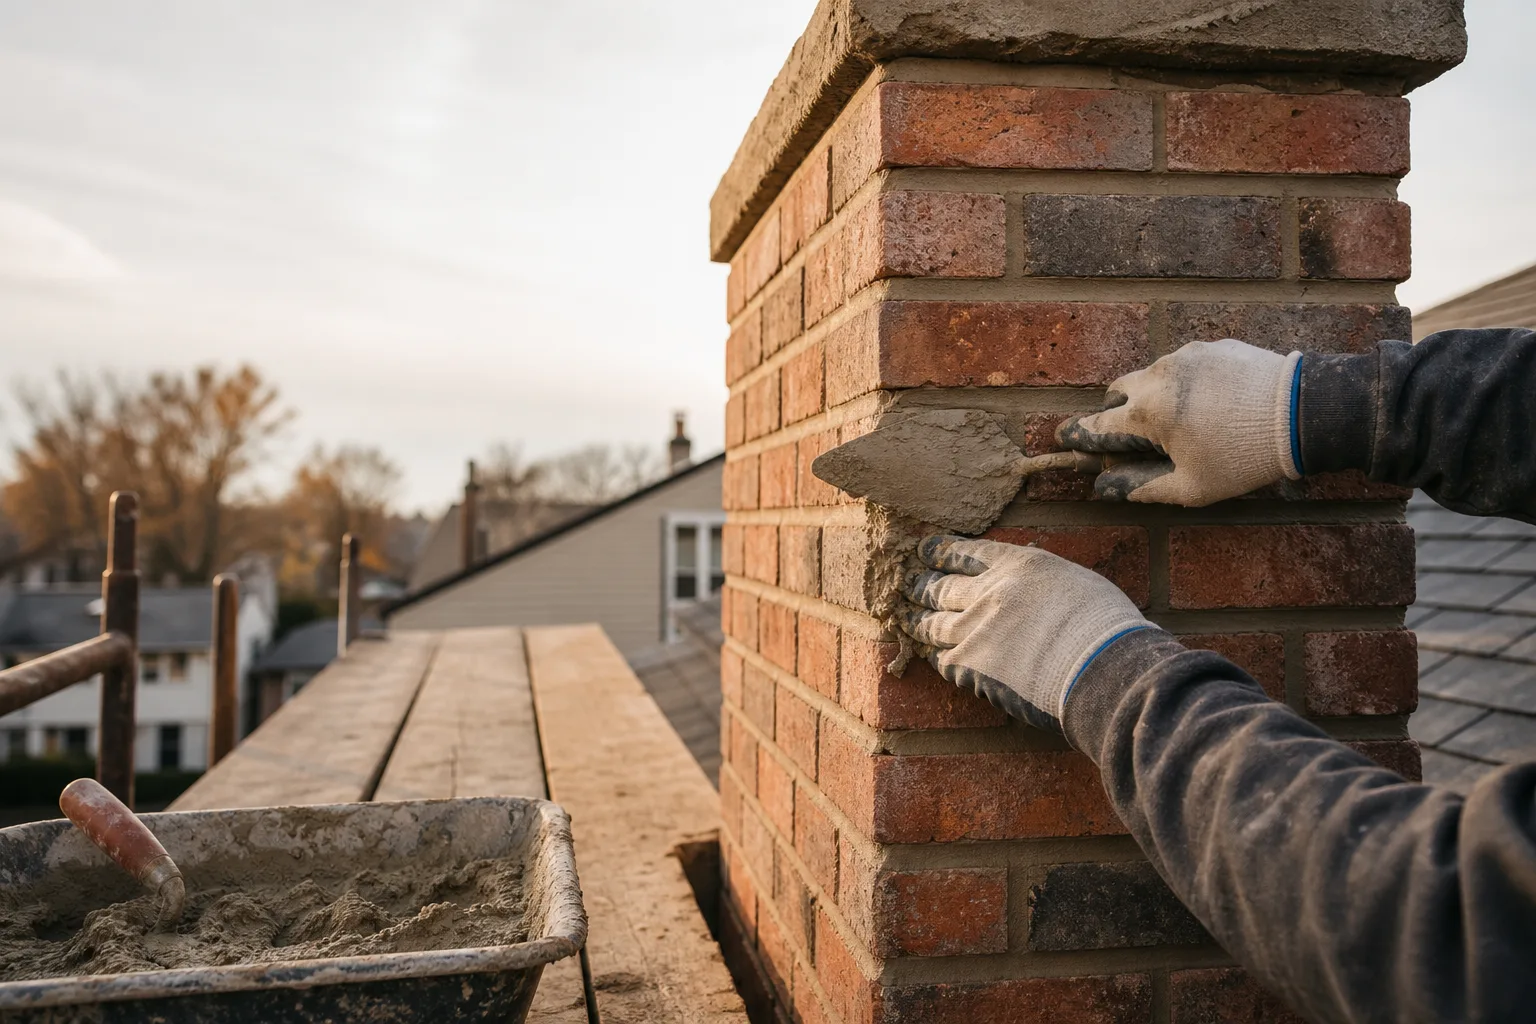
Joints cut out and repacked

Half-tuckpointed brick chimney with crisp new mortar beside crumbling eroded joints

Raked back to sound mortar — roughly twice the joint's width — before anything new goes in. Skim over the old and it fails in a season.

On this pageSigns you need this3 sections+2
  1. Signs you need this
  2. The jobs this includes
  3. Common questions
Do you have this problem?

Signs you need chimney tuckpointing

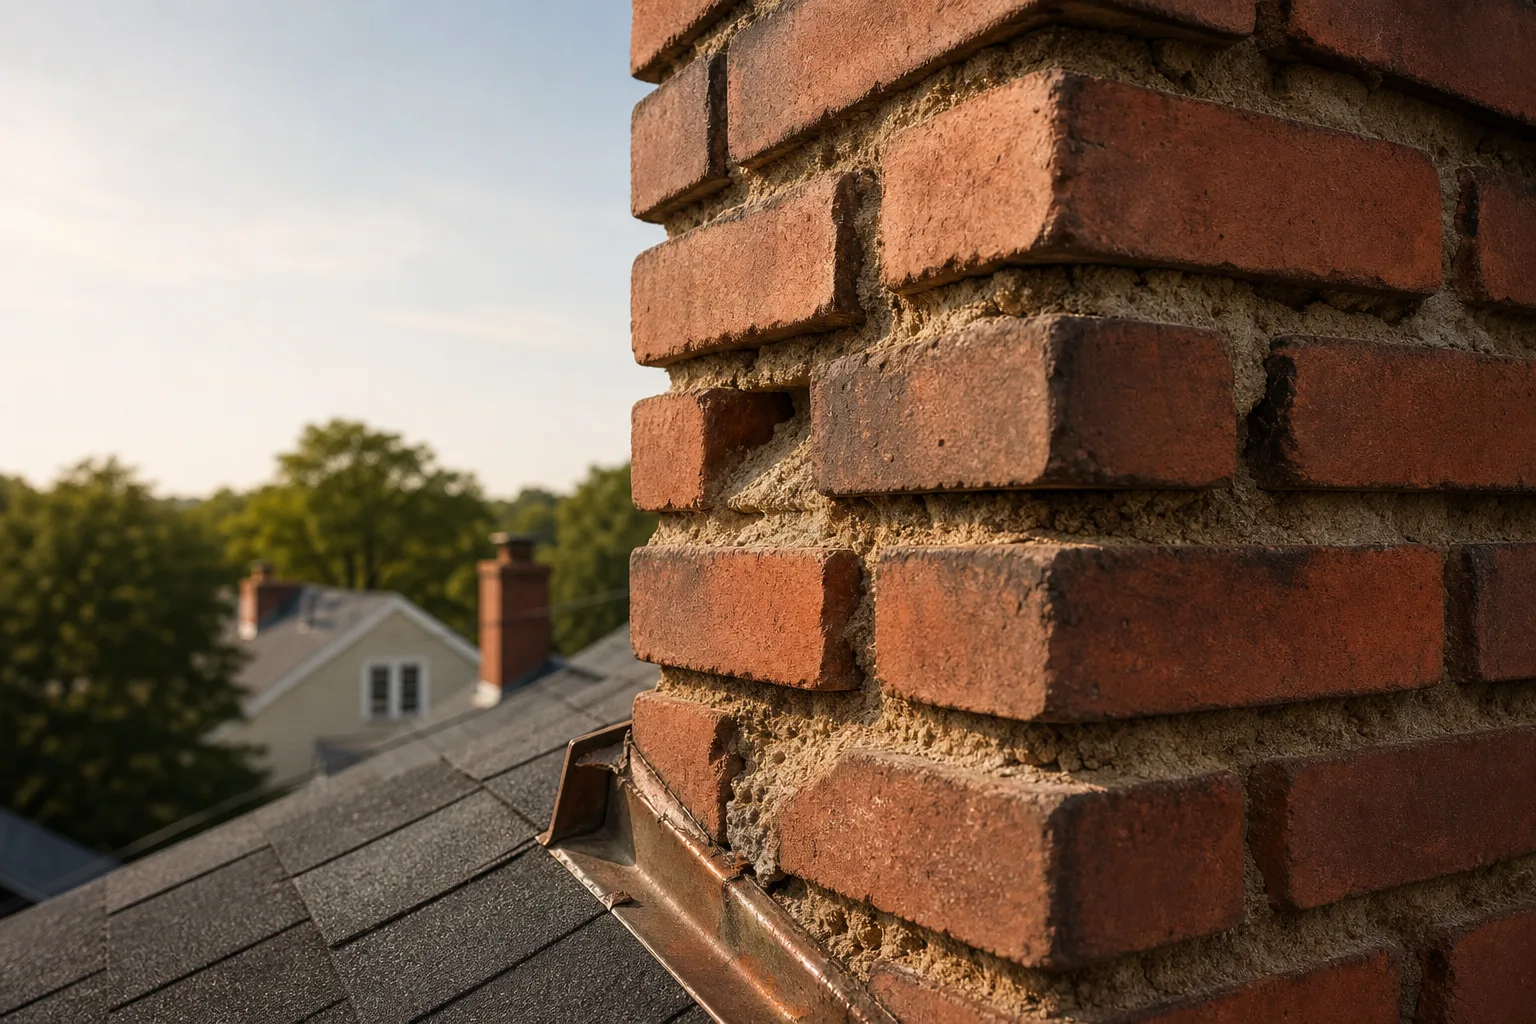
Eroded chimney mortar joints recessed behind the brick faces with loose sand and grit

Mortar you can scrape out with a key

The standard field test. Joints that give way under light pressure are no longer holding the stack together. Caught early this is a day's work; left alone it becomes a rebuild.
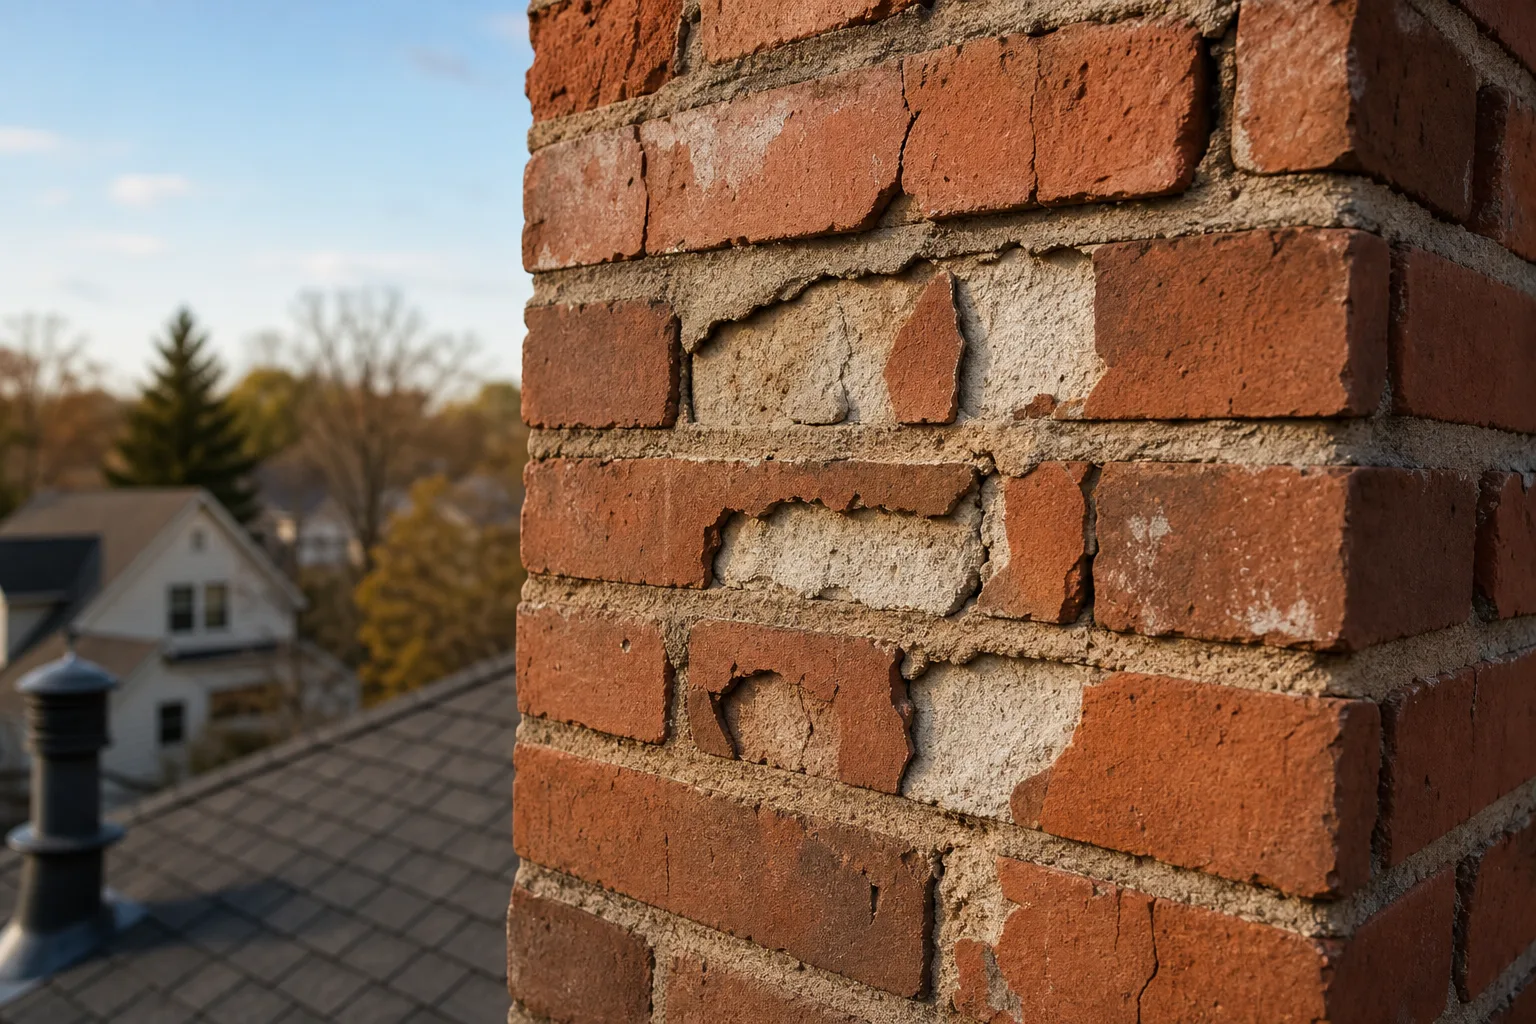
Chimney brick faces flaking and popping off, exposing pale powdery masonry underneath from freeze damage

Brick faces popping off

Spalling means water got into the brick and froze. The face flakes away and the brick behind it is soft. Repointing around spalled brick without replacing it just hides the problem.
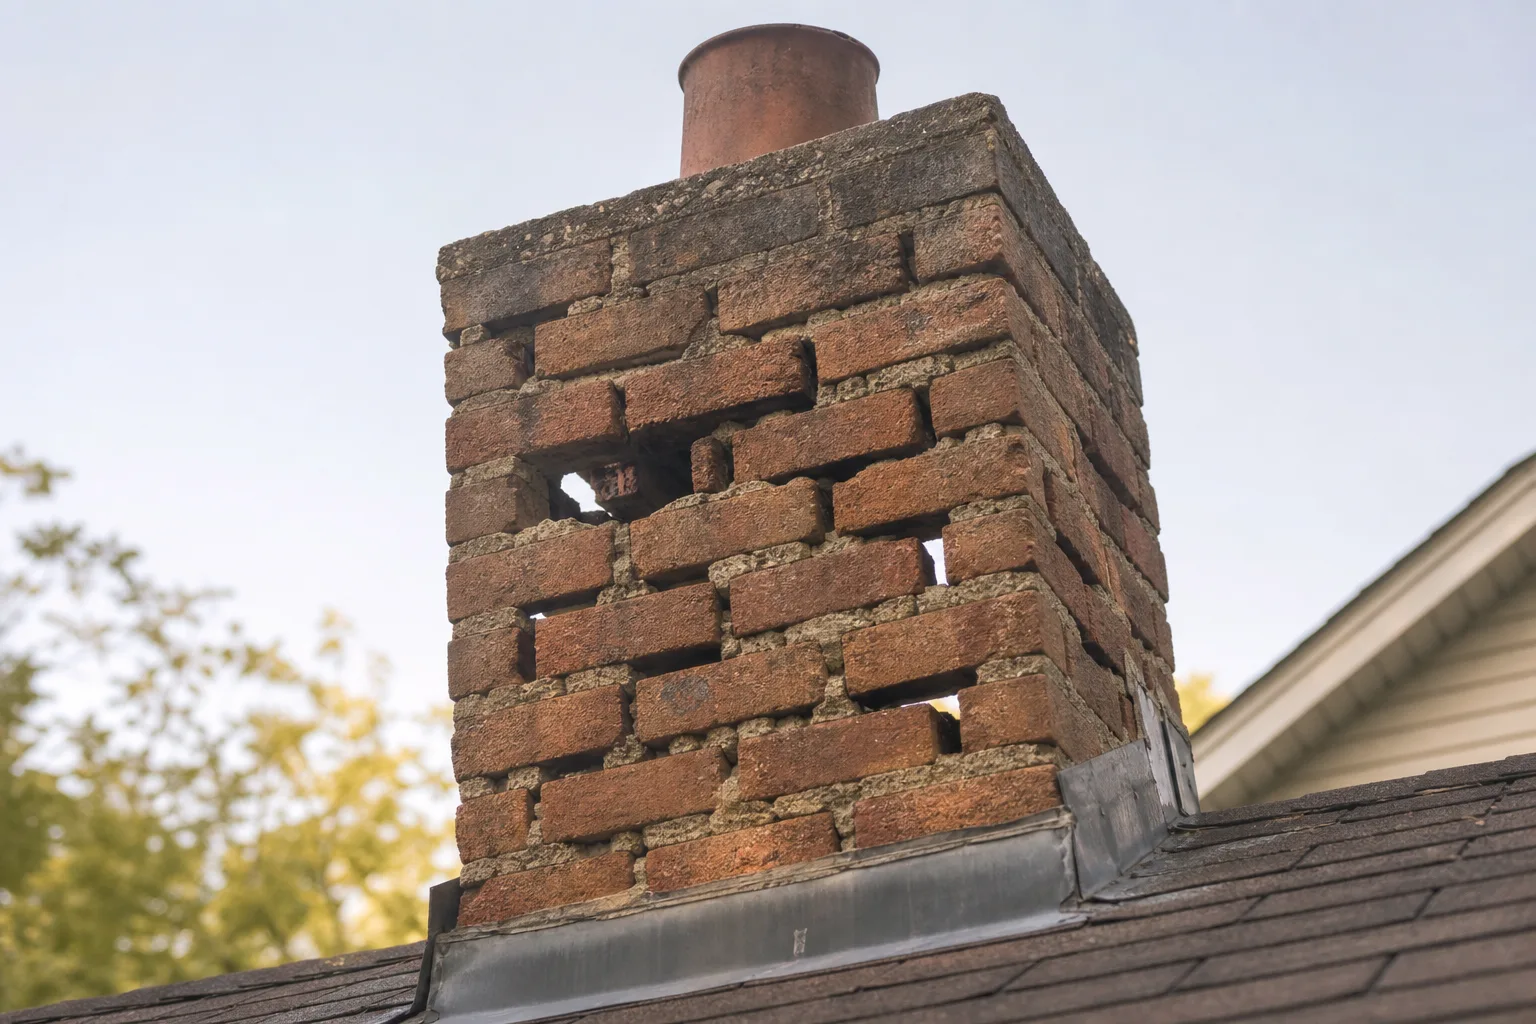
Brick chimney stack with mortar joints washed out, leaving gaps through to daylight

Open joints you can see daylight through

Recessed joints are one thing; a gap that runs through is another. At that point the wall is taking water directly and the freeze-thaw cycle has a straight route in.
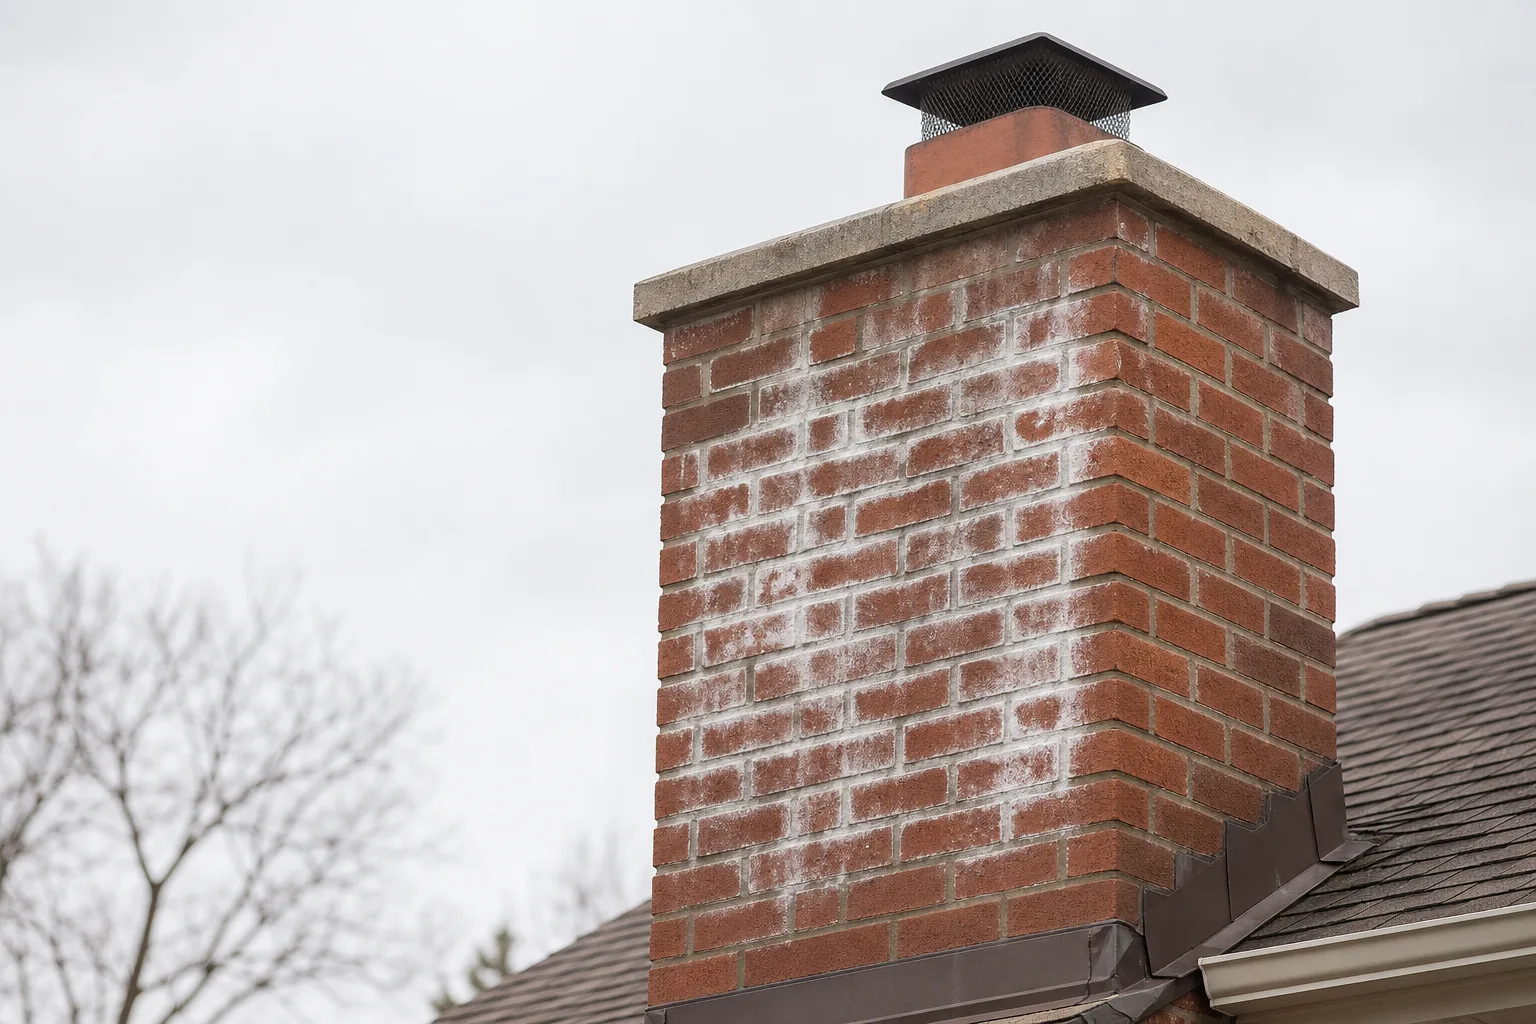
White chalky efflorescence staining spread across the face of a brick chimney

White chalky staining on the brick

Efflorescence — salts carried out of the masonry by water moving through it. It is harmless in itself and it is a reliable sign that water is getting in somewhere above.
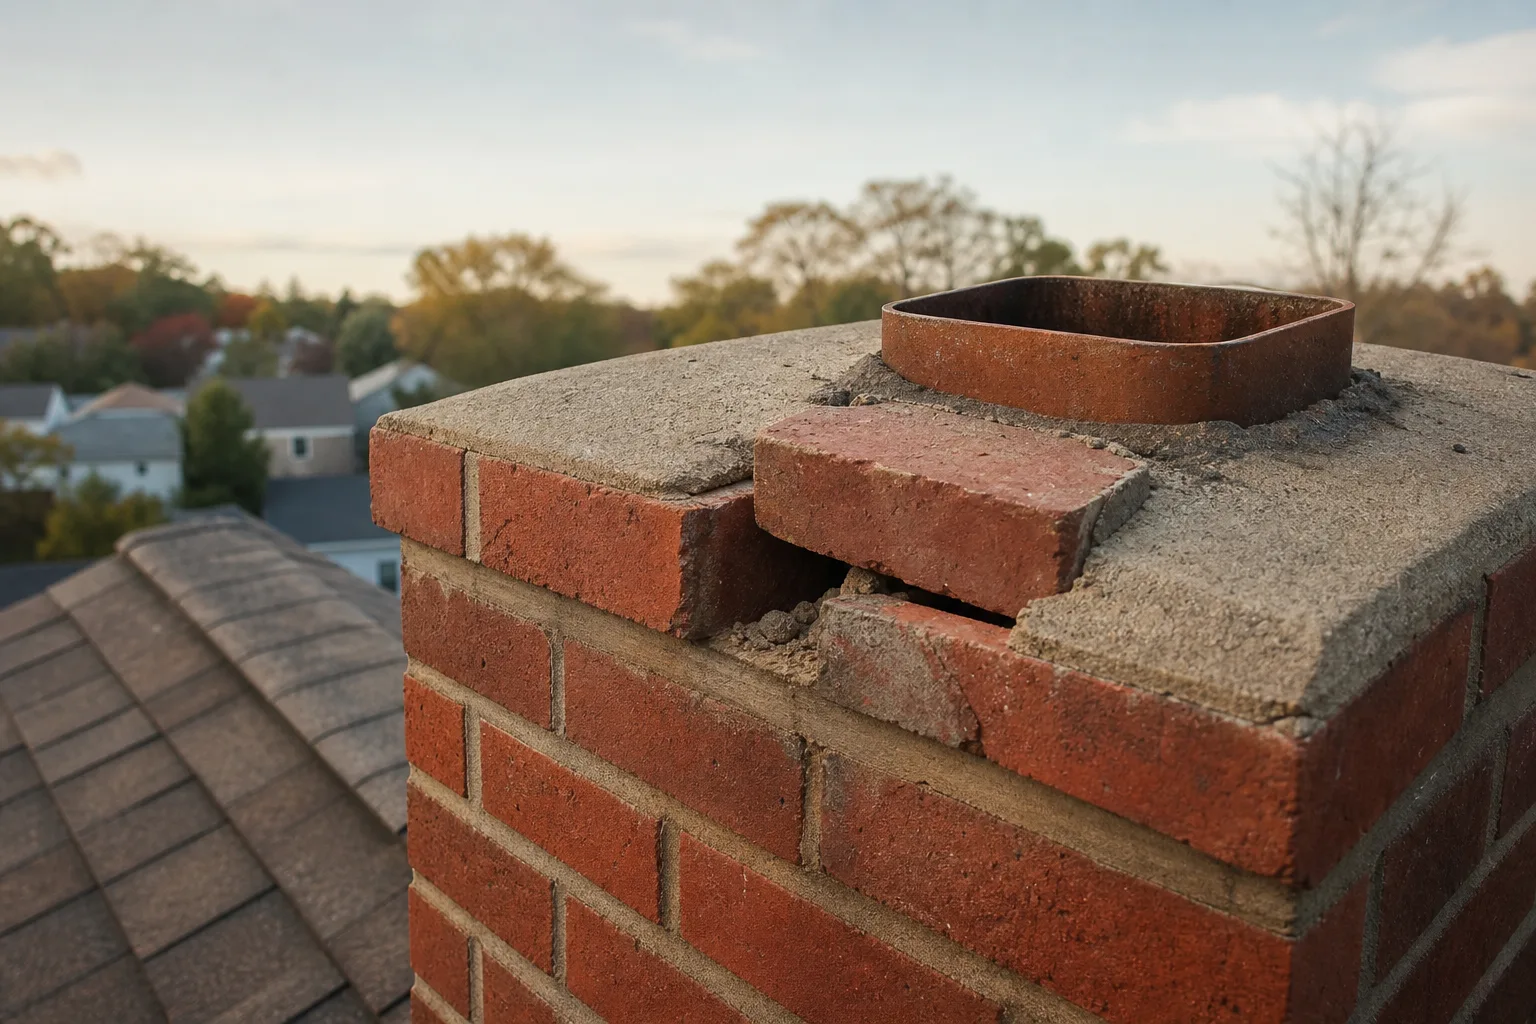
One brick displaced and loose in the top course of a chimney

A brick you can rock at the top course

The top courses take the worst weather and the least support. A brick that moves is past pointing and needs resetting before the course above it follows.
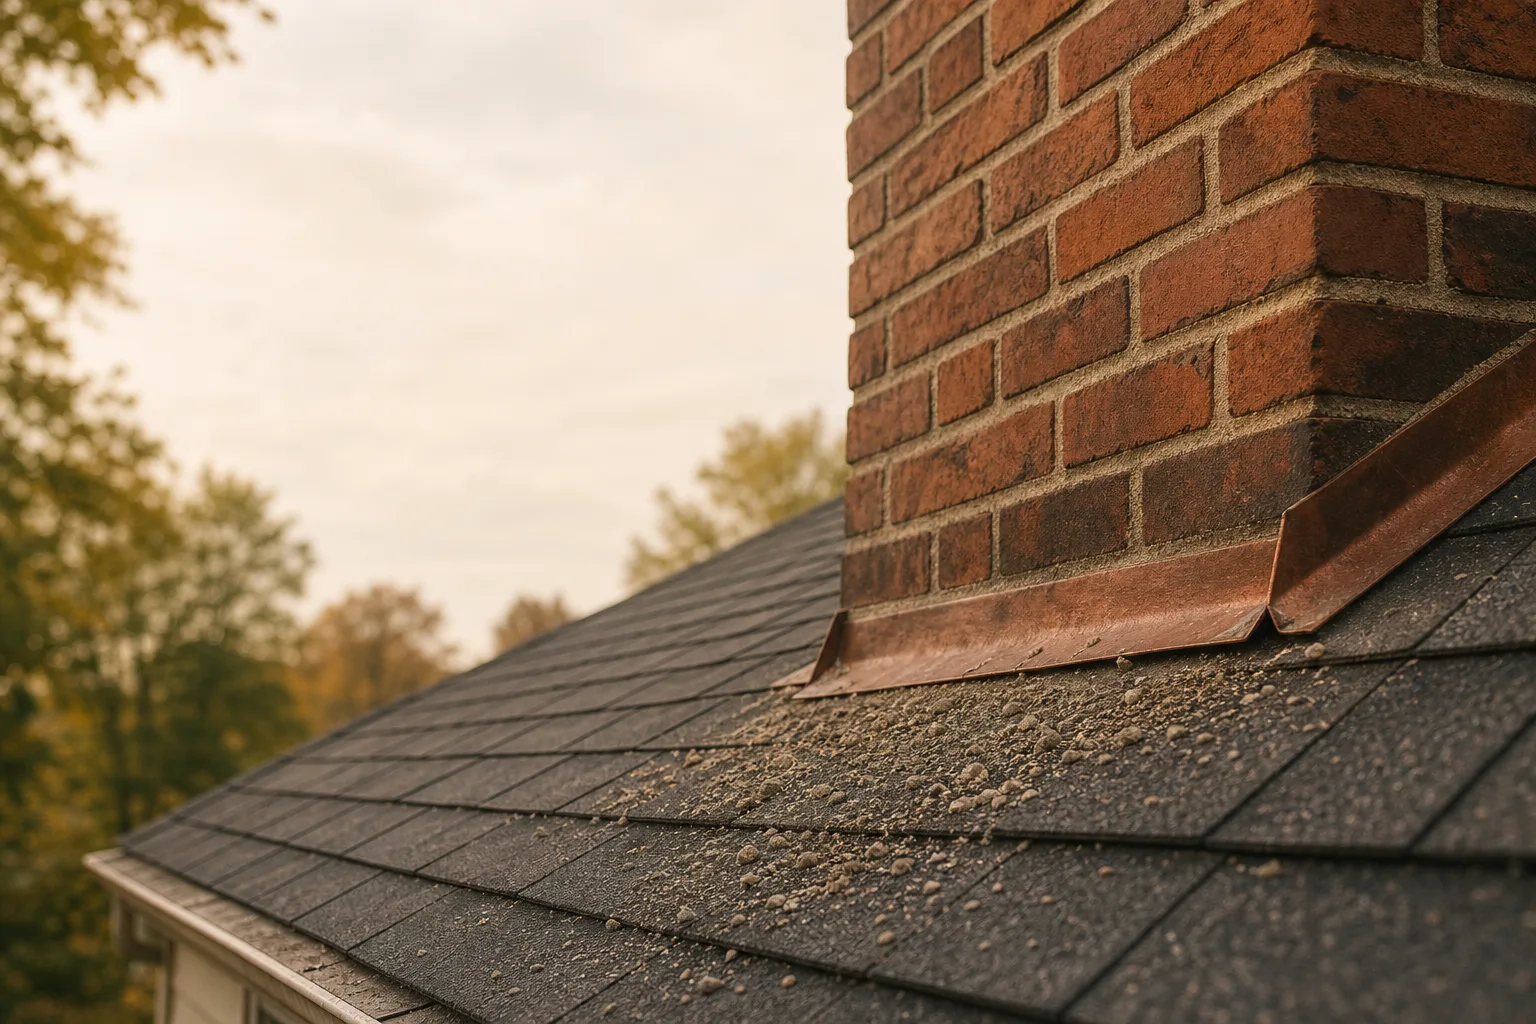
Sand and mortar crumbs on roof shingles at the base of a chimney

Sand and grit collecting on the roof

The joints shedding themselves. Sand at the base of the stack after rain is mortar that is no longer where it should be.

How we work

How the visit works

The same four steps every time, whatever the repair turns out to be.
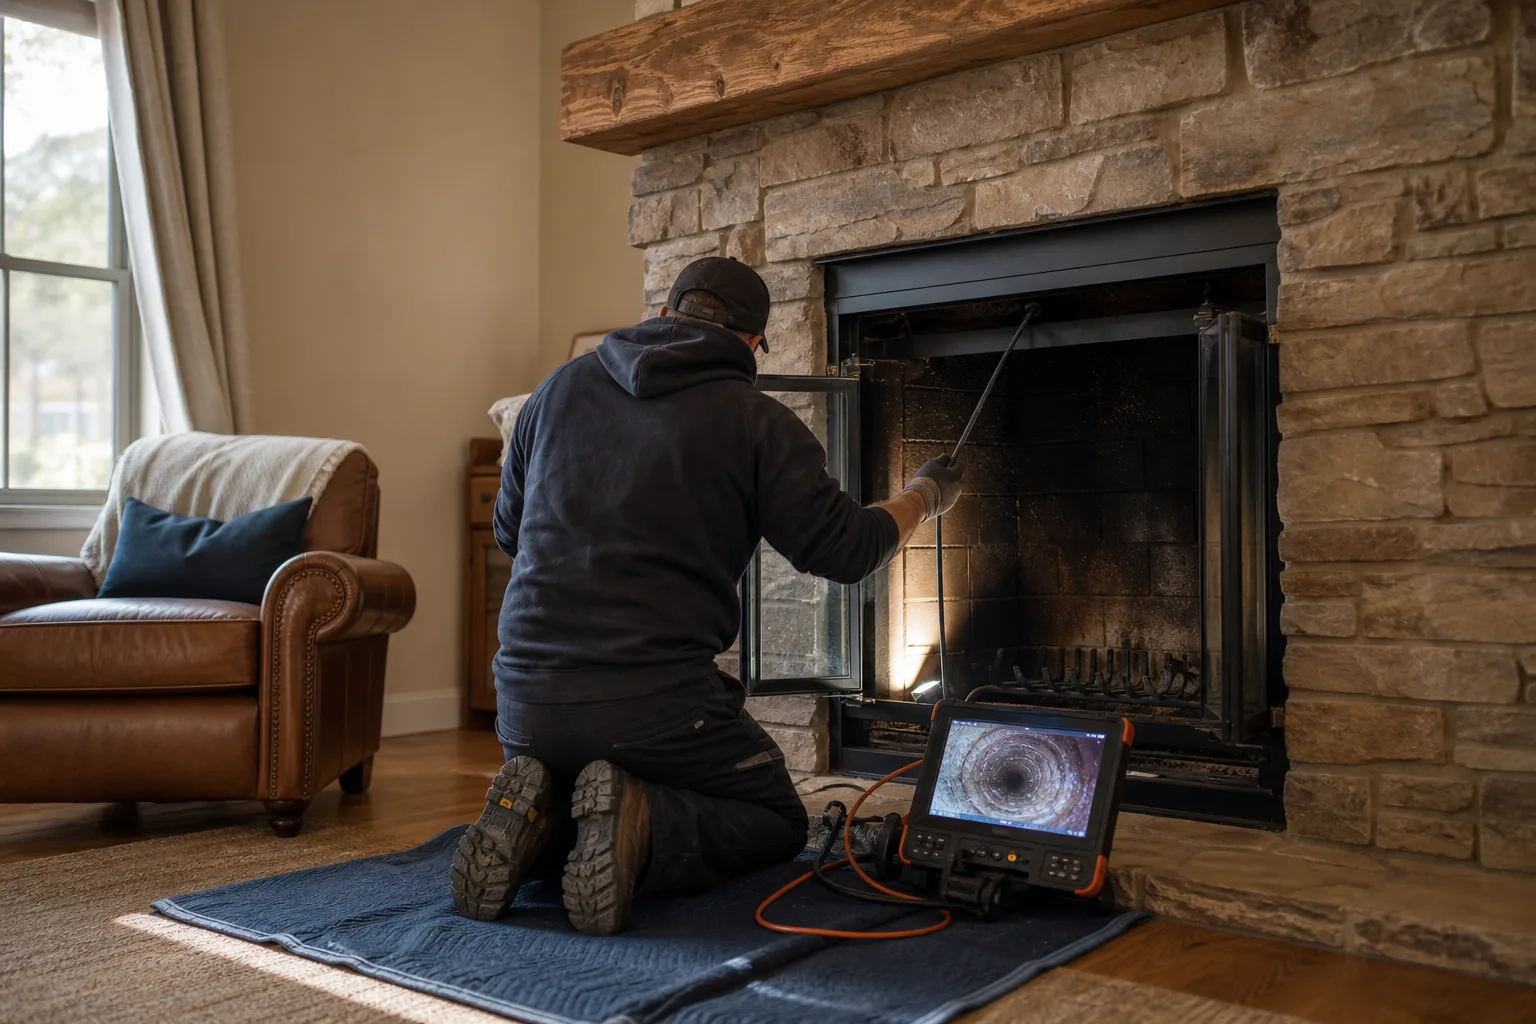
  1. Technician kneeling at an open fireplace feeding an inspection camera up the flue beside a monitor
    01

    Inspection first, always

    A look at the crown, cap, flashing and exterior masonry, then the flue, damper and firebox — with a camera where the job calls for a level 2 scan. Whatever needs work gets shown to you, not just described.
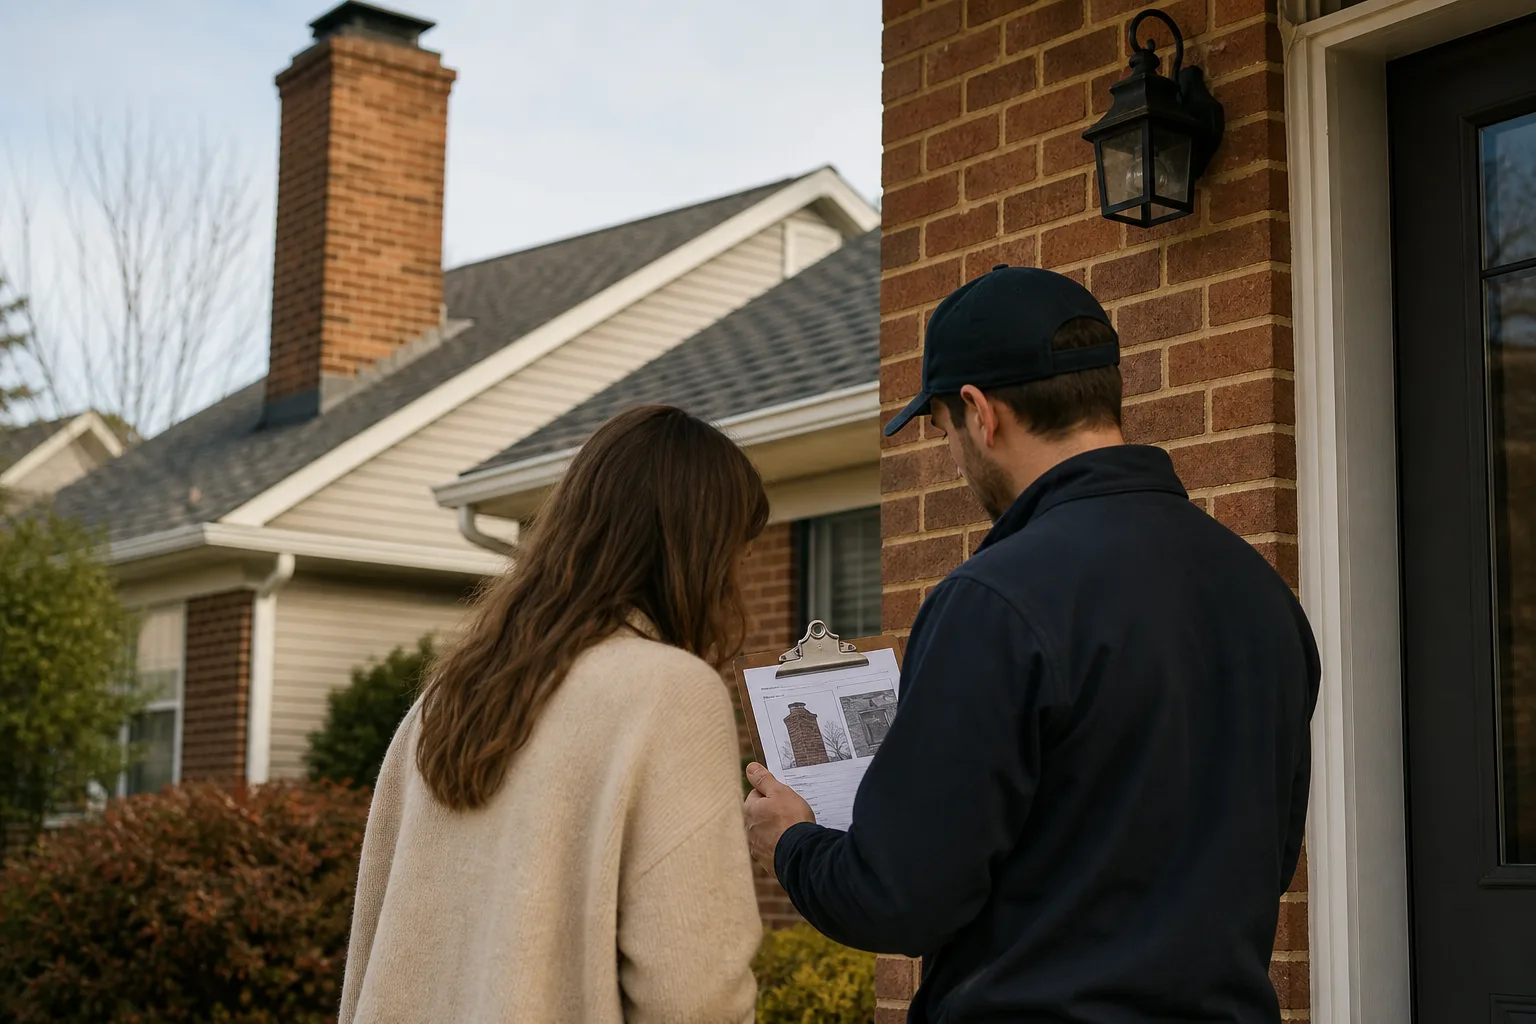
  2. Chimney technician reviewing a printed estimate on a clipboard with a homeowner at the front door
    02

    A written estimate before anything

    Scope, price and what is not included, in writing. Nothing starts until you approve it, and an emergency is not a reason to skip this step.
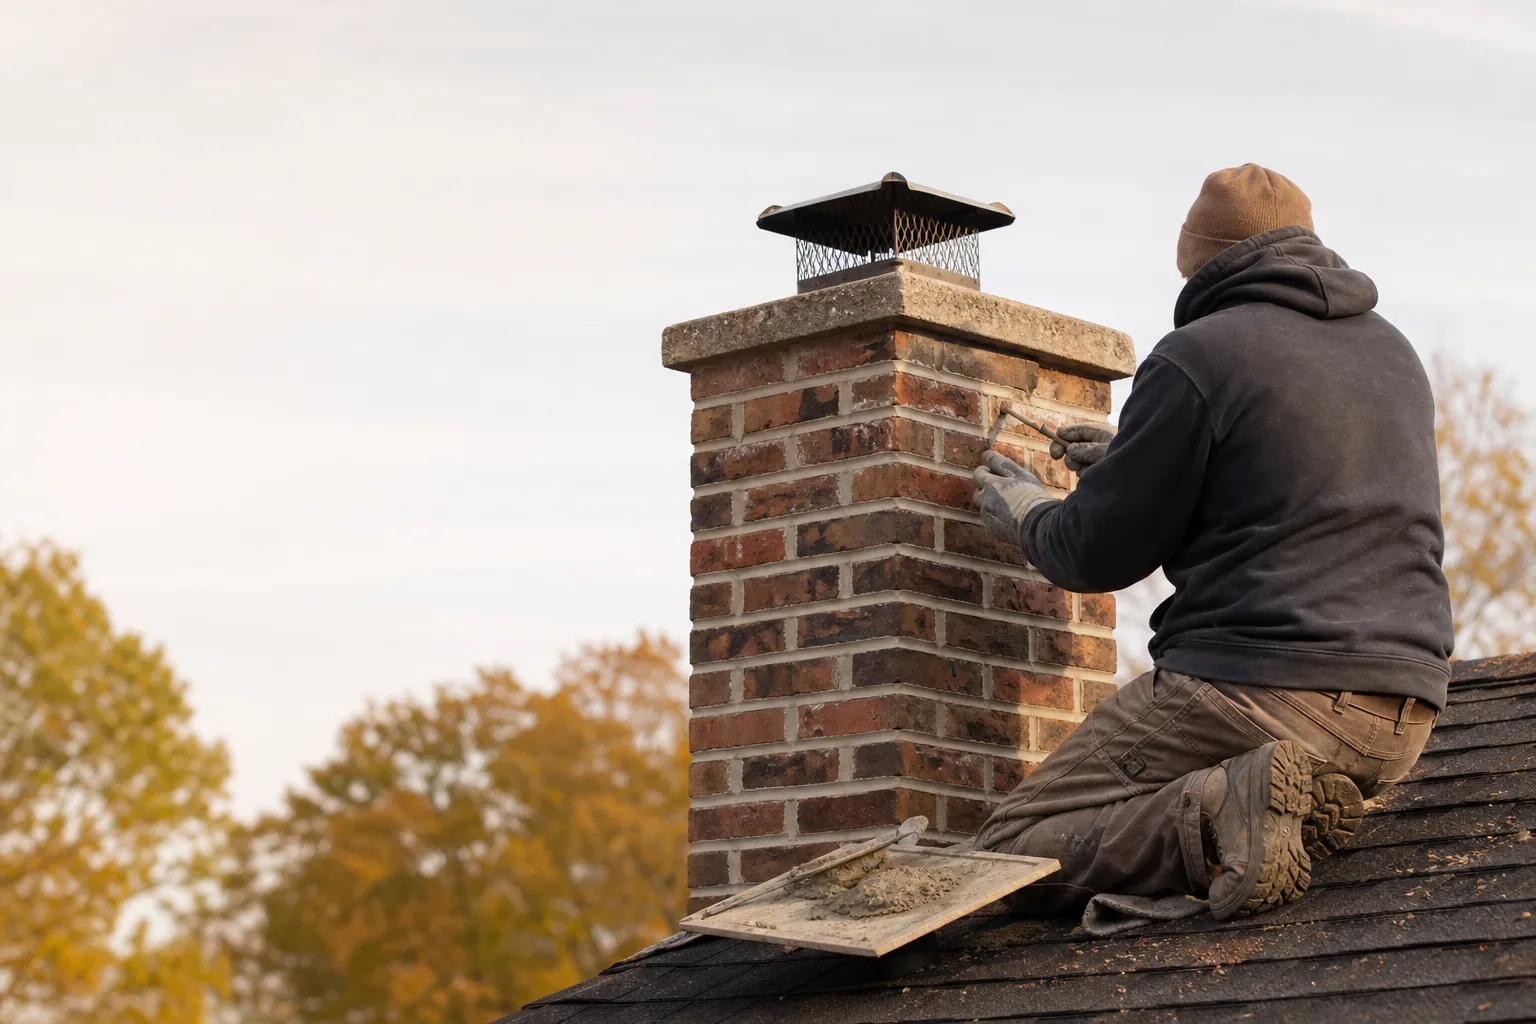
  3. Mason on a rooftop repointing mortar joints on a brick chimney with a trowel
    03

    The work itself

    Matched materials and the manufacturer's spec, not whatever is on the van. Drop cloths down, and the room left as it was found.

  4. Tablet on a kitchen table showing a chimney inspection report with flue camera still
    04

    Verification and a report

    A second scan after the work, and written findings you can keep, hand to an inspector, or send to an insurer.

What it covers

The jobs this actually includes

Not every job on this list is equally urgent, so they are ordered that way. A cracked liner stops you using the fireplace tonight; waterproofing can wait for a dry week.

  • Brick replacement in the stack

    Structural

    Spalled or split bricks cut out and replaced with a salvaged match. New brick beside old brick is visible for years, so matching is part of the job rather than a nicety.

    On site: 1–2 days

  • Lime mortar work on pre-war brick

    Structural

    Soft historic brick pointed in a lime mix that stays softer than the masonry around it. Slower to cure and more expensive, and it is the difference between a repair that lasts and one that accelerates the damage.

    On site: 1–2 days

  • Repointing above the roofline

    Stops water

    Joints raked out to sound mortar — roughly twice their width deep — and repointed in a matched mix. The exposed section above the roof is where nearly all of this work is needed.

    On site: 1–2 days

  • Crown and wash repointing

    Stops water

    The joints immediately under the crown take the most water of any part of the stack. They usually fail first and they are usually skipped.

    On site: About a day

  • Waterproofing after pointing

    Preventive

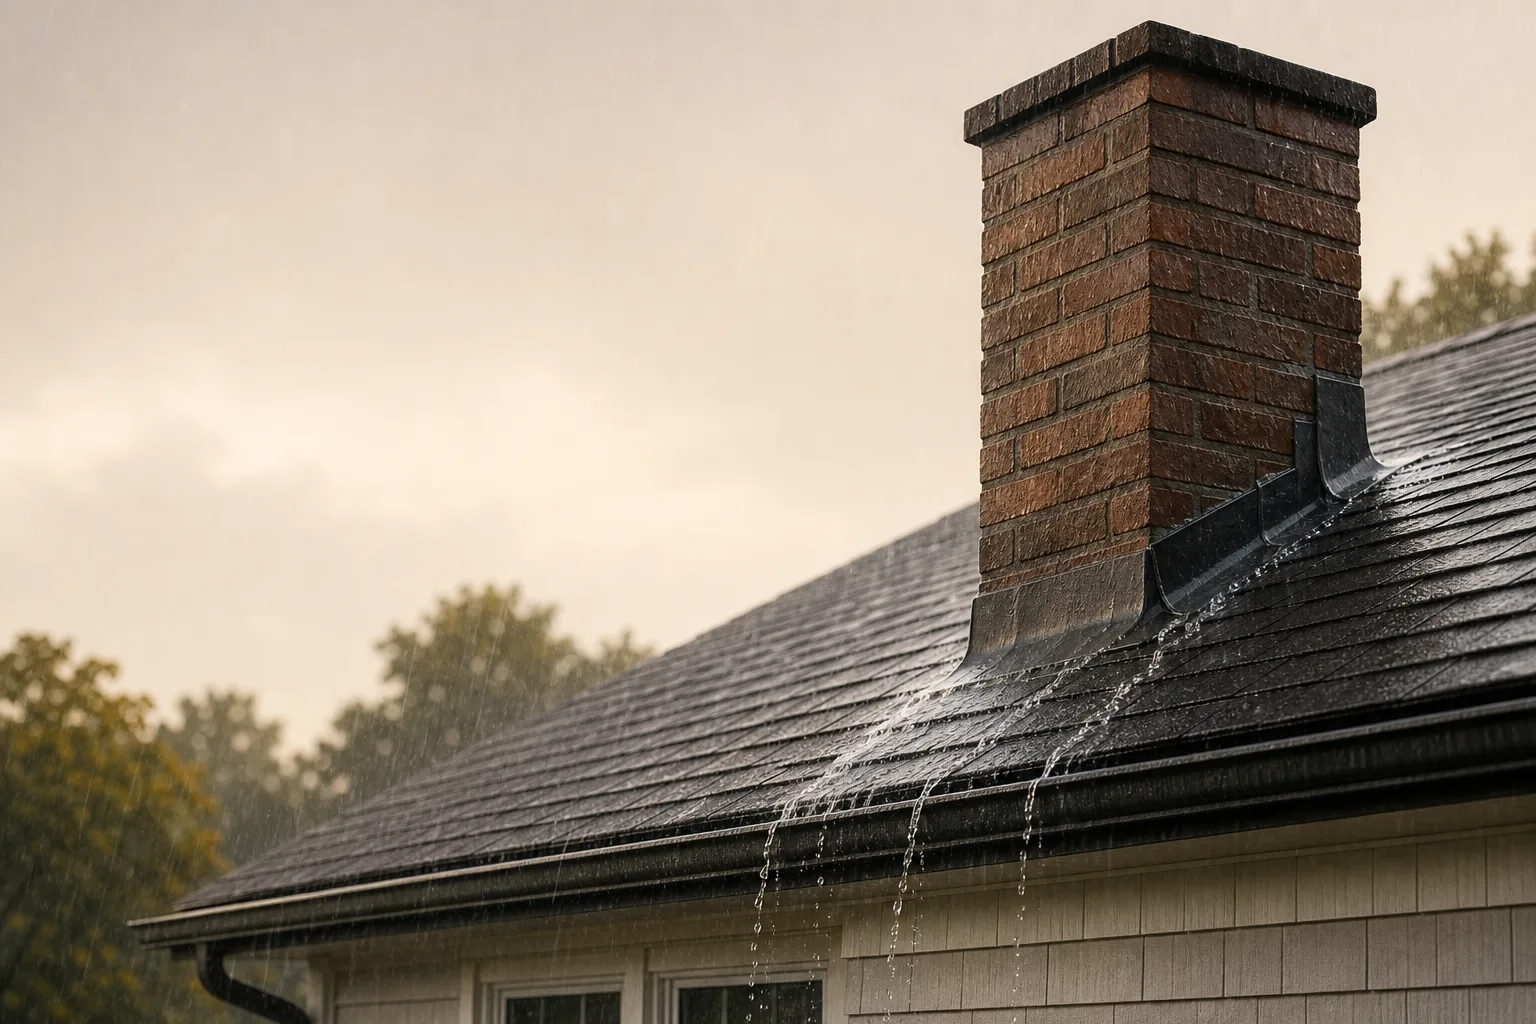
    A breathable siloxane sealant once the mortar has cured, so masonry can still dry outward while shedding rain. Never applied over failed joints, because that seals the water in.

    On site: Half a day

Times are for the work itself, not for scheduling. Masonry needs roughly 40°F to cure properly, which is what limits this work in a northern winter rather than whether a crew is free.
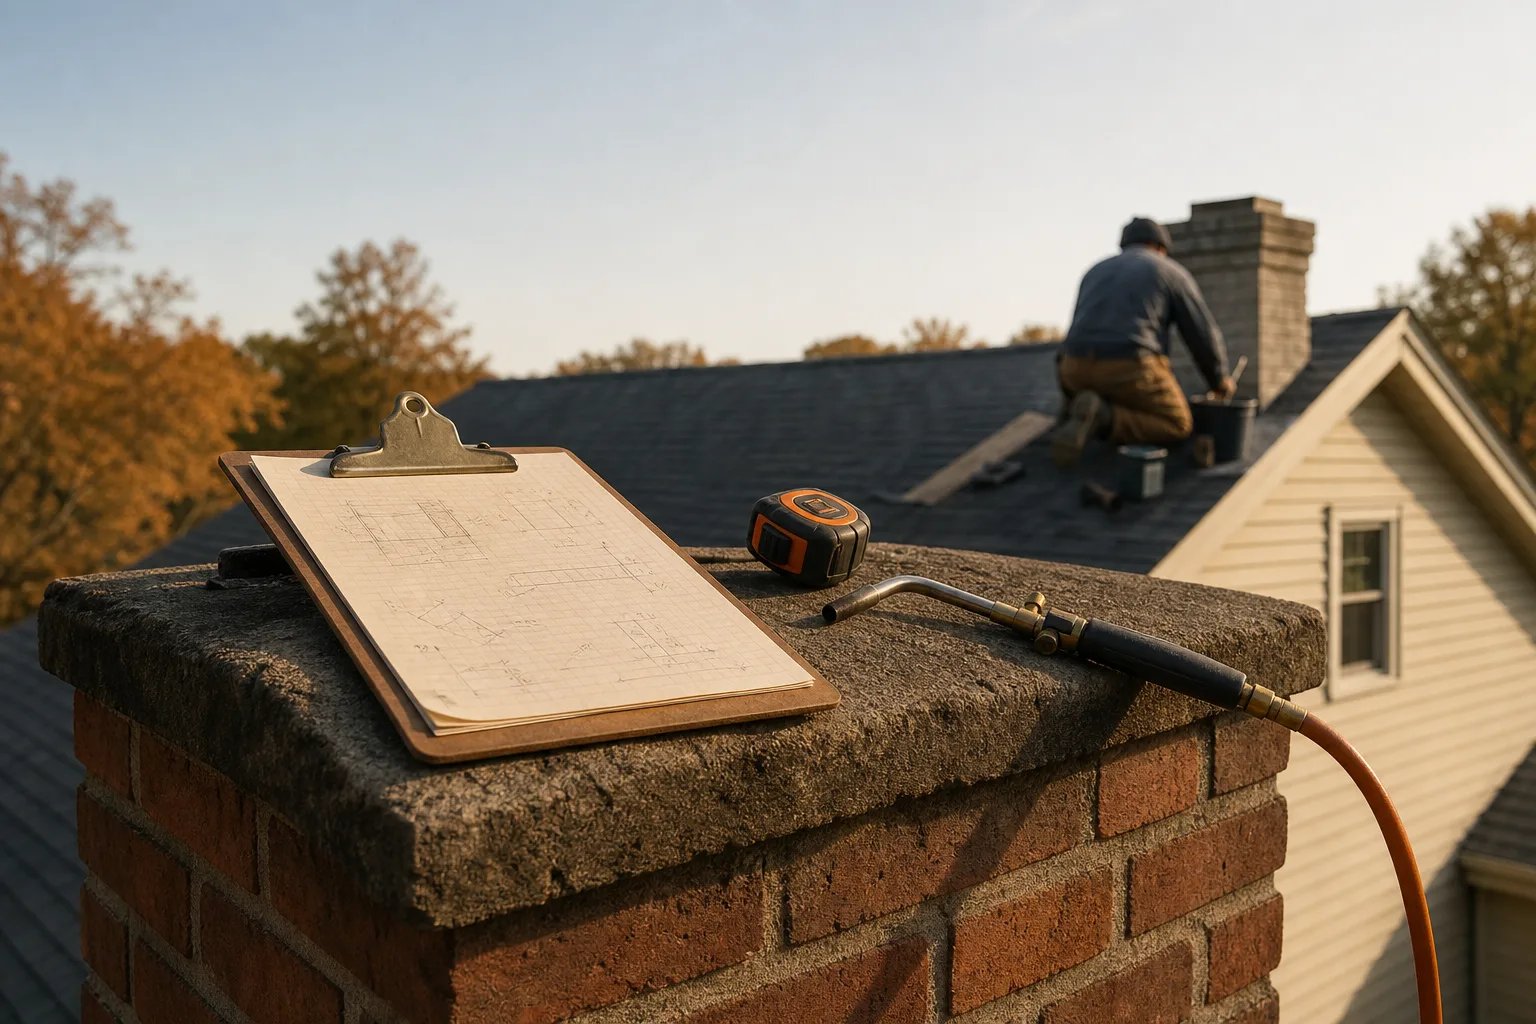
Handwritten estimate on a clipboard resting on a brick hearth beside a tape measure and torch
What drives the price

Why chimney tuckpointing quotes vary so much

  • How much of the stack needs pointing — a face is not a whole chimney
  • Roof pitch and height, which decide whether scaffolding is needed
  • Whether the brick is pre-war and needs a matched lime mix
  • Whether any brick has to be cut out and replaced as well
  • Season, because mortar needs roughly 40°F to cure properly

Pointing a single face of an accessible stack is a day and priced accordingly. A full four-sided repoint at height with scaffolding is several times that. Lime work costs more than a Portland mix and is the right call on old brick anyway. What blows the number out is discovering the brick itself has gone, at which point it is partial rebuild rather than pointing.

Ethan Miller and Ryan Carter of VIO CHIMNEY beside a branded service truck
Who we are

The people behind every visit

Founded by Ryan Carter in 2019. Every page you read here is reviewed by Ethan Miller, our chimney specialist. A written estimate before any work, and the findings in writing whether or not anything needs doing.

More about who we are →
Capped brick chimney silhouetted against a soft dusk sky above a tidy residential rooftop

The VIO Standard

  • A written estimate first
  • License and insurance checked
  • Nothing starts without your OK

Common questions

What is the difference between tuckpointing and repointing?

In everyday use in the US they mean the same job: removing failed mortar and replacing it. Strictly, tuckpointing is a Georgian decorative technique using two colours of mortar to fake fine joints, and repointing is the structural repair. Nobody in this trade will misunderstand you either way, and what you are almost certainly asking for is the structural one.

How much does chimney tuckpointing cost?

It scales with area and access rather than with a flat rate. A single accessible face is a day's work. A full stack at height with scaffolding is several days and priced accordingly. Lime mortar on historic brick costs more than a standard mix, both in material and in the slower work it demands. The figure that moves most is whether brick has to come out too — that turns a pointing job into a partial rebuild.

Can chimney tuckpointing be done in winter?

Not reliably. Mortar needs roughly 40°F to cure, and mortar that freezes before it sets never reaches its strength — it will look fine and fail in a year. That is the real constraint on this work in a northern winter, not whether a crew is available. If the damage is bad enough that waiting is a risk, the honest options are a temporary cover or heated enclosure, both of which cost more than waiting for spring.

How long does tuckpointing last?

Done properly with the right mix, twenty to thirty years on the exposed section of a chimney, which takes far worse weather than a wall does. Done in a mortar harder than the brick, it can start pushing brick faces off within three or four freeze cycles. The lifespan question is really a mortar question, which is why we will not quote it without knowing the age of the brick.

Do I need to repoint the whole chimney or just the bad section?

Just the bad section is usually right, as long as the sound joints are genuinely sound. There is no virtue in cutting out mortar that is doing its job. What we will not do is point around a few obviously failed joints and call it finished when the face they sit in is going the same way — that gets you a second visit and a second bill within two years.

let's get it on the calendar.

Tell us your ZIP code and what you need. The pro who covers it quotes the job in writing, and nothing starts until you approve the number.

(513) 655-6702Get my estimate