



Next-day appointments
Call or book today and we'll do our best to get a pro to you tomorrow.
Chimney service
The short answer
If it was cleaned last month and still takes two cycles, the duct is damaged, not dirty.
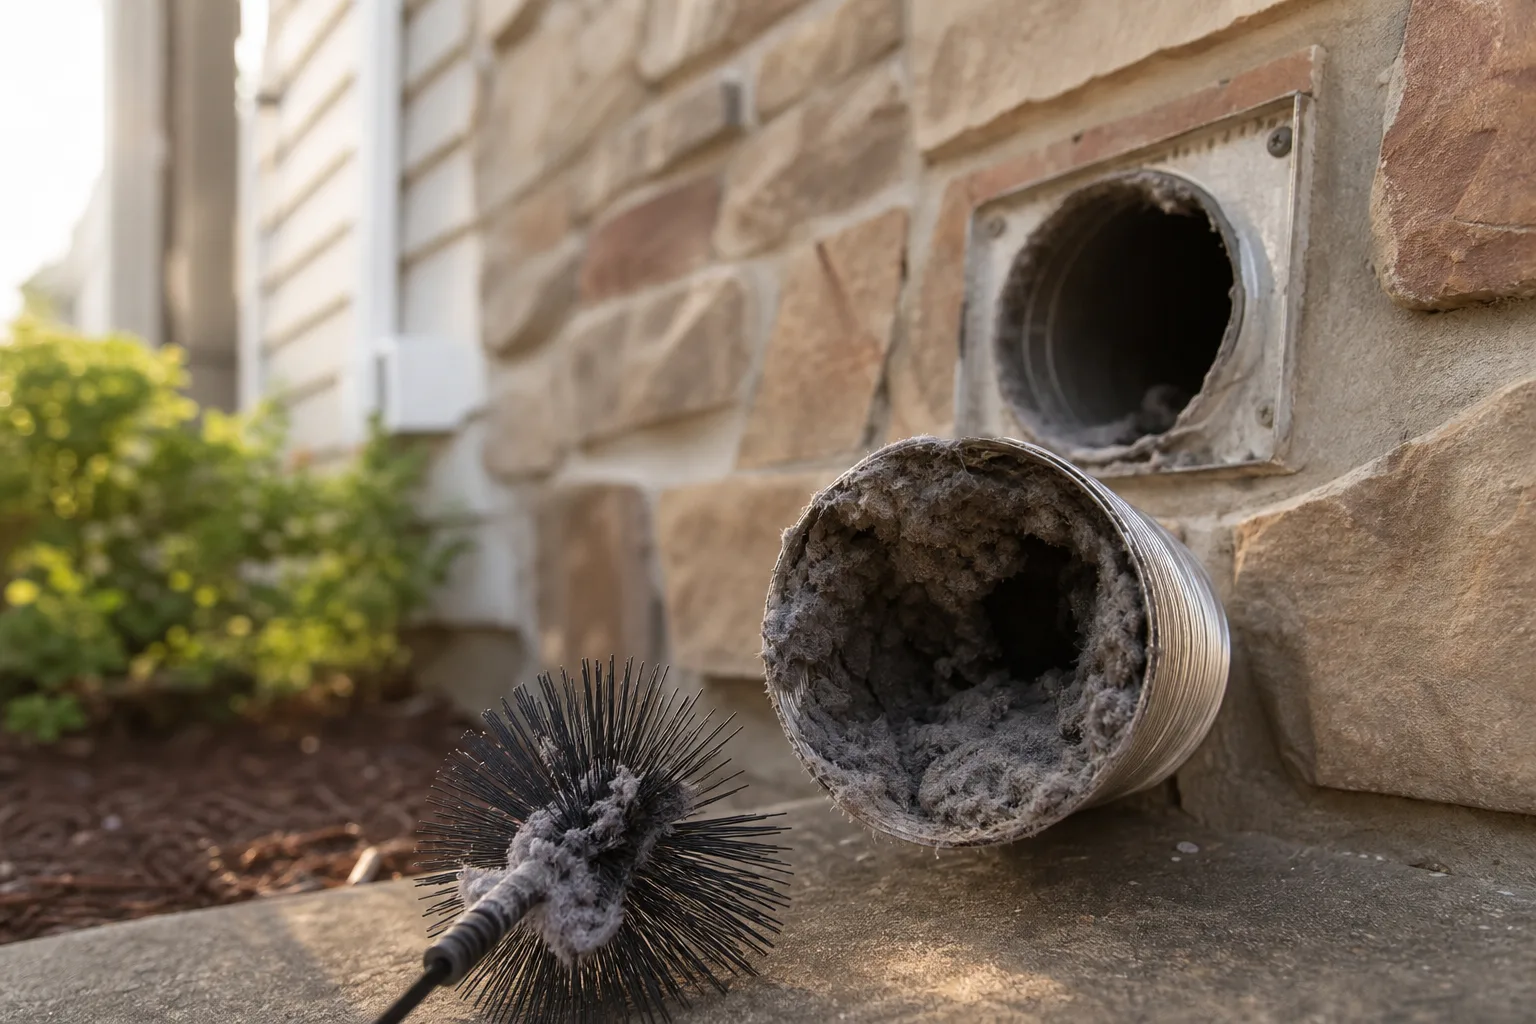
Cleaning removes lint. It cannot restore a duct that has been crushed flat where it crosses a joist, reconnect a joint that has come apart inside a wall, or fix a hood whose flap has seized. Those are the four faults that make up nearly all dryer vent repair, and every one of them produces exactly the same symptom as a blockage — slow drying. That is why so many people pay for a clean, feel no difference, and assume the machine is failing. Finding out which you have takes one look at the run and costs nothing.
Duct crushed at a joist
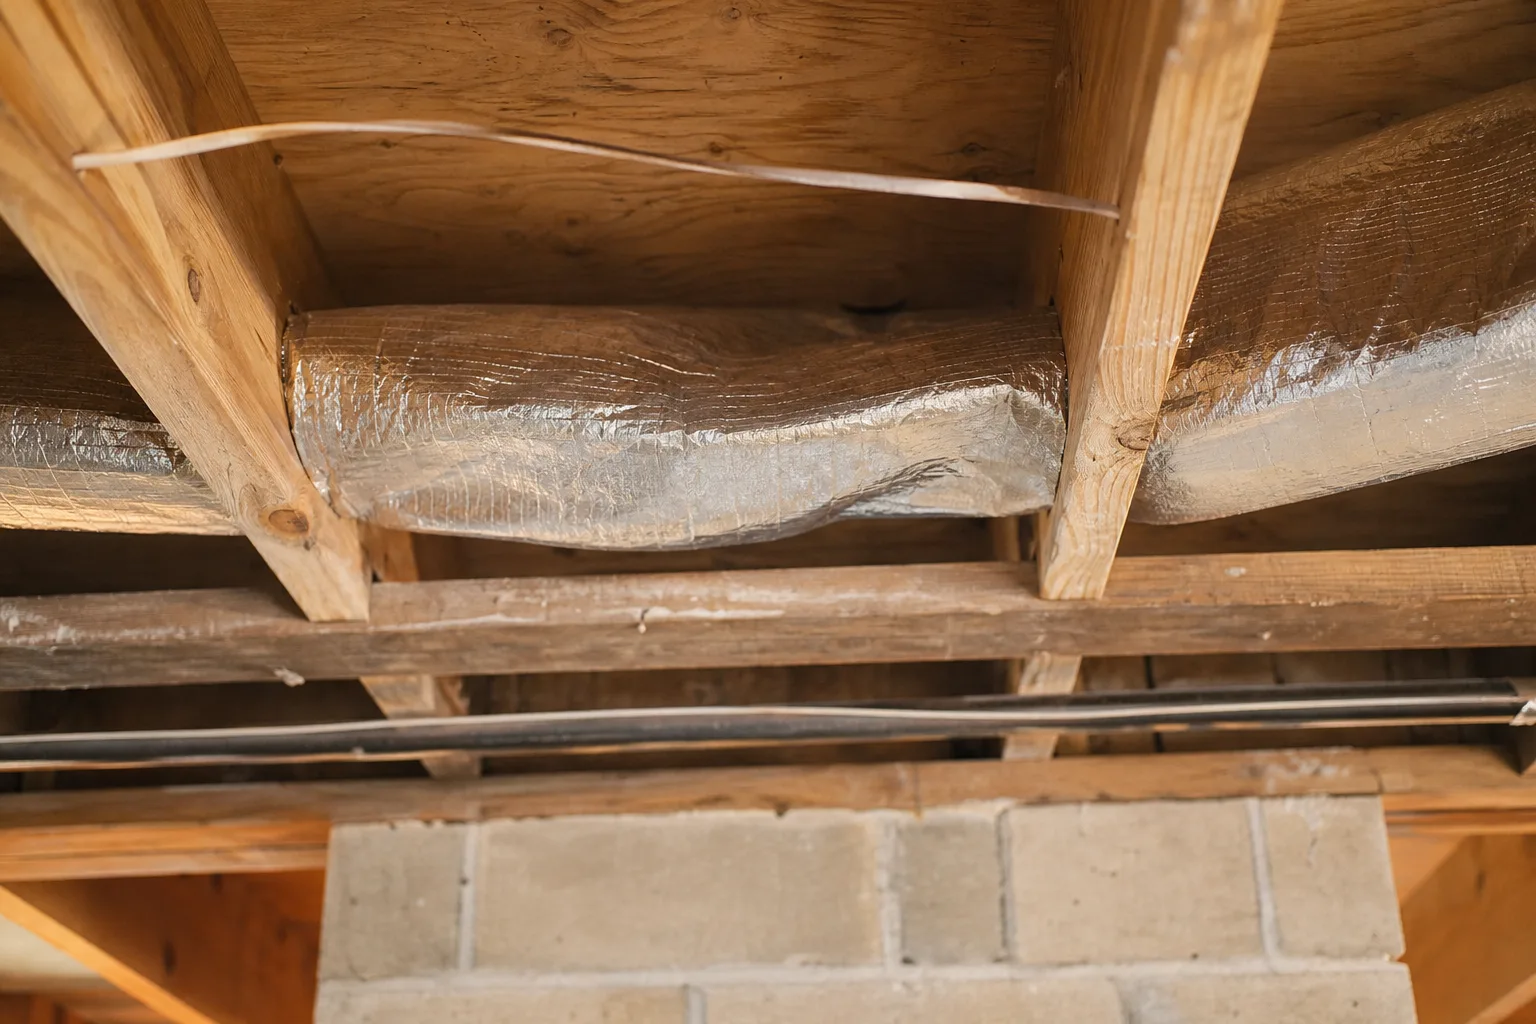
A flattened section is a permanent restriction. Cleaning it changes nothing, because the obstruction is the duct itself.
Fall Special
Call or book today and we'll do our best to get a pro to you tomorrow.
Anything that needs attention is shown to you and explained in plain words.
If something needs fixing, you get the price in writing first. Saying no costs nothing.
Do you have this problem?

The clearest signal on this page. A clean that makes no difference means the restriction was never lint. Do not book a second clean.
Common in basements and crawl spaces where something was forced through a tight gap. It is a permanent restriction and it needs replacing, not brushing.

A joint has come apart inside the structure. Everything the dryer exhausts is now going into the building — moisture, heat and lint together, which is a mould problem as well as a fire one.
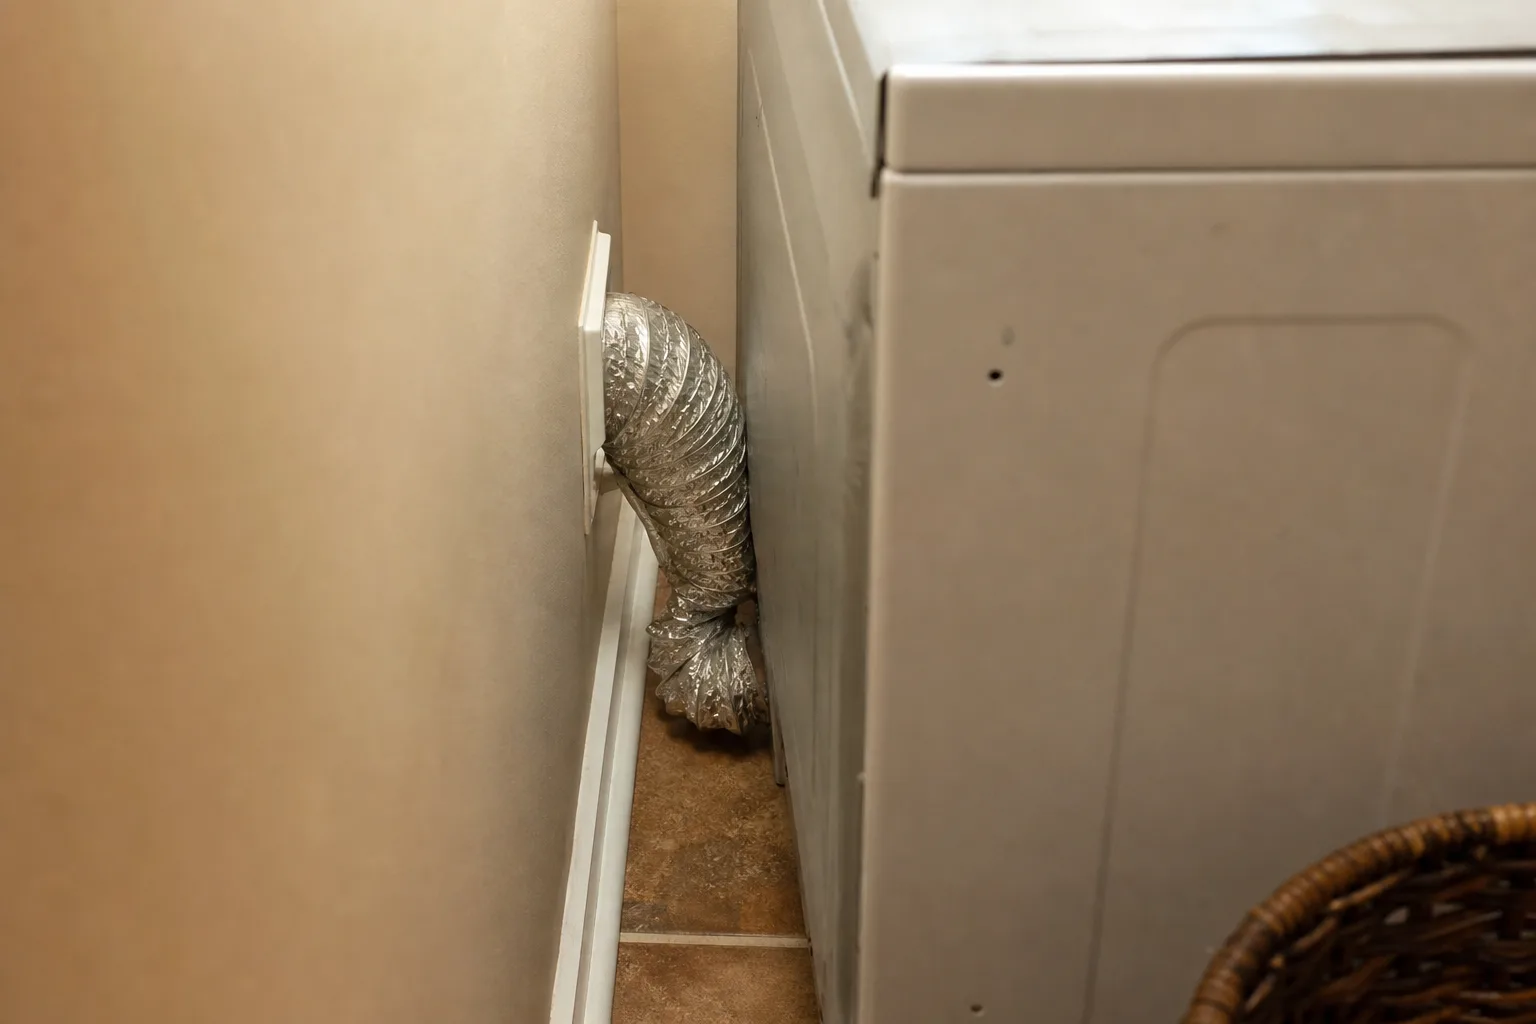
The concertina hose folds the moment the dryer is pushed back. Sometimes the whole fault is in the two feet nobody can see behind the appliance.
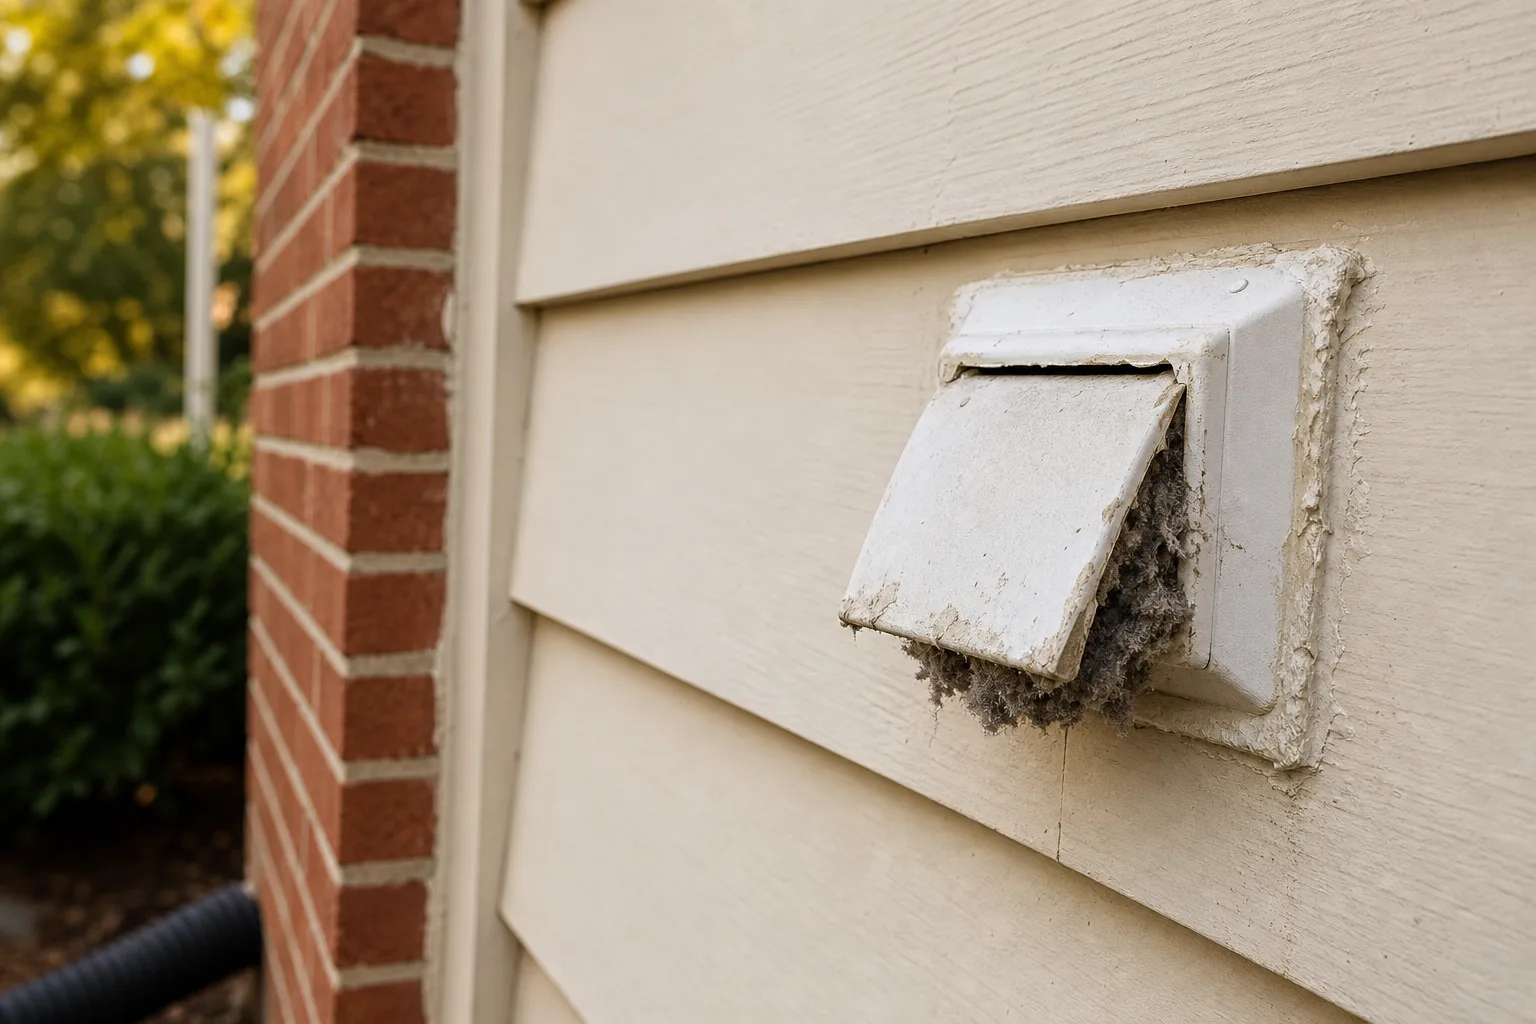
A flap that will not open is a closed door on the exhaust. A missing one is an open invitation to birds. Both are quick, cheap repairs.
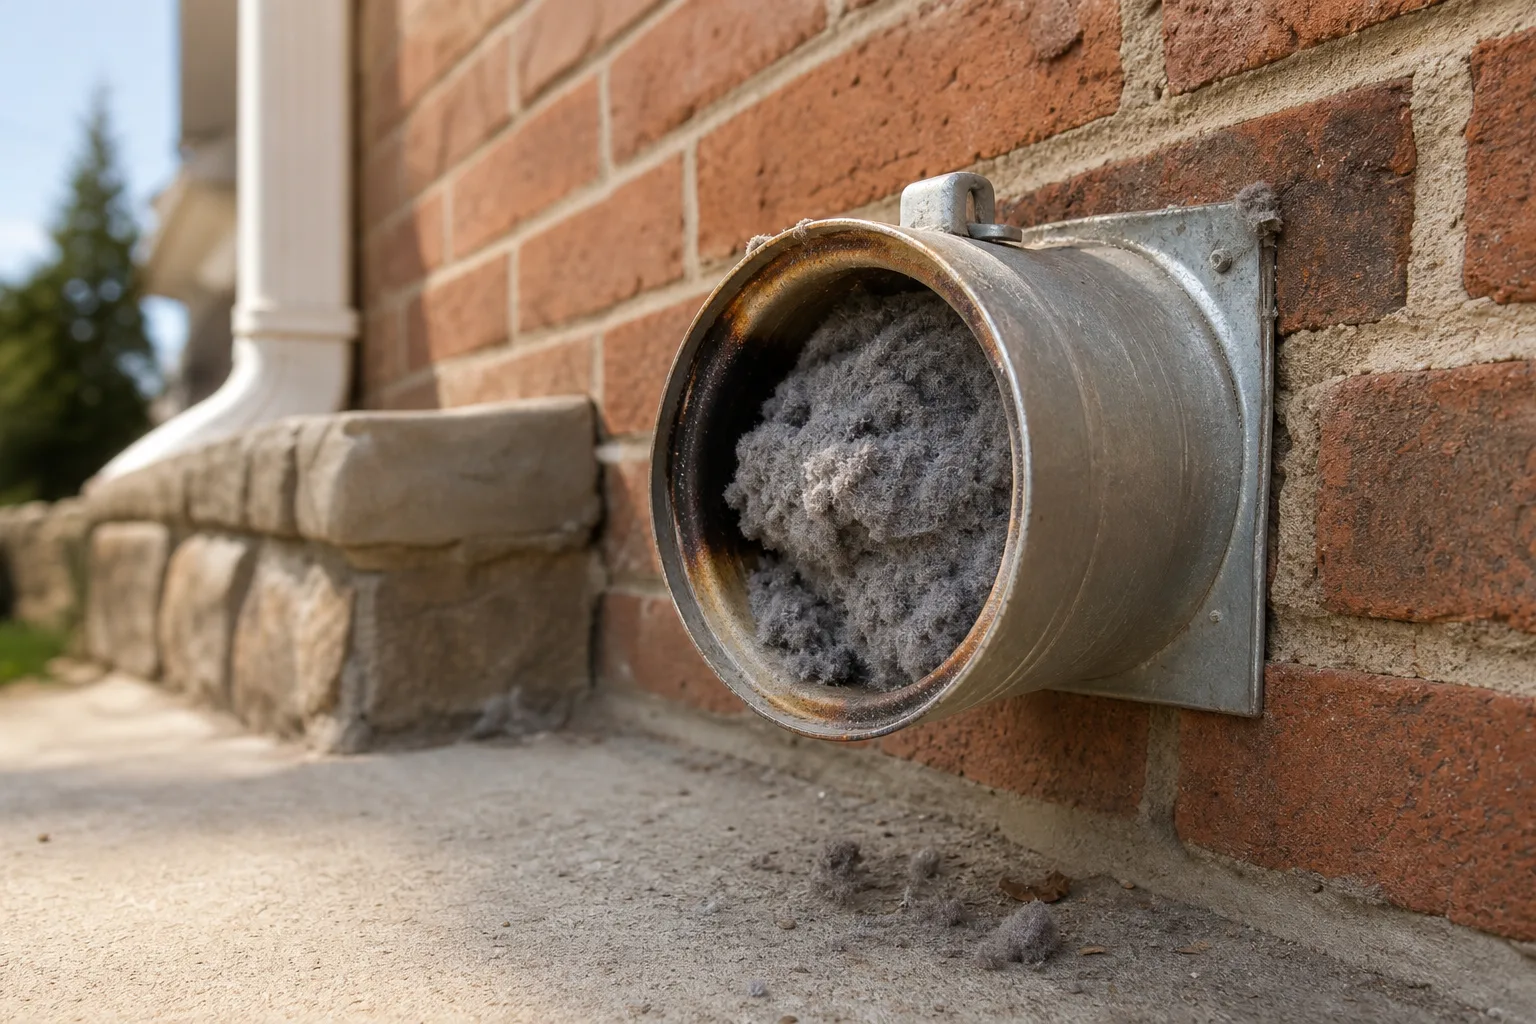
Lint heating against a duct wall. Stop the machine rather than finishing the load, and get the run looked at before it is used again.
How we work
The same four steps every time, whatever the repair turns out to be.
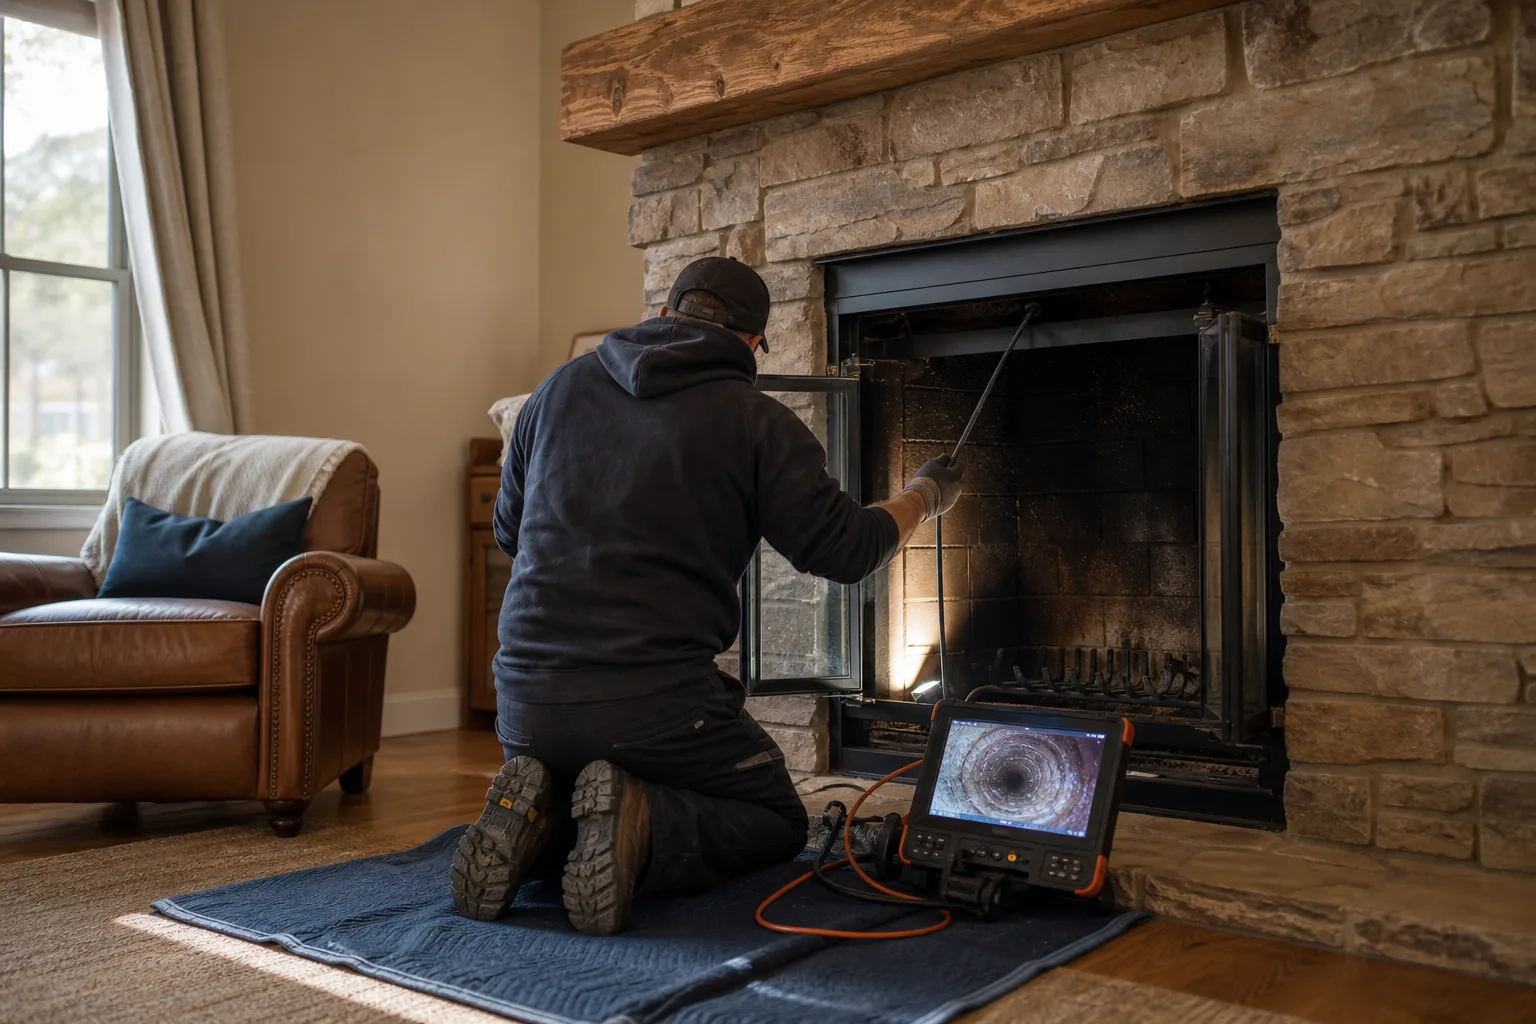
A look at the crown, cap, flashing and exterior masonry, then the flue, damper and firebox — with a camera where the job calls for a level 2 scan. Whatever needs work gets shown to you, not just described.

Scope, price and what is not included, in writing. Nothing starts until you approve it, and an emergency is not a reason to skip this step.
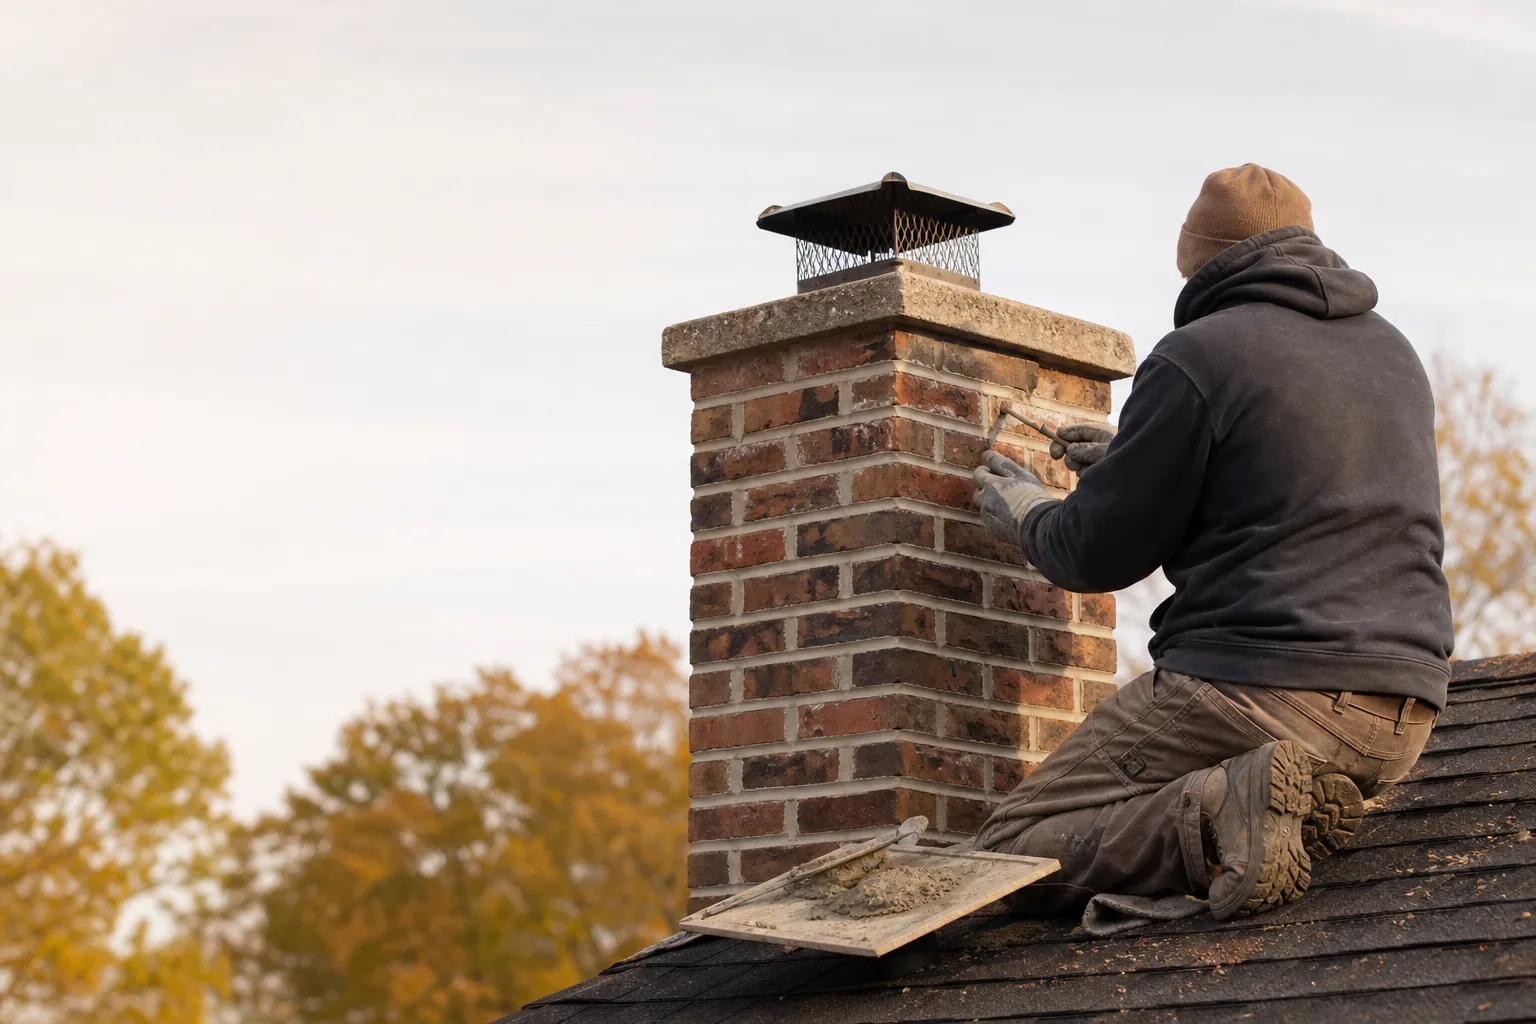
Matched materials and the manufacturer's spec, not whatever is on the van. Drop cloths down, and the room left as it was found.

A second scan after the work, and written findings you can keep, hand to an inspector, or send to an insurer.
What it covers
Not every job on this list is equally urgent, so they are ordered that way. A cracked liner stops you using the fireplace tonight; waterproofing can wait for a dry week.
The job — most urgent first
What it involves
On site
A separated joint discharging into the structure. Access is cut, the joint remade and sealed with foil tape rather than screws that catch lint, and the opening made good.
On site: Half a day
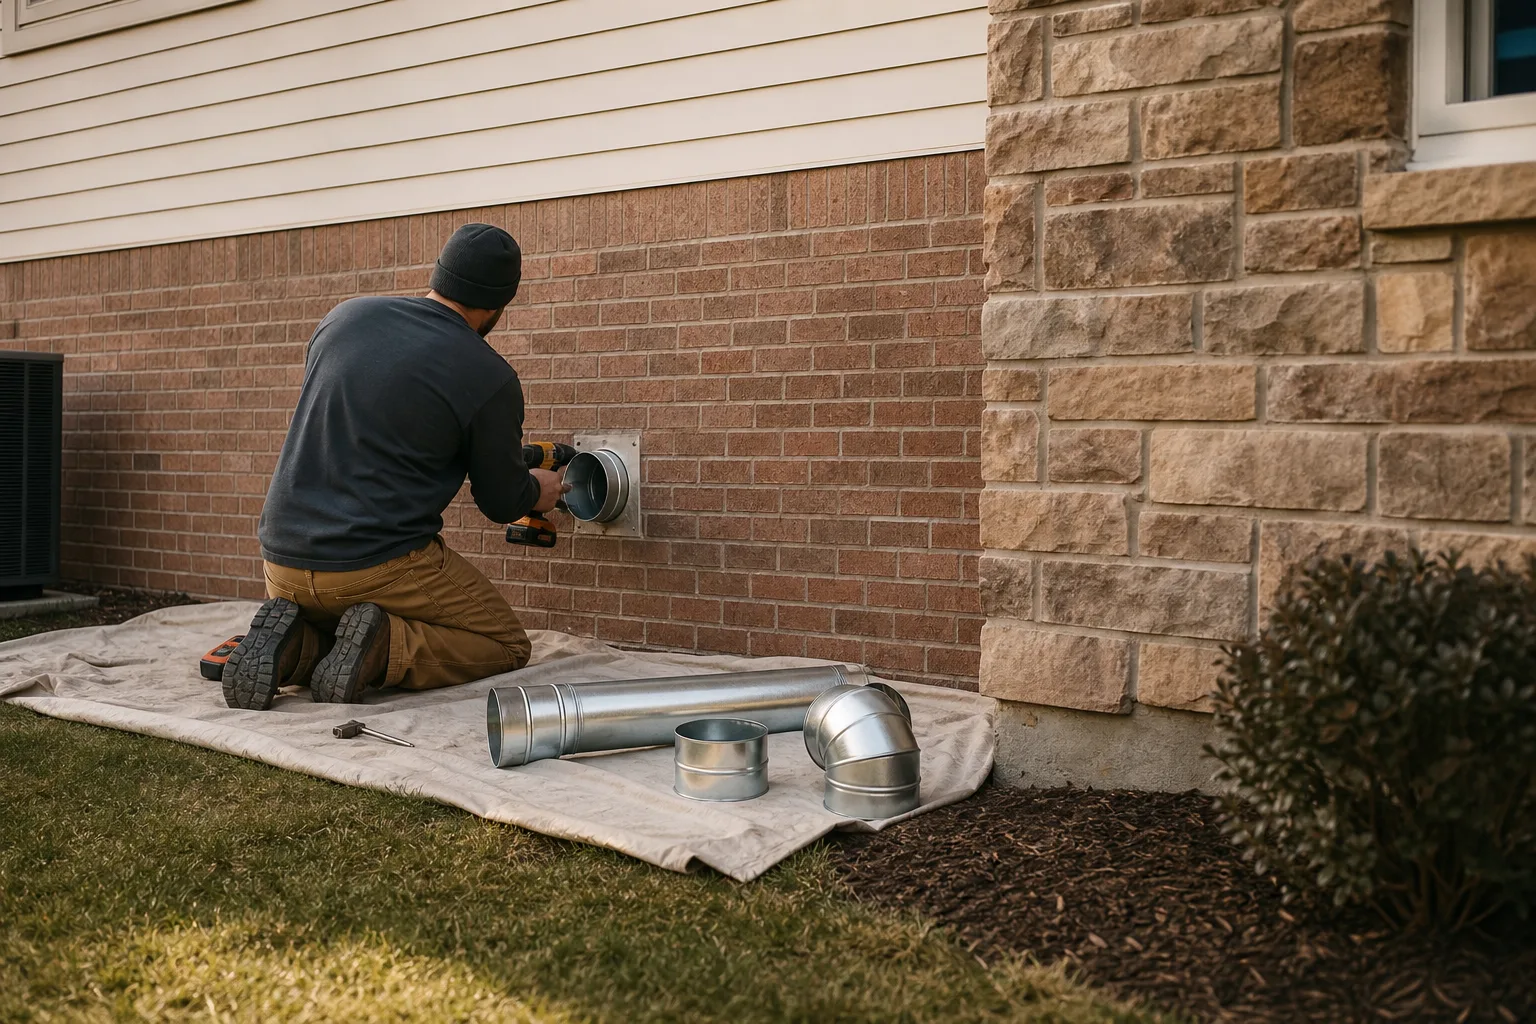
The flattened run cut out and replaced in rigid metal, rerouted if the gap it was forced through is the reason it collapsed in the first place.
On site: Half a day
The concealed run in rigid metal with a short listed transition at the machine. Cheap, quick, and it removes the cause rather than the symptom.
On site: 1–2 hours
A seized flap, a hood painted shut, or a fine mesh screen that clogs solid every season. Replaced with a louvred or damper type sized to the duct.
On site: About an hour
Joints taped with foil tape, not duct tape, which dries out and lets go within a couple of years. Screws never go into a dryer duct — every protruding tip becomes a lint catcher.
On site: 1–2 hours
Times are for the work itself, not for scheduling. Masonry needs roughly 40°F to cure properly, which is what limits this work in a northern winter rather than whether a crew is free.
What drives the price
A hood replacement or a foil-to-rigid swap on an accessible run is inexpensive and quick. Cutting into a wall or ceiling to reach a separated joint costs more for the making good than for the duct. If several faults turn up along one run, replacing the whole thing is often cheaper than repairing it in three places.

Founded by Ryan Carter in 2019. Every page you read here is reviewed by Ethan Miller, our chimney specialist. A written estimate before any work, and the findings in writing whether or not anything needs doing.
More about who we are →
The VIO Standard
Good to know