



On this pageWhat Is dryer vent cleaning, and Why Does It Matter?7 sections+6
Quick answer
Dryer vent cleaning removes lint, fibers, and other obstructions from the exhaust path between the appliance and the outdoor termination. It supports steady airflow, limits trapped heat and moisture, and helps the dryer operate safely and efficiently.
What Is dryer vent cleaning, and Why Does It Matter?
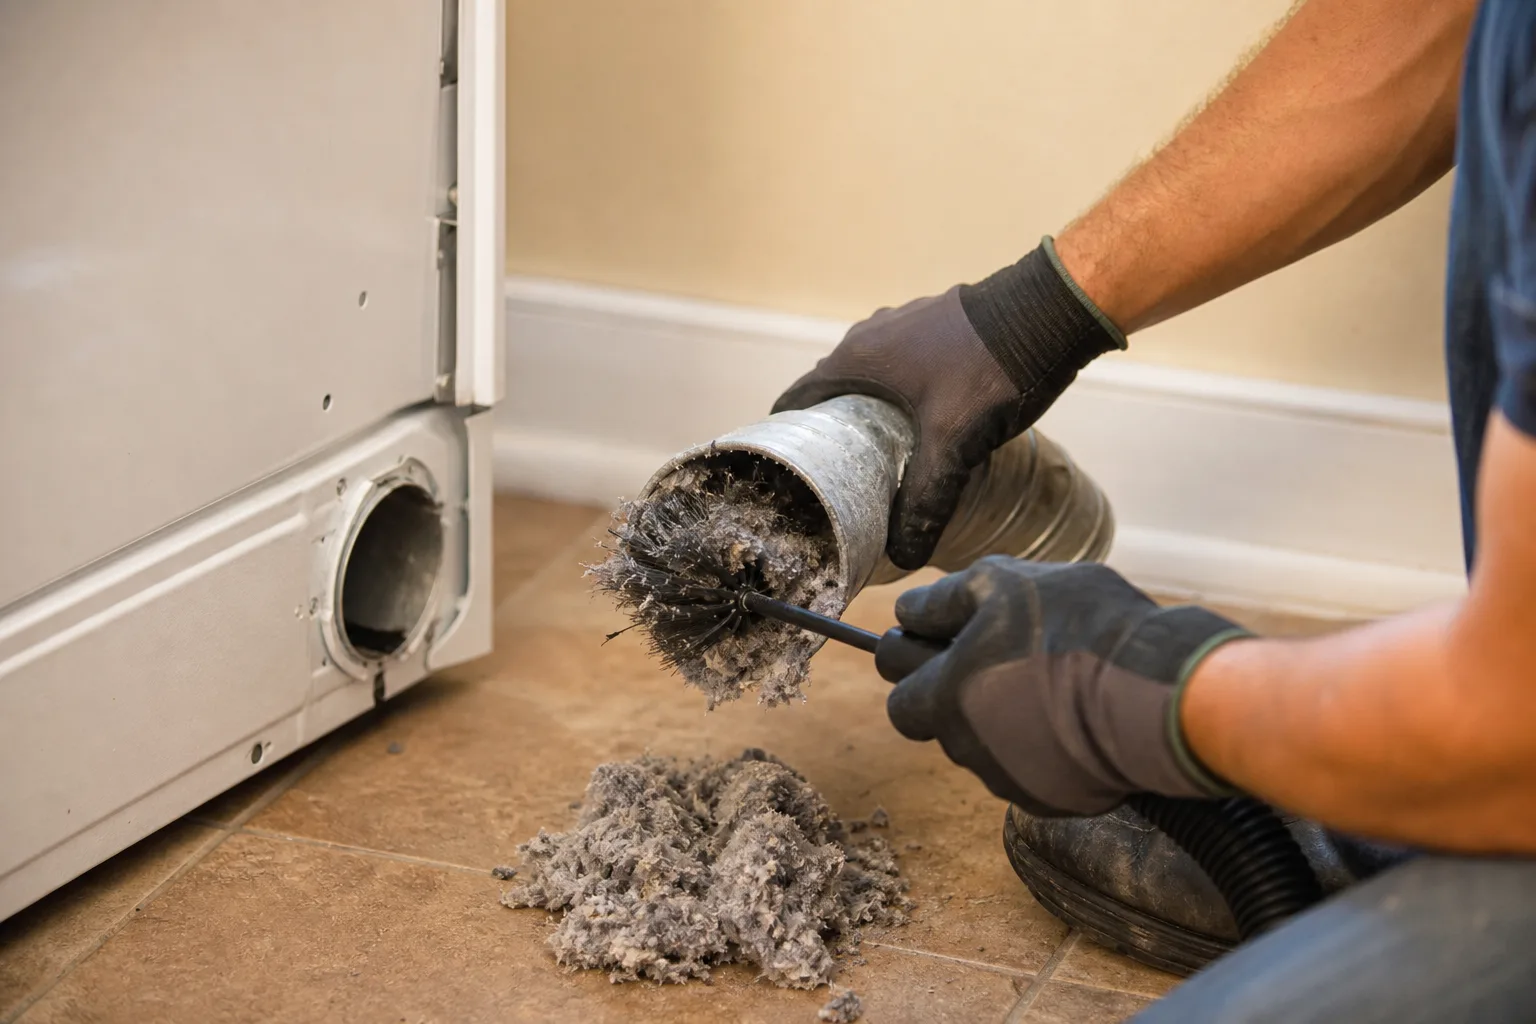
Dryer vent cleaning removes lint, dust, fabric fibers, and other obstructions from the entire exhaust path, starting at the dryer connection and ending at the exterior vent opening. Clearing that full route supports steady airflow, safer dryer operation, and more efficient drying.
The lint screen catches only part of the material released by clothing and linens. Fine particles pass through the screen and enter the transition duct behind the appliance, then settle inside the main vent line or collect around bends, joints, and the exterior termination.
Emptying the lint screen after every load is good routine care, but it does not clean the exhaust duct. A screen can look nearly spotless while a concealed section of vent contains a thick layer of lint or a blockage caused by nesting material, a damaged flap, or crushed ductwork.
Restricted airflow forces the dryer to work against trapped heat and moisture. Clothing may need another cycle because damp air cannot leave the drum at the expected rate, and the appliance may run hotter while trying to finish the load.
A clear exhaust route helps the dryer move warm, moist air outdoors without unnecessary resistance. Drying times can become more consistent, fabrics are exposed to less repeated heat, and the dryer is less likely to shut down because of excessive internal temperature.
Proper cleaning covers more than the visible area behind the appliance. The technician follows the route as far as access allows, clears debris through the duct, and checks the exterior opening for lint, nests, stuck dampers, or screens that should not be present on a dryer exhaust.
Vent design affects how easily lint accumulates. A short, straight route usually moves air better than a long run with several turns, and a rigid metal duct generally keeps its shape better than a flexible transition connector that can sag or become pinched.
Cleaning also provides an opportunity to spot installation defects that routine lint screen care cannot reveal. If cycles are becoming longer or the vent history is unknown, an airflow inspection can help identify the cause before heat and lint buildup lead to a more serious concern.

Signs Your Dryer Vent Needs Attention
A dryer vent needs attention when drying takes longer than usual, clothing stays damp, the appliance or laundry room becomes unusually hot, or airflow at the exterior opening weakens. Burning odors, repeated shutdowns, scorching, smoke, or a hot electrical smell call for stopping the dryer and arranging an inspection before using it again.
Long drying cycles are among the most common early warnings. A normal load that once dried in one cycle may remain damp, particularly around waistbands, seams, towels, or other thick fabrics, because moist exhaust air is not escaping efficiently.
Load size and fabric type can affect drying time, so one slow load does not always prove that the vent is blocked. A repeated change across ordinary loads is more telling, especially when the lint screen is clean and the dryer settings have not changed.
Excess heat is another warning sign. The top or sides of a dryer can become warm during normal operation, but an appliance that feels much hotter than usual, makes the room noticeably hot, or leaves clothes too hot to handle may not be exhausting air properly.
A dryer may also stop before the load is dry if an internal safety control detects excessive heat. Restarting the machine without finding the reason can expose the appliance to the same conditions again, so recurring shutdowns should be treated as a performance and safety issue rather than a minor inconvenience.
Common signs of a restricted exhaust path include:
- Loads that require repeated cycles
- Clothes that remain damp after a normal setting
- A dryer cabinet or laundry room that becomes unusually hot
- A musty smell caused by moisture lingering in the system
- A burning, scorched, or hot electrical odor
- Lint collecting behind or beneath the appliance
- Weak airflow at the outdoor vent
- An exterior flap that barely moves while the dryer runs
- Lint collecting around the exterior opening
- Automatic shutdowns or error messages related to airflow or heat
The exterior termination can reveal conditions inside the vent. When the dryer is running, the damper should open freely and release a steady flow of warm air, although the exact force varies with the appliance and vent layout. A flap that barely opens, pulses weakly, or remains closed may indicate a blockage, damaged termination, disconnected duct, or poor route design.
Visible lint around the outdoor opening also deserves attention. Some lint discharge is possible, but clumps caught on the flap or packed around the outlet can indicate that material is accumulating inside the duct or that the termination is interfering with proper exhaust flow.
No airflow outdoors is more concerning than weak airflow. Before assuming the duct is blocked, confirm that the correct exterior opening is being checked and that the dryer is running on a heated cycle. If the outlet still shows no movement, stop the appliance and arrange a vent inspection, since the duct may be fully obstructed, separated, or routed somewhere other than outdoors.
Burning smells should never be dismissed as normal dryer heat. Turn the dryer off, unplug it if doing so is safe, and avoid running another test load when there is smoke, visible scorching, a persistent burning odor, sparking, or signs of melted material.
A gas odor requires a different response from a lint smell. Do not operate switches or appliances near a suspected gas leak, leave the area, and contact the gas utility or emergency services from a safe location. Vent cleaning should begin only after the immediate hazard has been addressed.
Some symptoms can come from the appliance rather than the exhaust duct. A failed heating component, sensor problem, damaged blower, overloaded circuit, or incorrect dryer setting can produce similar effects, which is why checking the complete exhaust path and the appliance connection is more useful than assuming lint is the only possible cause.
If warning signs persist after the lint screen is cleaned and the load size is reduced, request service for a closer inspection. A technician can check the concealed vent route and help determine whether cleaning, duct repair, or appliance service is the appropriate next step.

How Often Should a Dryer Vent Be Cleaned?
Dryer vent cleaning should be scheduled according to laundry volume, vent design, household conditions, and changes in dryer performance rather than one fixed interval for every property. Homes with frequent loads, long ducts, several bends, pets, or a history of clogging often need inspection and service sooner than lightly used systems with short, direct routes.
A regular inspection schedule gives homeowners a baseline for how quickly lint collects. Once the route has been evaluated and cleaned, the technician can consider its length, material, access points, and amount of debris to suggest a practical timing plan for that particular home.
Household size has a direct effect on lint production. A busy home that washes towels, bedding, uniforms, and everyday clothing throughout the week sends more fabric fibers into the exhaust than a home where the dryer handles only a few loads.
Pets can add hair and dander to laundry, some of which travels beyond the lint screen. Homes that frequently dry pet bedding, blankets, or heavily shedding fabrics may notice faster accumulation around the screen, dryer cabinet, and exhaust route.
Vent layout matters as much as laundry volume. Long concealed ducts create more interior surface for lint to settle on, while elbows and sharp direction changes slow airflow and provide collection points. A dryer located far from an exterior wall, in the center of a building, or on an upper floor may have a route that needs closer attention.
The transition duct behind the dryer can shorten the effective service interval if it is crushed or folded. Restricted space, pushing the appliance too close to the wall, or using an excessive length of connector can reduce airflow even when the main duct is relatively clean.
Performance changes should override the calendar. If loads begin taking longer, the dryer becomes hotter, the exterior flap stops opening normally, or lint appears around the outdoor termination, arrange an earlier inspection instead of waiting for the next planned visit.
A history of repeated blockage also calls for closer monitoring. Recurring lint accumulation may point to a long route, too many bends, rough interior surfaces, a weak exterior damper, poor joint connections, or an appliance airflow issue that cleaning alone will not correct.
Homeowners who do not know when the vent was last serviced should start with an inspection rather than guessing. An initial vent assessment can establish its condition, reveal installation concerns, and provide a more suitable cleaning schedule based on evidence from the actual system.

What Happens During a Professional Cleaning?
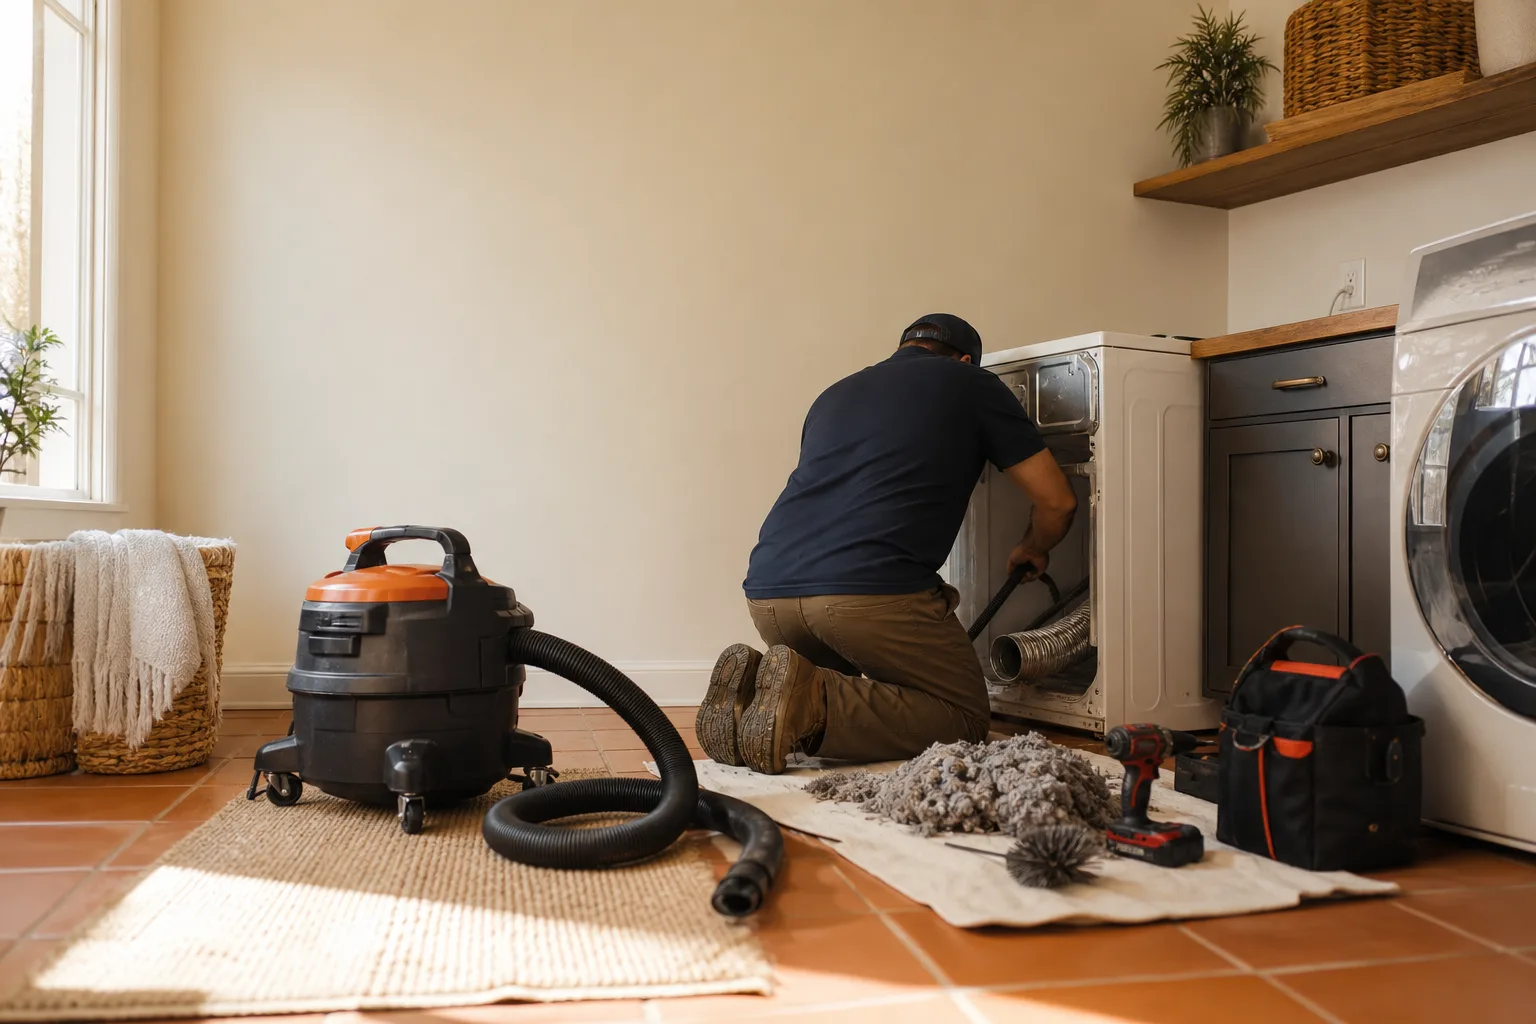
A professional cleaning typically includes evaluating the vent route, accessing the dryer connection and exterior opening, loosening accumulated debris, and moving that material out of the duct. The technician then checks airflow and visible components to confirm that the exhaust path is open and to identify damage that cleaning cannot correct.
The visit usually begins with questions about drying time, heat, odors, shutdowns, and previous service. Those details help the technician distinguish gradual lint accumulation from a sudden obstruction, disconnected joint, crushed connector, or appliance problem.
The vent route is then inspected as far as practical. The technician may look behind the dryer, locate the exterior termination, identify accessible joints, and consider where the duct travels through walls, ceilings, attics, crawl spaces, or between floors.
When access and installation allow, the dryer is moved carefully and disconnected from the transition duct. This exposes an area where lint often collects and allows the connector to be checked for crushing, tears, loose clamps, excessive length, or material that is not suitable for a dryer exhaust.
Moving an appliance requires care because floors, gas connections, power cords, and drain lines for nearby equipment can be damaged by rough handling. A gas dryer should not be shifted in a way that strains its fuel connection, and any suspected gas leak should be addressed before cleaning proceeds.
A typical service process may include:
- Inspecting the dryer connection and visible duct sections
- Identifying the vent route and exterior termination
- Disconnecting the appliance where appropriate and safe
- Using vent cleaning tools to loosen lint and debris
- Collecting or directing removed material out of the system
- Clearing the exterior opening and checking damper movement
- Reconnecting accessible components securely
- Running the dryer and evaluating exhaust airflow
Professional tools are selected according to the duct layout and condition. Flexible rods and purpose-built brushes may be used to agitate debris, while controlled air or vacuum equipment can help remove loosened lint. The method should account for the route so that a tool does not damage thin duct walls, separate a hidden joint, or push a blockage into a less accessible location.
Cleaning should extend through the full exhaust path rather than stopping at the first few feet behind the dryer. Lint frequently gathers at elbows, low points, joints, roof terminations, and exterior flaps, so partial cleaning can leave the main restriction in place.
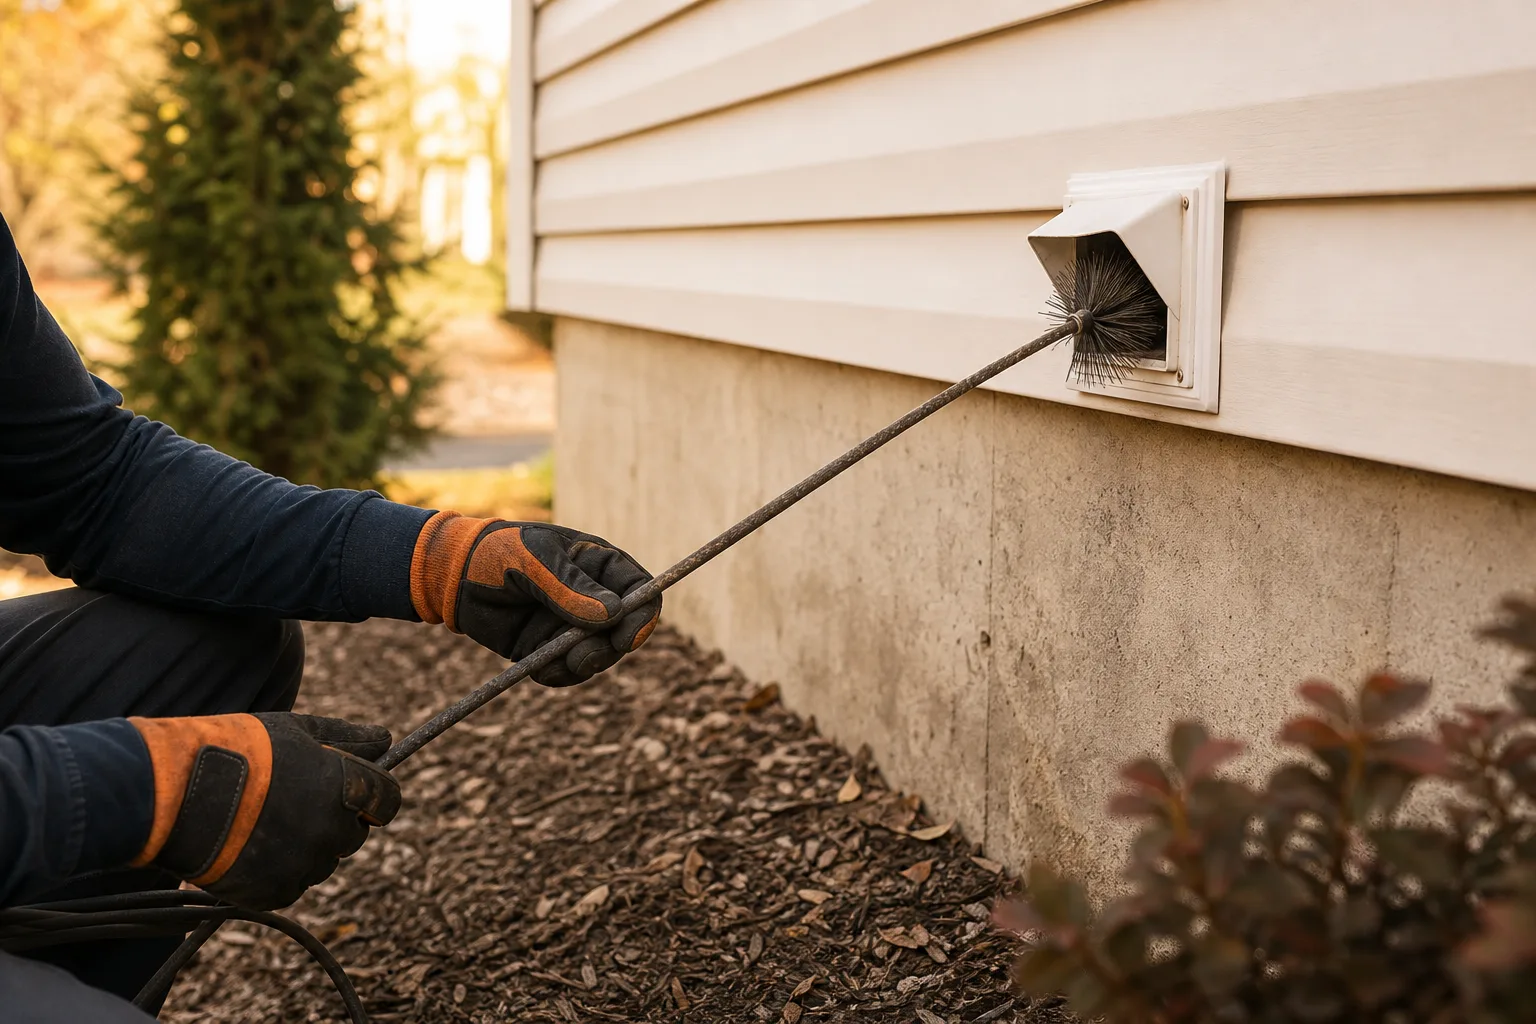
The exterior opening is checked during or after debris removal. A working termination should allow exhaust to leave the building and should close when the dryer is off, helping limit weather entry and animal intrusion. Screens are not suitable for dryer terminations because lint can catch on them and restrict airflow.
An airflow check helps confirm the result, but it is interpreted alongside the vent design and appliance condition. Stronger movement at the outdoor opening after cleaning suggests that a restriction was removed, while continuing weak airflow may indicate a crushed section, separated duct, poor route, damaged blower, or remaining obstruction.
Cleaning cannot repair a physical defect. Crushed transition duct, disconnected joints, torn connectors, corroded metal, screws protruding into the airflow path, or a damaged exterior hood may need repair or replacement before the system can exhaust properly.
A concealed joint that has come apart can release heat, moisture, and lint inside a wall, ceiling, attic, or crawl space. Warning signs can include lint appearing in an unexpected area, condensation, staining, or little to no air reaching the outdoor termination despite a running dryer.
Routing problems may also require correction rather than repeated cleaning. Excessive turns, sagging flexible material, a vent that ends indoors, or a termination that does not open freely can continue causing poor performance even after loose lint has been removed.
The technician should explain any visible defects and separate cleaning needs from repair recommendations. If the vent cannot be accessed safely or a hidden section appears damaged, the next step may involve opening access, replacing part of the duct, coordinating appliance evaluation, or obtaining a vent installation quote when rerouting is required.
If your dryer is running hot, taking too long, or exhausting weakly, book a vent inspection online or call our service team to discuss the symptoms and arrange an appropriate visit.
Dryer Vent Safety and Fire Prevention
Dryer vent cleaning removes combustible lint and restores the airflow needed to carry heat and moisture outdoors. When the exhaust path narrows, heat can build inside the dryer and duct, increasing the chance of overheating, component failure, scorched clothing, or a lint fire.
Lint collects even when the lint screen is cleaned after every load. Fine fibers pass through the screen and settle along duct walls, around joints, inside bends, and near the exterior outlet. A long or poorly routed exhaust line gives those fibers more places to gather.
Restricted airflow also makes the dryer operate longer to remove the same amount of moisture. That extra runtime exposes the appliance, wiring, motor, heating components, and surrounding materials to heat for longer periods. A safety shutoff may stop an overheating dryer, but repeated shutoffs should be treated as a warning rather than a normal inconvenience.
The vent itself should be built and installed with heat resistance, airflow, and cleaning access in mind. Several details can reduce restrictions and help contain heat safely:
- Use suitable metal ductwork. Smooth, rigid metal is generally preferred for concealed vent runs because lint is less likely to catch on its interior surface. A listed flexible metal transition duct may be used where permitted between the dryer and wall connection, following the dryer manufacturer's instructions and local code.
- Avoid plastic and thin foil ducts. These materials can sag, tear, collapse, or trap lint in their ridges. They may also respond poorly to the heat produced during normal dryer operation.
- Keep connections secure. Loose joints can release hot, moist air and lint into walls, cabinets, crawl spaces, or laundry rooms. Fasteners that project into the airflow path can catch debris, so joints should be connected and sealed using approved methods.
- Choose the shortest practical route. Excessive length and repeated bends slow the exhaust stream. Sharp turns behind the dryer are especially prone to crushing and lint accumulation.
The exterior termination should discharge fully outdoors and include a damper or flap that opens when the dryer runs. It should not terminate in an attic, garage, crawl space, wall cavity, or other enclosed area. Screens over the outlet can catch lint and create a blockage, so the termination should be designed to keep pests out without obstructing exhaust.
A lint screen remains an essential first line of defense, but it cannot clean the full vent system. The screen captures larger fibers near the appliance, while smaller particles continue into areas that are hidden from view. Cleaning the screen more often cannot remove an established plug several feet away or clear debris trapped at an elbow.
Stop using the dryer if you smell burning, see smoke, notice scorch marks, or find that the cabinet and nearby surfaces are becoming unusually hot. Disconnect power if it is safe to do so, keep the area clear, and arrange an inspection before running another load. Emergency signs such as visible fire or active smoke require leaving the area and contacting emergency services.

DIY Maintenance Versus Professional Service
Homeowners can handle several routine tasks that reduce lint accumulation and make performance changes easier to spot. These steps support safe operation, but they do not replace inspection and cleaning of a long or concealed exhaust path.
Useful household maintenance includes:
- Clean the lint screen before or after every load, and inspect it for tears, warping, or a poor fit.
- Vacuum loose lint from the lint screen housing only where it can be reached safely without disassembling the appliance.
- Look behind the dryer for a kinked, crushed, loose, or torn transition duct.
- Keep boxes, cleaning supplies, clothing, and other combustible items away from the dryer and exhaust connection.
- Check the exterior outlet while the dryer is running to confirm that the flap opens and air moves out steadily.
- Remove leaves, lint, snow, nests, and other visible material from around the exterior termination without pushing debris deeper into the duct.
Always unplug an electric dryer before moving it or working near its rear connection. For a gas dryer, avoid straining or disturbing the gas line. If access requires moving the appliance farther than its connections safely allow, leave the work to a qualified service provider.
Professional dryer vent cleaning is the safer choice when the vent is long, hidden in a wall or ceiling, routed through several bends, or terminating on a roof or upper story. Professional tools can reach farther into the line, loosen compacted material, and remove debris while reducing the risk of leaving a brush, rod, or lint plug behind.
Household vacuums are useful near accessible openings, but most cannot clean the entire exhaust route. Short brush kits may clear a simple, straight section, yet they can miss elbows and vertical runs. Flexible rods can also separate, damage weak ductwork, or push a blockage into a tighter area if they are used without knowing the route.
If drying time has increased, airflow seems weak, or the service history is unclear, a professional vent inspection can identify whether the problem is lint, damaged ductwork, poor routing, or an appliance issue. Scheduling an assessment is a sensible next step when basic exterior checks do not explain the change.
Professional service is also appropriate when the dryer shuts off, produces a burning smell, leaves the room humid, or sends lint into the space behind the appliance. These symptoms may indicate a severe restriction, a disconnected joint, or a vent that terminates in the wrong location. Continuing to run test loads can add heat and lint to an unsafe condition.
Cleaning alone cannot correct every problem. A crushed transition duct should be replaced, loose joints should be secured, and damaged concealed ductwork may need repair. An exterior flap that is stuck, broken, screened over, or poorly positioned may also need correction before normal airflow can be restored.
After service, the provider should confirm that air reaches the exterior outlet and that the damper opens properly. If poor performance continues despite a clear vent, the dryer itself may need appliance repair. Separating an exhaust problem from a mechanical fault helps prevent repeated cleaning that does not address the actual cause.

How to Keep the Vent Clear Between Cleanings
Small habits can slow lint accumulation and reveal airflow trouble before it becomes an overheating problem. Pay attention to how long familiar loads take to dry, how warm the laundry room feels, and how strongly air exits outdoors. A noticeable change deserves investigation even if the last cleaning was recent.
Clean the lint screen before each cycle and make sure it sits correctly in its housing. If fabric softener or laundry products leave residue on the mesh, clean the screen according to the dryer manufacturer's directions and let it dry fully before reinstalling it. Replace a torn or distorted screen rather than allowing more lint into the exhaust line.
Avoid overloading the drum, since packed laundry dries unevenly and may require longer cycles. Separate heavy towels or bedding from lightweight garments when practical, and use the correct heat setting for the fabric. If one load repeatedly needs several cycles, check airflow instead of assuming more drying time is harmless.
Dryer placement has a direct effect on the transition duct behind it. Leave enough space to prevent the connector from being pinched when the appliance is pushed back, and avoid storing items where they can press against it. After moving the dryer for cleaning or repairs, inspect the connection before operating the appliance again.
A smooth, gradual path behind the dryer allows air to move more freely than a flattened or sharply folded connector. Check the visible duct periodically for sagging, holes, loose clamps, or heat damage. Do not wrap a failing connector with ordinary tape as a permanent repair, since the underlying restriction or leak will remain.
Watch the exterior flap during a normal drying cycle. It should open freely, release warm air, and close after the dryer stops. Weak movement, lint collecting around the opening, or condensation staining nearby surfaces can point to a restriction, damaged termination, or disconnected section.
Keep vegetation, stored items, snow, and yard debris away from the outlet. If the termination is high on a wall or roof, do not climb or use an unstable ladder to inspect it. Safer access is one reason to include the exterior termination in periodic professional service.
Pets and frequent laundry can increase the amount of hair and fiber entering the system. Large households, home based laundry work, long vent runs, and repeated elbows may also call for closer monitoring. Calendar reminders help, but actual dryer performance should guide when an earlier inspection is needed.
Do not ignore early warning signs such as damp clothes, a hot dryer cabinet, musty odors, lint behind the appliance, or a flap that barely opens. Stop using the dryer immediately if there is a burning odor, smoke, scorching, or repeated thermal shutoff. Waiting for a complete blockage can expose the appliance and surrounding materials to unnecessary heat.
If the vent has an unknown service history or any warning sign is present, book an inspection or call our team to discuss what you are seeing. A simple airflow and vent route check can show whether the system needs cleaning, repair, or further appliance evaluation.
Symptom checker
What is your chimney doing?
Tap the closest match for an honest first answer.