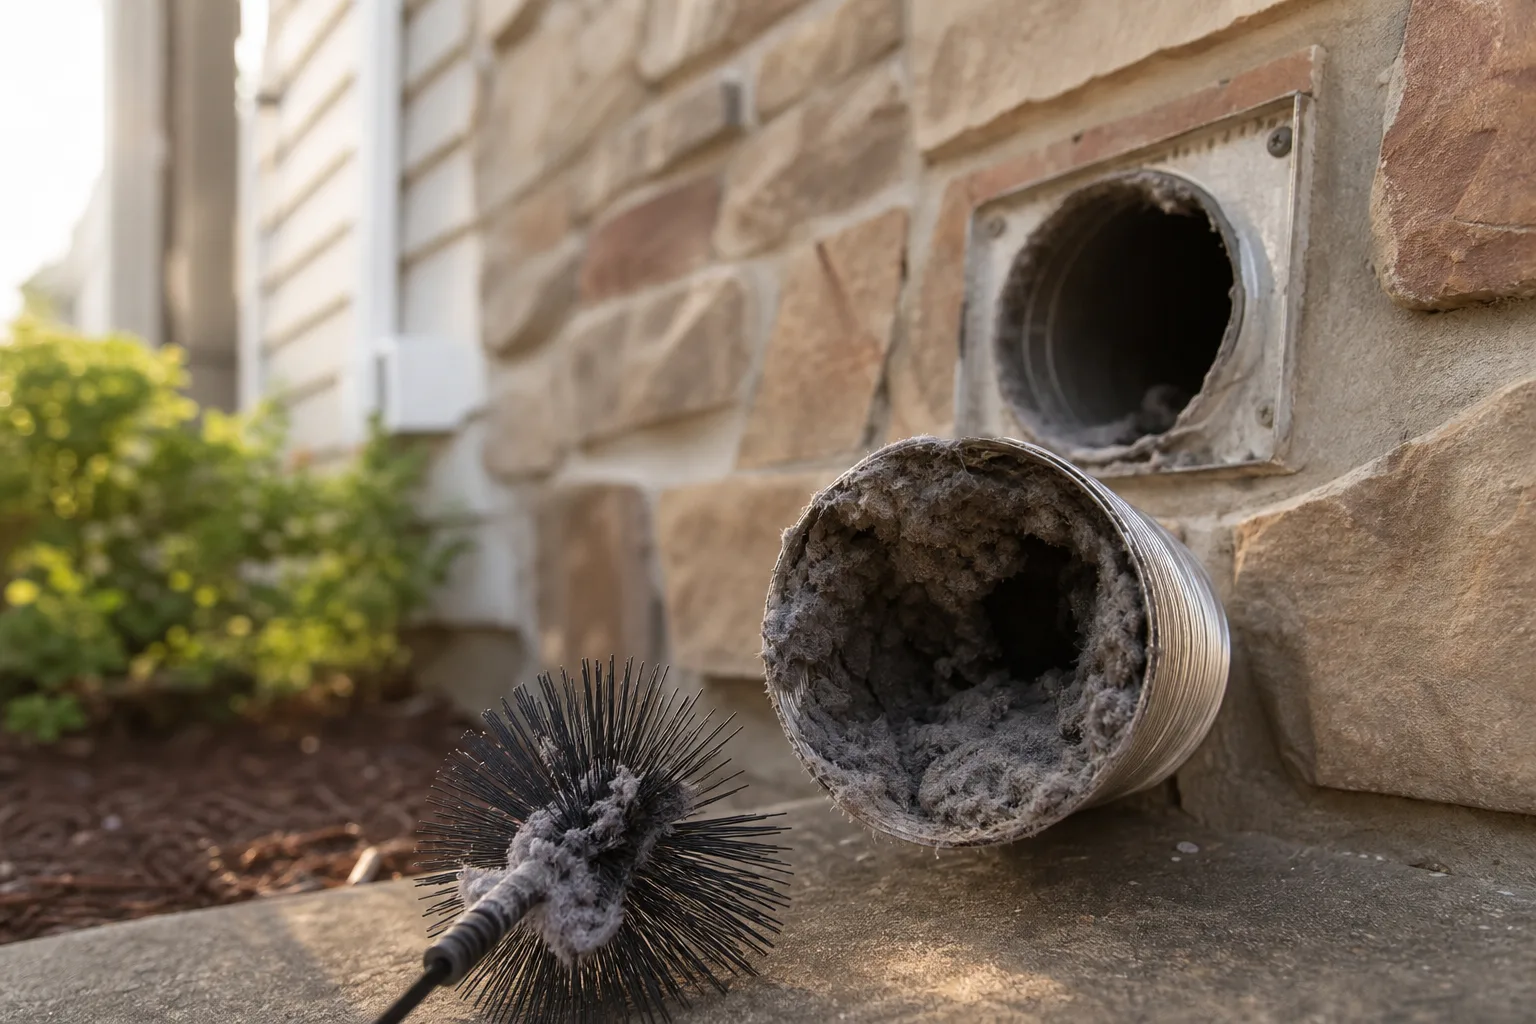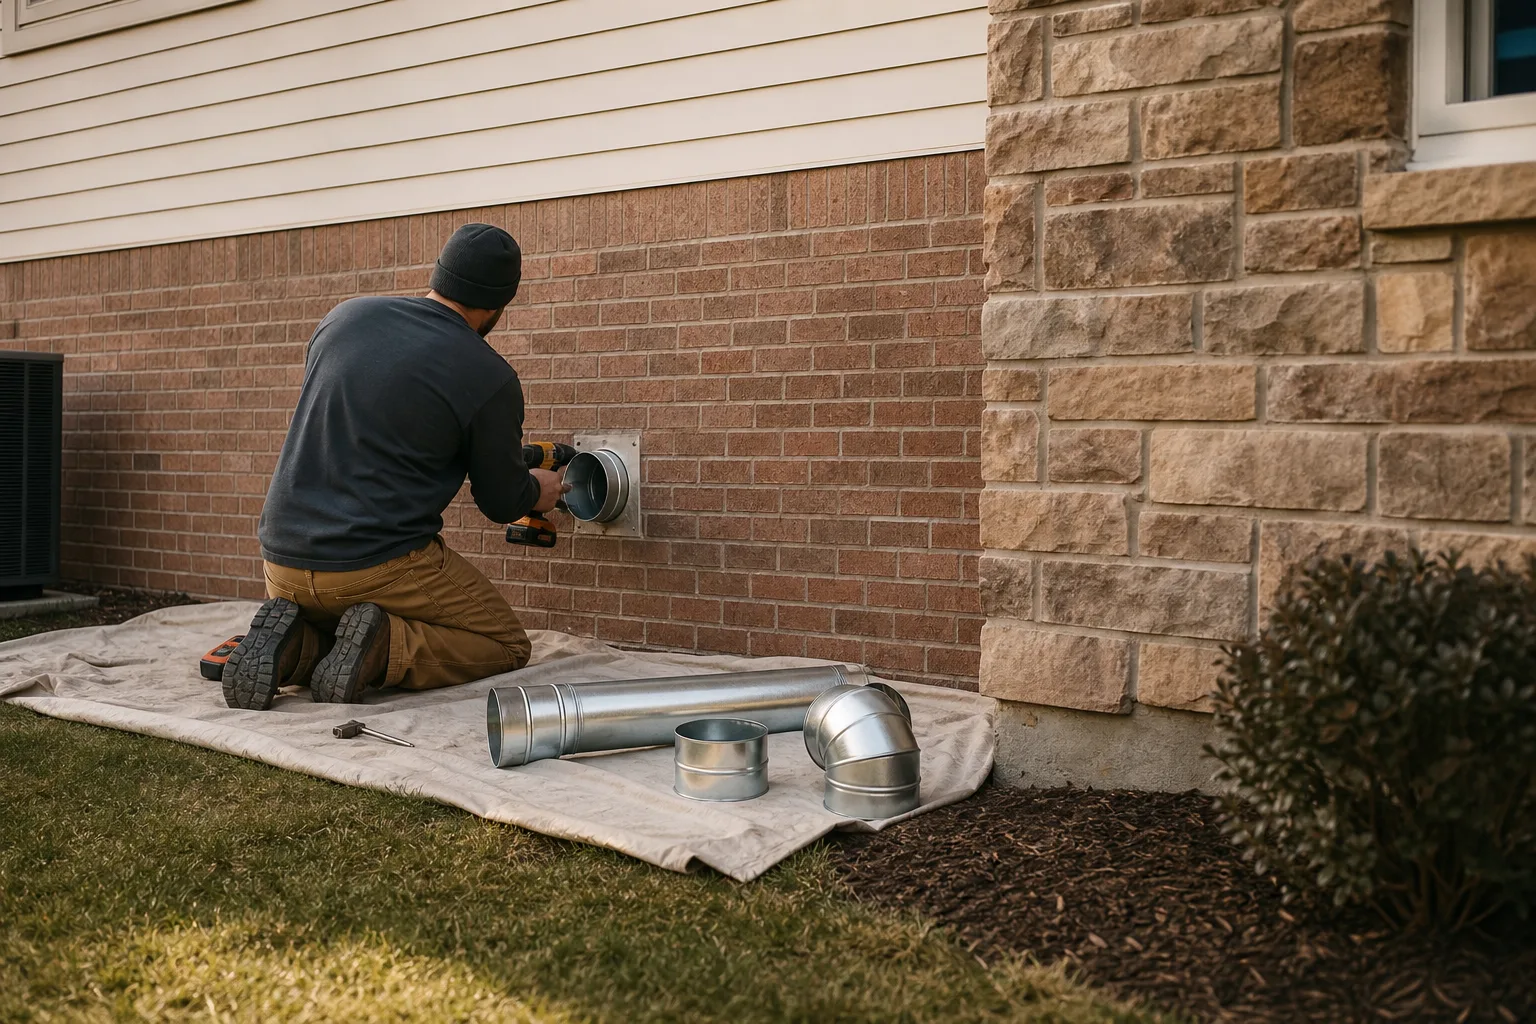




On this pageWhen dryer vent repair is the right fix7 sections+6
- When dryer vent repair is the right fix
- Diagnose the vent before paying for repairs
- Common dryer vent failures and what fixes them
- Should the damaged section be repaired or the vent replaced?
- When rerouting is safer than repairing the existing path
- What a professional repair should include
- How to confirm the repaired vent is working properly
Quick answer
Dryer vent repair is the right fix when a usable exhaust system has an isolated crushed section, loose joint, leak, or broken exterior hood. An intact lint restriction calls for cleaning, while unsuitable material, repeated failures, or a poor route may require replacement or rerouting.

When dryer vent repair is the right fix
Dryer vent repair is the right choice when an otherwise usable exhaust system has a damaged, loose, leaking, or incorrectly installed part that can be corrected without rebuilding the entire route. A sound rigid duct with one crushed connector, failed joint, or broken exterior hood is often repairable. The goal is to restore a smooth, sealed path from the appliance to the outdoors.
Warning signs include clothes taking longer to dry, unusual heat in the laundry room, lint collecting near duct joints, rattling behind the dryer, and an exterior damper that barely opens. A loose connection may also release warm, damp air, leaving dust stuck to nearby walls or creating a musty smell in an adjacent room.
| What you notice | Possible vent cause | What still needs to be ruled out |
|---|---|---|
| Longer drying times | Lint restriction, crushed duct, or poor route | Dryer heating or control fault |
| Hot laundry room | Leaking or disconnected joint | Blocked lint screen or appliance issue |
| Lint near a connection | Loose joint or punctured duct | Spillage from normal dryer loading |
| Rattling behind the dryer | Kinked connector or unsupported duct | Appliance vibration |
| Exterior damper stays closed | Weak airflow, stuck flap, or blockage | Damaged termination hood |
These symptoms point toward an exhaust problem, but they do not identify the cause by themselves. A clogged yet intact vent, a damaged section, an overly long route, and a dryer fault can all produce similar behavior. Replacing parts before testing the system can leave the actual restriction untouched.
Myth vs. fact: The myth is that every slow dryer needs a new vent. The reality is that an inspection may find an intact duct that only needs cleaning, or one isolated defect that can be repaired.
A repair makes the most sense when the fault is identifiable, reachable, and limited in scope. If the route is made from suitable material, remains structurally sound, and can be cleaned and inspected, correcting the failed component preserves the serviceable parts.
Want the cause identified first? Request an inspection or call (513) 655-6702 before approving repairs.
Diagnose the vent before paying for repairs
A useful diagnosis follows the full exhaust path rather than stopping at the first handful of lint, and the same approach matters when judging a dryer vent cleaning service before booking. The inspection should cover the flexible transition duct behind the dryer, accessible joints, concealed sections where their path can be determined, the exterior termination, visible lint accumulation, and airflow while the dryer is operating.
The transition duct deserves close attention because it is easily crushed when the appliance is pushed toward the wall. A technician should also look for sharp bends, unsupported stretches, loose fittings, punctures, and foil tape or fasteners that have failed. The route should be compared with local code and the dryer manufacturer's installation requirements, including permitted material, length, bends, and termination style.
Cleaning is the right response when the duct is suitable and intact but restricted by lint. Repair addresses a physical defect, such as a split connector, crushed section, disconnected joint, damaged hood, or localized leak. Sometimes both are needed because lint buildup can hide a separation or collect around a deformed section.
From the field: Technicians often clear a heavy restriction and then discover that airflow is still weak. A crushed connector, stuck exterior damper, or poor route may have been hidden behind the more obvious lint buildup.
Airflow should be checked again after cleaning. If the exterior exhaust remains weak with a clean lint screen and clear duct, the next step is to investigate damage, route resistance, or an appliance problem rather than assuming more lint remains.
You can make a simple exterior check without removing the hood or reaching into the opening:
- Locate the outlet. Confirm that the vent ends outdoors rather than in a garage, attic, crawlspace, or enclosed porch.
- Run the dryer. Use a normal heated cycle while another adult watches the exterior hood from a safe position.
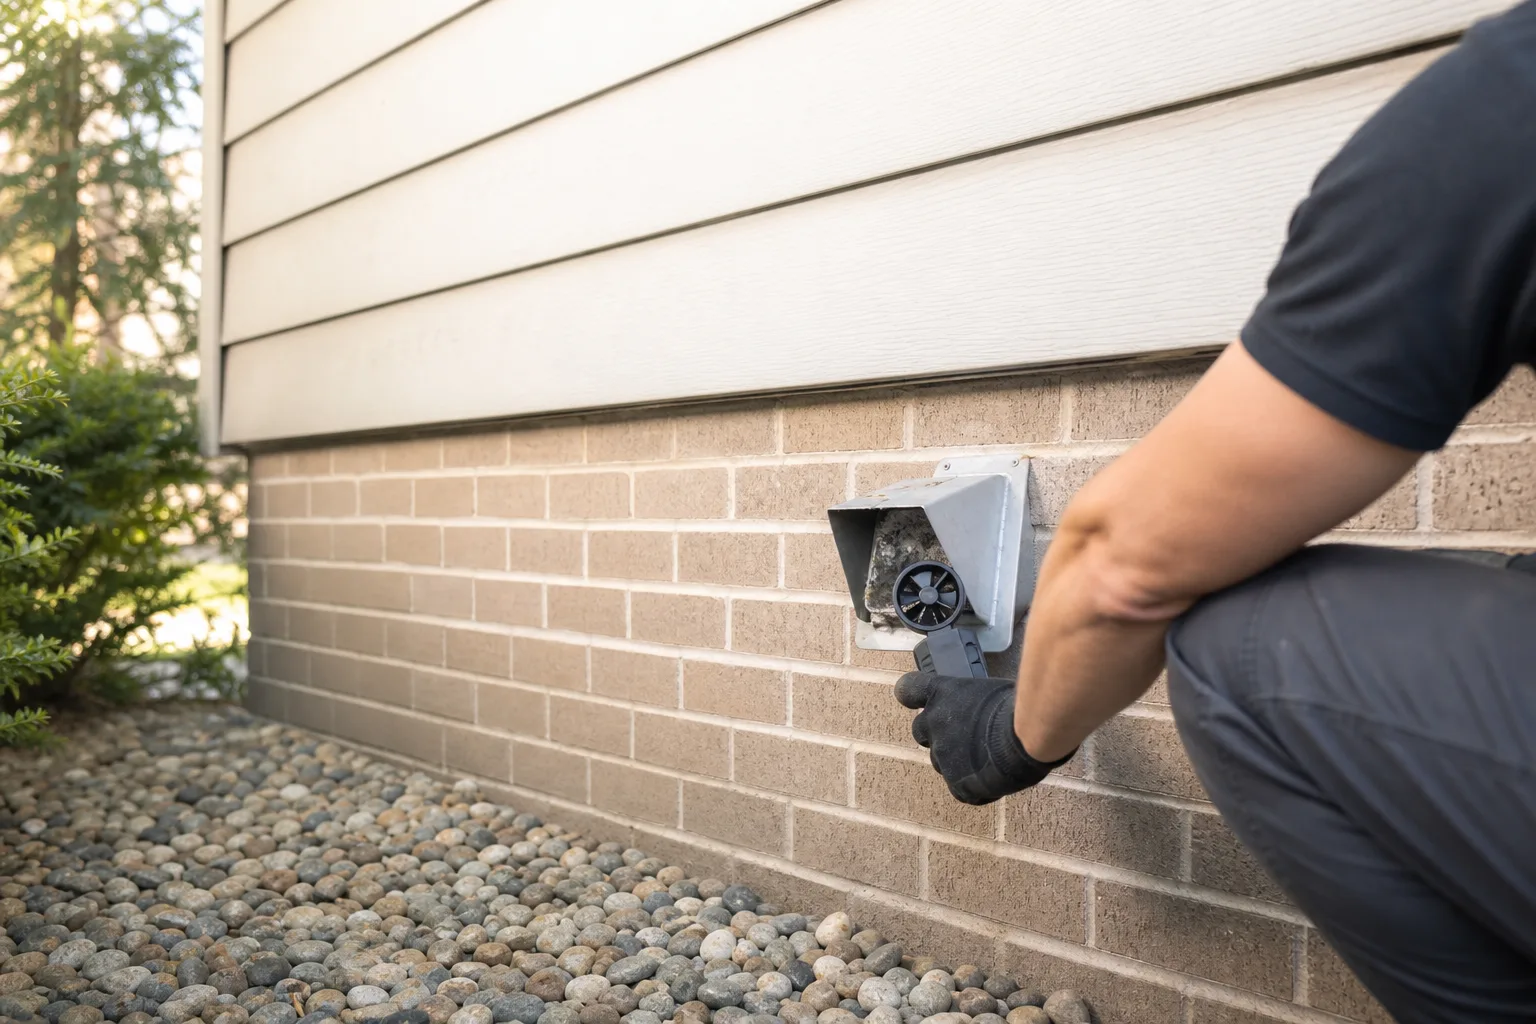
- Watch the damper. Look for a flap that opens freely and remains open while the dryer runs.
- Check the surroundings. Look for lint packed around the hood, staining on the wall, or a damaged cover.
- Listen from outside. Note fluttering, scraping, or repeated slamming that may indicate a broken or poorly fitted damper.
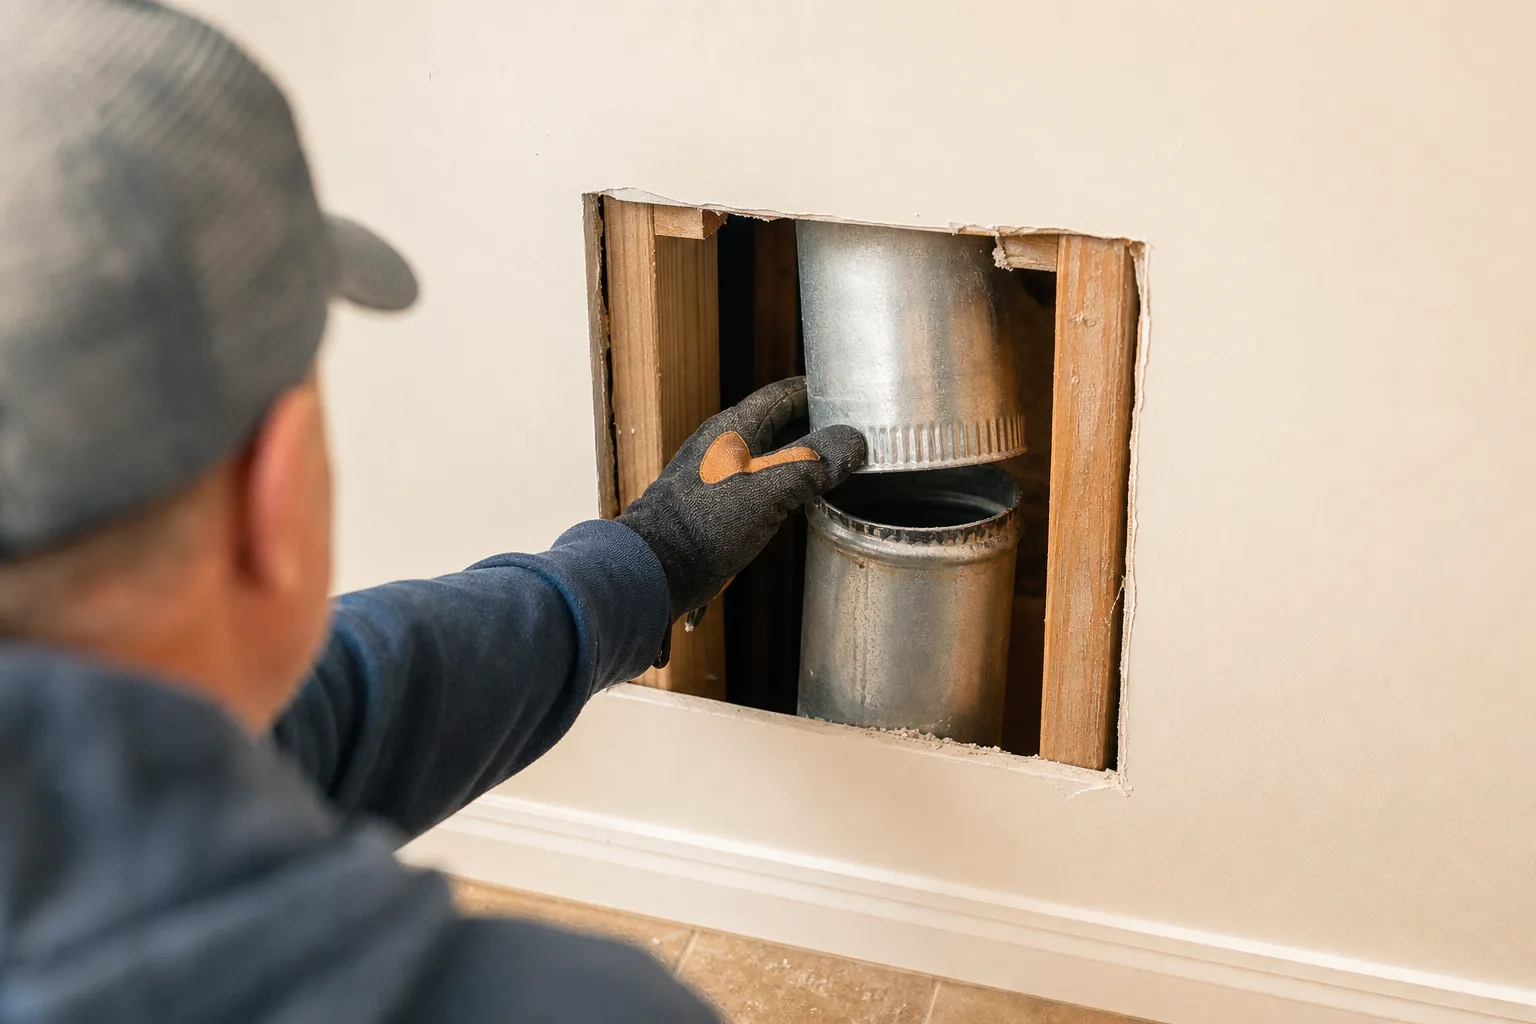
Concealed ductwork may require access through a wall or ceiling when other findings suggest a hidden separation, puncture, or collapse. Clues include warm spots, lint appearing at a ceiling penetration, moisture marks, weak airflow despite cleaning, or exhaust odors in rooms the duct passes through. Access should be planned around wiring, plumbing, framing, and fire blocking rather than opened by guesswork.
Good to know: A camera can help inspect some routes, but bends, lint, and duct diameter may limit what it shows. Airflow testing and physical access can still be necessary to confirm a concealed failure.
Common dryer vent failures and what fixes them
A crushed or kinked transition duct behind the dryer is one of the most accessible failures. The fix is usually a properly sized, approved metal transition connection arranged with enough clearance so the dryer does not flatten it when moved back. Excess connector length should not be coiled into tight loops behind the appliance.
Loose or disconnected joints can dump heat, moisture, and lint into a laundry room, wall cavity, ceiling, attic, or crawlspace. Accessible joints may be reconnected, supported, and sealed with materials suitable for metal ductwork. A concealed separation may require a controlled access opening so the connection can be secured rather than patched from a distance.
Safety note: Do not run the dryer when the exhaust is disconnected or terminating inside the building. Lint and moisture can spread through concealed spaces, and a gas dryer may introduce combustion gases where they do not belong.
Unsuitable duct materials call for more than another wrap of tape. Thin plastic or foil style ducts can sag, tear, and hold lint in their ridges, while damaged rigid sections can create sharp internal edges or narrowed passages. Replacement material should meet local requirements and the appliance instructions, with smooth metal duct used where required.
Joint construction also matters. Connections should face in the proper direction, remain supported, and be sealed without leaving obstructions inside the airflow path. Screws or other fasteners that protrude into the duct can snag lint, so installers should use connection methods permitted for dryer exhaust systems.
Exterior terminations fail in several ways. A damper may stick from lint, paint, corrosion, or physical damage, while a screen can load up quickly and choke the exhaust. The proper fix may be cleaning a serviceable hood, replacing a broken one, or installing an approved termination without a lint-catching screen.
A vent that ends in an attic, crawlspace, garage, or another enclosed area is not repaired merely by tightening its last joint. Dryer exhaust needs an approved outdoor termination positioned according to applicable code and manufacturer instructions. Correcting an indoor discharge often requires extending or rerouting the duct to a suitable exterior location.
Ready for a clear repair plan? Book a vent inspection or call (513) 655-6702 to have the damaged section and full route checked.
Should the damaged section be repaired or the vent replaced?
An isolated, accessible defect usually supports dryer vent repair, while widespread damage, unsuitable material, or repeated failures often justify replacement. The decision should be based on the condition of the entire route, not simply the first damaged piece a technician can see. A written explanation should connect the recommendation to specific findings.
A short crushed section, loose connector, failed joint, or broken termination hood may be replaced without disturbing sound ductwork. This approach works when adjacent sections are cleanable, correctly sized, properly supported, and compatible with current installation requirements.
Replacement becomes the better choice when corrosion affects multiple sections, joints repeatedly separate, concealed ductwork is crushed, or the route contains unsuitable material. Several patched areas can also signal that the system has reached the point where piecemeal work creates more joints without restoring dependable airflow.
| Condition found | Repair may fit | Replacement may fit |
|---|---|---|
| One accessible damaged section | Yes, if surrounding duct is sound | Usually unnecessary |
| Repeated joint separations | Only if the support problem is corrected | Often, when failures are widespread |
| Crushed concealed duct | Sometimes, with direct access | Often, if several sections are affected |
| Unsuitable duct material | Not as a lasting correction | Usually the clearer option |
| Multiple corroded or punctured areas | Rarely | Often |
Access can change the practical choice. Replacing a small concealed piece may require opening finished surfaces, while a nearby route adjustment could provide a cleaner, inspectable installation. Duct condition, layout, material compatibility, wall penetrations, and current local requirements should all be considered before work begins.
Ask to see the failed component when possible, along with airflow findings and an explanation of any hidden sections that could not be inspected. A full replacement recommendation should identify the defects that make isolated repairs unreliable, rather than relying on age or slow drying alone.
Need help choosing repair or replacement? Request service or call (513) 655-6702 for a diagnosis tied to the condition of your vent.
When rerouting is safer than repairing the existing path
Rerouting is safer than dryer vent repair when the existing path is too long, sharply bent, inaccessible, or repeatedly damaged. Replacing one connector may close a leak, but it cannot correct a layout that keeps trapping lint, restricting airflow, or pulling apart behind finished walls.
Long horizontal runs, tight turns, and tall vertical sections add resistance even when the metal duct remains intact. Local code and the dryer manufacturer's instructions set route and equivalent-length limits, with each bend reducing what the system can safely support. If the route itself causes the restriction, another dryer vent repair is unlikely to provide a lasting answer.
| Existing condition | Isolated repair | Reroute |
|---|---|---|
| One accessible crushed section | Often appropriate | Usually unnecessary |
| Repeatedly separated concealed joints | May be temporary | Often the better option |
| Excessive bends or tight turns | Does not correct the layout | Reduces resistance when properly designed |
| Vent ends in an enclosed area | Not sufficient | Needed to reach an approved outdoor termination |
| Route cannot be inspected or cleaned | Leaves ongoing uncertainty | Can create serviceable access |
A route may also need to change when it passes through a spot where storage, framing, foot traffic, or appliance movement keeps crushing it. Ductwork buried in an inaccessible chase can hide separations and lint deposits, while a low crawlspace run may sag or collect moisture if it lacks support.
Myth vs. fact: A stronger dryer can overcome a poor vent route. In reality, every dryer depends on a clear exhaust path, and a more powerful appliance does not make an unsuitable route safe.
The new path should use approved duct material, stay as short and direct as the building allows, and terminate outdoors through a suitable hood, all details that a proper dryer vent installation quote should specify. It must not discharge into an attic, crawlspace, garage, wall cavity, or other enclosed area, even if that location seems easier to reach.
A reroute also needs to respect wall assemblies, fire blocking, structural framing, and required clearances. The shortest line on paper is not always acceptable once joists, wiring, plumbing, and exterior conditions are considered.
Ready for a clear diagnosis? Request an inspection and written recommendation or call (513) 655-6702 before approving another patch.
What a professional repair should include
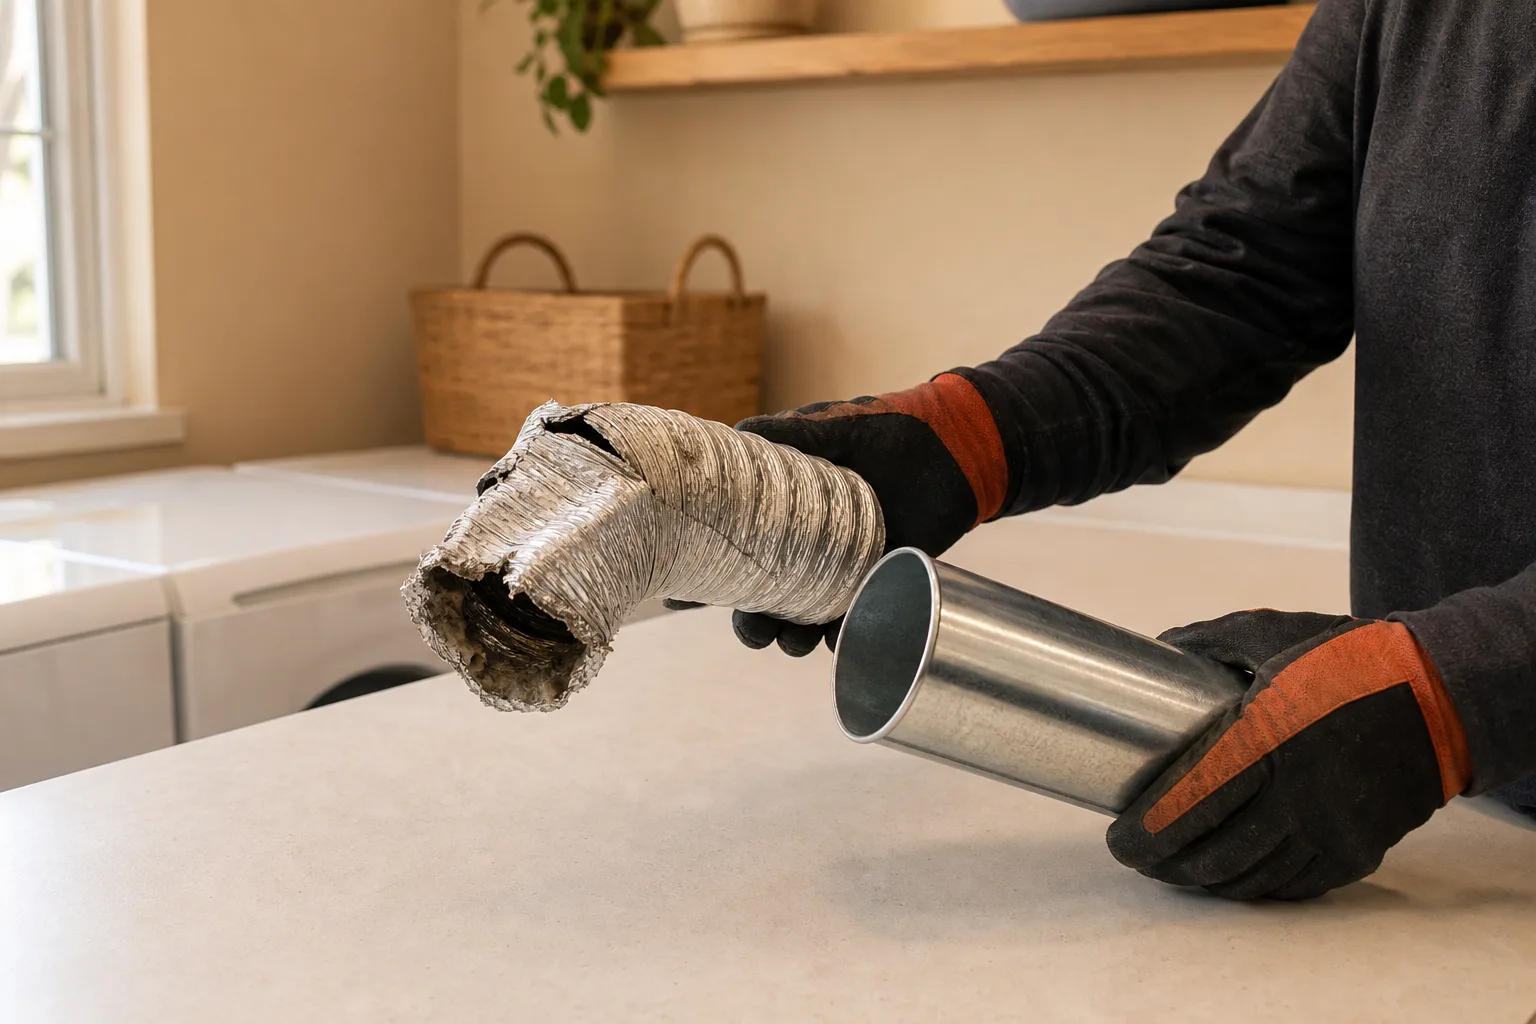
A professional repair should begin with an inspection, identify the exact failure, compare repair and reroute options, complete the agreed work, and test the finished system. The scope should connect each recommendation to a visible defect, an airflow problem, or a route limitation rather than simply calling for replacement without an explanation.
The inspection should cover the transition duct behind the dryer, accessible joints, concealed sections where practical, the exterior termination, and lint conditions. Airflow should be checked after cleaning when buildup is present, since lint can hide a crushed section, loose joint, or poor route until the restriction is removed.
From the field: Technicians often find two problems at once, such as a lint restriction and a transition duct flattened when the dryer was pushed back. Cleaning restores part of the airflow, but the damaged connection still needs correction.
The repair itself should use smooth metal duct where required, secure connections, suitable joint sealing, and supports that prevent sagging. Connections should not rely on fasteners that protrude into the airflow path and catch lint. Enough clearance must remain behind the dryer so the transition duct does not fold or collapse when the appliance is returned to position.
Concealed work deserves extra care. Opening a wall or ceiling may be necessary to reconnect a hidden joint, replace a punctured section, or verify that a suspected collapse is real. Any access should account for wall penetrations, fire blocking, insulation, wiring, and plumbing before cutting begins.
Safety note: Tape wrapped around an accessible opening does not fix a separated joint inside a wall. Warm, damp, lint-filled air can continue escaping into the cavity until the actual failure is located and reconnected.
A proper exterior termination should open freely under airflow, resist weather entry, and have no screen that can mat over with lint. The hood should be secured without pinching the duct, and the connection through the wall should be sealed appropriately so exhaust and moisture do not leak back into the building envelope.
Once the work is complete, the technician should run the dryer and verify airflow at the exterior. The final documentation should identify repaired sections, inaccessible areas, remaining route limitations, and any conditions that may require later rerouting or appliance service. Photos are useful when a defect was hidden above a ceiling, below a floor, or deep inside a chase.
Want the defect identified before choosing the fix? Book a vent inspection or call (513) 655-6702 for a practical repair, replacement, or rerouting recommendation.
How to confirm the repaired vent is working properly
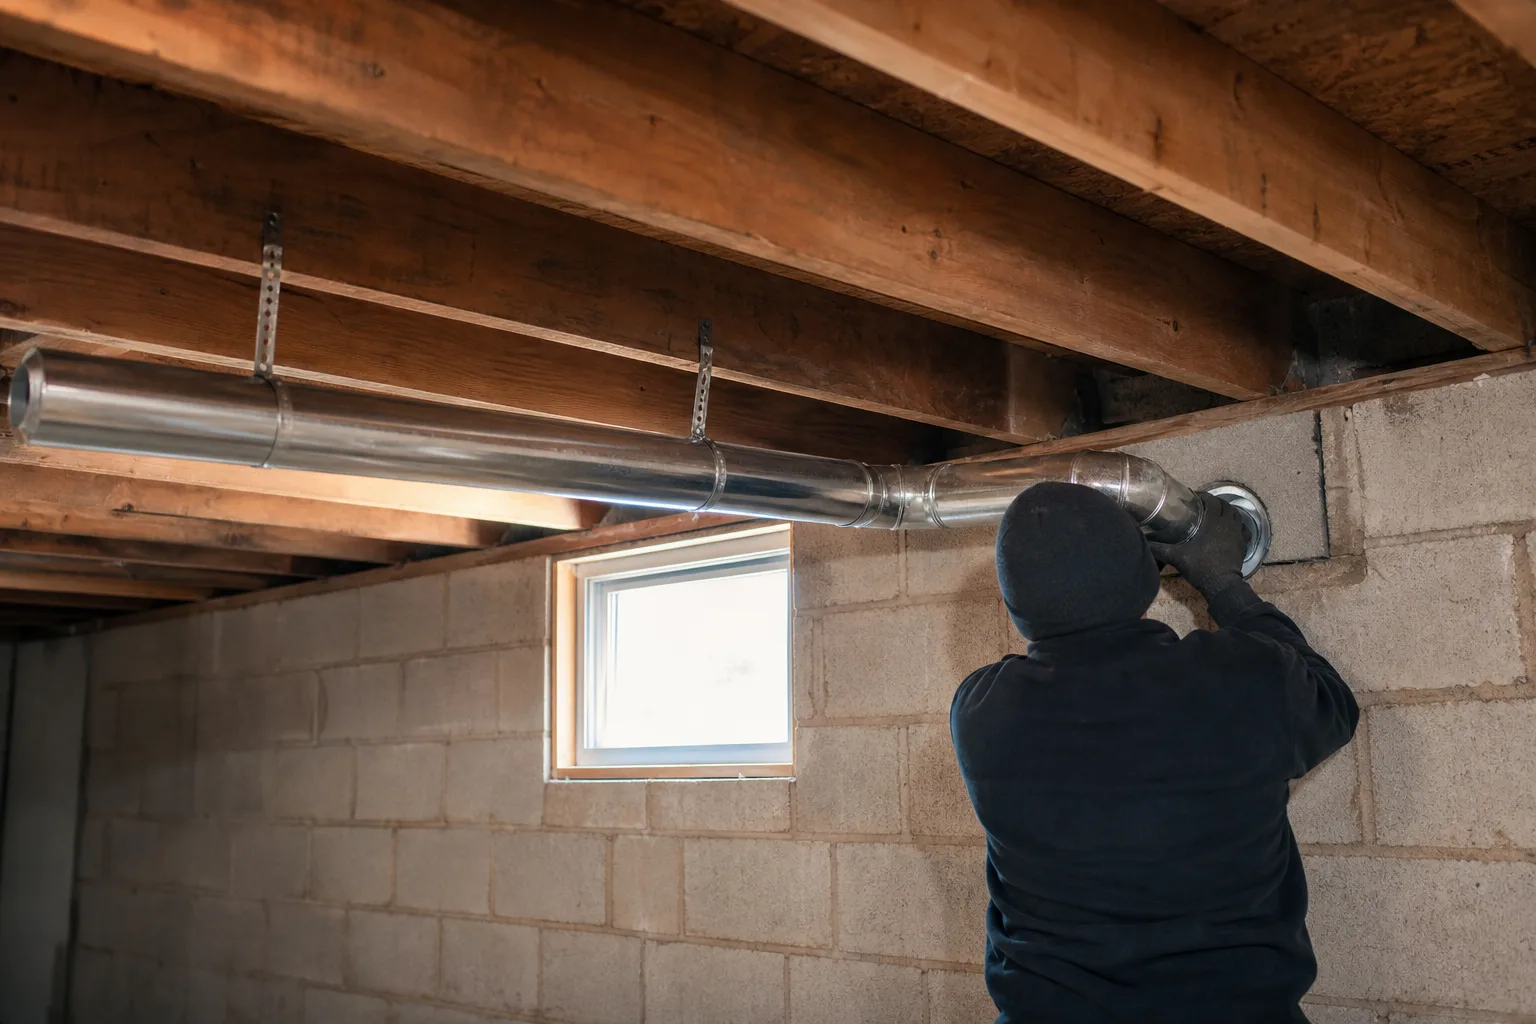
A repaired vent is working properly when exhaust reaches the outdoors with a steady flow, the exterior damper opens freely, and no air or lint escapes at interior joints. The dryer should also run without unusual heat, burning odors, duct rattling, or repeated shutdowns.
You can make a simple outdoor check while the dryer runs on an air or low-heat setting. Keep clear of hot exhaust, moving damper parts, ladders, steep ground, and any termination that cannot be reached safely from grade.
- Watch the damper. Confirm that it opens while the dryer runs and closes after the cycle ends.
- Feel for airflow. Stand beside the outlet and check for a steady exhaust stream without placing your hand inside the hood.
- Look for trapped lint. Check the hood edges and surrounding wall for lint that suggests a stuck flap or restricted opening.
- Confirm the discharge point. Make sure the vent ends outdoors rather than beneath a deck enclosure, inside a garage, or in another enclosed space.
- Listen near the dryer. Check for rattling, whistling, or air leaking from the transition connection.
Drying performance should improve after a successful repair, but the first load is not the only test. Towels and other dense fabrics may still dry differently from lightweight clothing, while overloaded cycles can remain slow even with good airflow. Compare similar loads and settings rather than judging the repair from one unusual cycle.
Continued overheating, odors, error messages, or shutdowns can point to an appliance problem instead of the vent. A clear exhaust path cannot correct a failing heating component, blower, sensor, or electrical connection, so persistent dryer symptoms may need separate appliance service.
Good to know: A damper that opens only partway may indicate lint at the hood, a weak airflow condition, or a poorly fitted termination. Do not prop it open, since an open hood allows weather and pests into the duct.
Prevent repeat damage by leaving enough space behind the dryer and checking that the transition duct has not been crushed after moving the appliance. Clean the lint screen after each load, watch the outdoor hood for sluggish movement, and arrange vent cleaning when drying time increases or buildup returns.
If you suspect a damaged or disconnected vent, request service or call (513) 655-6702 for an inspection before choosing repair, replacement, or rerouting.
Symptom checker
What is your chimney doing?
Tap the closest match for an honest first answer.