



On this pageWhat a Proper Dryer Vent Installation Should Include7 sections+6
- What a Proper Dryer Vent Installation Should Include
- Approved Duct Materials and Connections
- How the Installer Should Plan the Vent Route
- Maximum Run Lengths and Elbow Penalties
- Exterior Termination Hood Requirements
- Choosing dryer vent installation near me by Comparing Quotes
- What to Check Before Approving the Finished Installation
Quick answer
A proper dryer vent installation uses smooth rigid metal duct for concealed sections, follows the shortest practical route outdoors, and includes elbow penalties in the allowable length calculation. The exterior hood needs a freely opening backdraft damper without a screen, while any transition connector behind the dryer must remain short and accessible.

What a Proper Dryer Vent Installation Should Include
A search for dryer vent installation near me should lead to more than someone attaching a hose and cutting a hole. A proper installation uses an approved metal exhaust duct, follows the shortest practical route, and carries heat, moisture, and lint all the way outdoors.
Before proposing the route, the installer should inspect the dryer location, nearby walls, floor or ceiling framing, and any existing duct. The exterior also needs attention because siding, masonry, decks, rooflines, utility lines, snow buildup, and landscaping can affect where the termination belongs.
When you compare dryer vent installation near me options, ask for a route designed around the actual home and dryer model. The plan should follow the dryer manufacturer’s instructions, IRC M1502, and any local rules that are stricter than the base code.
A sound proposal should address:
- Confirm the dryer specifications. The model instructions may set duct size, route length, and termination requirements.
- Inspect the full route. Concealed framing, plumbing, wiring, insulation, and masonry can change an apparently simple plan.
- Choose an outdoor termination. Exhaust must not empty into a garage, attic, crawlspace, wall cavity, or other enclosed area.
- Plan for cleaning. The dryer must remain movable, and the duct should be accessible enough for future inspection and service.
- Protect the building. Penetrations require suitable flashing, exterior sealing, and any fireblocking required for the assembly.
From the field: A route that looks direct from the laundry room may meet a floor joist, plumbing stack, or low roof outside. A careful installer checks both ends before drilling, then explains any route change before work starts.
Want the route checked before anyone cuts? Request an on-site installation assessment or call (513) 655-6702 for a clear plan based on your dryer and home.
Approved Duct Materials and Connections
Smooth rigid metal is the standard choice for concealed dryer exhaust duct because it resists heat, stays open, and gives lint fewer places to collect. Thin foil, plastic, and flexible products can sag, crush, tear, or create ridges that slow airflow.
| Duct material | Appropriate use | Main concern |
|---|---|---|
| Smooth rigid metal | Permanent route through open or concealed spaces | Must be fitted and supported correctly |
| Listed semi-rigid metal transition connector | Short, accessible connection behind the dryer when permitted | Can kink if the dryer is pushed too close |
| Foil-style flexible transition duct | Only where specifically listed and allowed as an exposed connector | Easily crushed and unsuitable inside walls |
| Plastic or vinyl duct | Not appropriate for dryer exhaust | Poor heat resistance and heavy lint accumulation |
IRC M1502 does not permit transition duct, including foil-style flex, to run inside walls, ceilings, or floors. Concealing it hides crushing, disconnection, and lint buildup while making inspection or replacement difficult.
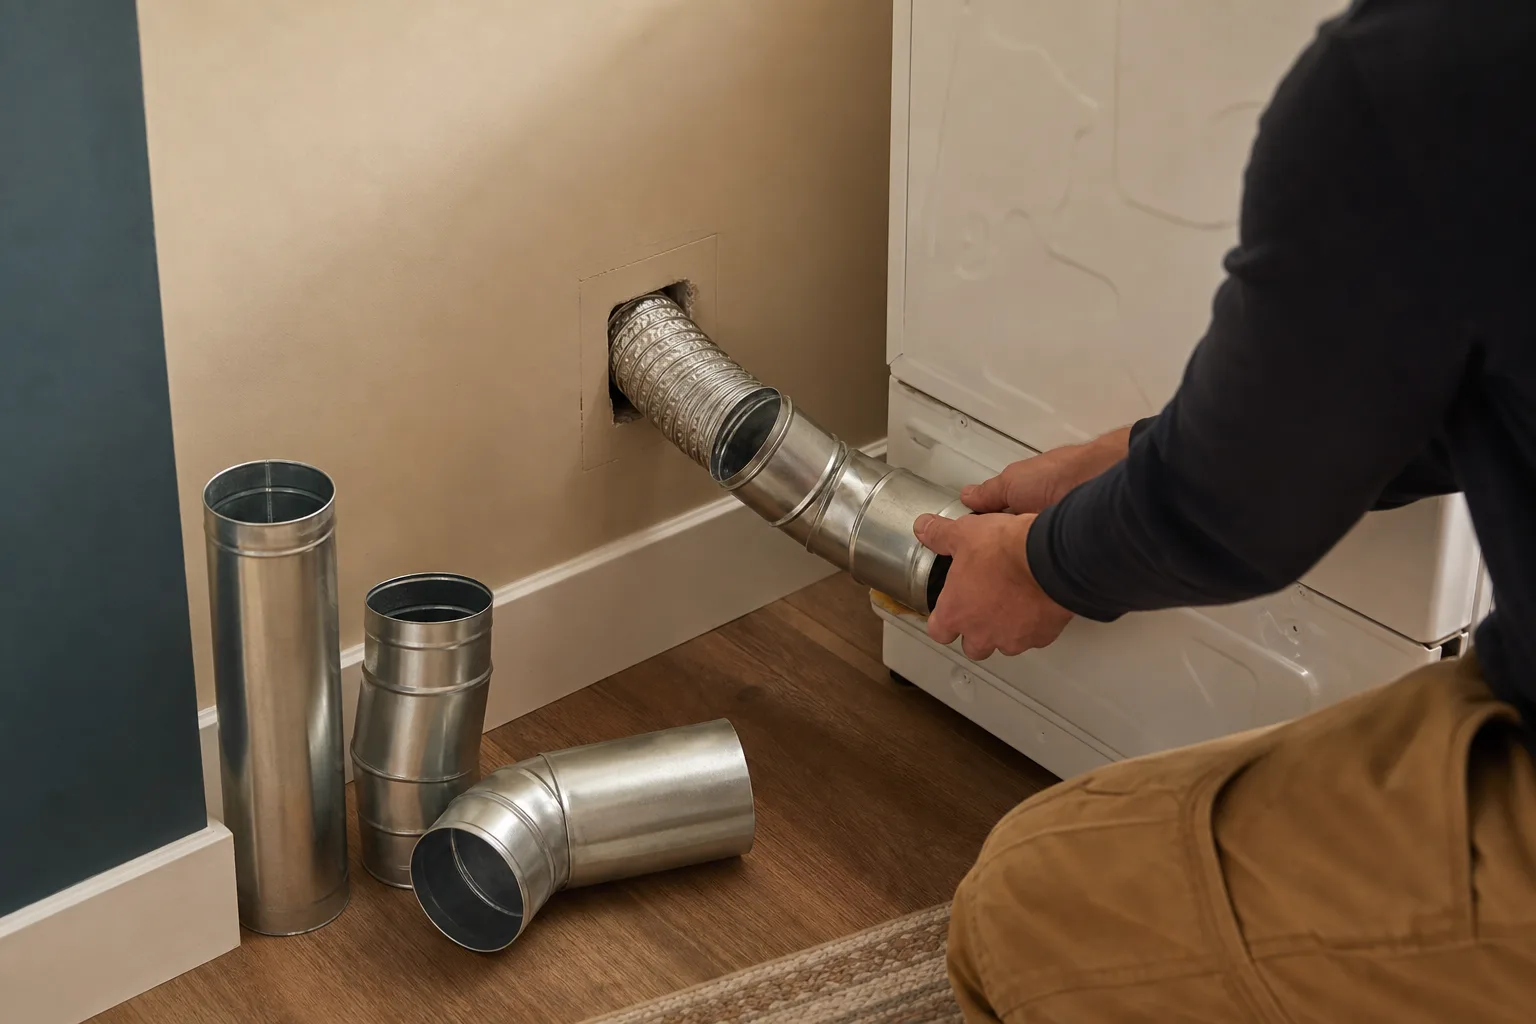
A listed transition connector may be used between the dryer outlet and the permanent metal duct when the manufacturer and local code allow it. That connector must remain exposed and accessible, should be kept short, and cannot pass through a wall, floor, ceiling, cabinet, or similar construction.
Myth vs. fact: The myth is that foil flex is safe inside a wall because it is sold for dryers. The reality is that a listed transition connector has a limited, accessible role behind the appliance and is not a substitute for permanent smooth metal duct.
Metal sections should be assembled with the male or crimped ends pointing in the direction of airflow, away from the dryer. This joint orientation reduces exposed edges that can catch lint as exhaust moves toward the outlet.
Joints need an approved sealing method, such as metal foil tape or another product accepted by the duct manufacturer and local authority. Cloth-backed general-purpose duct tape dries out and loosens, while screws and other fasteners that project into the airflow path can snag lint.
The installed duct should also be supported so it does not separate, sag, or rest against materials that could damage it. Behind the dryer, enough space should remain to prevent the accessible connector from being flattened when the appliance is returned to position.
How the Installer Should Plan the Vent Route
The best route is usually the shortest practical path to an exterior wall, with as few turns as the building allows. A direct run improves airflow, reduces lint-catching points, and makes later cleaning less difficult.
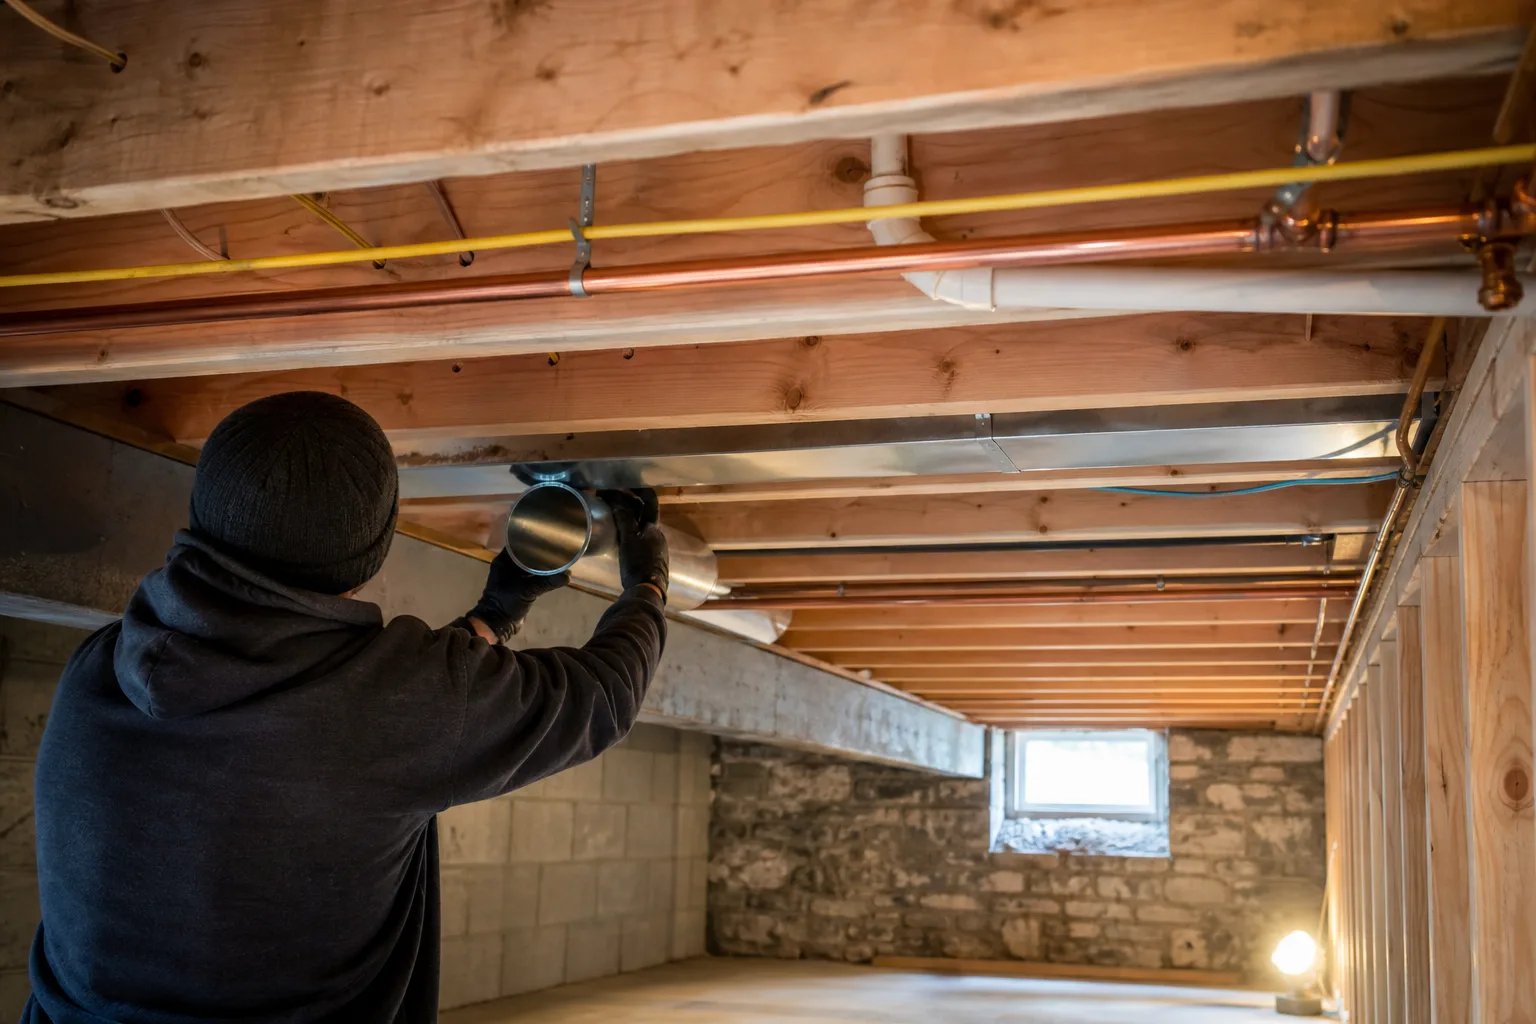
A wall termination is often the simplest option when the dryer sits near an unobstructed exterior wall. Routing through a basement or crawlspace may work when the duct can be supported, protected from damage, and reached for service, but the exhaust still has to terminate outdoors.
An attic route introduces long vertical travel, temperature changes, condensation concerns, and difficult cleaning access. A roof termination may be appropriate for some homes, but it requires proper flashing, a suitable dryer vent cap, and a maintenance plan that accounts for roof access and weather exposure.
Dryer exhaust may pass through a properly constructed attic or crawlspace, but it cannot discharge there. Releasing warm, damp air into an enclosed area can wet insulation and framing while distributing lint through a space where it may go unnoticed.
Use this quick exterior check to judge a proposed route:
- Stand behind the laundry area. Look for a direct exterior wall and note decks, porches, meters, and utility equipment.
- Look above the proposed outlet. Check for windows, doors, soffit vents, and other openings that could receive damp exhaust.
- Check the ground. Allow for soil, vegetation, drifting snow, and anything that could block the hood.
- Trace likely obstructions. Chimneys, masonry, plumbing vents, roof valleys, and additions can force extra bends.
- Picture future service. Make sure the hood and duct can be inspected without dismantling permanent finishes.
Pro tip: Ask the installer to point out the planned route from both inside and outside. If the explanation skips framing, access, penetrations, or cleaning, the route has not been fully planned.
Structural members should not be cut simply to preserve a straight line. A qualified installer will reroute around obstructions or coordinate an approved framing solution, while also sealing penetrations and restoring required fireblocking.
Maximum Run Lengths and Elbow Penalties
Allowable dryer duct length is determined by IRC M1502, applicable local amendments, and the instructions for the specific dryer. An installer should not approve a route using room-to-wall distance alone because fittings and turns add resistance that changes the permitted run.
Developed length follows the actual centerline path from the dryer connection to the exterior termination. Equivalent length goes further by accounting for the airflow penalty assigned to elbows and fittings, with sharper turns generally consuming more of the available allowance.
For example, a laundry room may sit close to an outside wall while the duct turns upward, crosses framing, drops around an obstruction, and turns again at the hood. The straight-line distance looks short, but the working route may be much more restrictive.
A useful route calculation should identify:
- The dryer model and the venting instructions used
- The total developed duct length
- The number and type of elbows
- Any local code adjustment to the base requirements
- The exterior termination and any resistance it adds
- The remaining allowance, if the manufacturer expresses one
Safety note: Unnecessary bends are not harmless details. Each change in direction slows airflow, creates another lint-catching area, and makes cleaning equipment harder to pass through the duct.
Warning signs include a long concealed route with no written calculation, bends added only for installer convenience, and a proposal that never asks for the dryer model. Be cautious if someone claims that a stronger dryer will overcome any route or treats the code limit as permission to design to the edge without considering the manufacturer’s instructions.
A listed dryer exhaust duct power ventilator may be considered when the code, dryer instructions, and site conditions support its use. It must be correctly selected, installed, interlocked or controlled as required, and left accessible for maintenance, and it does not excuse an avoidably long or poorly arranged route.
The installer should first remove needless turns, shorten the path where practical, and confirm that passive exhaust cannot meet the applicable requirements. A power ventilator adds equipment that can collect lint or fail, so future inspection and cleaning need to be included in the plan.
Need a route calculation you can review? Book a code-aware dryer vent assessment or call (513) 655-6702. You will have a clearer basis for approving the installation before concealed work begins.
Exterior Termination Hood Requirements
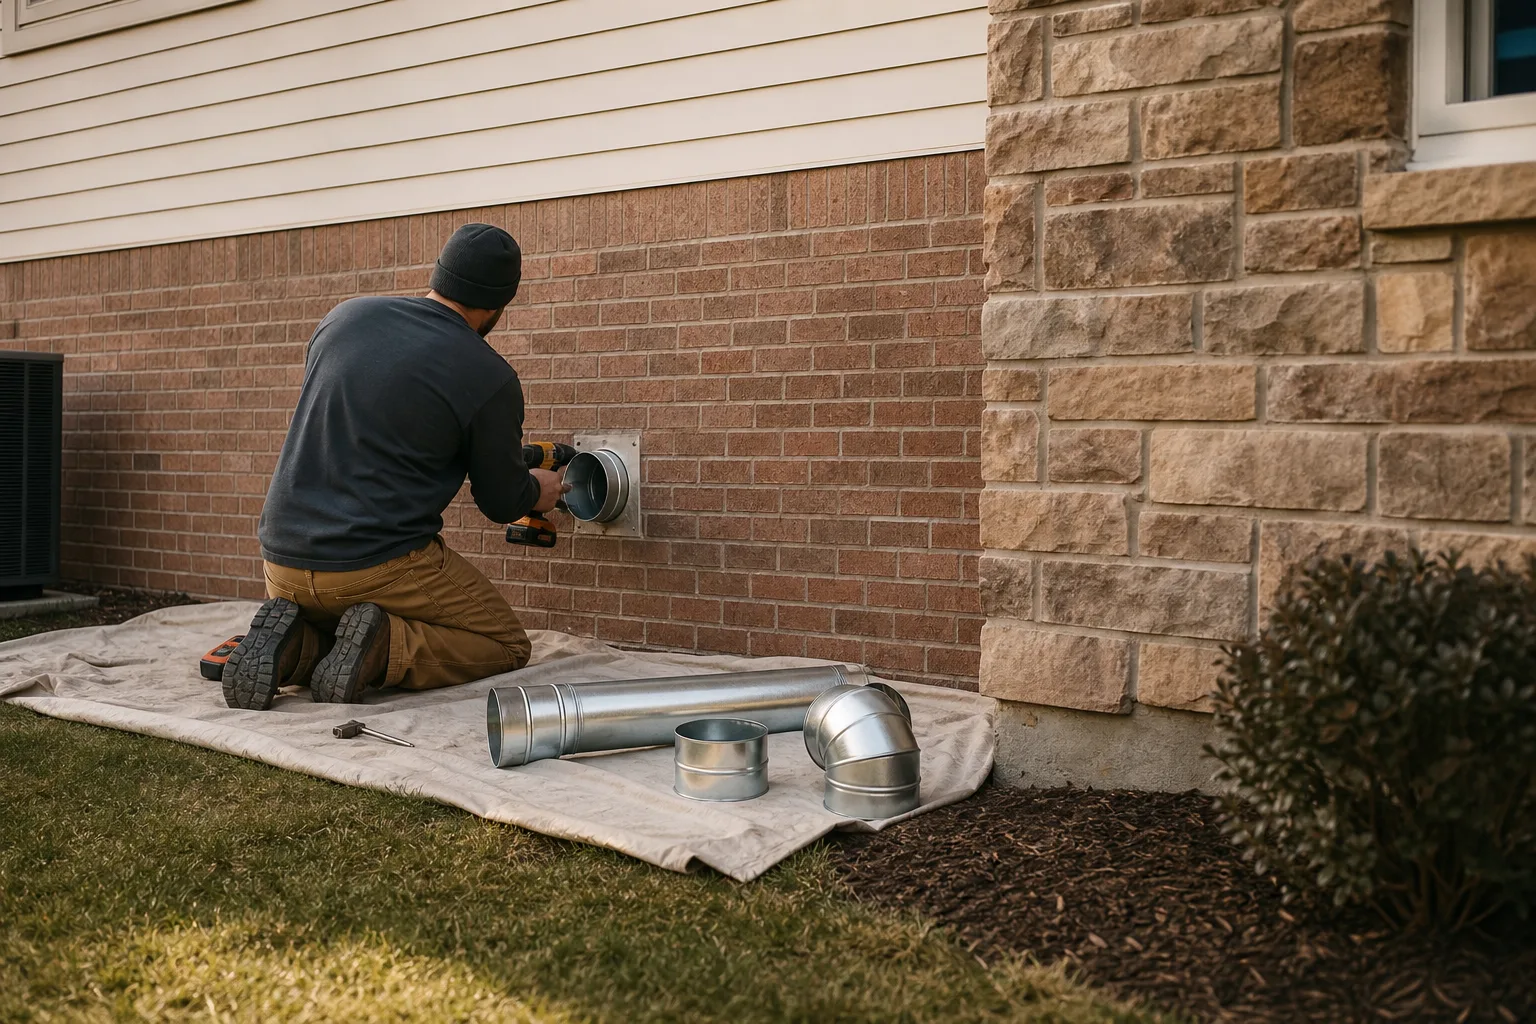
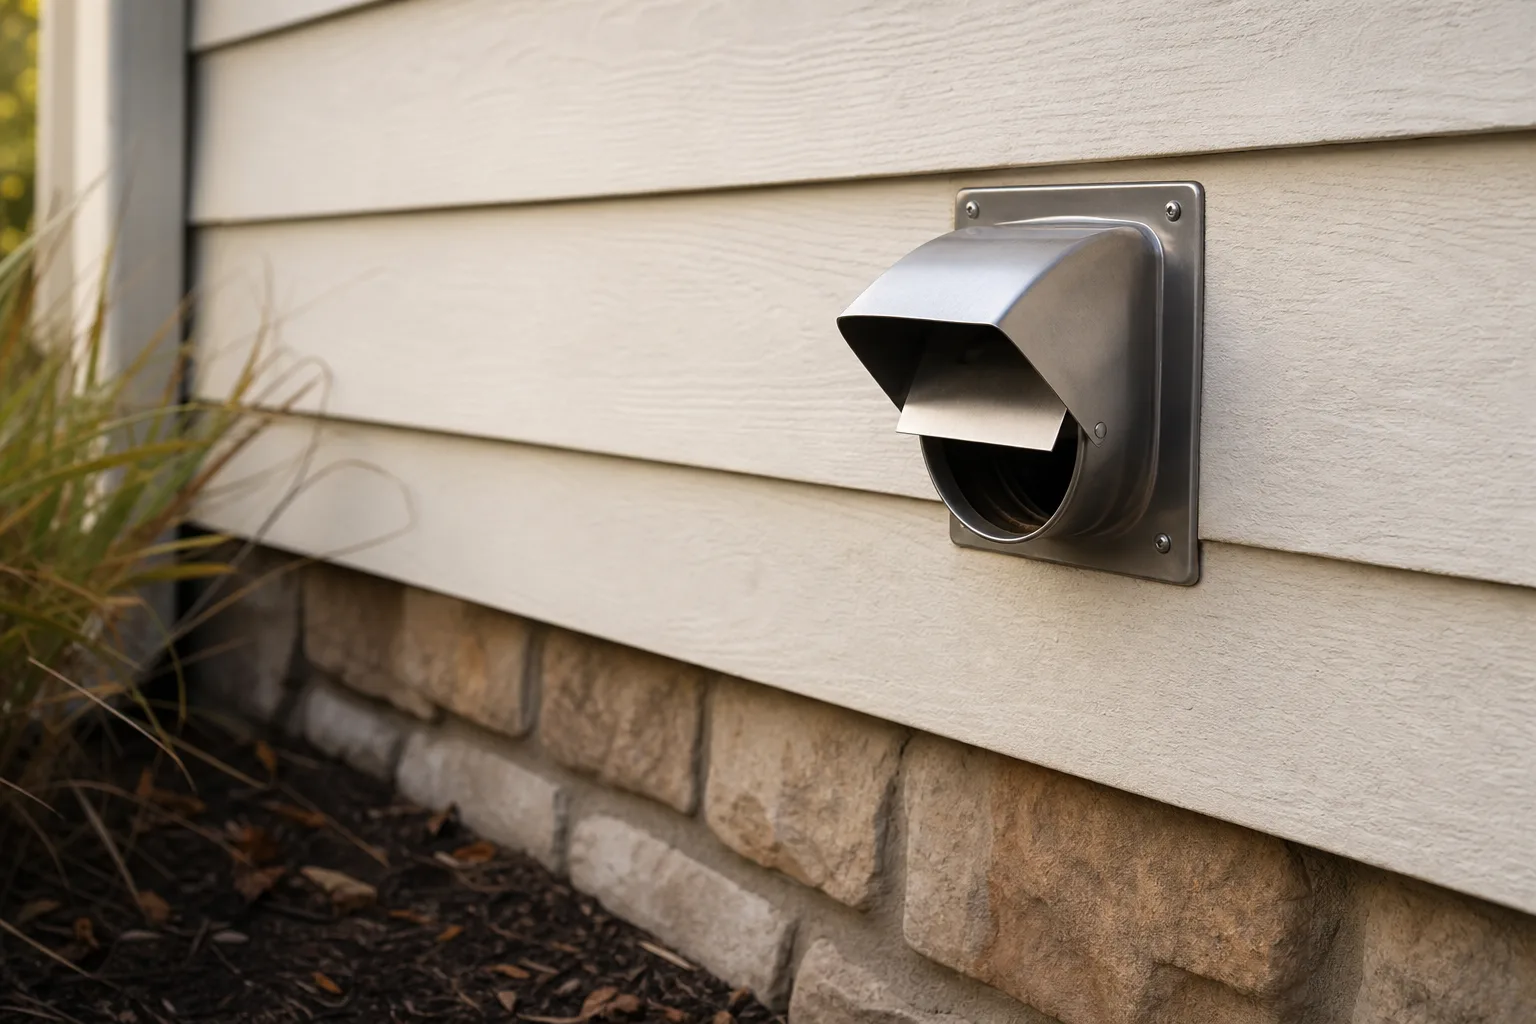
When evaluating a quote for dryer vent installation near me, look for an exterior termination hood with a backdraft damper that opens freely when the dryer runs. The outlet must discharge outdoors, not into an attic, crawlspace, garage, soffit cavity, or other enclosed area where heat, lint, and moisture can collect.
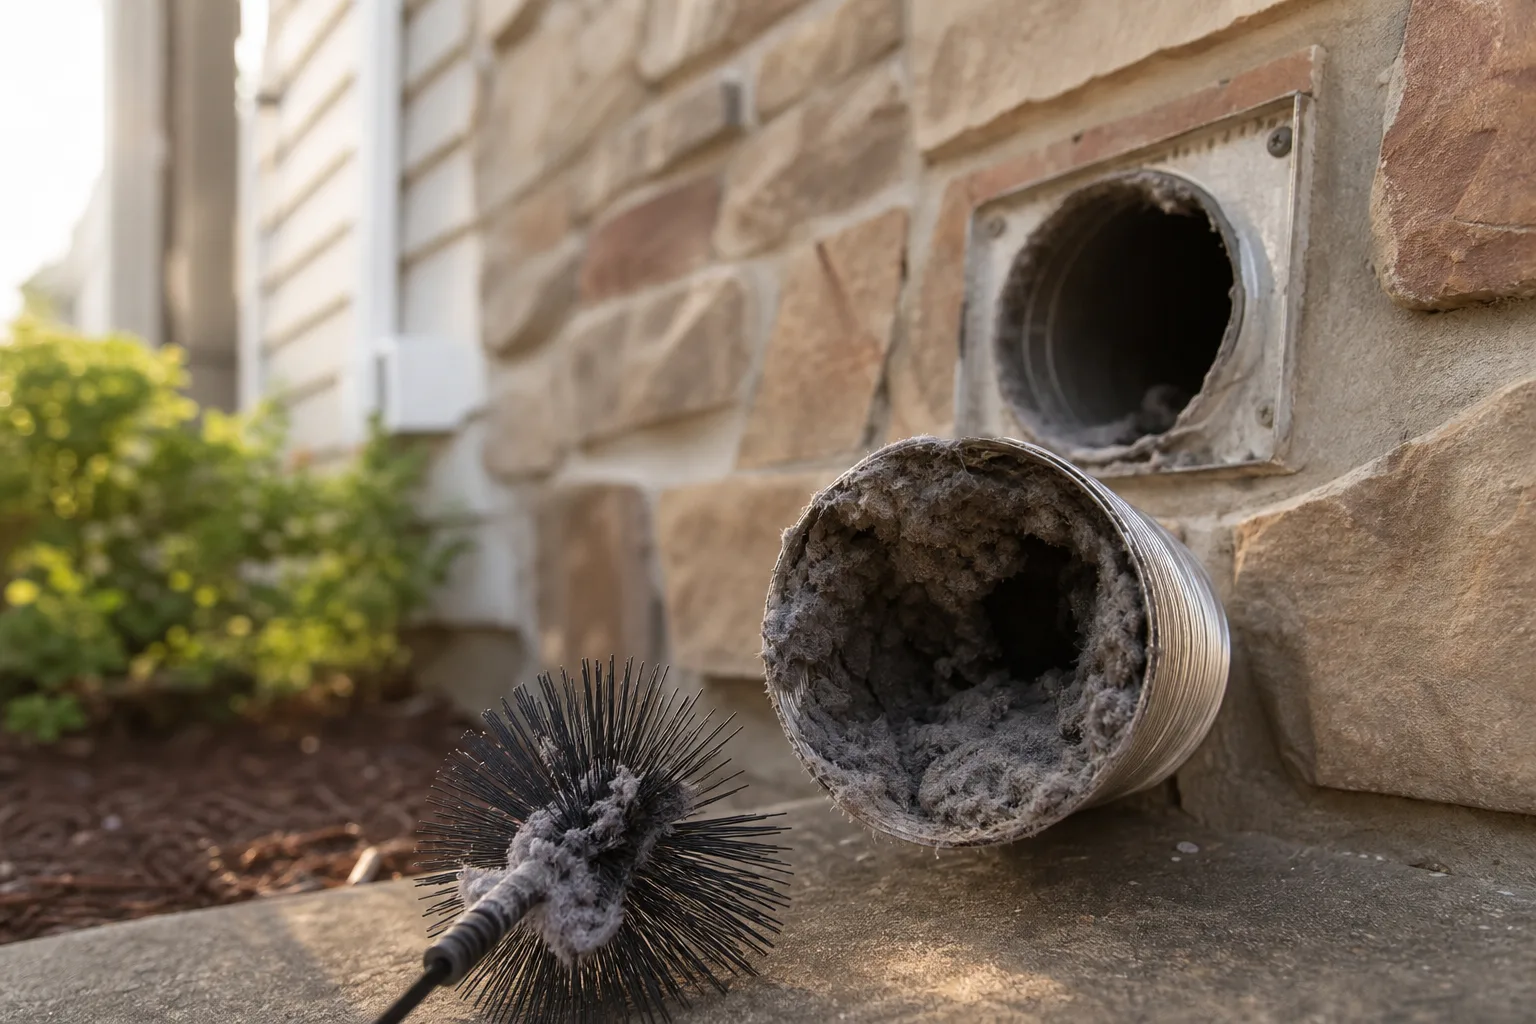
The hood should not have a screen. Screens may look useful for pest control, but dryer lint catches on the mesh and gradually blocks airflow. A proper damper closes when the dryer stops while remaining light enough for the exhaust to push it fully open.
| Termination option | Main advantage | What to consider |
|---|---|---|
| Wall hood | Usually easier to inspect and clean | Must be protected from grade, plants, snow, and nearby openings |
| Roof hood | Can serve layouts with no practical wall route | Adds weather exposure and usually requires roof access for cleaning |
Wall termination is usually preferable when it provides a short, direct route. A roof termination may be reasonable for some interior laundry rooms, but the installer should account for the longer vertical run, added bends, roof flashing, and future cleaning access rather than choosing the roof simply because it is convenient during construction.
Use this quick outdoor checklist before approving the location:
- Run the dryer. Confirm that the damper swings open freely and does not flutter against a blockage.
- Look inside the hood. Verify that no screen, mesh, or lint-covered guard covers the outlet.
- Check the grade. Make sure soil, mulch, and expected snow accumulation will not bury the opening.
- Scan nearby openings. Look for doors, operable windows, air intakes, and other locations where moist exhaust could reenter the home.
- Inspect the surroundings. Confirm that shrubs will not grow across the hood and that lint will not discharge onto a walkway or stain a sensitive surface.
Exact clearance requirements can depend on local code, the dryer instructions, and the approved termination product. The installer should identify those requirements before cutting the wall or roof, not after discovering that the selected location is too close to an opening.
From the field: A damper that barely moves often points to crushed duct, excess lint, an overly long route, or a hood that is too restrictive. Replacing the hood alone will not correct a problem farther upstream.
Want the route checked before anyone cuts? Request an on-site installation plan or call (513) 655-6702.
Choosing dryer vent installation near me by Comparing Quotes
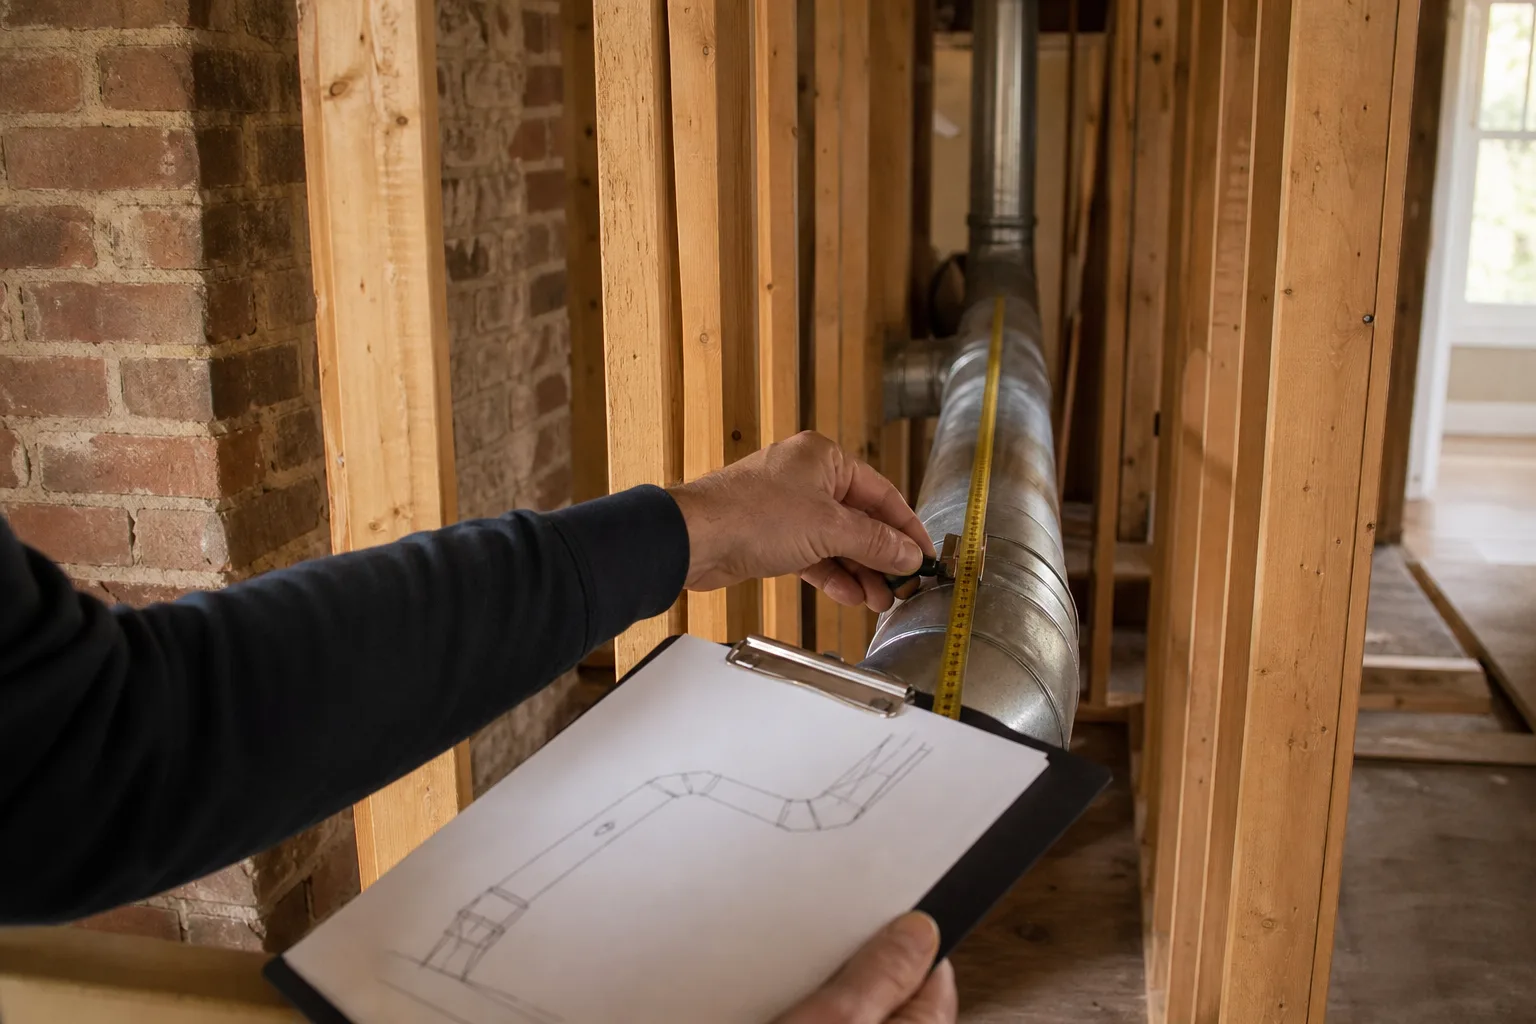
The best way to choose dryer vent installation near me is to compare the proposed materials, route, developed length, and termination, not just the bottom-line wording. A useful quote lets you picture where the duct will run and gives you enough detail to determine whether each installer is pricing the same job.
A written proposal should identify:
- Duct material. Concealed sections should be smooth metal duct, not foil or plastic flex.
- Planned route. The quote should state which walls, floors, crawlspaces, attic areas, or roof sections will be crossed.
- Developed length. The actual centerline length of the duct route itself, measured along the path the duct takes. Elbow and fitting penalties are separate equivalent-length adjustments counted against the allowed maximum.
- Elbow count. Bends should be listed so you can see how they affect the allowable run.
- Exterior termination. The proposal should describe the wall or roof hood and its backdraft damper.
- Penetration work. Cutting, flashing, exterior sealing, fireblocking, and weatherproofing should be assigned clearly.
- Closeout work. Cleanup and disposal of old ductwork should be included or specifically excluded.
Ask which edition of the locally adopted residential code informed the plan, whether IRC M1502 applies, and how the dryer manufacturer’s instructions were checked. Local amendments can be stricter, and the dryer’s listed venting limits may require a shorter route than a general code allowance.
Pro tip: Ask the installer to mark the proposed route on a photo, floor plan, or wall before approving the quote. That simple step exposes unnecessary turns and prevents surprises about visible ductwork or access openings.
Permit responsibility should be written down before work starts. The same applies to drywall, paint, siding, masonry, roofing, or cabinet repairs, since “installation included” does not always mean finished surfaces will be restored.
Be cautious when a proposal says only “new vent” without naming the material or termination. Concealed foil flex, unexplained long runs, missing elbow calculations, and no exterior hood details are reasons to request clarification. A listed dryer exhaust duct power ventilator may help in a route that cannot otherwise meet length limits, but it should be specified and installed for that application rather than used to excuse poor routing.
Myth vs. fact: Myth: Any flexible duct labeled for dryers can be hidden in a wall. Fact: A listed transition connector may be used in the accessible space behind the appliance, but IRC M1502 does not permit that connector to serve as concealed duct inside walls, ceilings, or floors.
Need help comparing a proposed route? Book a code-aware assessment or call (513) 655-6702 for a written plan.
What to Check Before Approving the Finished Installation
Before approving the work, confirm that concealed sections are smooth metal and that accessible joints are secure, correctly oriented, and sealed with an approved method. Screws or other fasteners should not project into the airflow path, where their points can catch lint.
Inspect the transition connector behind the dryer while the appliance is in its operating position. It should be listed for that use, remain accessible, and avoid crushing, sharp kinks, or contact with surfaces that may damage it when the dryer moves.
Safety note: Do not accept a connector that looks open while the dryer is pulled forward but collapses when the appliance is pushed back. Ask the installer to position the dryer fully, then check the connection again.
Run the dryer and walk outside. The exterior damper should open steadily, and you should not feel warm, damp exhaust leaking around indoor joints, wall cavities, or the laundry area. Rattling, weak discharge, or a burning lint odor calls for investigation before signoff.
Ask the installer to leave a record of the final route, developed length, elbow count, and termination location. Keep product information for any listed connector, hood, or power ventilator, along with permit and inspection records when applicable. These details give a future cleaning technician a reliable map and help prevent concealed duct from being damaged during renovations.
A final walkthrough should also cover exterior sealant, roof flashing when used, removed materials, and repairs to opened finishes. Photograph accessible joints and the outdoor hood before furniture, shelving, or landscaping makes them harder to see.
Good to know: Strong airflow at the hood is useful evidence, but it does not replace route documentation. A marginal installation may appear to work with a new, empty dryer and become restrictive as normal lint begins to collect.
If you want an on-site assessment, a written route, and an installation plan tied to the appliance and local requirements, request service or call (513) 655-6702.
Symptom checker
What is your chimney doing?
Tap the closest match for an honest first answer.