



On this pageWhen chimney flashing repair is the right fix7 sections+6
- When chimney flashing repair is the right fix
- How step flashing and counter flashing keep water out
- Why caulk over flashing is a shortcut, not a repair
- Choosing between a targeted repair and a full re-flash
- Where roofing work and chimney work meet
- What a proper flashing repair should include
- Protecting the repair without confusing flashing and waterproofing
Quick answer
Chimney flashing repair is the right fix when loose, damaged, or poorly sealed sections can be restored while the surrounding metal, shingles, and masonry remain sound. Widespread corrosion, missing step flashing, incorrect layering, or repeated caulk patches usually call for a full re-flash.
When chimney flashing repair is the right fix
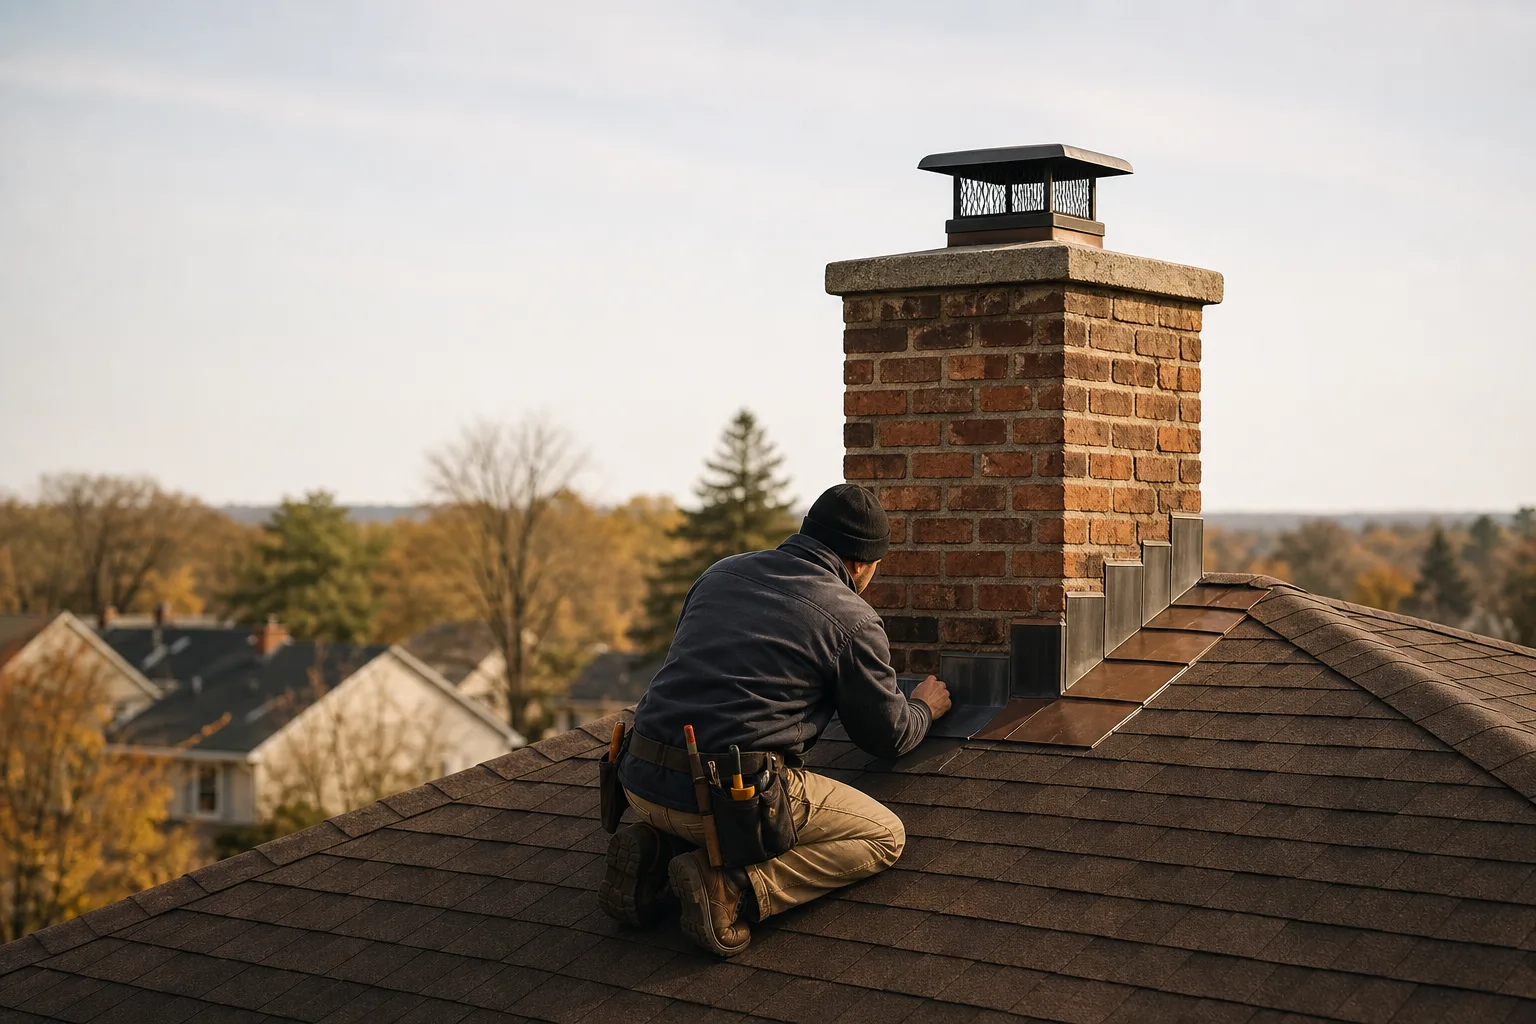
A chimney flashing repair restores the metal system that seals the joint between the chimney and roof. The work should correct how water is directed away from that joint, rather than burying the area under another coat of caulk. When the metal is loose, corroded, missing, or poorly layered, repairing that system is the right place to start.
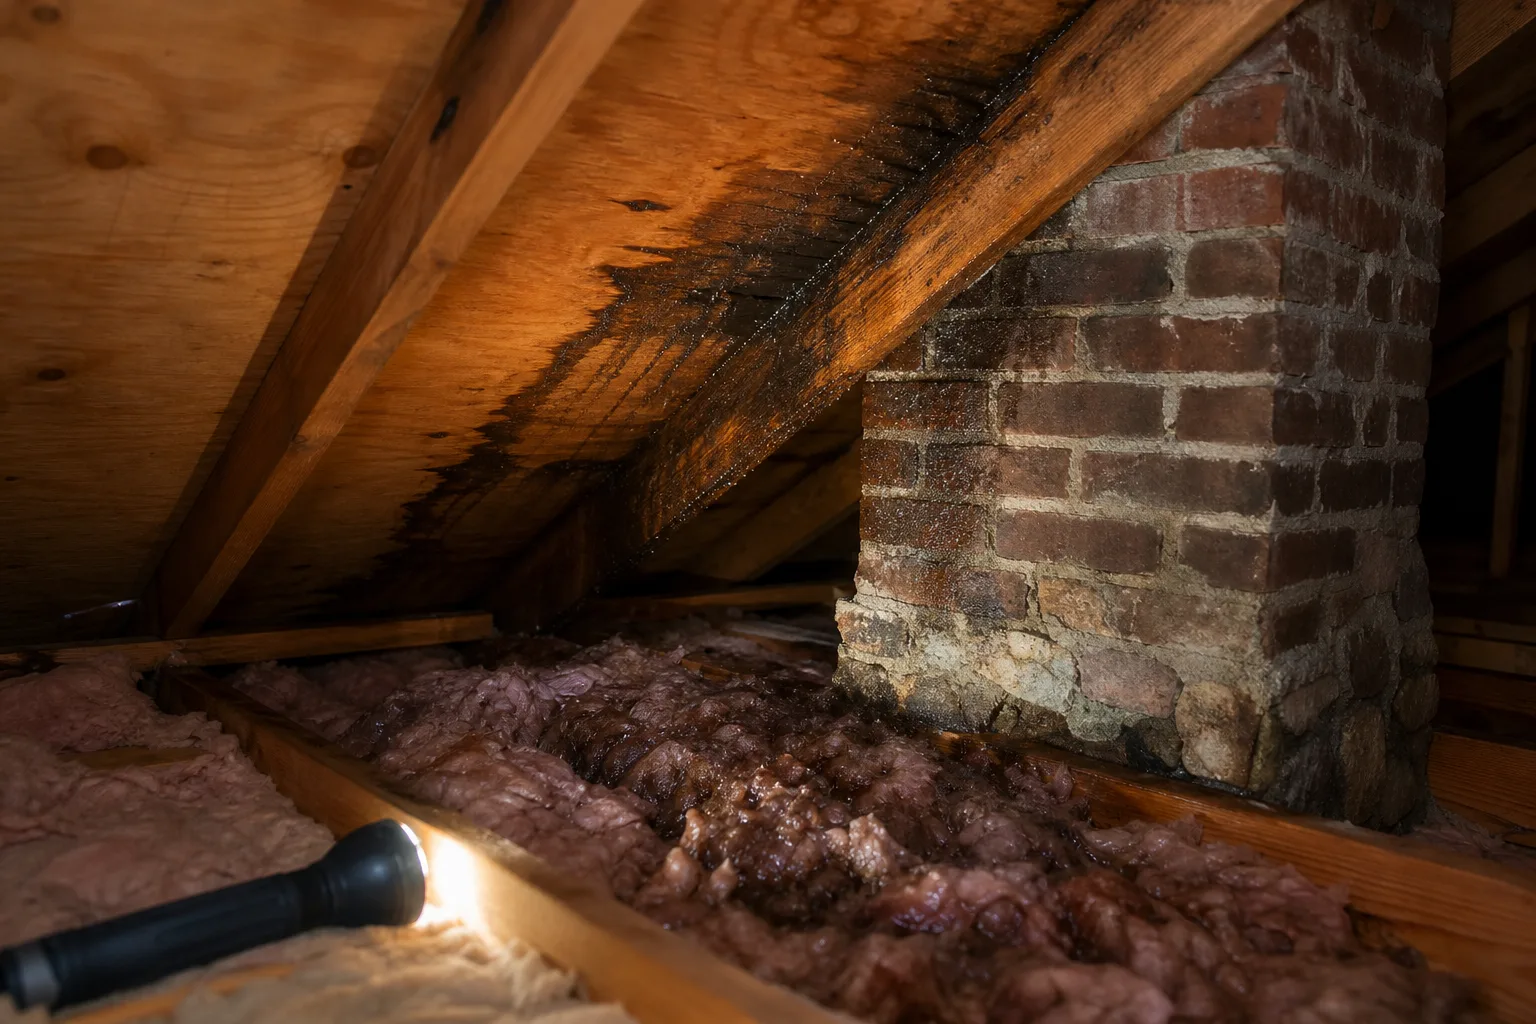
Indoor clues often appear beside the chimney rather than directly below the failed spot. Look for ceiling stains near the chimney, damp roof sheathing in the attic, wet insulation, peeling paint, or a leak that appears mainly during wind-driven rain. Outside, rust streaks, lifted metal edges, cracked sealant, and open mortar joints around the counter flashing deserve attention.
Water can travel along rafters, sheathing, nails, and the chimney surface before it becomes visible indoors. That is why effective chimney leak repair traces the path from the roof down instead of treating the ceiling stain as a map of the failure.
From the ground, a homeowner can make a useful first check without stepping onto the roof:
- Check the ceiling. Mark the stain edge after rain so you can tell whether it grows.
- Check the attic. Use a flashlight to look for damp sheathing, dark nail tips, or compressed wet insulation near the chimney.
- Check the metal. From a safe viewing point, look for lifted edges, rust, gaps, or pieces pulling away from the masonry.
- Check the timing. Note whether leaking follows steady rain, wind-driven rain, snowmelt, or fireplace use.
- Check nearby surfaces. Look for damaged shingles, crown cracks, and visibly eroded mortar without assuming they are the source.
Safety note: Do not climb onto a wet, steep, icy, or unfamiliar roof to inspect flashing. Close-up diagnosis often requires roof access, but the fall risk is not worth a better photograph.
The flashing should be inspected before blaming the crown, porous masonry, shingles, or condensation; chimney cap replacement should be considered separately when the cap is loose, damaged, or incorrectly sized. Each can create similar symptoms, and more than one defect may be present. Chimney waterproofing can help absorbent brick and mortar, for example, but it will not close a gap where flashing has pulled away.
Ready for a straight answer? If the leak source is unclear or the roof is unsafe to access, request service or call (513) 655-6702.
How step flashing and counter flashing keep water out
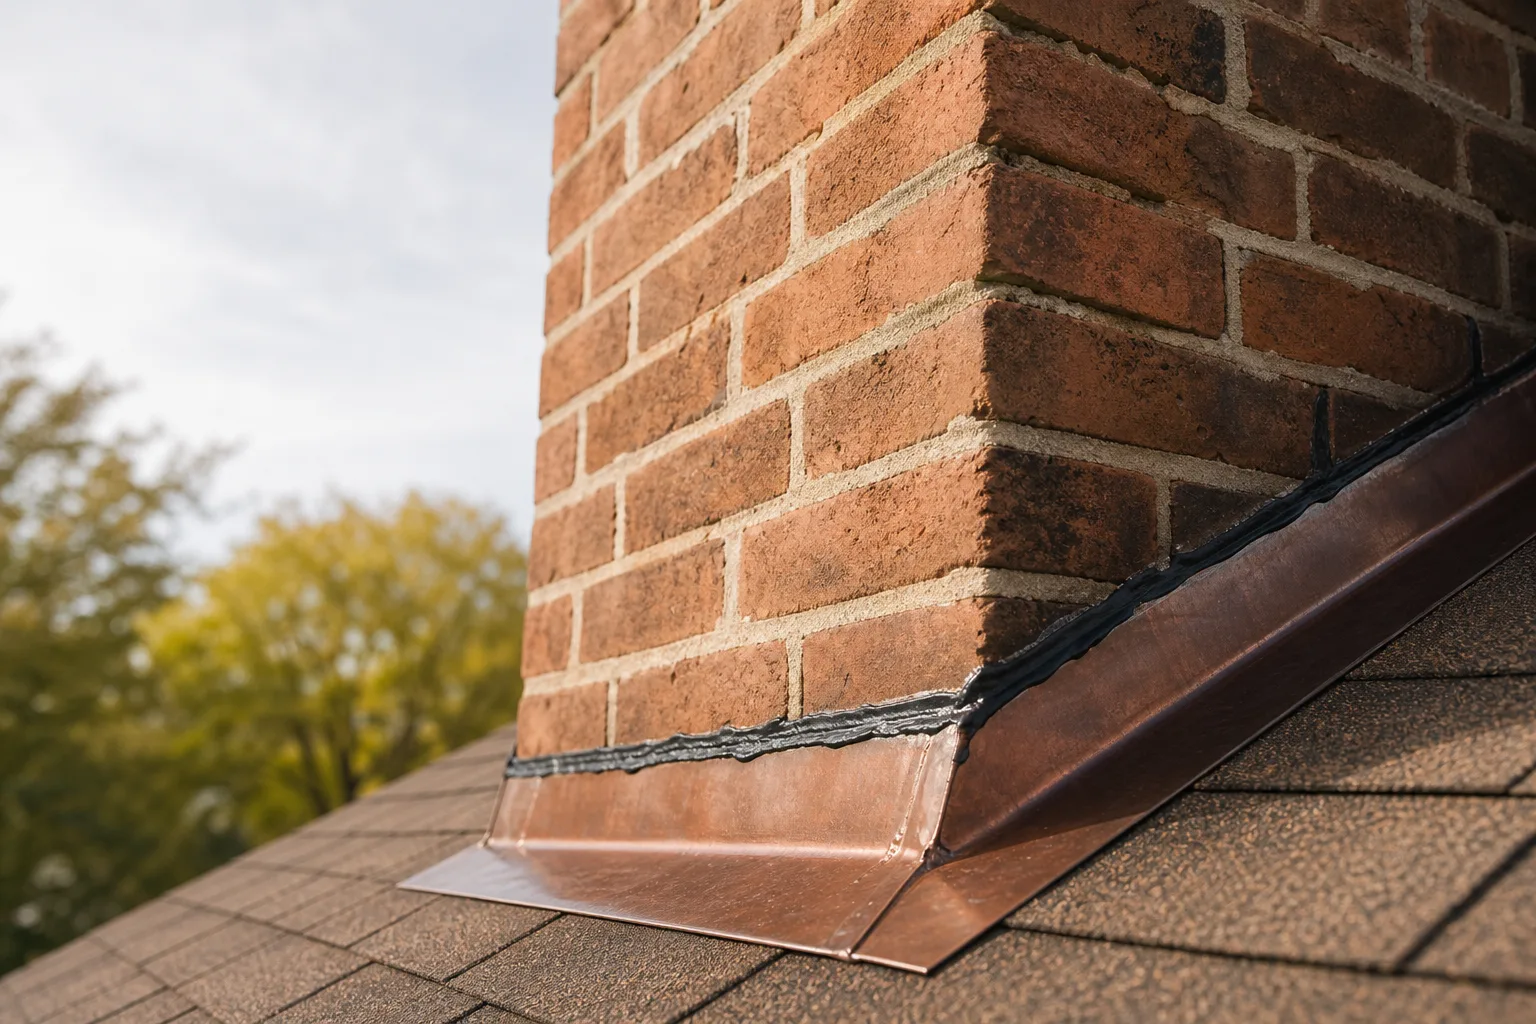
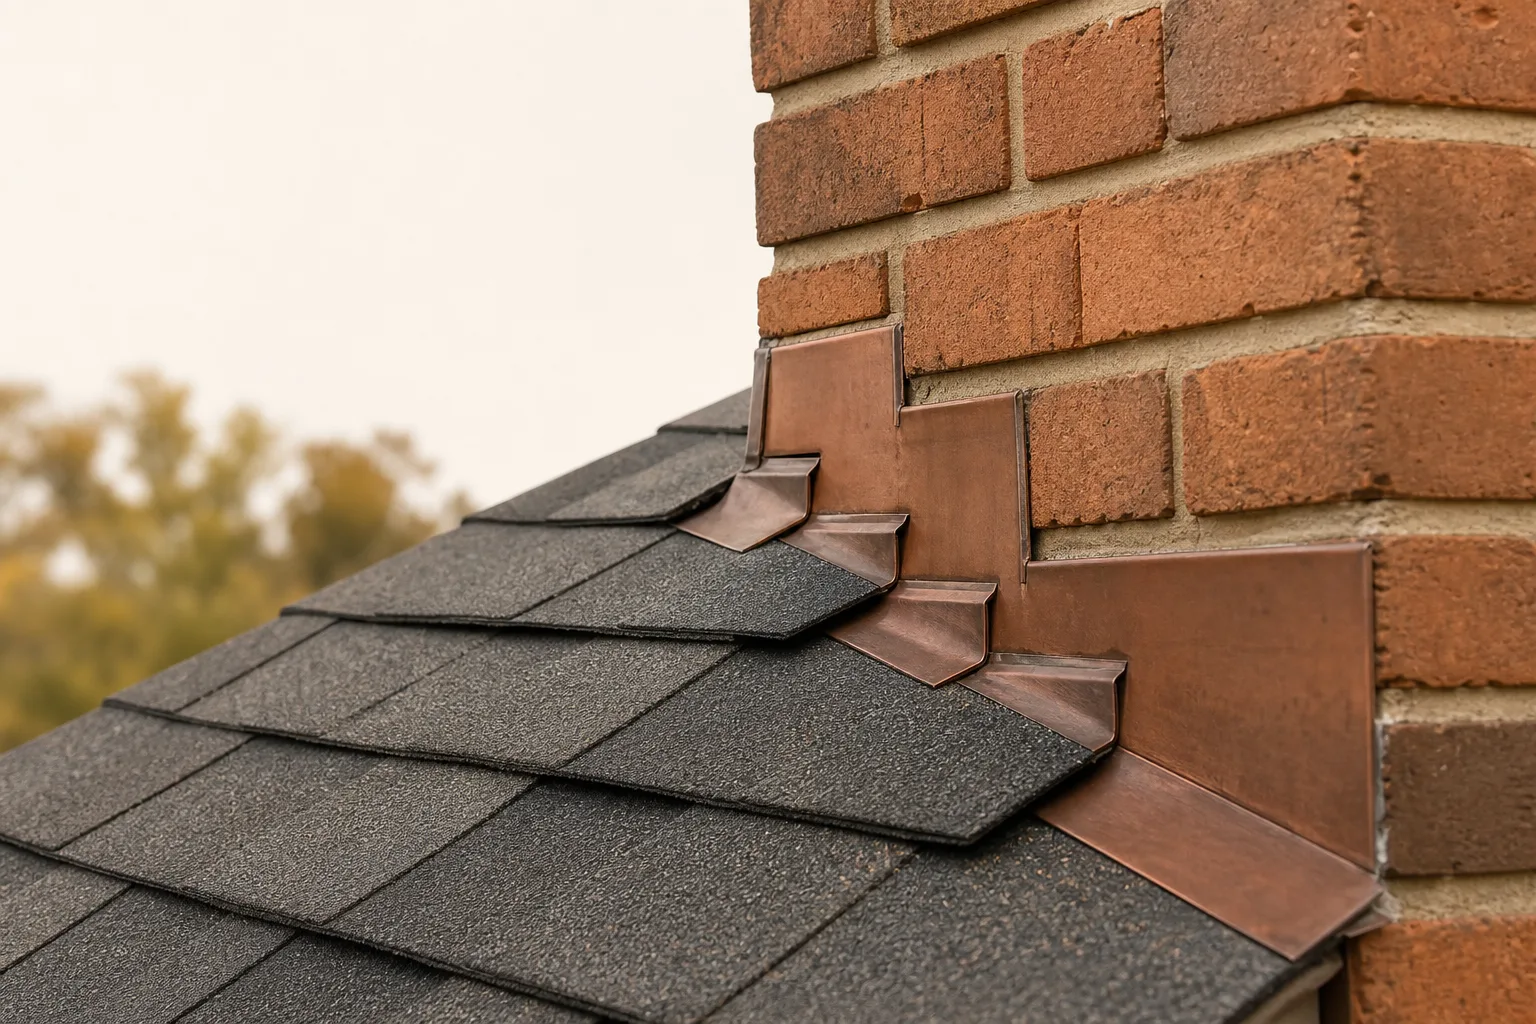
Step flashing and counter flashing work as overlapping layers, much like shingles. Each piece sends water onto the layer below it, so rain keeps moving down the roof instead of finding a direct path into the chimney joint. The system does not depend on a single bead of sealant to remain watertight.
Along the chimney sides, individual pieces of step flashing are woven into the shingle courses. One leg rests on the roof deck beneath a shingle, while the other turns up the chimney wall. Each higher piece overlaps the one below, guiding runoff around the masonry even when rain is pushed sideways by wind.
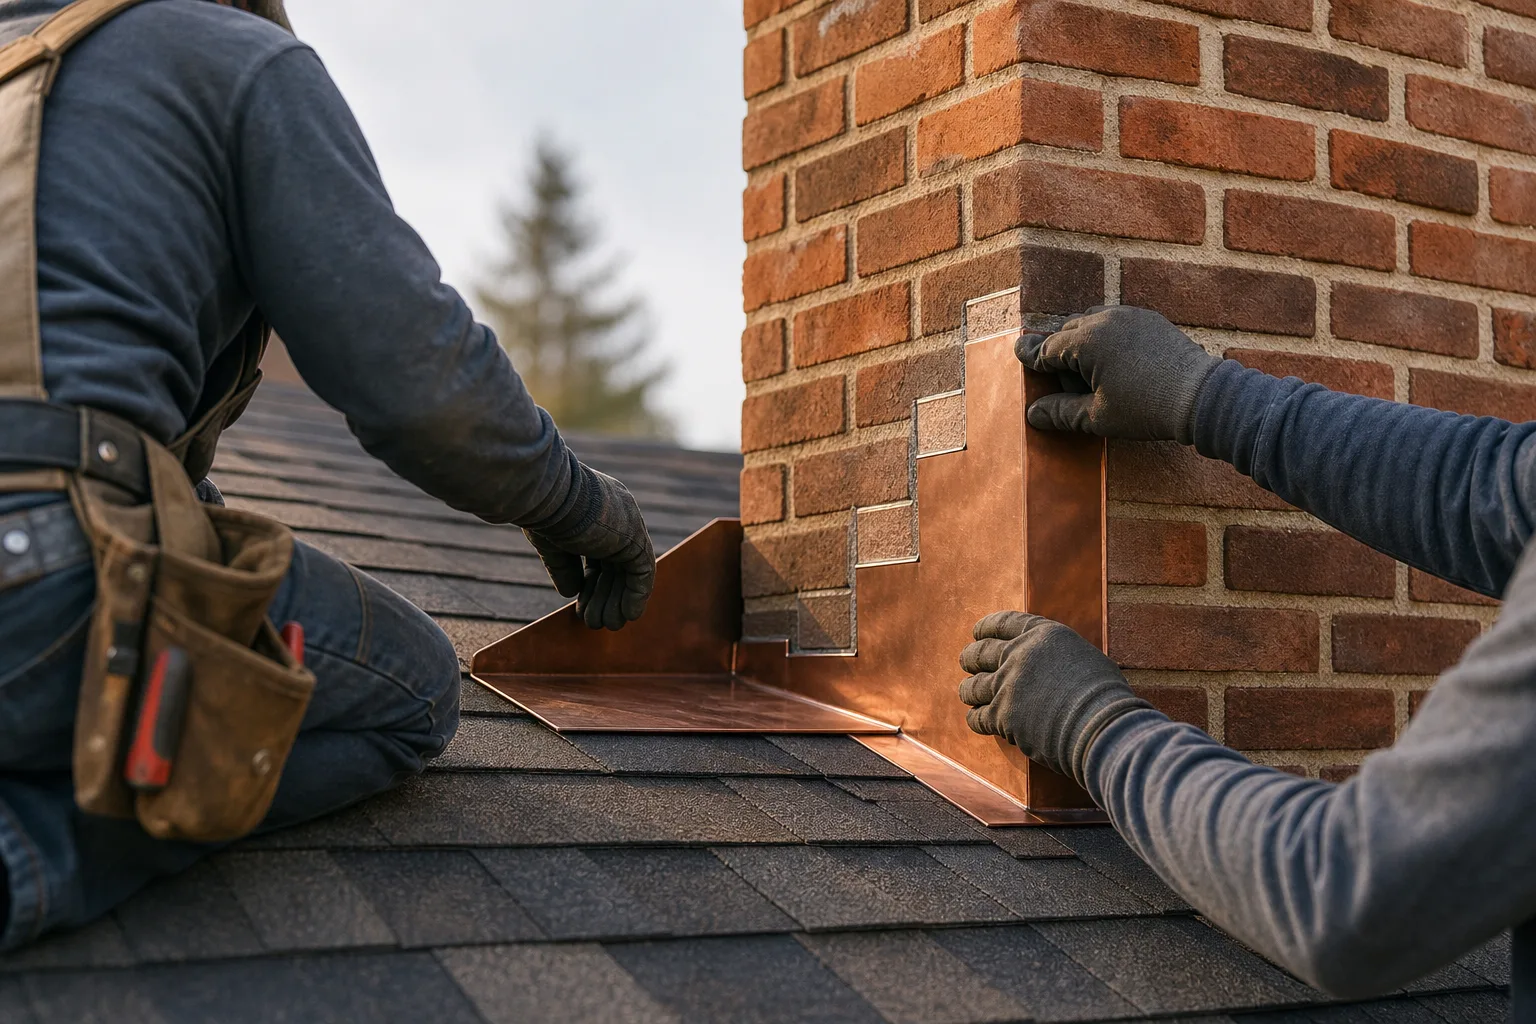
Counter flashing covers the upper edges of the step flashing. It is normally secured into prepared masonry joints, then turned down over the roof flashing without rigidly fastening the two layers together. This overlap lets the roof and chimney move at slightly different rates without opening a straight path for water.
Pro tip: A neat bead of caulk does not prove the counter flashing is secured correctly. Technicians look for where the metal enters the masonry, how deeply it overlaps the roof flashing, and whether movement can occur without tearing the termination open.
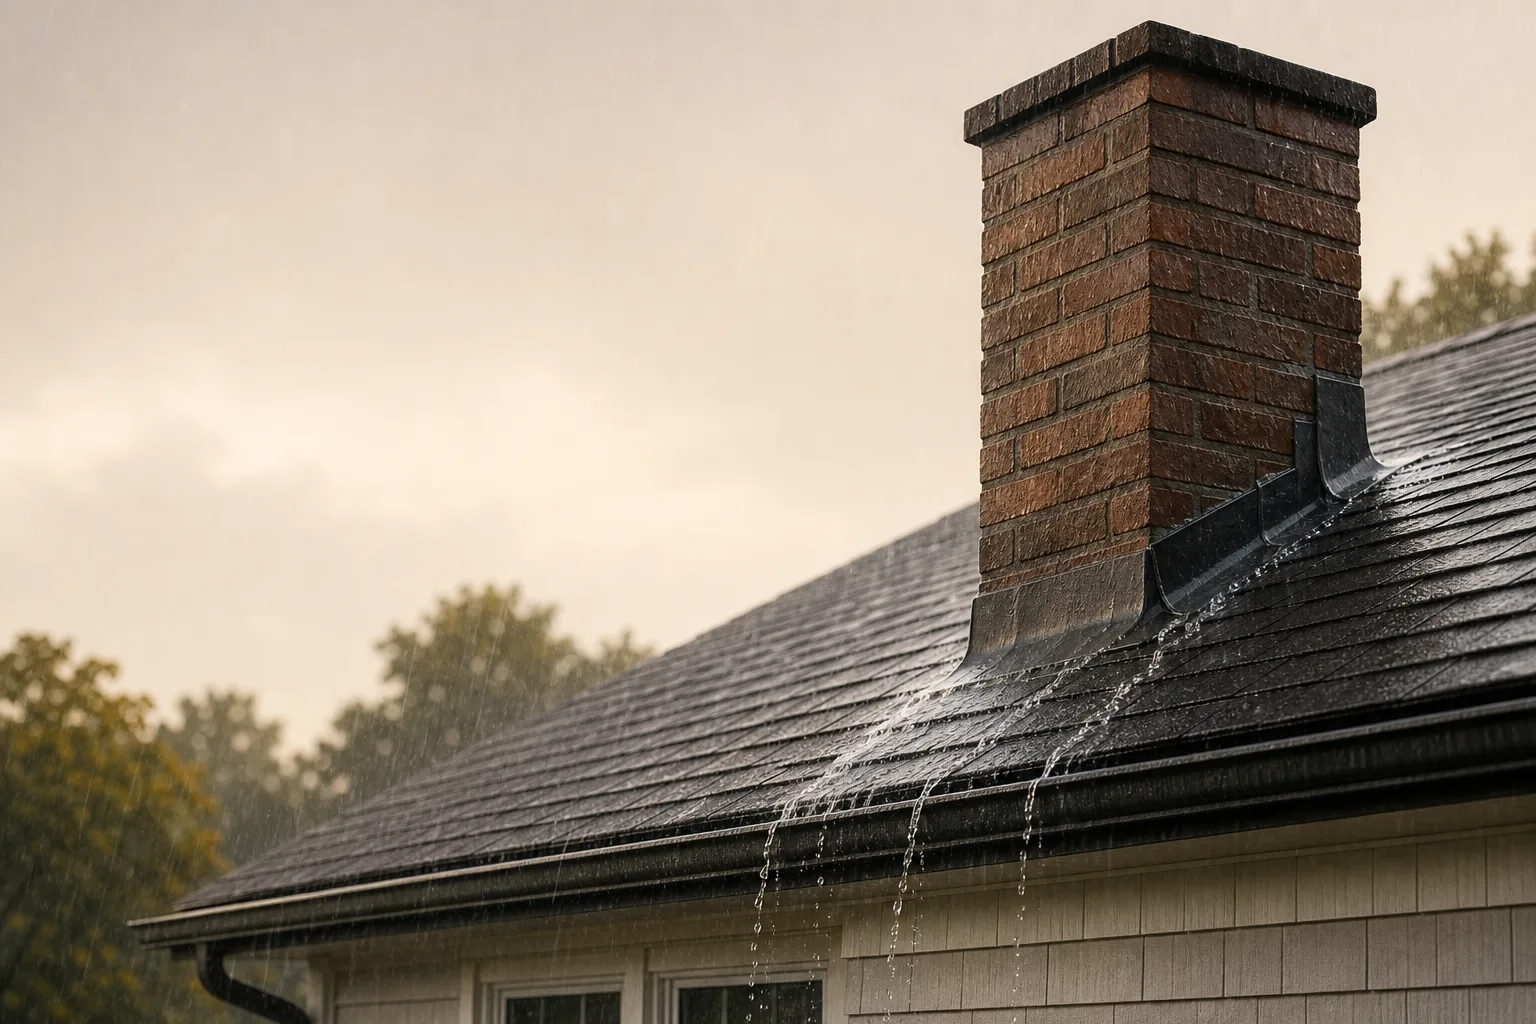
The front apron protects the downhill face of the chimney, where roof runoff reaches the masonry joint. Behind the chimney, a back pan catches water flowing down the upper roof and directs it toward both sides. On wider chimneys, a raised cricket may be needed to prevent water, leaves, ice, and debris from collecting behind the masonry.
| Flashing component | What it should do | Warning signs |
|---|---|---|
| Step flashing | Carry water around the chimney through each shingle course | Missing pieces, short overlaps, exposed edges |
| Counter flashing | Cover step flashing while remaining attached to masonry | Loose sections, shallow cuts, caulk-only attachment |
| Front apron | Shed water across the downhill face | Open corners, exposed fasteners, buckled metal |
| Back pan | Divert runoff around the uphill side | Ponding, debris buildup, pinholes, poor side drainage |
Common installation errors defeat the layered design. These include exposed fasteners in water-shedding surfaces, overlaps that are too shallow, missing step pieces, unsealed corners, and counter flashing pressed against the face of the brick instead of set into a masonry joint. Metal can look tidy from the ground while still being installed in the wrong order beneath the shingles.
Poor drainage behind the chimney can also overwhelm sound-looking metal. A shallow back pan may hold water against the masonry, while accumulated leaves can direct runoff over an edge that normally stays dry. The inspection should therefore follow the whole drainage path, not stop at the first visible gap.
Why caulk over flashing is a shortcut, not a repair
Sealant can protect selected flashing joints, but it cannot replace correctly shaped and layered metal. A caulk-only patch usually treats the place where water becomes visible, not the route that allowed it underneath. Once roof materials expand, contract, and shift, the patch often separates from one of the surfaces.
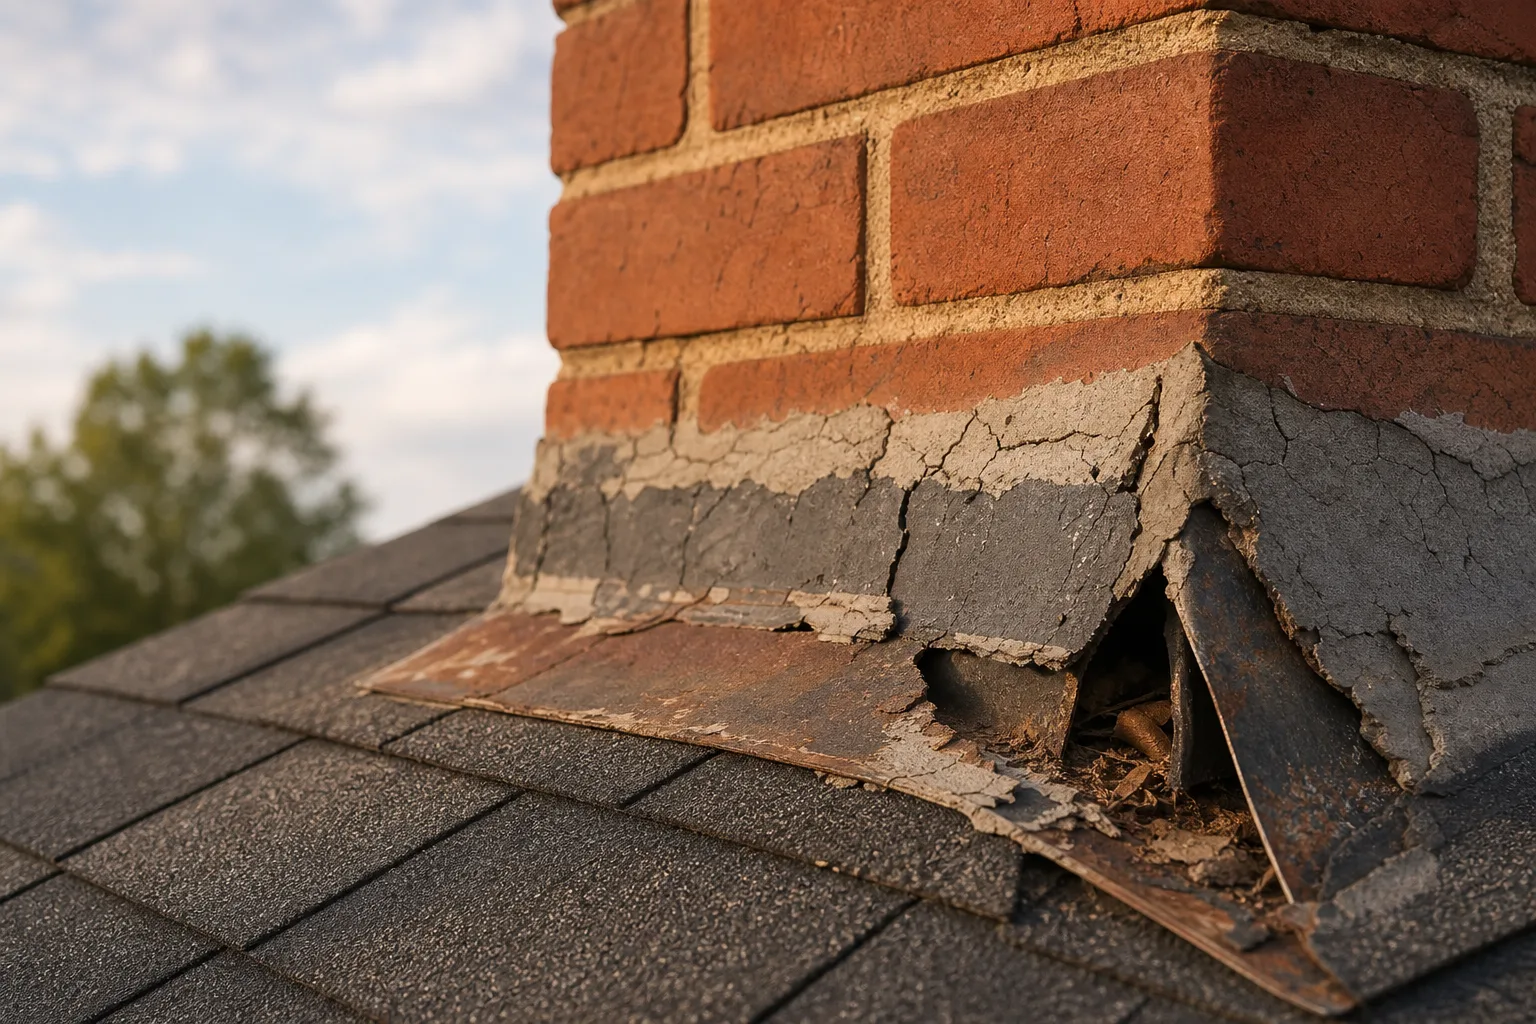
Roofing cement and thick coatings can hide rust, pinholes, failed corners, and fasteners driven through exposed metal. They may also trap moisture against shingles, roof decking, or masonry. When the coating eventually cracks, finding the original defect becomes harder because the flashing is buried under several incompatible layers.
Myth vs. fact: Myth: If a leak stops after caulking, the flashing has been repaired. Fact: The caulk may have interrupted water temporarily, while corrosion, poor layering, or loose metal remains underneath.
A questionable proposal usually focuses on spreading material over the visible perimeter. It offers no inspection beneath nearby shingles, no removal of failed coatings, no assessment of the back pan, and no plan to replace damaged metal. It may also ignore why the existing sealant split in the first place.
A sound proposal should explain what will be opened, what metal can remain, and how new pieces will overlap the existing roof system. Photographs are useful because they can show corrosion and poor layering that disappear once the shingles and counter flashing are put back.
Sealant does have a limited role when it is compatible with the surrounding metal, masonry, and roofing materials. It may finish a properly prepared counter-flashing termination, protect a small joint, or close a detail that cannot be folded from one piece of metal. The joint must be clean, stable, and designed to receive sealant.
From the field: Thick black coatings often cover multiple generations of patching. Removing them commonly reveals loose metal or an open corner that should have been rebuilt rather than coated again.
Choosing between a targeted repair and a full re-flash
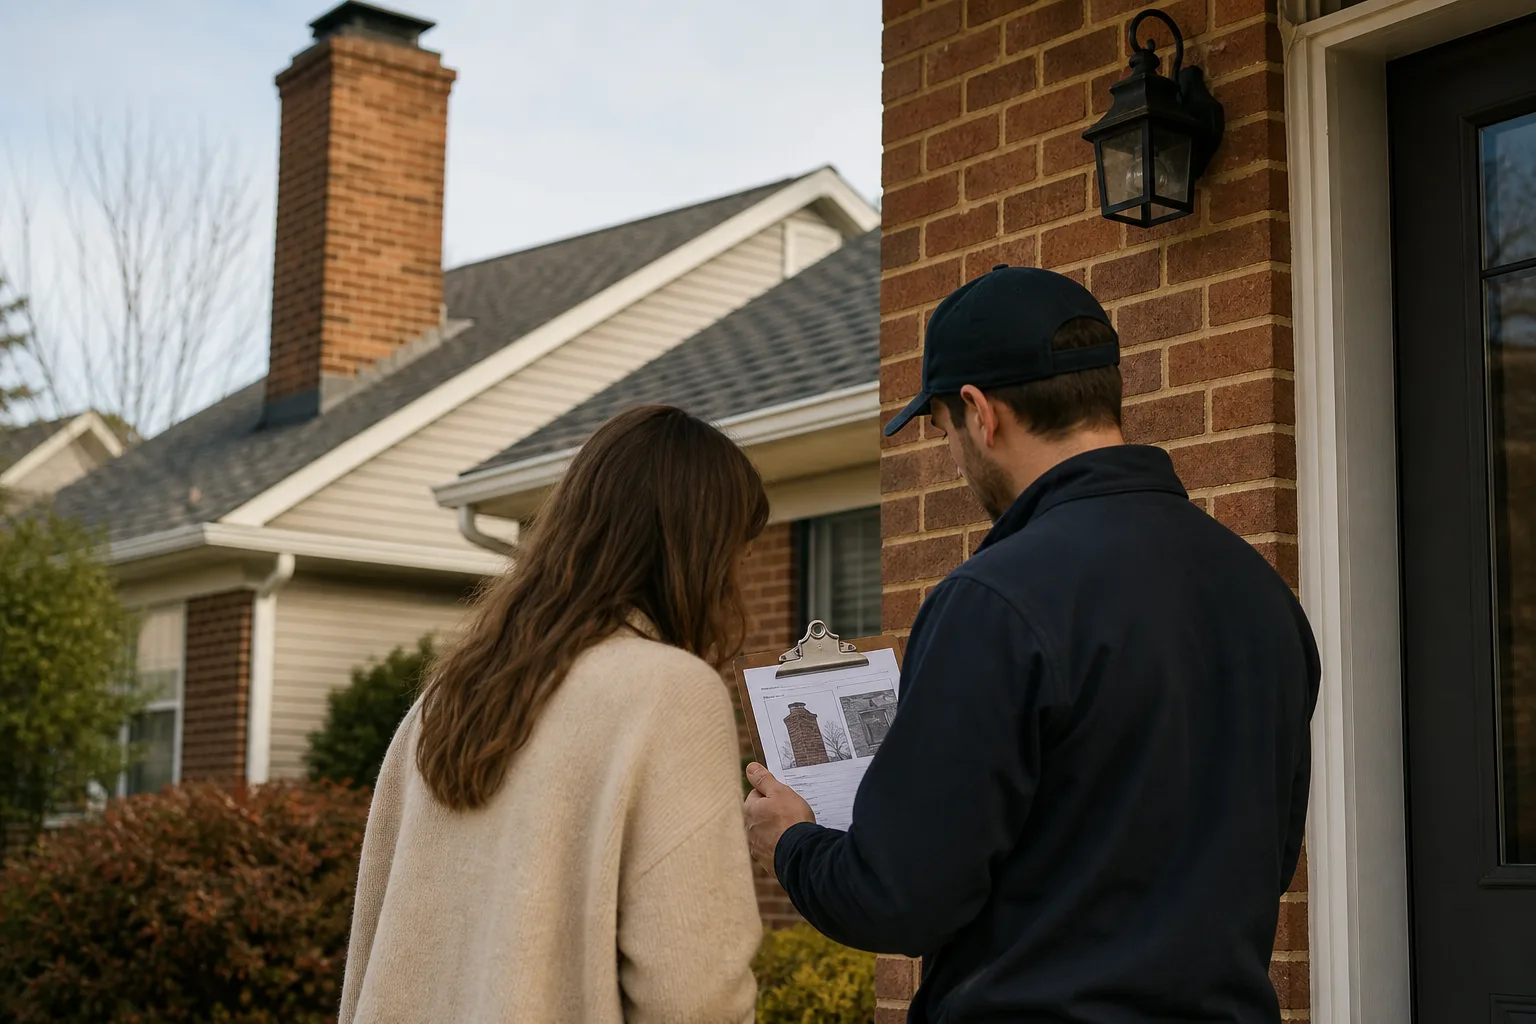
A targeted chimney flashing repair is reasonable when the failure is isolated and the surrounding system remains sound. One loose counter-flashing section, a failed prepared joint, or a damaged corner may be repairable without removing all the metal. The decision should follow an inspection beneath affected shingles, not a glance from the ground, so homeowners searching for a chimney inspection near me should confirm that the inspector offers safe roof access.
The existing step flashing must still have adequate overlaps, solid metal, and correct integration with the shingle courses. Nearby shingles also need enough serviceable life to be lifted and reset without breaking apart. If those conditions are missing, a small patch may only delay the same leak.
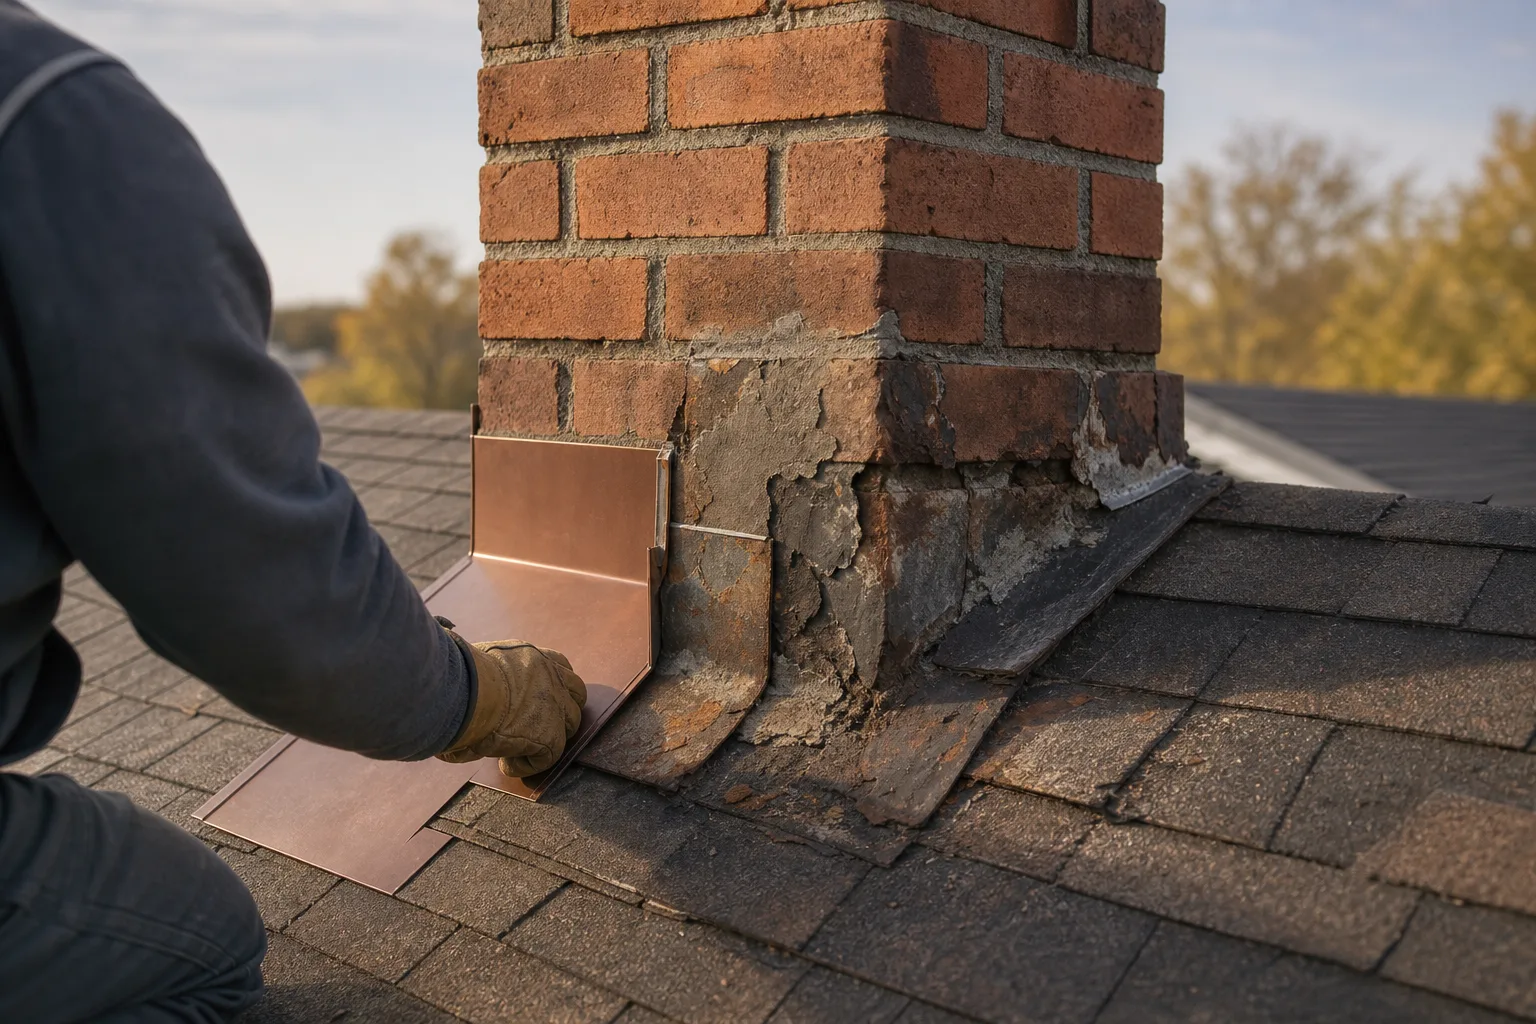
Full re-flashing is usually the better choice when corrosion is widespread, pieces are missing, or the metal was installed in the wrong order. Repeated layers of roofing cement, loose counter flashing, face-mounted metal, and hidden damage below the roof covering also point toward replacement. A re-flash allows the joint to be opened and rebuilt as a connected water-shedding system.
The chimney itself affects the scope. Deteriorated mortar joints may not hold new counter flashing until masonry repairs are completed, while an uneven chimney wall can require carefully formed metal. Roof slope, chimney height, access, roof age, and the amount of shingle removal also affect labor and material needs, so flat pricing without an inspection is unreliable.
Good to know: A newer-looking roof does not guarantee usable flashing. During roof work, old metal is sometimes reused, flattened, cut short, or buried beneath new materials even though its original defects remain.
The repair plan should address where rain enters and how it travels, not simply the largest stain or most obvious gap. Water showing below the downhill side may have entered behind the chimney, crossed the sheathing, and followed framing before dripping indoors. Correcting only the visible downhill joint leaves that route open.
A written scope should distinguish between resetting a sound section, replacing selected components, and removing the surrounding roof covering for a full re-flash. It should also state how damaged shingles, counter-flashing terminations, and hidden decking conditions will be handled if they are uncovered.
Need help choosing the right repair scope? Book an on-site assessment or call (513) 655-6702 for a clear diagnosis before more caulk or roofing material covers the problem.
Where roofing work and chimney work meet
A lasting chimney flashing repair has to connect two systems: the roof covering that sheds runoff and the masonry that supports the counter flashing. If either side is handled in isolation, water can slip behind sound looking metal and travel along the roof deck before appearing indoors.
Step flashing belongs within the shingle courses, not pressed on top of finished roofing. Counter flashing belongs in prepared mortar joints and overlaps the step flashing without fastening the two layers together. That separation lets the roof and chimney move slightly with temperature and settling while the overlap continues to shed water.
| Connection point | What should happen | What often goes wrong |
|---|---|---|
| Shingle courses | Individual step flashing pieces overlap with each course | Long surface metal is nailed through the shingles |
| Mortar joints | Counter flashing is set into sound joints | Metal is held against brick with caulk alone |
| Behind the chimney | A back pan directs runoff around both sides | Water collects against the uphill chimney wall |
| Metal transitions | Compatible metals and fasteners are used | Dissimilar metals corrode where they touch |
From the field: A clean line of sealant can make flashing look finished from the ground. On the roof, technicians often find that the metal stops at the brick face, the shingles were nailed through exposed sections, or the back pan has no clear drainage path.
Roof replacement is the right time to expose and assess the entire connection. Existing flashing should not be reused automatically, folded out of the way, or buried beneath new shingles. Once the old roof covering is removed, the installer can see whether the step pieces are complete, the deck is soft, and the uphill pan extends far enough to move water around the chimney.
Masonry conditions matter at the same time. Crumbling mortar cannot hold counter flashing securely, shallow cuts provide little resistance to wind driven rain, and oversized cuts invite thick beads of sealant that eventually separate. The repair plan should also account for roof slope, runoff volume, chimney width, and whether a cricket or improved back drainage is needed.
Photos taken before covering the work give you a useful record. Ask for views of the exposed roof deck, step flashing within the shingle courses, the back pan, the front apron, and counter flashing set into the masonry. Finished photos alone may show neat edges without proving that the hidden layers were installed correctly.
What a proper flashing repair should include
A proper chimney flashing repair should identify the path of entry, expose enough material to inspect concealed conditions, and rebuild the roof to chimney connection in water shedding layers. The work should correct the source rather than coating the most visible crack or aiming at the indoor stain.
Diagnosis often begins indoors when the attic is accessible. Damp sheathing, rusted nails, water tracks, darkened framing, and compressed wet insulation can reveal where rain first crossed the roof plane. Because water may follow rafters or the underside of the deck, the ceiling stain is not always directly below the opening.
The exterior examination should follow the route rain takes. That means checking the uphill side first, then the sidewall steps, front apron, counter flashing terminations, adjacent shingles, and masonry joints. Controlled water testing may help isolate an intermittent leak, but it should be planned carefully so one area is tested at a time.
Safety note: Do not climb onto a wet, steep, icy, or unfamiliar roof to look for flashing gaps. Binoculars and attic observations can support a diagnosis, but close inspection and material removal require stable access, fall protection, and care around brittle roofing.
A homeowner can still make a useful ground level check before arranging service:
- Check the uphill side. Look for debris, leaves, or visible ponding behind the chimney.
- Scan the metal edges. Watch for lifted corners, rust streaks, bent apron flashing, or missing sections.
- Inspect nearby shingles. Note curling, slipped tabs, exposed fasteners, or repairs covered in roofing cement.
- Look at the mortar. Identify open joints or counter flashing that appears to pull away from the wall.
- Check the attic after rain. Use a flashlight to look for fresh dampness without touching wiring or wet insulation.
Once the likely path is established, failed sealant, corroded metal, and enough surrounding shingles should be removed to expose the connection. This is where hidden rot, old nail holes, short flashing pieces, and layers of previous patches come into view. Covering those conditions leaves the original route open.
New work should place the front apron beneath the uphill roofing and over the downhill shingles. Individual step pieces are woven through each sidewall shingle course, while the back pan carries water away from the uphill wall. Counter flashing then overlaps those parts and terminates in prepared, sound masonry joints, with compatible sealant used only where the detail calls for it.
If rain is actively entering the house, chimney leak repair should begin with source tracing rather than a promise to caulk the perimeter. Protect interior finishes and move belongings away from the wet area while you wait, but avoid sealing damp surfaces from inside because that can hide continuing water movement.
Good to know: The final inspection should confirm that shingles lie flat, fasteners are concealed where required, laps face away from runoff, and water can exit freely from behind the chimney. Neat sealant is not a substitute for seeing how the layers overlap.
Need safe roof access and a clear repair plan? Request service or call (513) 655-6702 to arrange an inspection and written scope without guessing from the ceiling stain.
Protecting the repair without confusing flashing and waterproofing
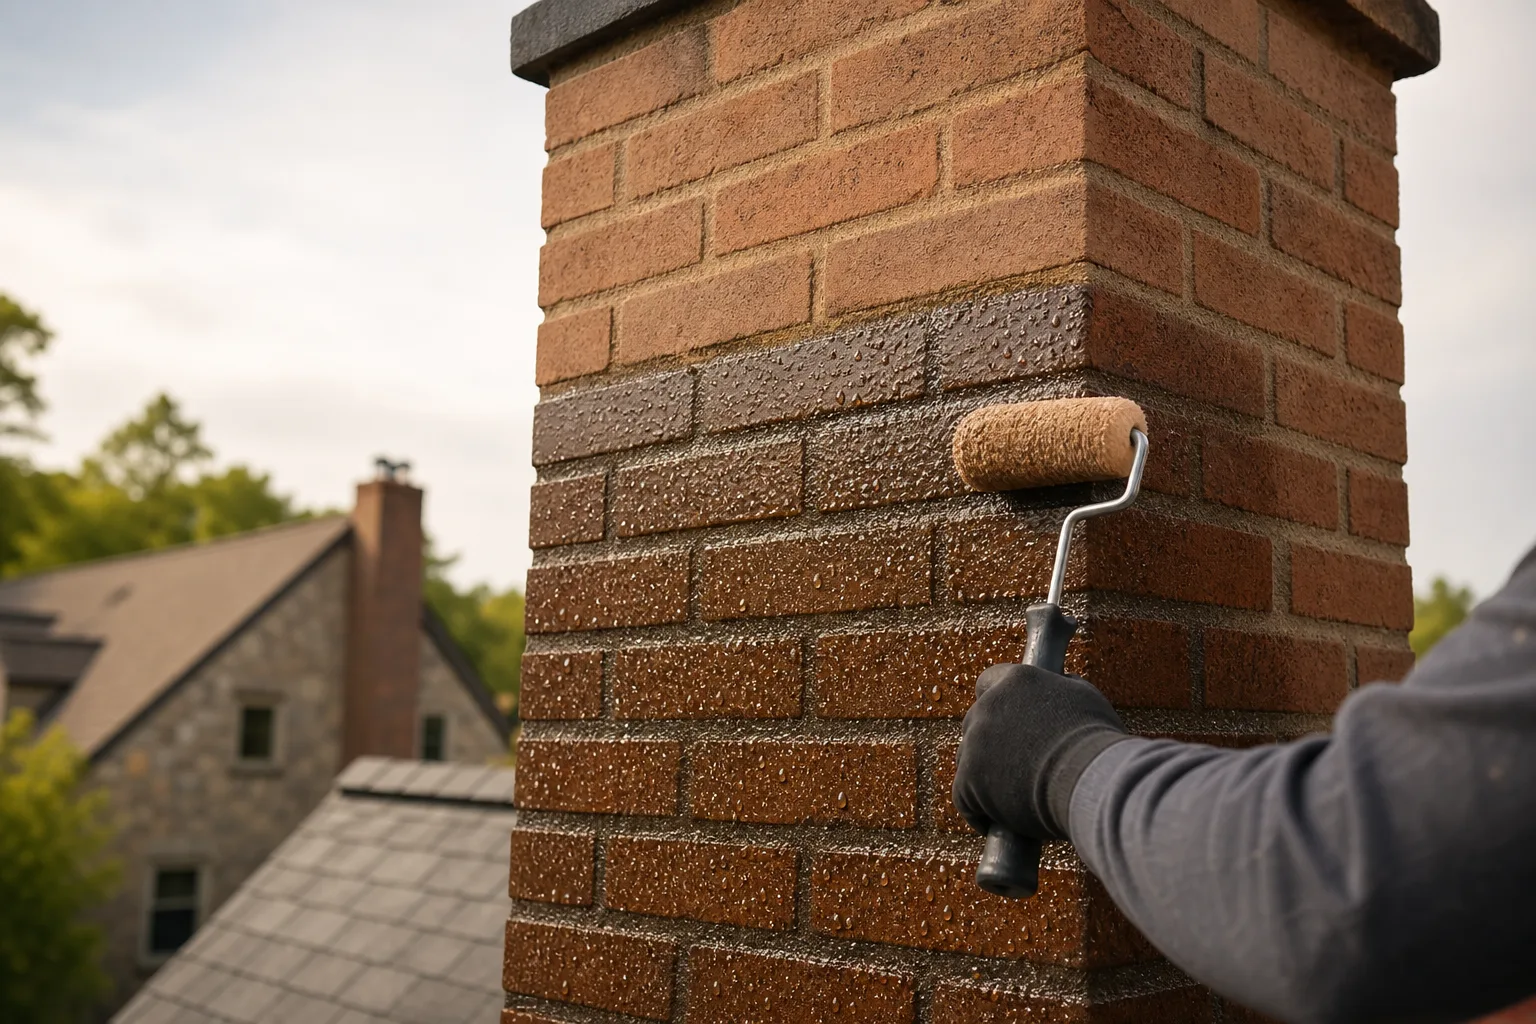
Masonry treatment and flashing solve different water paths. Flashing directs roof runoff away from the chimney junction, while chimney waterproofing reduces rain absorption through porous brick and mortar. A coating cannot correct missing step flashing, loose counter flashing, exposed fasteners, or an undersized back pan.
Breathable masonry treatment may complement sound flashing when wind driven rain darkens the chimney walls or moisture passes through absorbent mortar. The product should be intended for masonry and allow water vapor to escape. Film forming coatings can peel, trap moisture, and make later mortar repairs harder.
Myth vs. fact: The myth is that waterproofing the brick will stop every chimney leak. The reality is that roof runoff can continue flowing behind defective flashing even when the masonry face sheds rain.
After the repair, you can monitor the junction from the ground and from an accessible attic. Fresh staining after a hard rain, new rust trails, lifted metal, or damp roof sheathing deserves another look. Give the materials time to dry, but do not assume an expanding ceiling stain is leftover moisture.
Later roof or masonry work can disturb an otherwise sound connection. Shingle replacement may bend step flashing or drive nails through exposed metal, while repointing can loosen counter flashing set into mortar joints. Ask anyone working near the chimney to preserve the layered overlap and document any section that must be removed and reset.
The best protection is a clear record of what was installed, followed by a visual check after nearby work or severe weather. Keep before and after photos with roof and masonry paperwork so a future technician can see where the metal enters the wall and how the shingles were integrated.
Want the flashing and masonry checked together? Book an inspection or call (513) 655-6702 for a direct assessment of the roof connection, drainage, and chimney walls.
Symptom checker
What is your chimney doing?
Tap the closest match for an honest first answer.