



On this pageWhen Is Chimney Cap Replacement the Right Fix?7 sections+6
- When Is Chimney Cap Replacement the Right Fix?
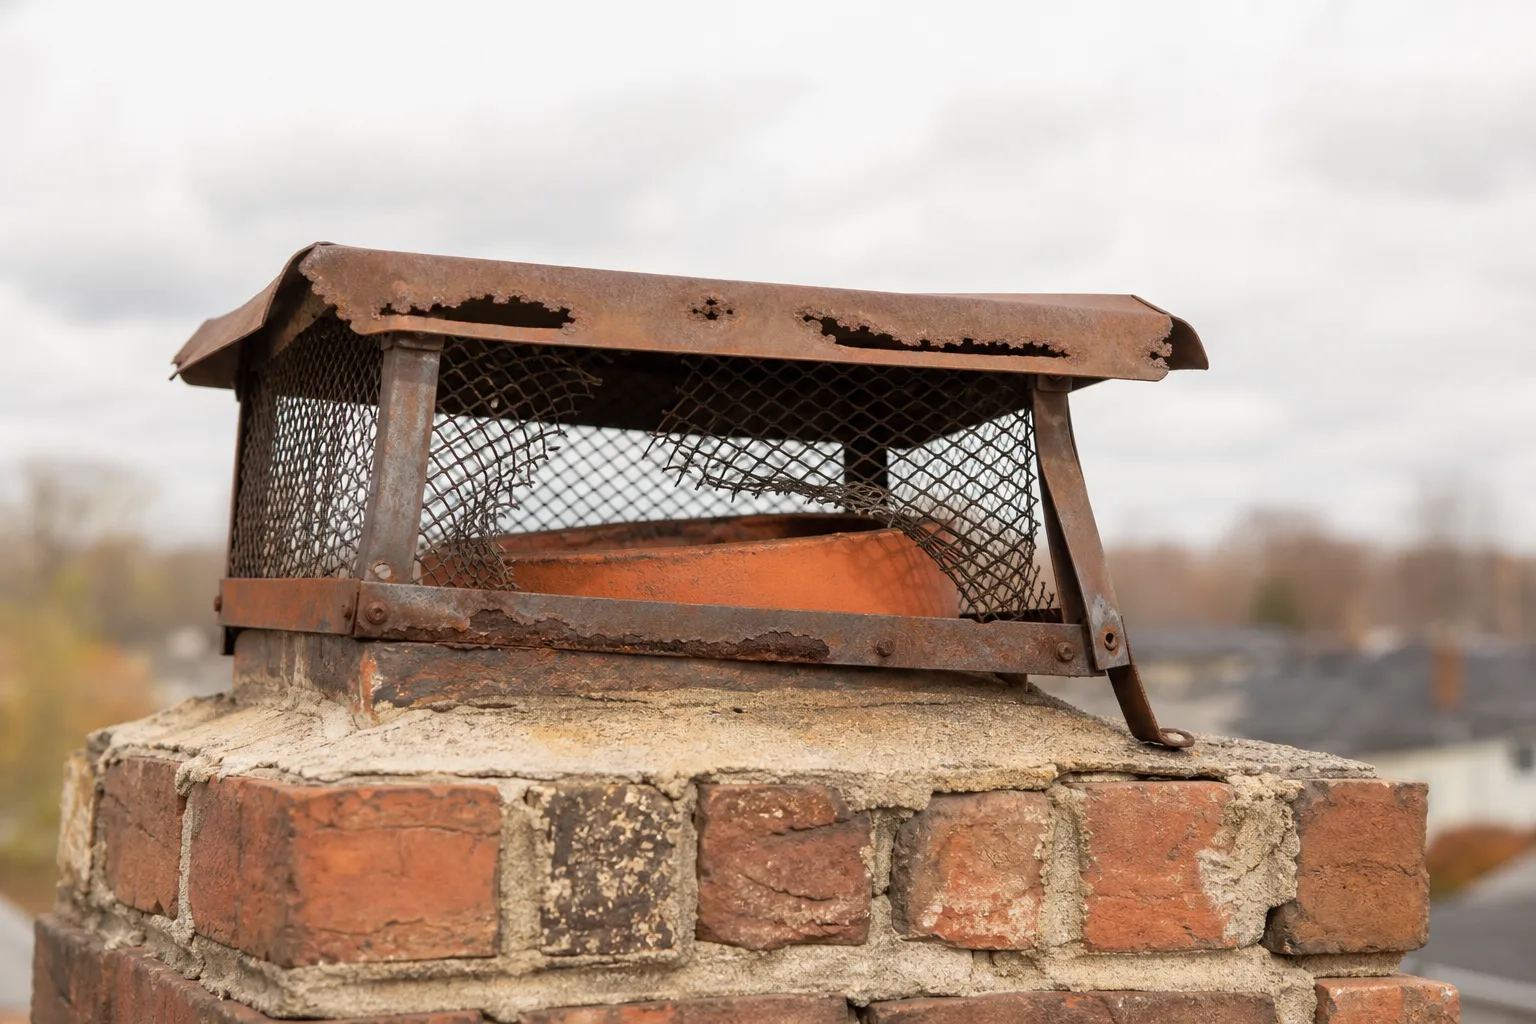
- Why Did the Existing Chimney Cap Fail?
- What Can Happen If a Chimney Goes Capless Through Winter?
- How to Choose the Correct Size and Mounting Style
- Galvanized Steel, Stainless Steel, or Copper?
- When Does a Multi-Flue Chimney Need a Full-Coverage Cap?
- What Happens During Professional Cap Replacement?
Quick answer
Chimney cap replacement is the right fix when the cap is rusted through, cracked, bent, incomplete, incorrectly sized, or unable to stay attached. A solid, correctly sized cap with a loose fastener may only need suitable new hardware, but the flue tile, crown, and exhaust clearance should be checked before it is secured.
When Is Chimney Cap Replacement the Right Fix?
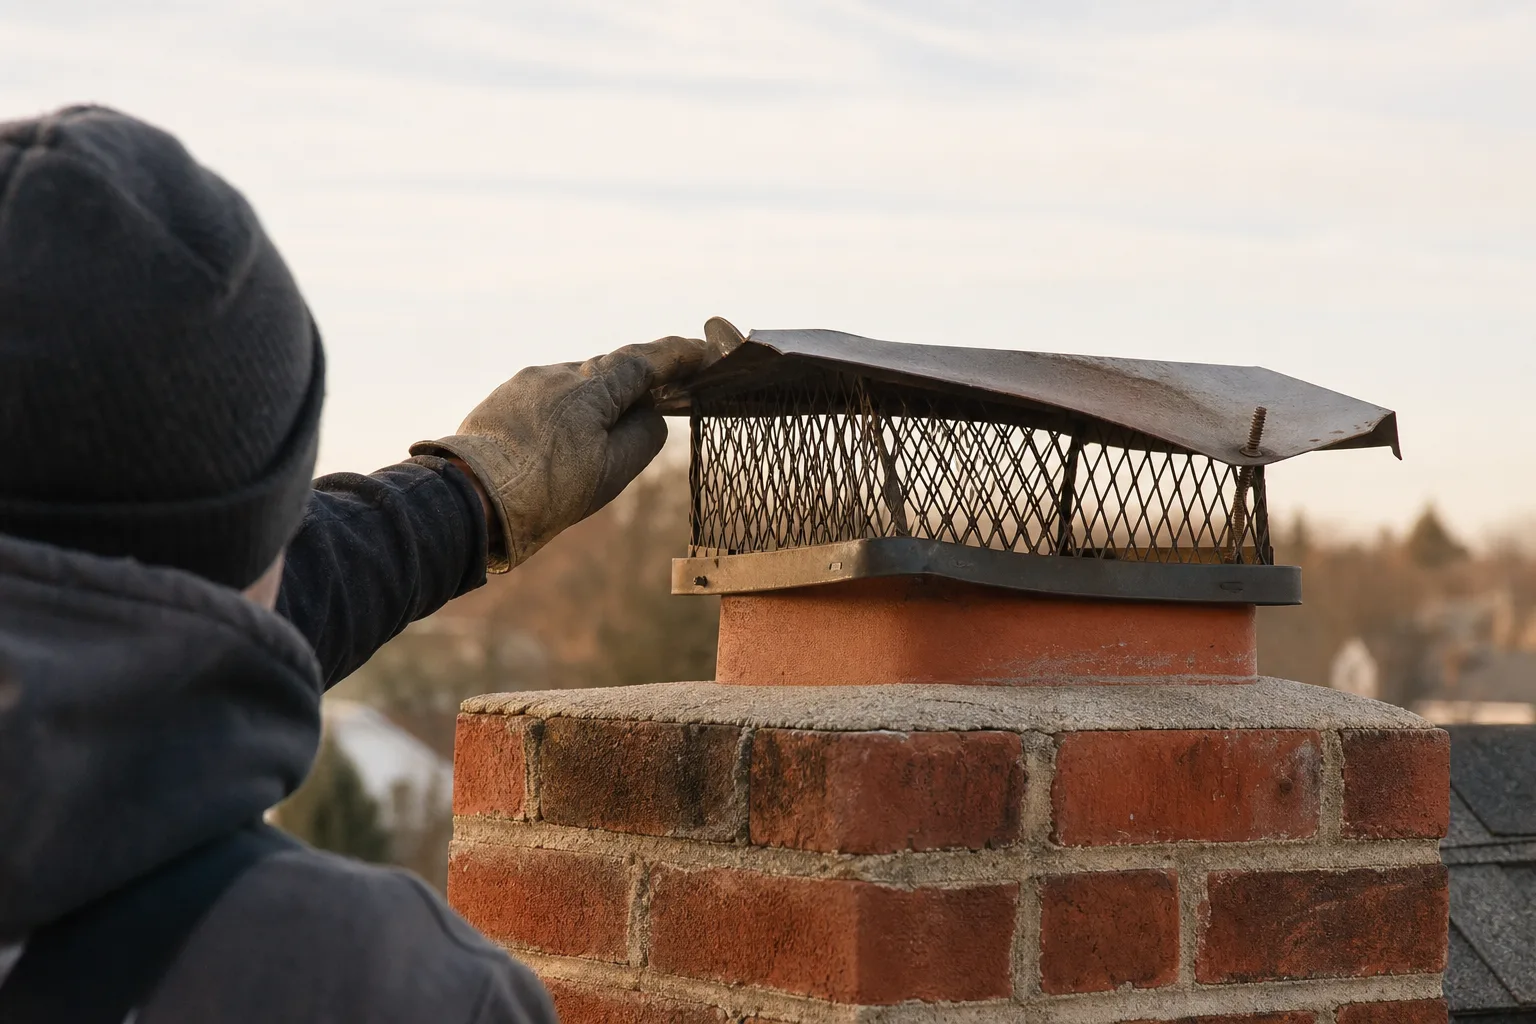
Chimney cap replacement is the right fix when the existing cap is rusted through, cracked, badly bent, missing pieces, incorrectly sized, or unable to stay attached. An intact cap that fits the flue and has only lost a fastener may instead need new mounting hardware and careful re-securing.
Rust holes, split screening, a warped lid, and broken welds cannot be corrected with tighter screws. Replacement also makes sense when the cap sits crooked, pinches the flue opening, or repeatedly shifts in ordinary wind despite prior attempts to secure it.
| What you see | Likely next step |
|---|---|
| Solid cap with one loose fastener | Re-secure it with suitable mounting hardware |
| Rust holes or detached screening | Replace the cap |
| Bent lid or damaged supports | Replace the cap and check exhaust clearance |
| Cap rocks even when fasteners are tight | Verify sizing and mounting style before replacement |
| Cracked flue tile or crown beneath the cap | Repair the damaged surface before securing a cap |
A loose cap deserves prompt attention because it can scrape the flue tile, fall into the yard, or partially cover the opening. A missing cap leaves the flue exposed to water and debris, but the urgency of fireplace shutdown depends on what happened and what may have entered.
Stop using the fireplace if the cap collapsed over the opening, a storm damaged the chimney top, an animal or nest may be inside, or pieces of tile and masonry are visible. Smoke spilling into the room, weak draft, unusual odors, and debris in the firebox are also reasons to leave the system unused until it has been inspected.
Safety note: Do not climb onto a steep, wet, icy, or fragile roof to retrieve or tighten a cap. From the ground, binoculars can help you confirm that something moved, but safe roof access and a close inspection are needed to determine why.
Use this ground-level checklist after you notice a missing or crooked cap:
- Check the yard. Look for the cap, pieces of screen, screws, or masonry fragments.
- Check the chimney top. Look for a tilted cap, exposed flue, cracked crown, or missing tile pieces.
- Check the firebox. Look for water stains, leaves, nesting material, flakes of rust, or masonry debris.
- Check fireplace operation. Stop using it if smoke has spilled indoors or the draft has changed.
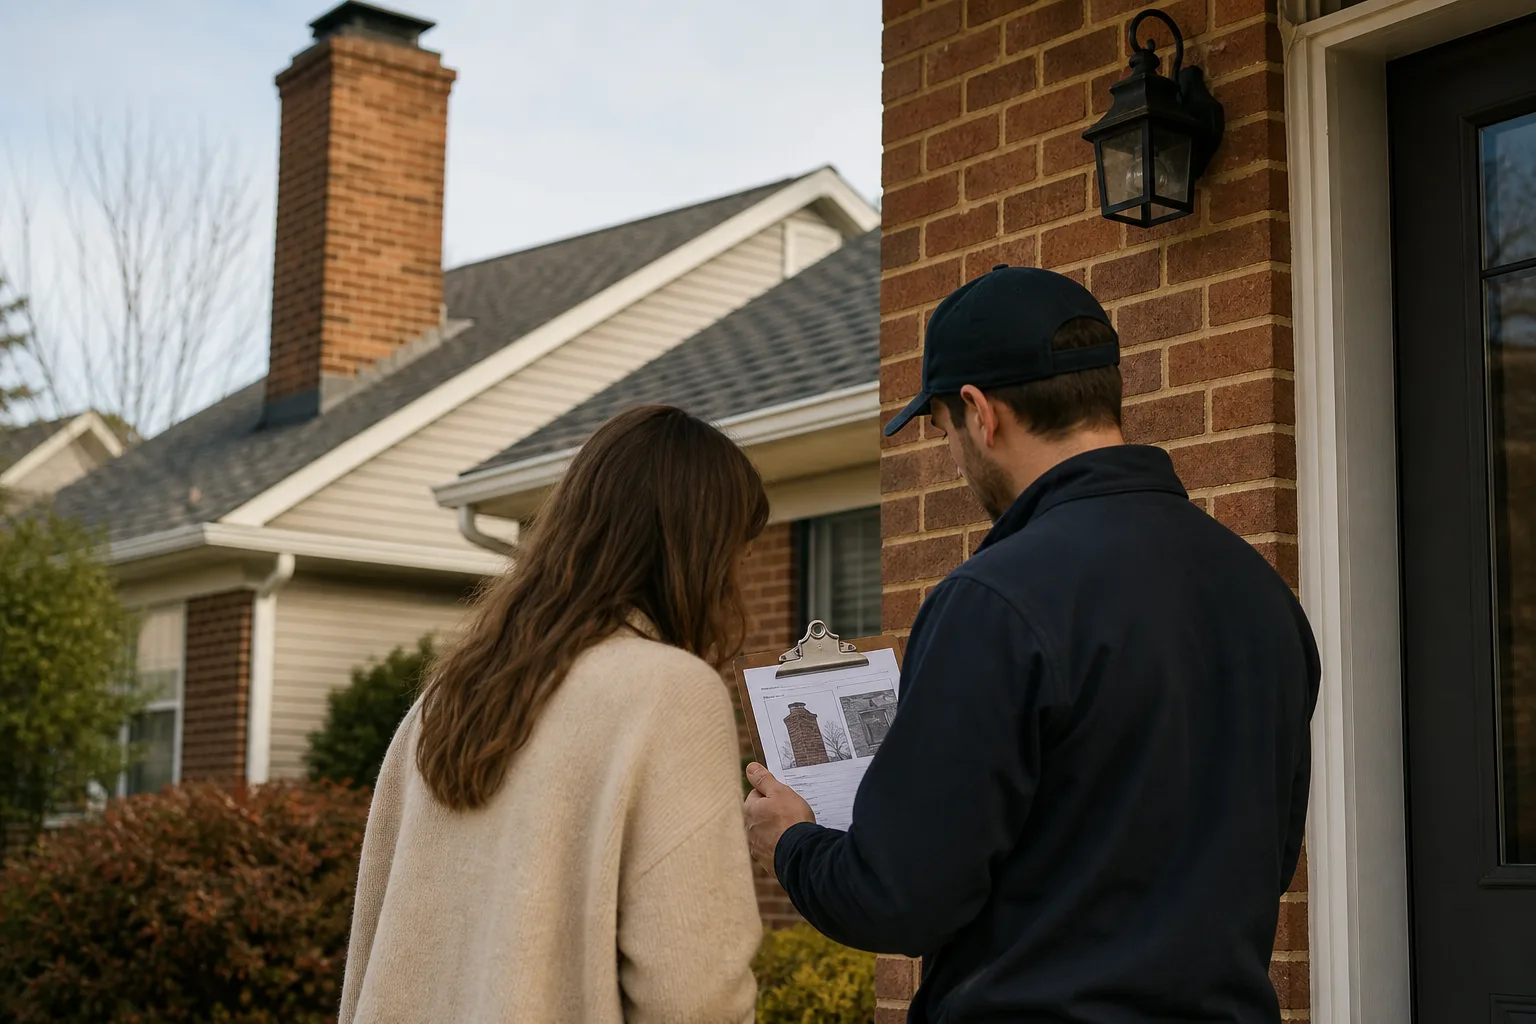
Want help deciding between repair and replacement? Request service or call (513) 655-6702 for a direct assessment of the cap, mounting surface, and flue opening.
Why Did the Existing Chimney Cap Fail?
Most cap failures trace back to corrosion, storm impact, animal pressure, weak fasteners, poor mounting, or a cap that never fit the flue correctly. Finding the cause before installing another cap keeps the same problem from returning after the next stretch of wind or wet weather.
Corrosion often begins along screen edges, seams, welds, and fastener holes where water lingers. Persistent moisture, harsh weather, and acidic flue deposits can eat through exposed metal until the lid rattles, the mesh separates, or a mounting leg breaks.
Wind damage is not always the result of an exceptional storm. An oversized cap can act like a sail, while a cap with too little grip on the flue tile may work loose through repeated gusts. If the fasteners are unsuitable for outdoor heat and moisture, corrosion or thread failure can release an otherwise sound cap.
From the field: A cap found in the yard often has a longer story than “the wind took it.” Technicians commonly find a poor fit, shallow attachment, deteriorated fasteners, or cracked tile beneath the mounting points.
Birds and other animals can bend light screening or push through an opening created by rust. Their nesting material can then hold moisture against the metal, add pressure around the screen, and interfere with the path exhaust needs to leave the chimney.
Sizing errors create different failure patterns. A cap that is too small may be forced onto the flue, stressing its corners and fasteners, while one that is too large can rock even after the screws are tightened. A crooked installation may also place most of the wind load on one attachment point.
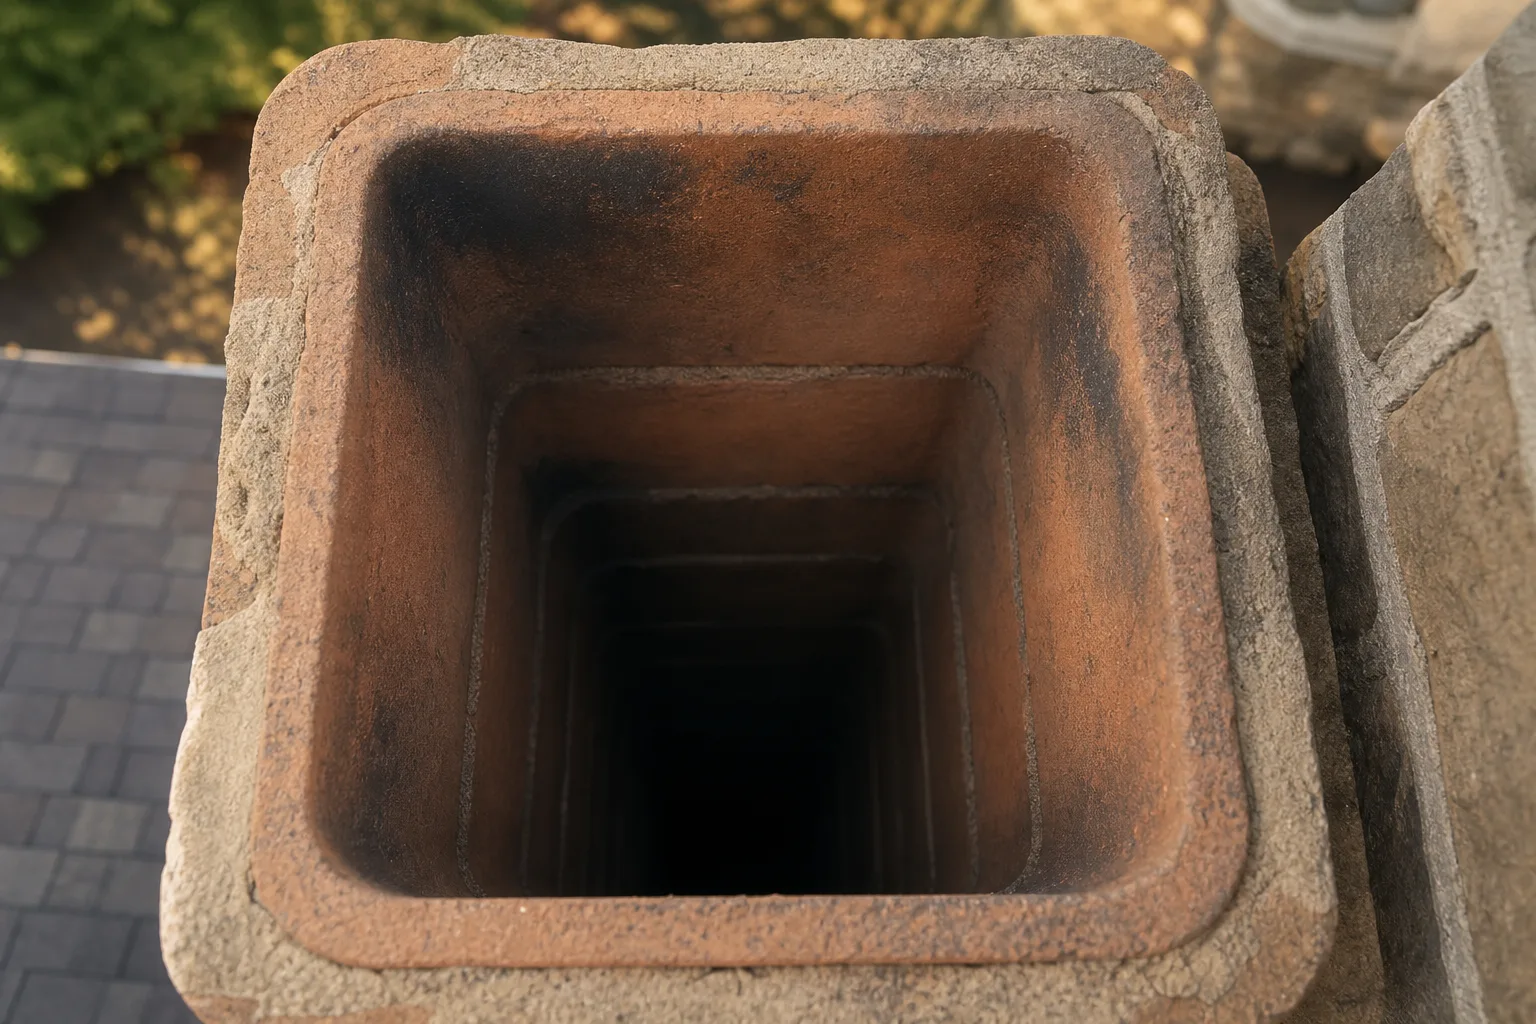
The flue tile, crown, and surrounding masonry must be checked before a new cap is attached. A cracked tile can break further when clamp screws are tightened, and a soft or fractured crown will not hold masonry fasteners reliably. Loose mortar, spalled brick, and open joints can also admit water beneath the replacement.
A sound chimney cap replacement addresses both the failed cap and the condition that caused it to fail, including any confusion about how the chimney cap differs from the crown. Simply placing new metal over damaged tile or masonry may produce a temporary attachment, but it does not create a dependable mounting surface.
What Can Happen If a Chimney Goes Capless Through Winter?
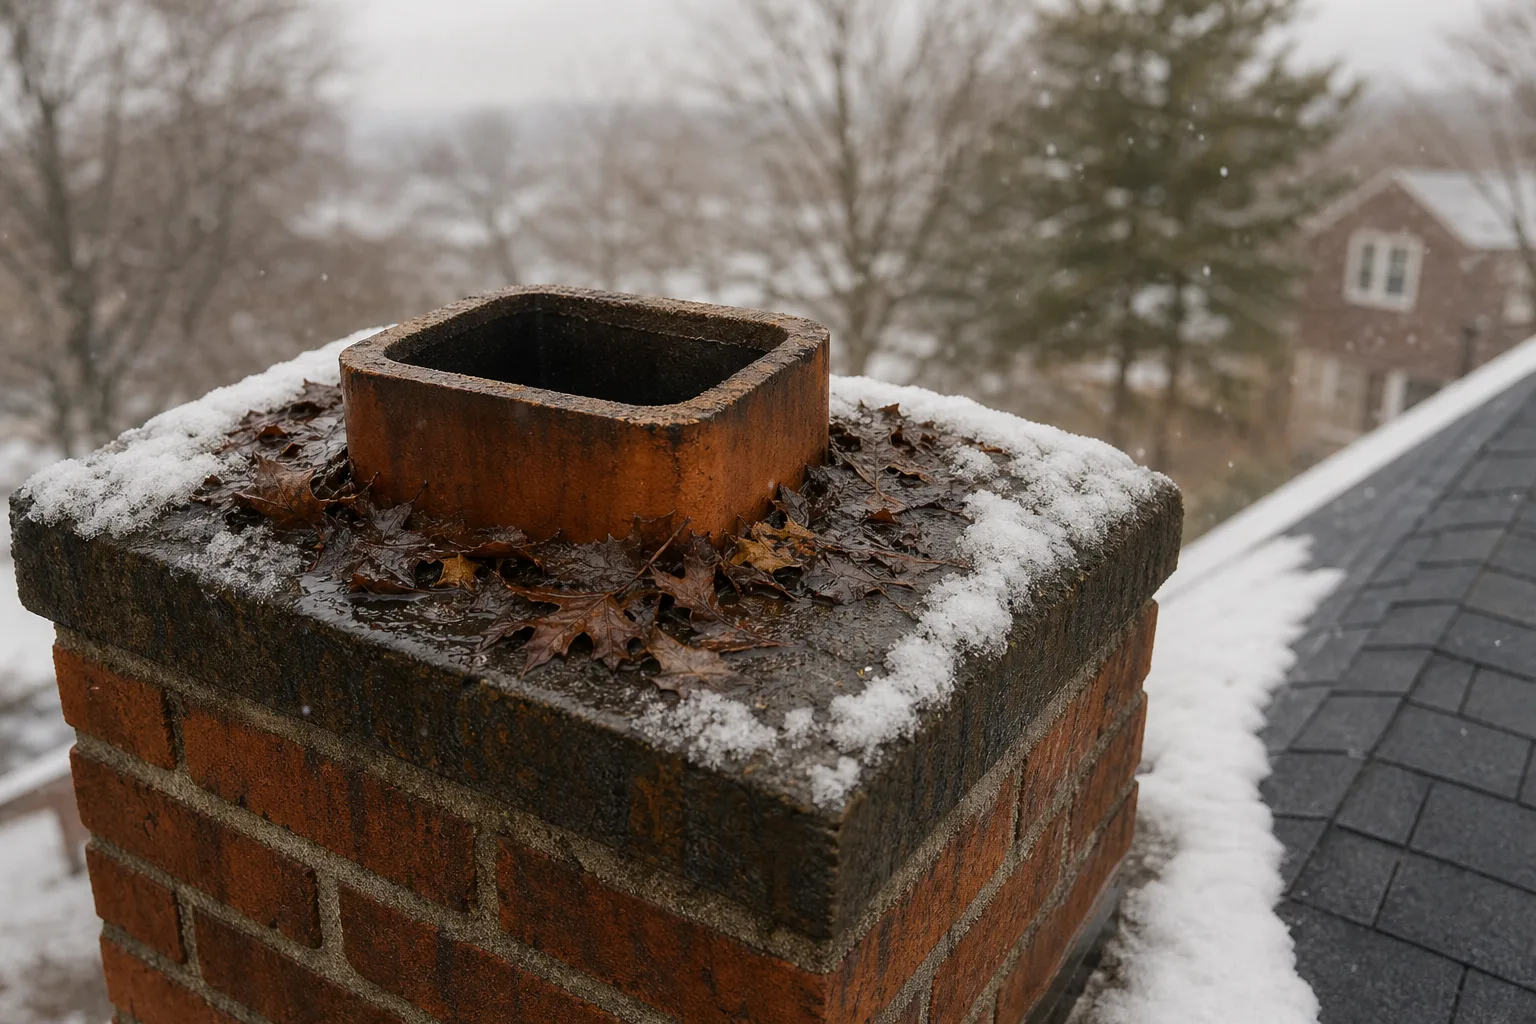
A chimney left capless through winter can collect rain, snow, leaves, and nesting debris while repeated freezing worsens existing cracks. Before a new cap is installed or the fireplace is used, the flue should be checked for moisture damage, loose material, animal activity, and anything that could restrict exhaust.
Water entering an open flue can run down the liner and reach joints, smoke chamber surfaces, the damper area, or metal firebox components. Some moisture evaporates, but repeated wetting can stain masonry, corrode metal, soften old mortar, and reveal liner defects that were not obvious from the roof.
Freeze and thaw cycles are especially hard on already cracked tile, crown material, and mortar joints. Water enters small openings, freezes, expands, and can loosen additional material. The damage may appear at the chimney top, inside the flue, or lower down as flakes and fragments collect above the damper.
Myth vs. fact: Myth: An unused fireplace is safe to leave uncapped all winter because no fire is burning. Fact: Weather and animals can still enter the chimney, and the resulting blockage or damage may not become obvious until the next fire is lit.
Leaves, twigs, and windblown debris can settle on a smoke shelf or lodge against a bend or liner transition. Birds and small animals may build nests in sheltered areas, creating a tighter restriction than the material visible from below suggests.
A restricted flue can cause smoke and combustion gases to spill into the home instead of leaving through the chimney. Dry nesting material and leaves may also ignite when the fireplace is used, so shining a flashlight into the firebox is not a substitute for inspecting the full venting path.
Do not assume that installing a cap closes the case after a capless winter. The technician should inspect the liner opening, check the crown and flue tile, remove blockages, and look for water-related deterioration before covering the top. If debris, damaged liner sections, or signs of prolonged moisture are found, those conditions should be corrected first, while roofline leaks may require deciding whether chimney flashing repair is enough or full reflashing is needed.
How to Choose the Correct Size and Mounting Style
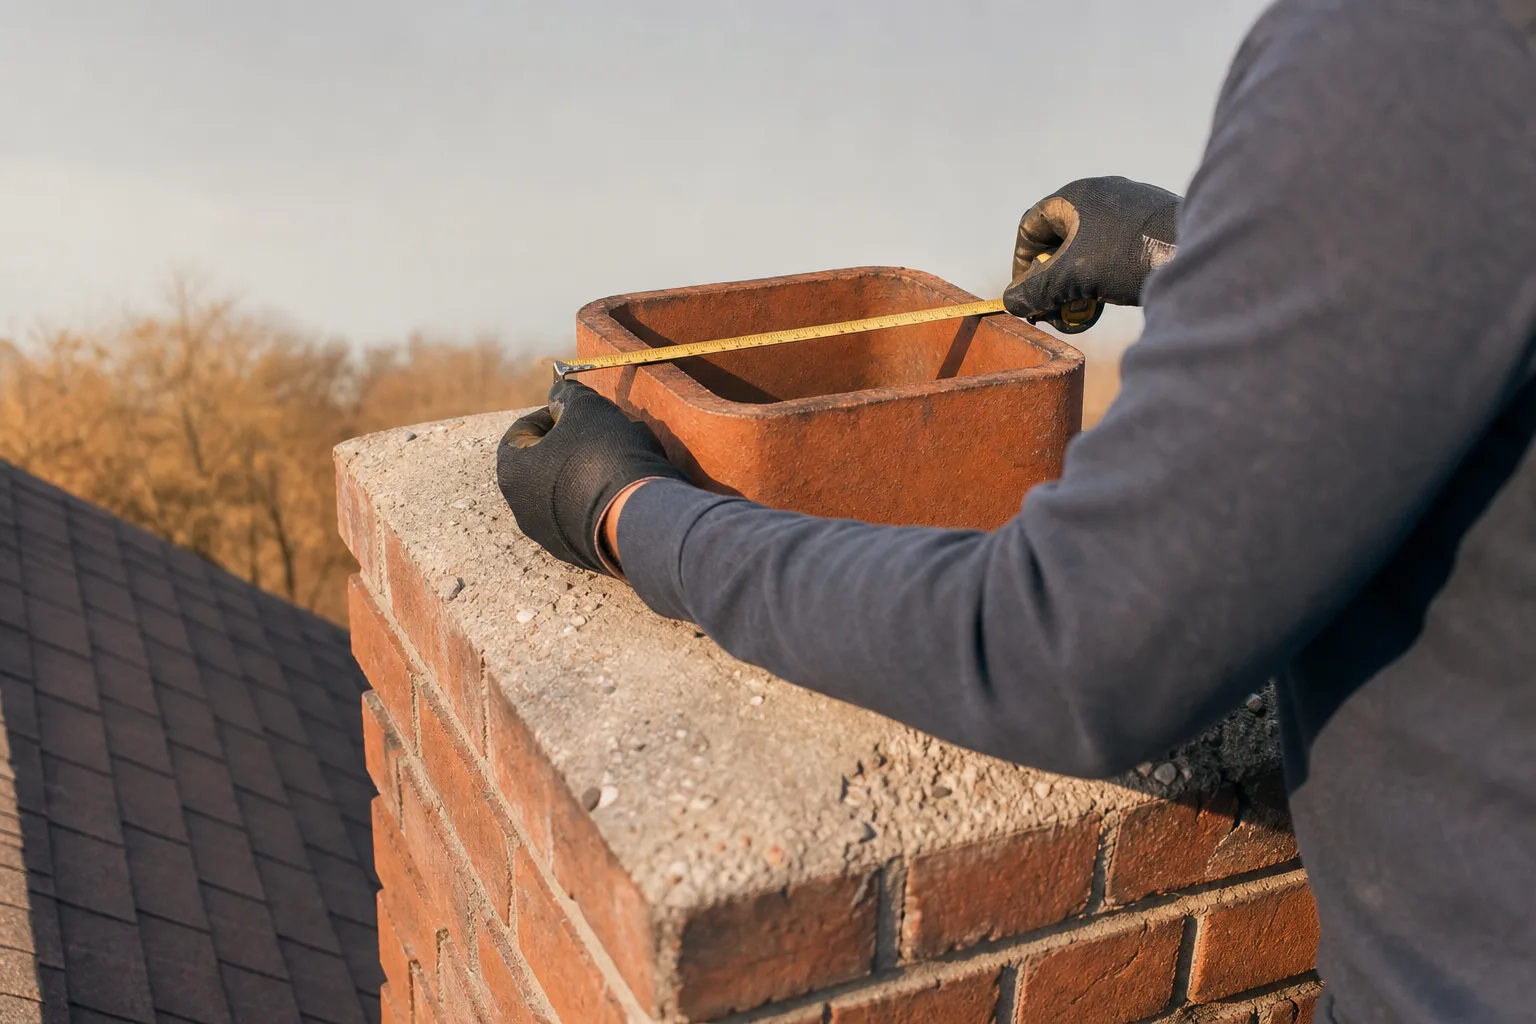
The correct cap is chosen by measuring the flue shape, outside dimensions, projection above the crown, available mounting surface, and the clearance needed above the opening. The mounting style must suit the actual chimney top, not merely resemble the cap that blew off or rusted away.
For an exposed clay tile, measurements are taken across the outside edges because most single-flue caps clamp around the tile. The tile must project far enough above the crown for the cap to grip without placing the fasteners on a cracked edge or forcing the screen down against the opening.
Round metal flues require a cap made for the vent type, diameter, and connection method. A generic clamp-on cap should not be forced onto a listed metal chimney system, since the cap must preserve the assembly’s intended exhaust path, weather protection, and required clearances.
A crown-mounted cap may be appropriate when the flue tiles are too close together, project too little for secure clamps, or need protection as a group. Crown mounting requires sound masonry, suitable fasteners, and placement that avoids weak edges, open cracks, and areas where drilling could break loose deteriorated material.
Pro tip: Measure each side even when a clay flue looks square from the ground. Older tiles can be slightly irregular, and crown repairs may leave less mounting room on one side than another.
Clearance above and around the flue opening affects draft. An undersized lid or low screen can crowd the exhaust path, trap soot, and contribute to smoke problems. The required space depends on the flue, appliance, cap design, and any applicable listing, so visual guesswork is not enough.
An oversized cap creates a different problem. Extra lid area catches more wind, and loose mounting legs can let the cap twist, chatter, or pull against the flue tile. Tightening harder is not a safe cure if the cap does not match the flue.
A broader chimney cap guide can help you compare common cap layouts, but final measurements should be taken at the chimney top. Photos from the yard rarely show tile projection, hidden crown cracks, or the exact amount of solid surface available for attachment.
Before choosing the mounting style, confirm these points:
- Measure the flue. Record its outside length, width, or diameter at the top.
- Measure the projection. Confirm how far the flue rises above the crown and whether the edge is sound.
- Inspect the mounting surface. Look for cracks, loose mortar, patched areas, and crumbling crown material.
- Confirm exhaust space. Make sure the lid and screening will not crowd the flue opening.
- Account for nearby flues. Check whether another cap, taller tile, or adjoining exhaust path affects fit and clearance.
A technician can then select a cap that sits level, grips a sound surface, and remains clear of the exhaust opening. This is also the point to identify whether the chimney needs a single-flue cap, a crown-mounted design, or a later full-coverage solution for multiple flues.
Need accurate measurements without getting on the roof? Book a chimney cap assessment or call (513) 655-6702 to arrange a safe inspection and clear replacement recommendation.
Galvanized Steel, Stainless Steel, or Copper?
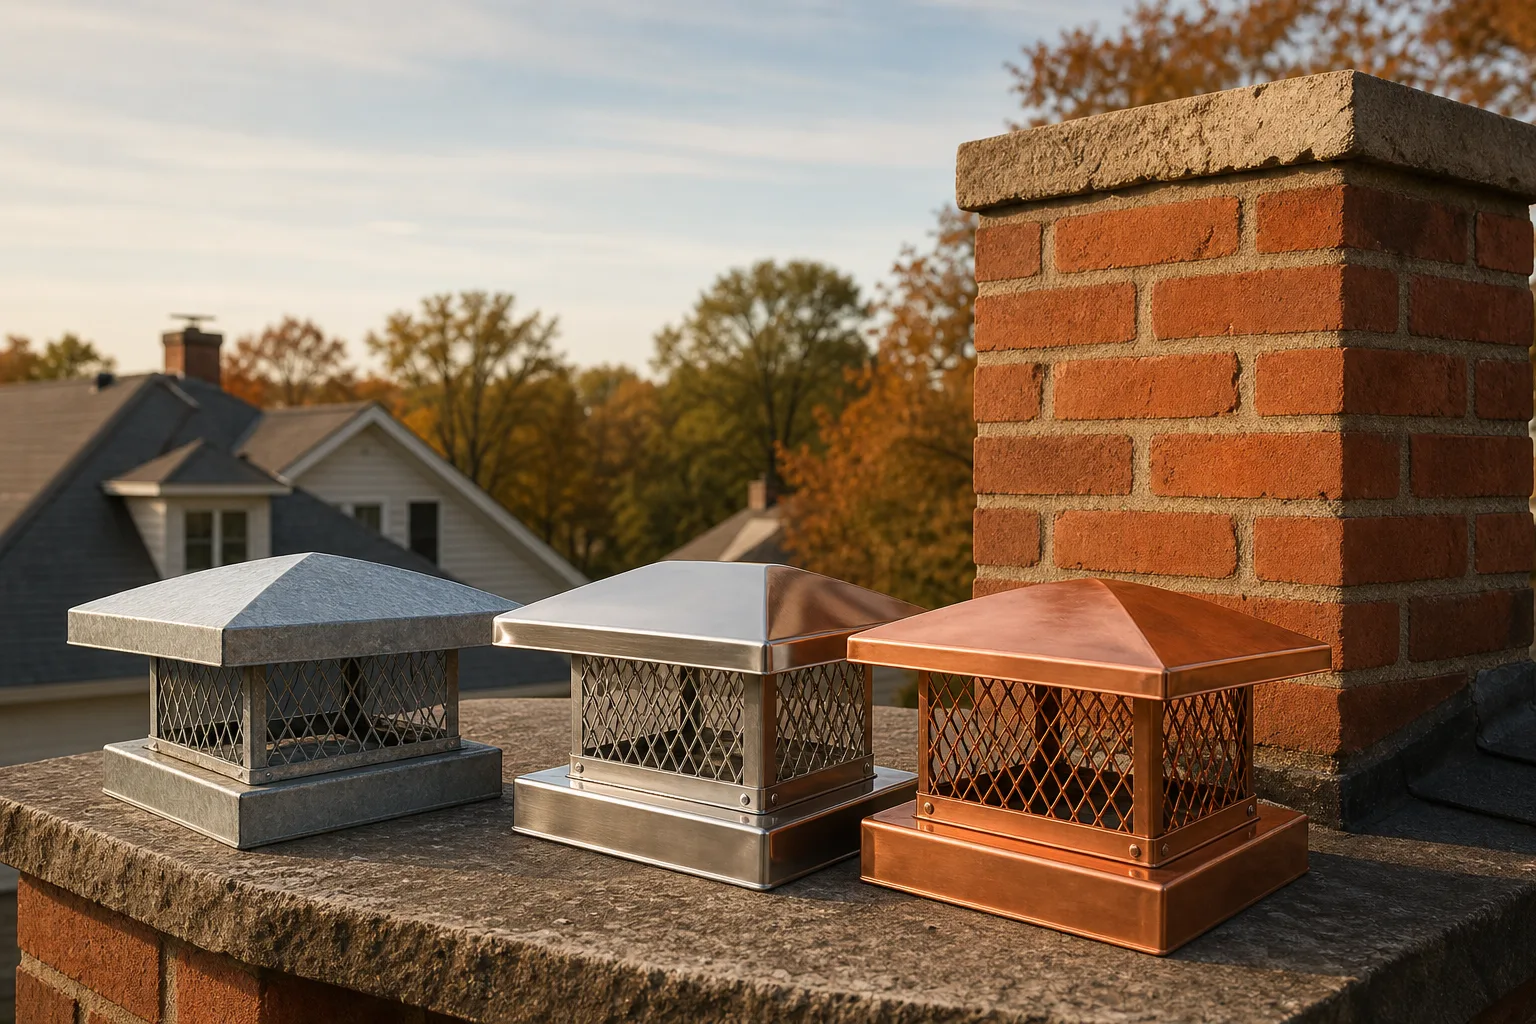
For chimney cap replacement, stainless steel is often the practical long-term choice, especially when the old cap failed from rust. Galvanized steel can suit a sheltered chimney and a tighter budget, while copper is selected for durability and appearance. The right material still depends on moisture exposure, nearby metals, and chimney conditions.
| Material | Where it fits | What to consider |
|---|---|---|
| Galvanized steel | A practical replacement in moderate conditions | Its protective coating can wear or become damaged, allowing corrosion to begin. Persistent moisture, coastal air, and harsh weather may shorten its service life. |
| Stainless steel | Chimneys exposed to frequent rain, snow, or corrosive conditions | It resists corrosion well and is often preferred after a galvanized cap has rusted through. Matching stainless fasteners help prevent weak attachment points. |
| Copper | Homes where appearance and long service life both matter | Copper develops a patina and changes color over time. Runoff, nearby metals, and the look of the chimney should be considered before installation. |
Galvanized steel is not automatically a poor choice. A properly fitted cap can perform well when the coating remains intact and water does not sit around seams or fasteners. Once rust has opened holes in the lid or screening, painting over the damage does not restore the cap's strength.
Stainless steel is commonly chosen when a chimney stands above an exposed roofline or the previous cap corroded early. The lid, mesh, mounting band, and fasteners should be compatible, since a rust-resistant cover gains little from hardware that loosens or deteriorates first.
Copper offers a distinctive finish, but the bright new-metal color will not remain. It gradually darkens and may develop a green patina, while runoff can stain some masonry or roofing materials. Copper components also need compatible hardware to reduce reactions between dissimilar metals.
Pro tip: Look beyond the cap's lid when comparing materials. Technicians often find that the screen, screws, or mounting band failed before the main cover, so the complete assembly matters.
Ready for a clear material recommendation? Request service or call (513) 655-6702 to have the chimney top and existing mounting conditions checked.
When Does a Multi-Flue Chimney Need a Full-Coverage Cap?
A multi-flue chimney needs a full-coverage cap when one chimney cap replacement should protect several flues, shield more of the crown, or provide a secure mount where individual flue caps do not fit well. Separate caps may still work when each tile has enough height, spacing, and sound surface for independent attachment.
A full-coverage cap spans the flue group and usually attaches at the crown or chimney perimeter. This arrangement can keep more rain and snow off the crown while reducing the collection of separate fasteners around closely spaced tiles. It can also cover irregular flue layouts that leave little room for individual mounting bands.
Separate caps remain reasonable when the flue tiles are well spaced, structurally sound, and tall enough to accept the correct mounts. Each cap must provide adequate exhaust clearance without crowding the neighboring flue or creating a path for smoke to enter another opening.
Before selecting a full-coverage model, a technician measures:
- Measure the entire flue group. Include the outside edges of every tile, not only the distance between their centers.
- Compare flue heights. Look for one tile that projects higher or lower than the others, since the cap roof and screening must clear them all.
- Check the crown. Look from the ground for cracks, missing sections, or a surface that slopes toward the flues and holds water.
- Confirm mounting room. Account for crown edges, overhangs, nearby roof surfaces, and enough sound masonry for secure fasteners.
- Plan for future access. The cap should be removable without damaging the crown when the flues need inspection or sweeping.
From the field: Crowded flue tiles often tempt installers to squeeze on caps that are too small. The result may look acceptable from the yard, yet the screen can sit too close to an opening or the mounting screws may catch only a thin edge of clay.
Shared screening must have enough open area for all active flues and enough height to keep exhaust paths clear. A cap that is too low can interfere with draft, while poorly positioned screening may collect soot or allow exhaust from one flue to affect another. Fireplace and appliance flues also need to be identified before the cover is designed.
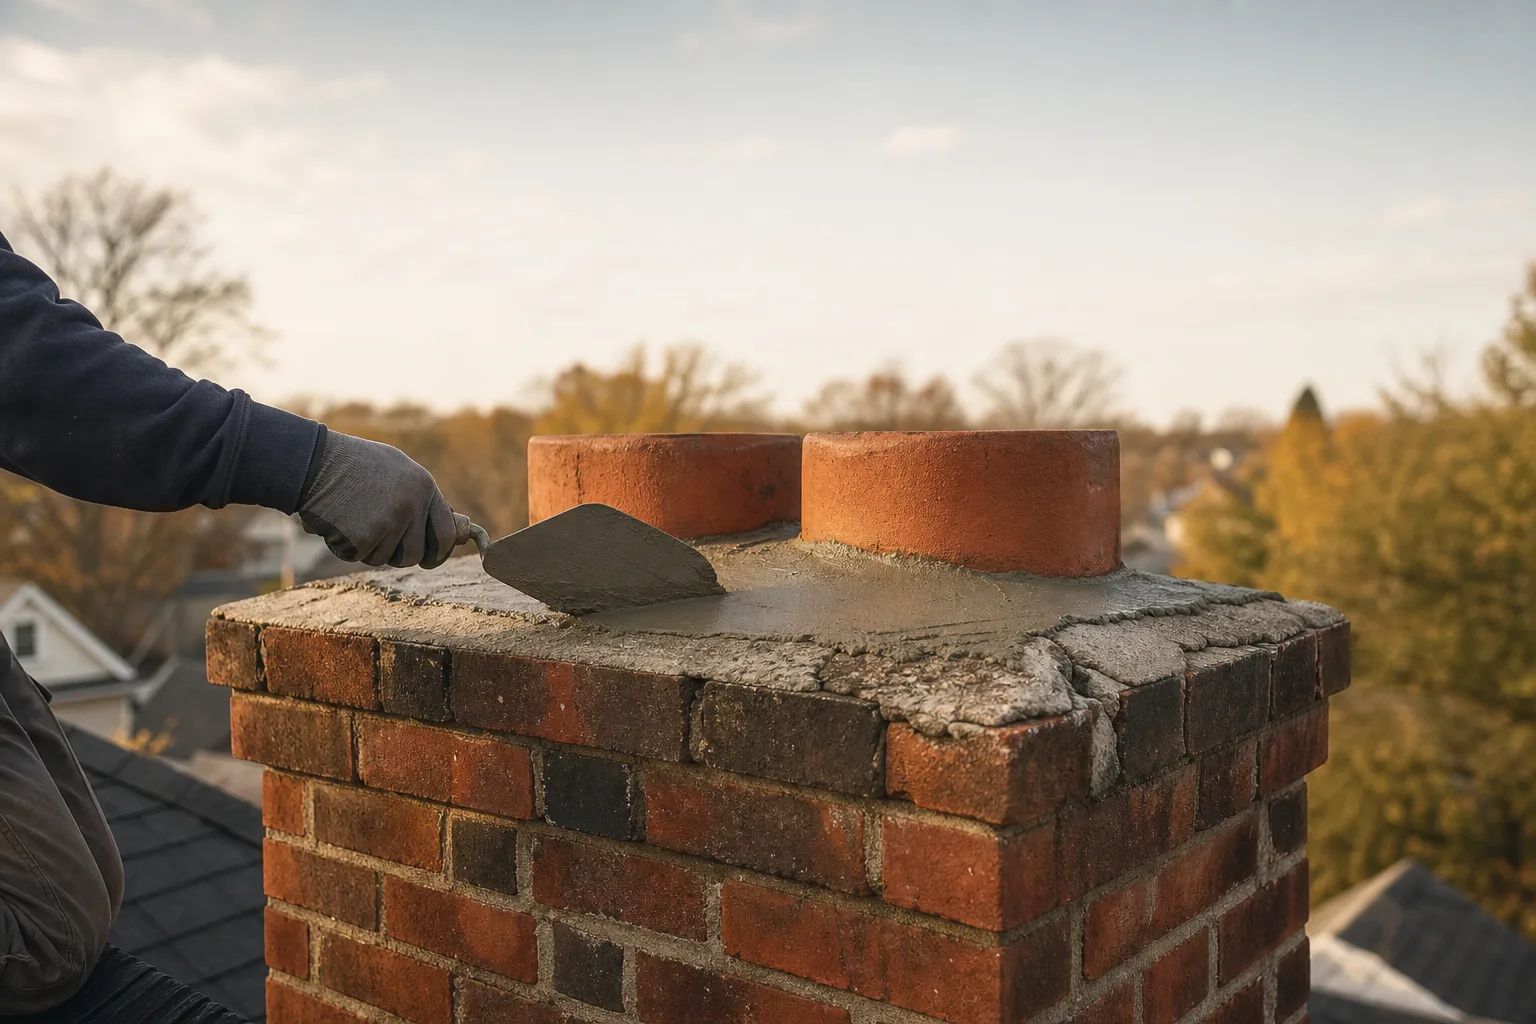
The crown must be sound enough to support a full-coverage cap. Crumbling mortar, loose concrete, or cracks around the tiles should be repaired before mounting, rather than hidden beneath a new cover. The finished cap should also allow a technician to remove or open it during later inspections.
Not sure whether separate caps or one cover makes sense? Schedule an on-site assessment or call (513) 655-6702 for a recommendation based on the actual flue layout.
What Happens During Professional Cap Replacement?
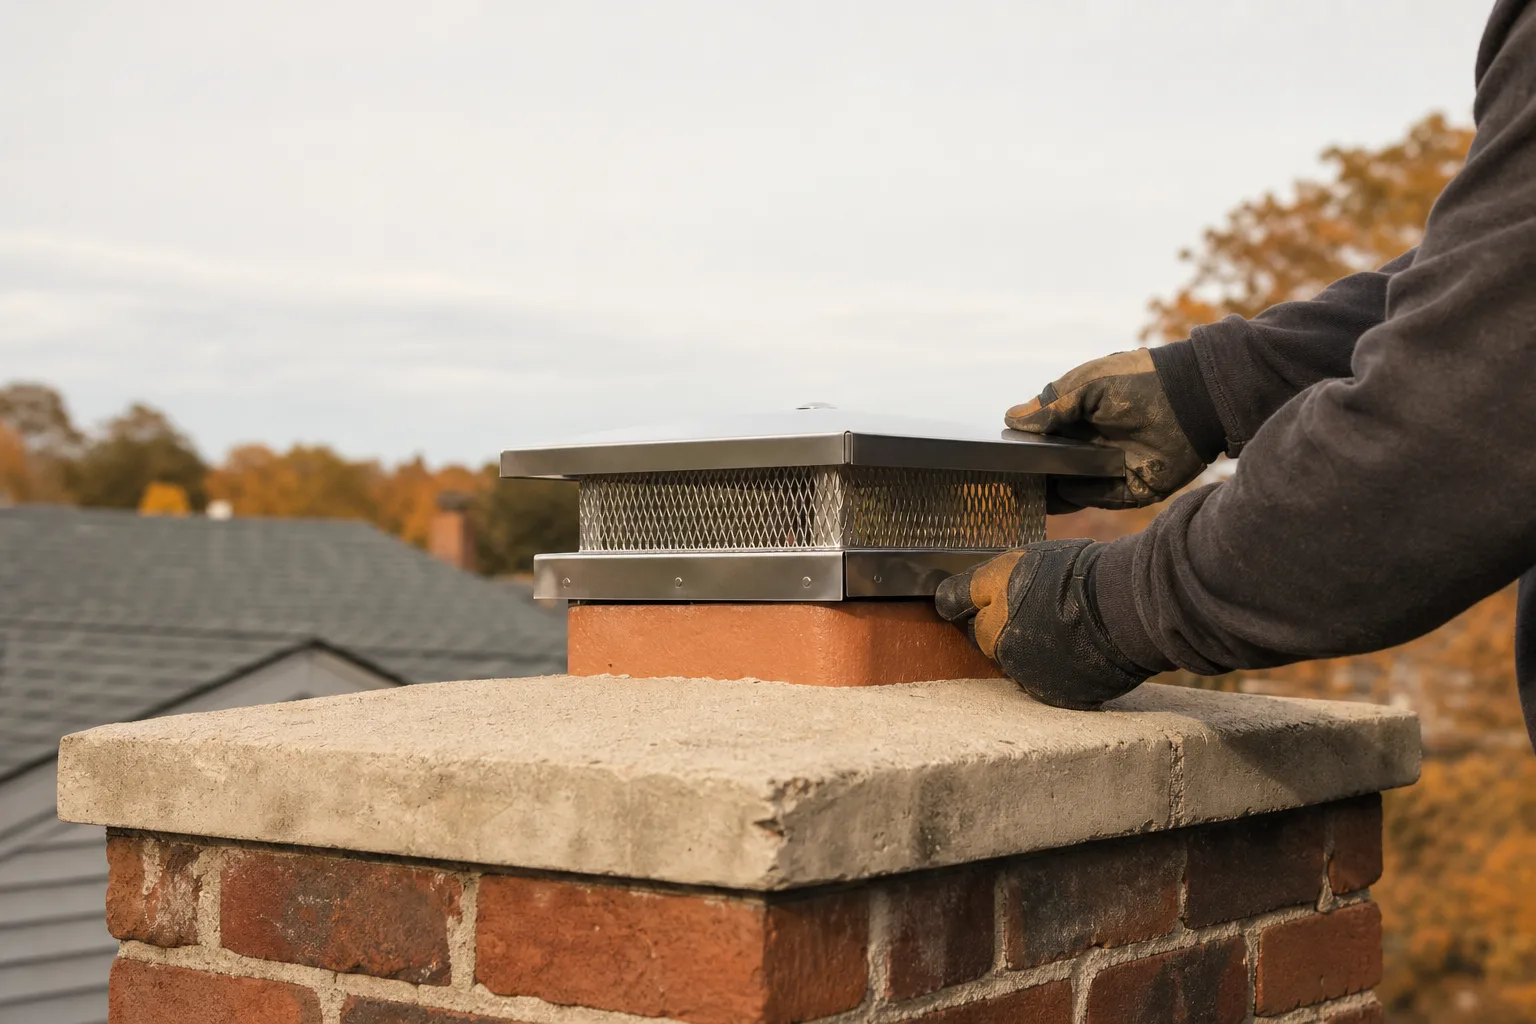
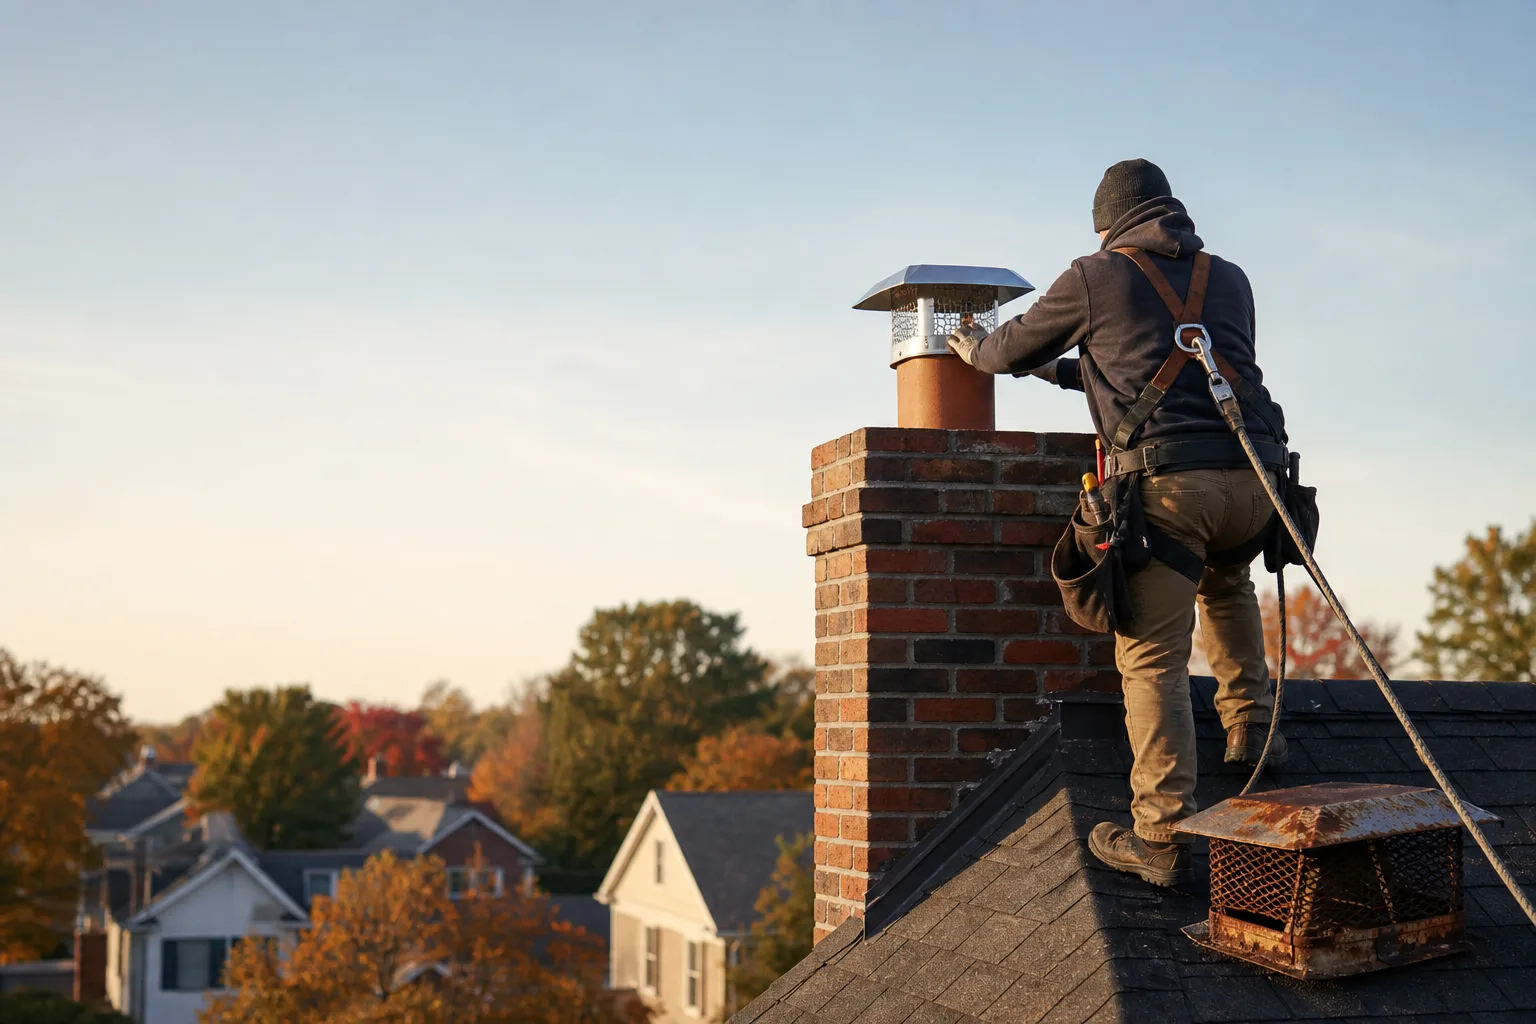
Professional cap replacement starts with an inspection of the chimney top, followed by removal of the failed cap and a check of the flue, crown, and mounting surfaces. The technician then selects the correct size and attachment method, secures the new cap, and confirms that it has proper exhaust clearance and does not shift.
Safe roof access comes first. Pitch, height, wet roofing, ice, weak shingles, and overhead obstructions can change how the work is approached. A cap that appears easy to reach from a ladder may sit beyond a safe working position once the old fasteners resist removal.
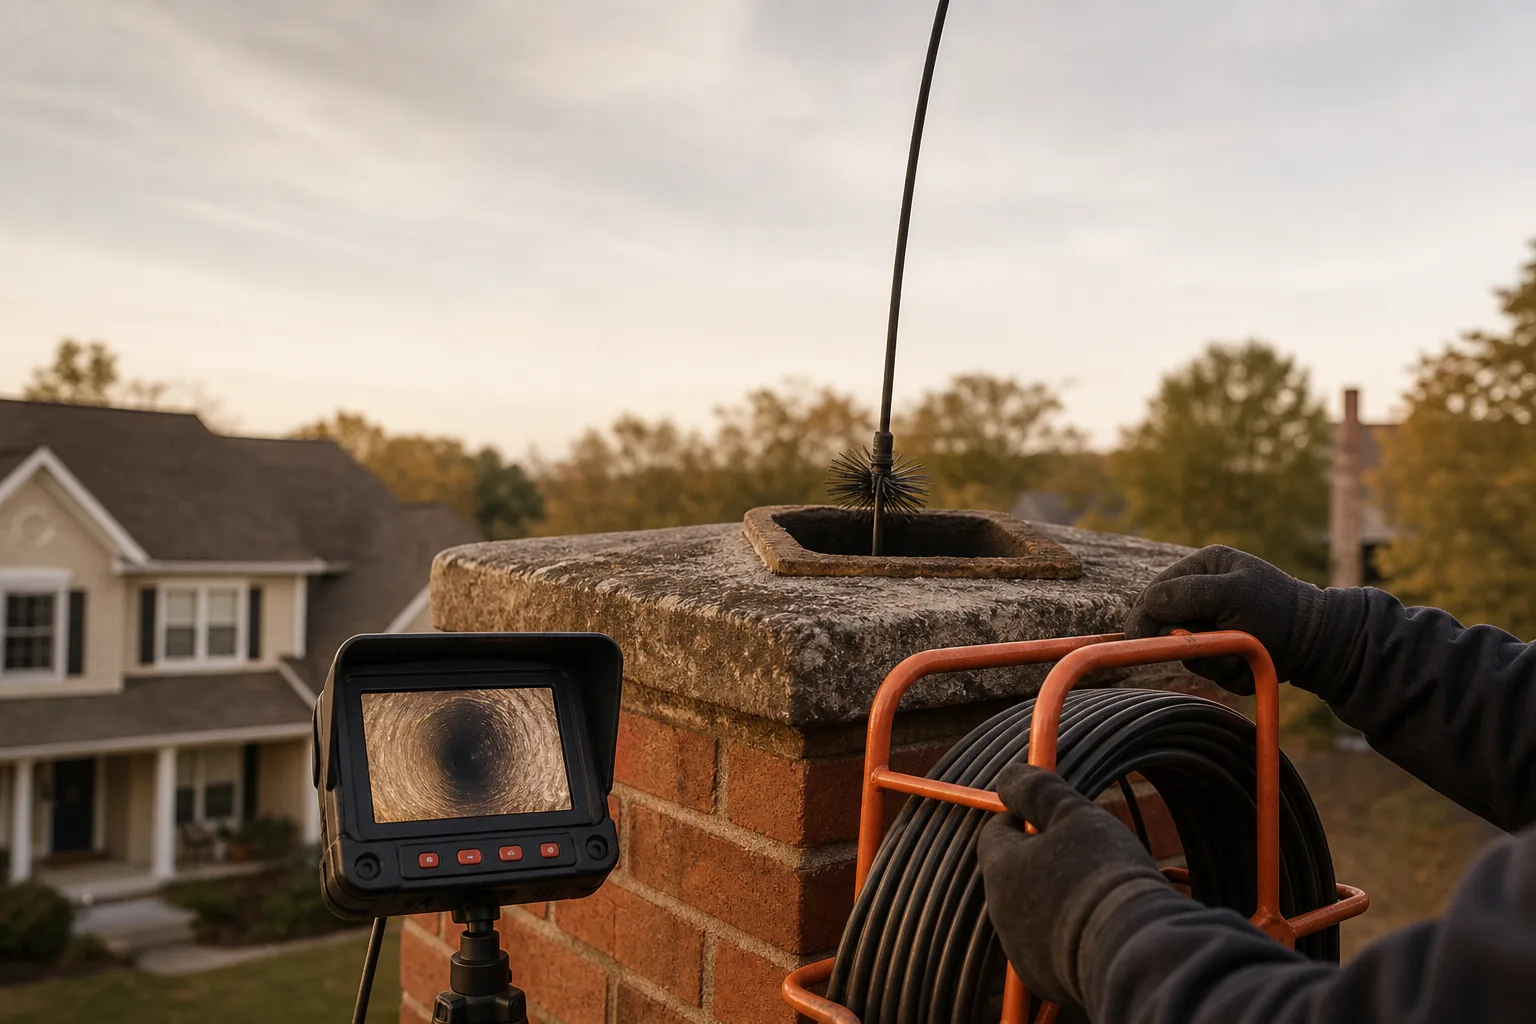
After removing the cap, the technician checks for rust fragments, nests, leaves, damaged screening, and signs that water entered the flue. The exposed flue tile is examined for cracks or broken corners, and the crown is checked for open joints, loose material, or areas that cannot hold fasteners securely.
Safety note: A loose cap can shift without warning, and clay flue edges can break under hand pressure. Do not climb onto the roof or use the fireplace if the cap is hanging into the flue, the liner appears blocked, or pieces have fallen inside.
Measurements are taken again at the chimney rather than copied from the old cap. The failed unit may have been undersized, oversized, or mounted to the wrong surface. Shape, outside flue dimensions, tile projection, screen height, lid overhang, and available attachment points all affect the replacement.
During a professional chimney cap installation appointment, the new unit is attached with hardware suited to the cap and mounting surface. The technician checks that the screen remains clear of the flue opening, the lid sheds water beyond the opening, and the assembly stays stable when tested by hand.
A cracked crown, loose flue tile, damaged liner, or deteriorated masonry may need repair first. Fastening a new cap to failing material can split the tile, open a water path, or allow the entire assembly to loosen in the next storm. Repairing the support surface is part of making the replacement last.
Good to know: A recommendation to delay cap installation until masonry or flue repairs are completed is not an unnecessary extra step. A secure cap needs solid material beneath every clamp, screw, or anchor.
The final check confirms that no tools or debris remain in the flue, the cap sits level, and required clearances are maintained. If the chimney was previously open to weather or animals, an internal inspection may also be needed before the fireplace or connected appliance returns to service.
If your cap is missing, damaged, or unsafe to reach, book chimney cap service or call (513) 655-6702 for a straightforward inspection and replacement recommendation.
Symptom checker
What is your chimney doing?
Tap the closest match for an honest first answer.