



On this pageWhat does a chimney cap do, and does every chimney need one?8 sections+7
- What does a chimney cap do, and does every chimney need one?
- Know the parts at the top of your chimney
- Types of caps and where each one works best
- How to choose the right size and fit
- Signs your cap is missing, damaged, or poorly installed
- Installation, safety, and code considerations
- Cleaning and maintaining the cap
- A practical decision guide for your chimney
Quick answer
A chimney cap keeps rain, snow, animals, leaves, and debris out while allowing exhaust to escape. Most masonry chimneys benefit from a properly fitted cap, but factory-built chimneys need the listed termination made for their venting system, and unused flues should not simply be sealed shut.
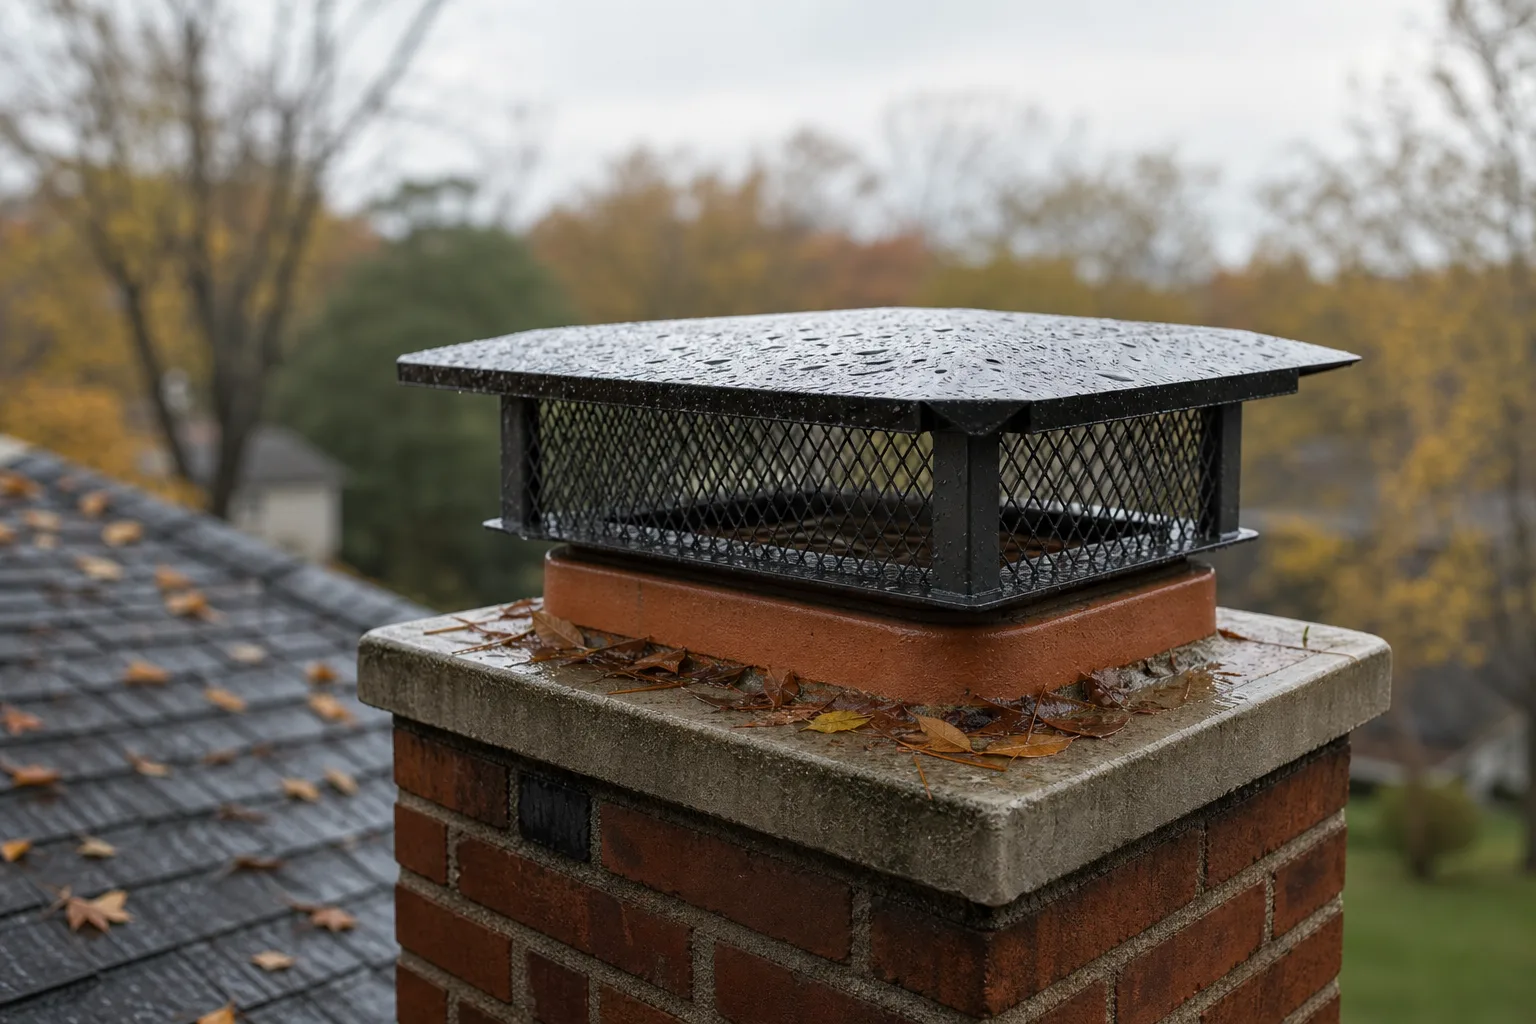
What does a chimney cap do, and does every chimney need one?
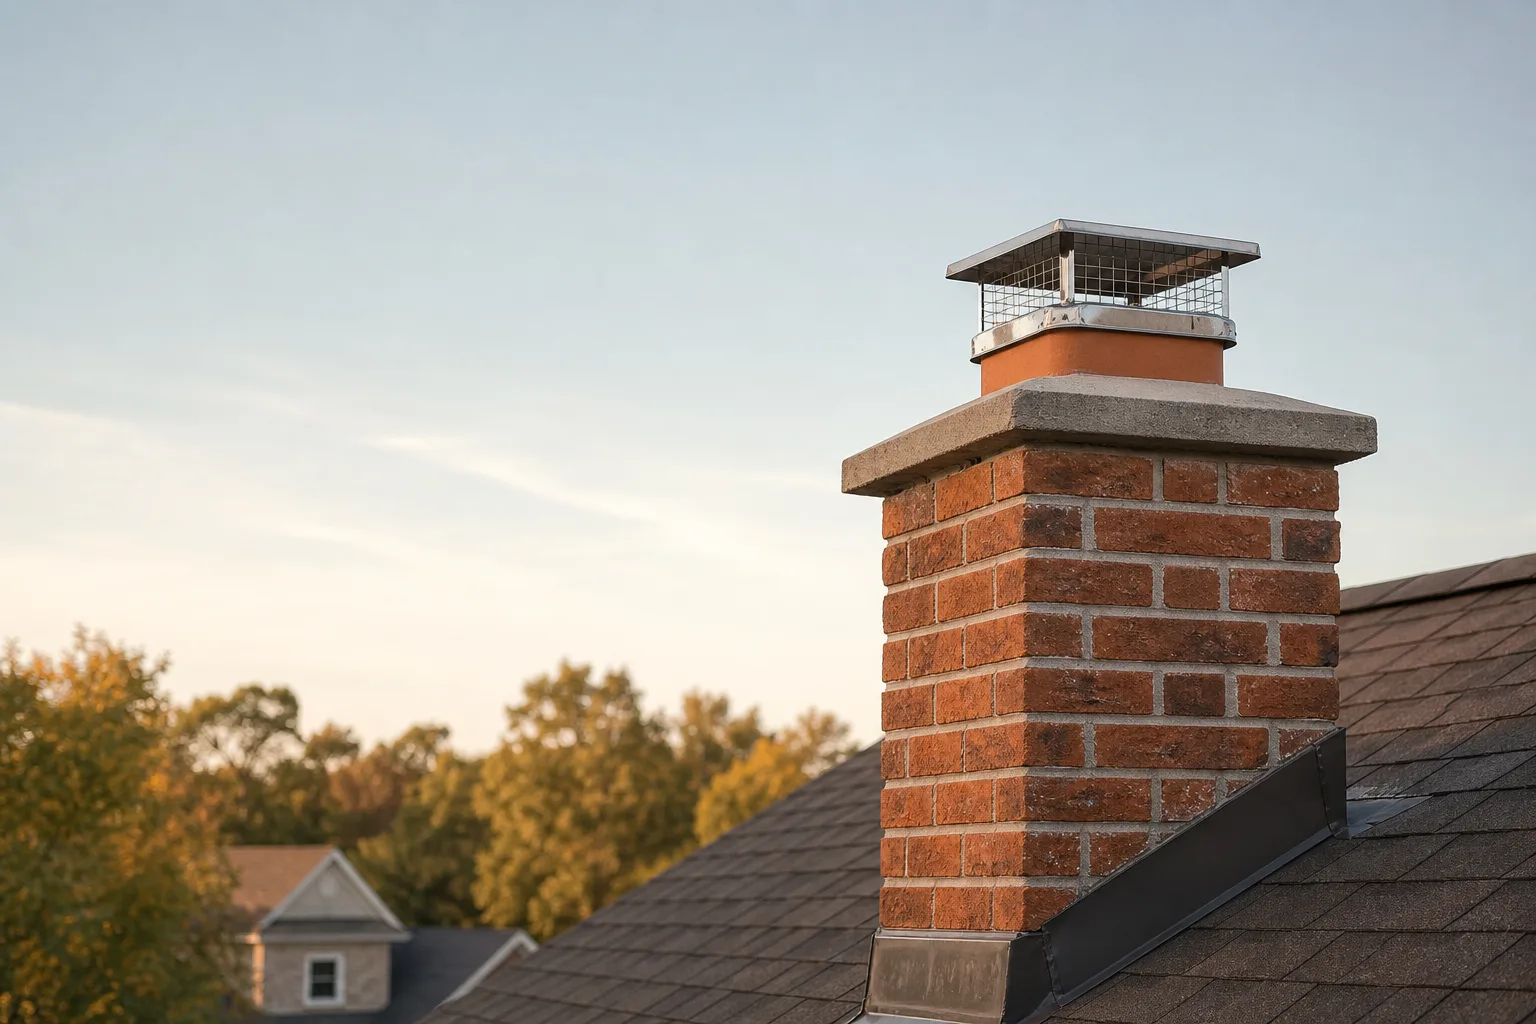
A chimney cap sits over the flue opening and blocks rain, snow, leaves, nesting animals, and windblown debris while allowing exhaust to escape. Most active and inactive masonry chimneys benefit from one, although the right design depends on the flue, fuel, appliance, and type of venting system.
For most masonry chimneys, a properly fitted chimney cap is a sensible form of protection. An unused flue may still need ventilation rather than being sealed shut, while a factory-built chimney requires the termination specified for that venting system.
Water entering an open flue can soak mortar, damage clay liner joints, rust metal components, and collect in the smoke chamber or firebox. Repeated freezing and thawing can make existing cracks worse, especially near the top of the chimney where masonry is exposed to weather from several directions.
A screened cap also makes the flue less inviting to birds, squirrels, raccoons, and other animals. Leaves, twigs, nesting material, and windblown litter can restrict exhaust flow or create a fire hazard, so the flue should be checked and cleared before a missing cap is replaced.
Some cap designs can reduce rain entry during strong winds and help with occasional wind-related downdrafts. They cannot correct poor draft caused by an undersized or oversized flue, a short chimney, depressurization inside the house, competing exhaust fans, or a poorly connected appliance.
Good to know: Black staining on one side of a cap often points to an exhaust-flow or wind issue rather than a dirty lid alone. Cleaning the stain without checking the venting path can leave the underlying problem in place.
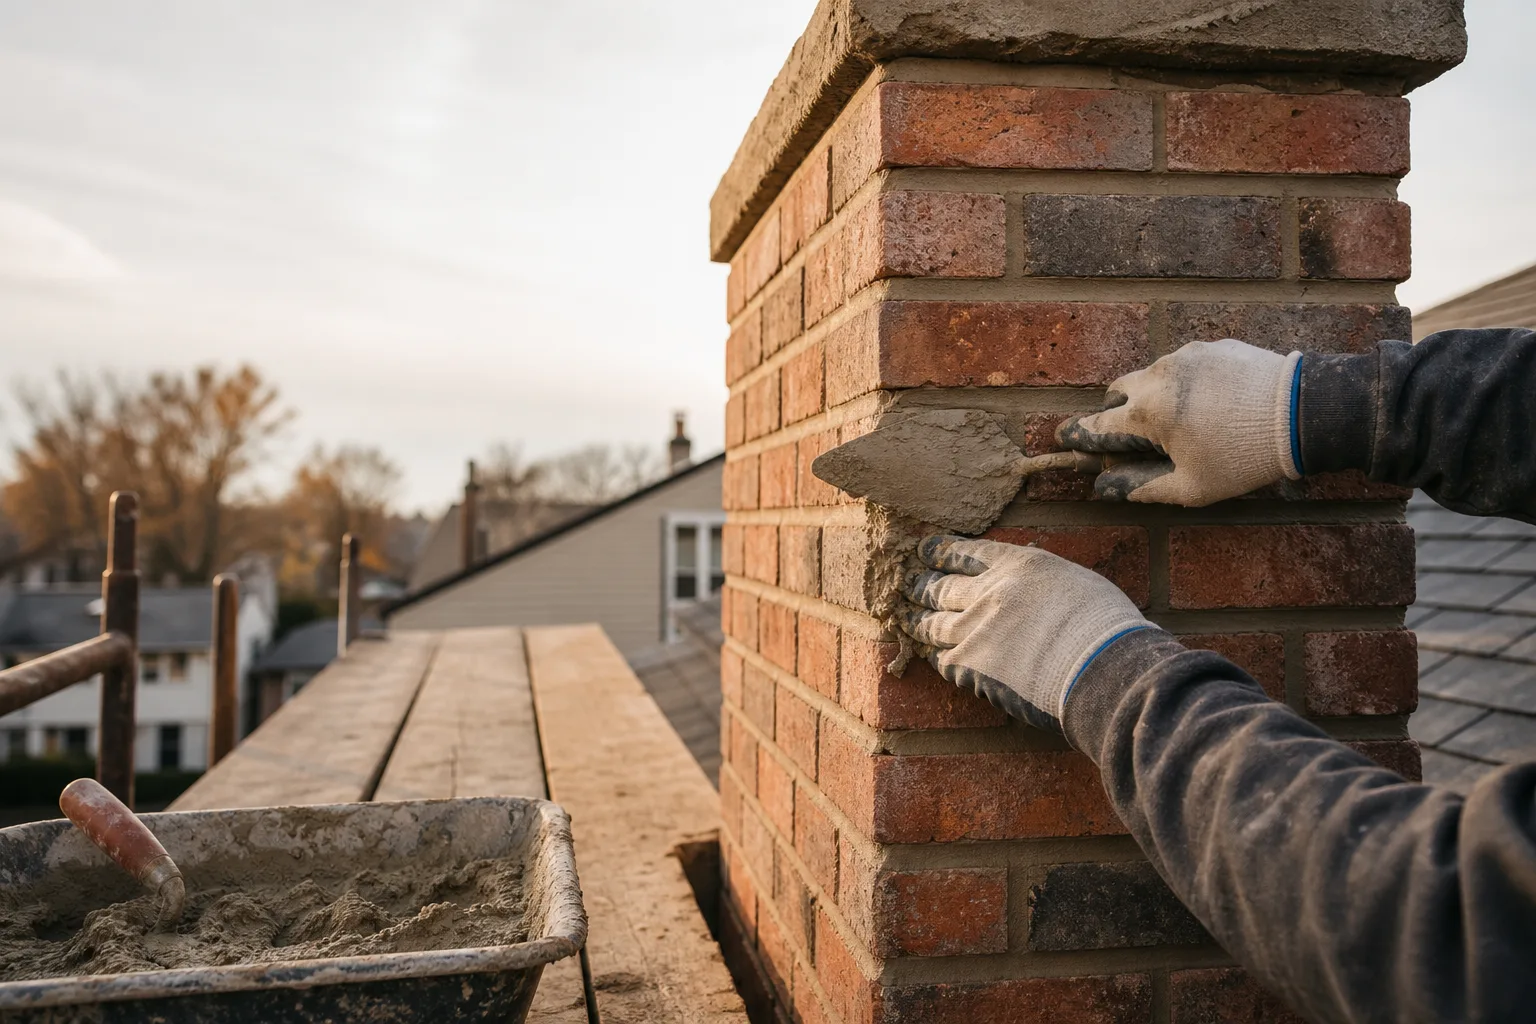
A cap also cannot repair a cracked crown, failed flashing, open mortar joints, or a leak that begins below the roofline. Water may appear in the fireplace even when the top opening is covered, which is why the crown, flashing, liner, and surrounding masonry should be evaluated before assuming the cap is the only source.
The lid must shed water beyond the flue opening, the screen must allow exhaust to pass, and the attachment must withstand wind without cracking the clay tile or crown. A cover that is too small, too low, clogged, or loosely fastened may create new problems instead of protecting the chimney.
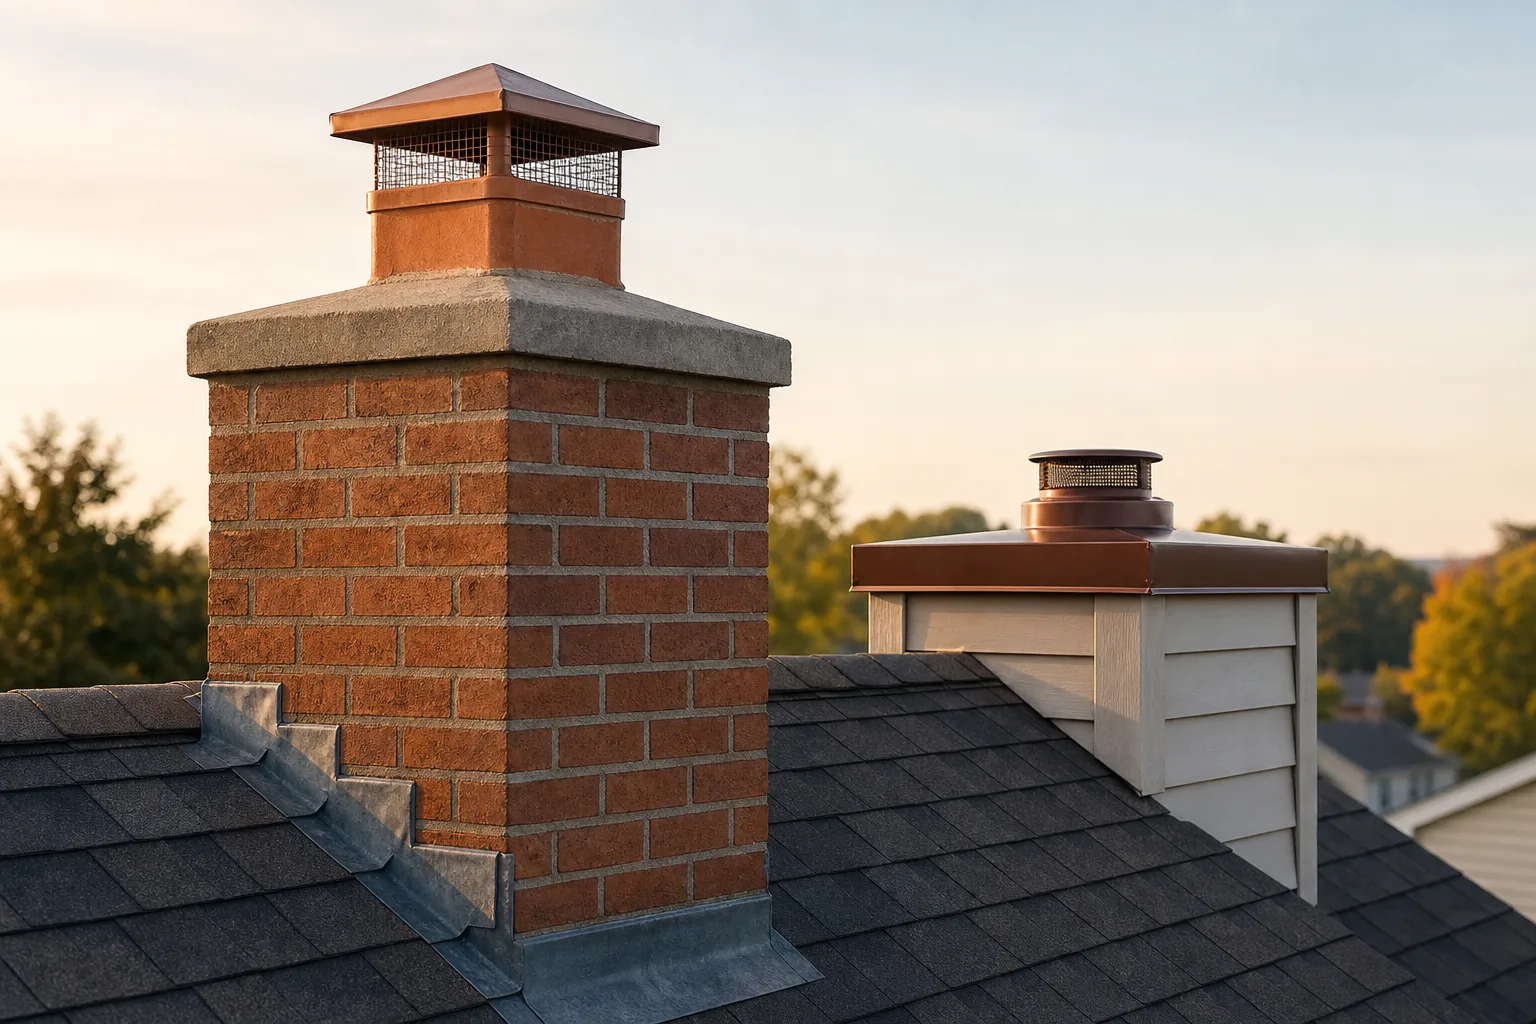
Know the parts at the top of your chimney
Several different components share space at the top of a chimney, but each has a separate job. Correctly identifying them helps prevent ordering a cap when the actual problem is a cracked crown, rusted chase cover, failed flashing joint, or damaged vent termination.
- The cap sits over one or more flue outlets. Its raised lid sheds precipitation, while its sides may include screening for animal and debris control.
- The flue liner forms the passage that carries smoke and combustion gases. A clay liner often projects above a masonry crown, while metal liners and factory-built vents may end in fittings made for that system.
- The chimney crown is the sloped masonry surface at the top of a masonry chimney. It directs water away from the flues and chimney walls but does not cover the flue openings.
- The chase cover is a sheet-metal top installed over a framed chimney chase. Openings in the cover allow metal vent pipes to pass through, and raised collars help keep water away from those penetrations.
- Flashing seals the joint where the chimney meets the roof. A cap cannot stop water entering through loose, corroded, or poorly integrated flashing.
- A storm collar wraps around a round metal vent above the chase cover or roof flashing. It directs water away from the gap around the pipe and must be sealed and positioned correctly.
- A top-sealing damper closes the flue at the top when the fireplace is not in use. It opens by cable for a fire and may include weather protection, but it is not interchangeable with every cap design.
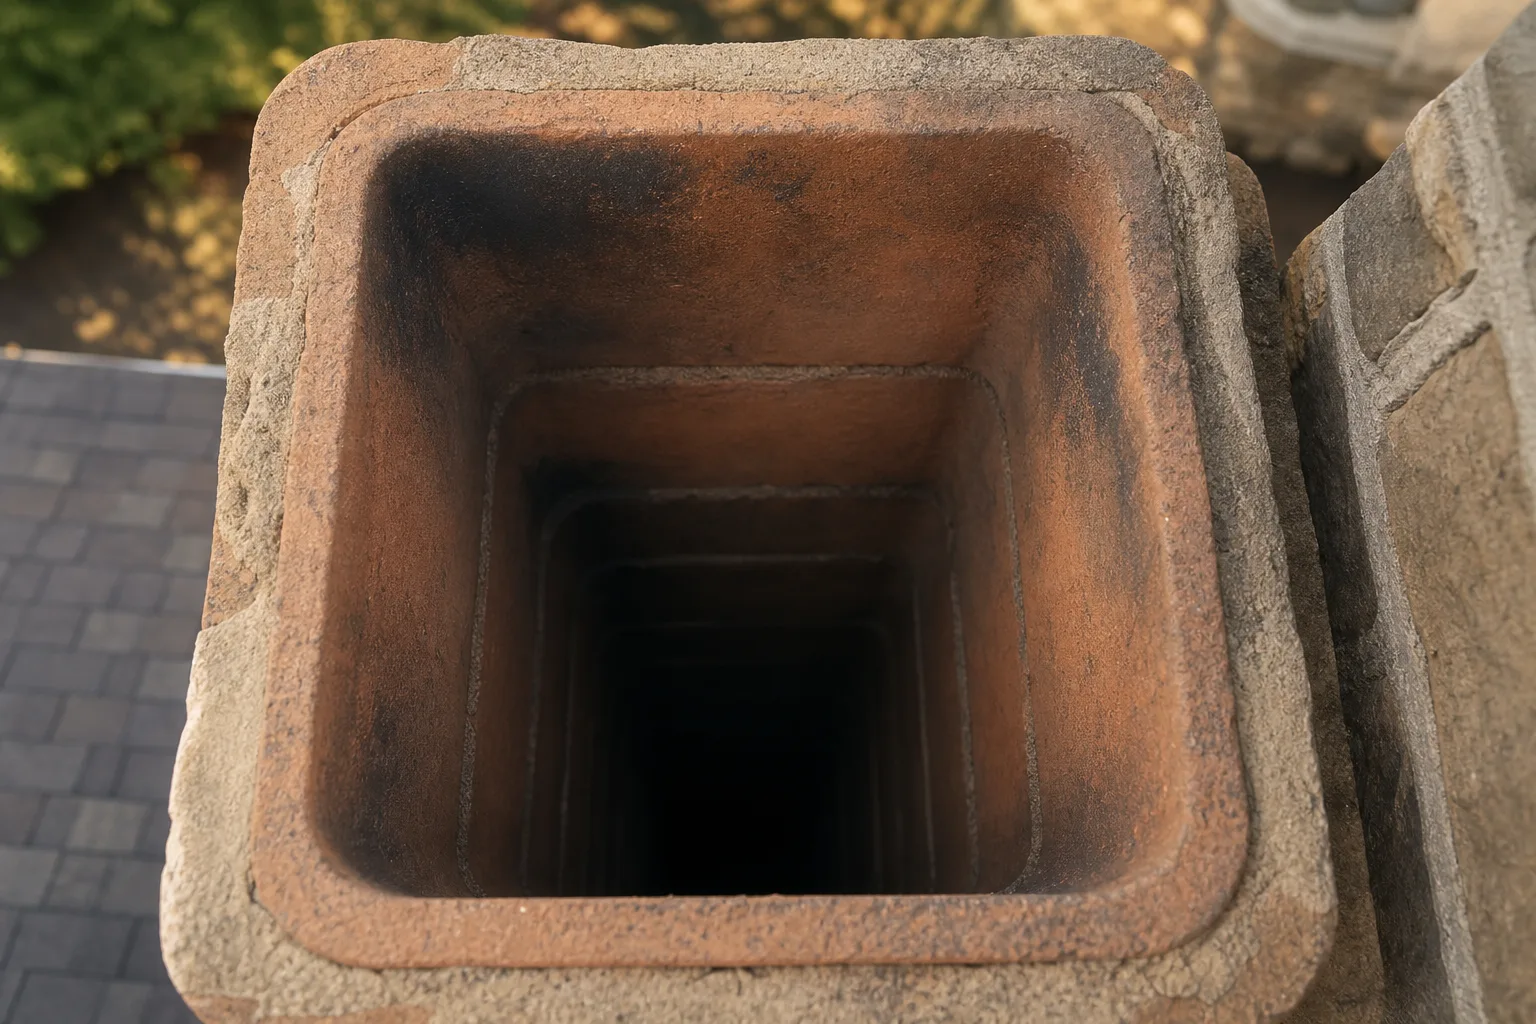
A masonry chimney commonly has brick or stone sides, a sloped crown, and one or more exposed clay tiles. These tiles may be square, rectangular, round, or oval, and the cap may clamp to a single tile or attach around the outside of the chimney top.
A factory-built metal chimney usually has round, nested metal sections and a purpose-made termination. Its parts are designed and tested as a system, so an ordinary clamp-on masonry cap should not be substituted for the listed termination.
A framed chase often resembles a sided box extending through the roof. The metal chase cover spans the full top, while one or more vent sections rise through collars in that cover; rust streaks down the siding often indicate chase-cover trouble rather than a missing flue cap.
Pro tip: Take photos from the ground from more than one side, but do not rely on a single zoomed image for identification. A flat metal chase cover can look like a masonry crown from below, and the required repair is different.
Calling every top component a “chimney cover” can lead to the wrong part being replaced. A new cap will not seal a split chase cover, and coating a crown will not replace a damaged termination on a metal vent.
If the chimney top cannot be identified safely from the ground, you can request an on-site assessment. A technician can distinguish the vent type and locate the actual water-shedding or sealing failure before parts are selected.
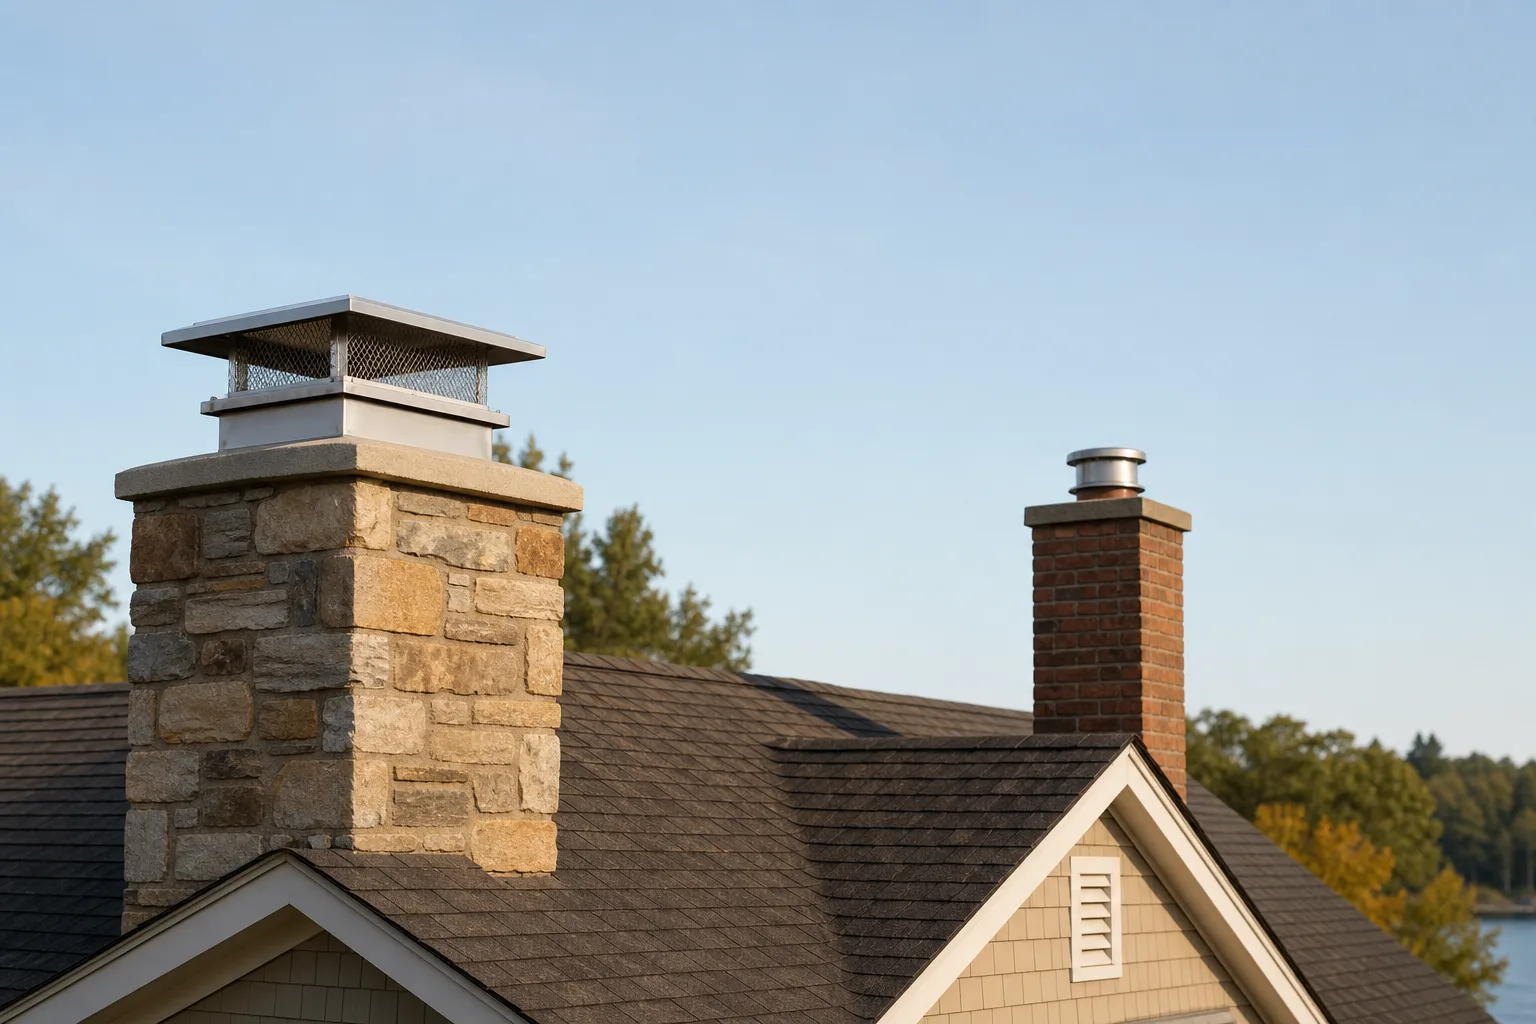
Types of caps and where each one works best
Cap style should match the number and shape of the flues, the available mounting surface, and the weather exposure at the roof. A design that works on one raised clay tile may be unsuitable for a chimney with several closely spaced flues or a broad, uneven crown.
Single-flue caps
A single-flue model covers one projecting tile or round liner. It commonly clamps to the outside of a clay tile, slips into an approved opening, or connects to a round metal liner with a fitting suited to that application.
Single-flue designs are often practical when the tile is sound, projects far enough for secure attachment, and has open space around it. They are less suitable when the tile is cracked, barely rises above the crown, or sits too close to another flue for the lid and screen to fit correctly.
Multi-flue and outside-mount caps
A multi-flue cap covers two or more outlets beneath one lid. It can keep precipitation off a larger section of the crown and accommodate flues that are too close together for separate caps, provided there is enough height and open area for each flue to vent without interference.
Outside-mount caps fasten to the vertical sides of the masonry near the top instead of clamping to individual tiles. This arrangement can work well when the crown is uneven, several tiles need shared protection, or attachment to fragile clay would be unwise.
The mounting points for an outside cap must be placed in sound masonry. Fasteners installed into loose mortar, thin crown edges, or damaged brick can pull out in wind and may allow water into the attachment holes.
Custom caps
A custom cap may be needed for an unusually shaped chimney, closely spaced flues, differing flue heights, limited crown space, or architectural masonry. The design should provide access for inspection and cleaning while preserving enough outlet clearance for every connected appliance or fireplace.
Custom work is also useful when a cap must span a large chimney top without sagging or directing runoff onto vulnerable masonry. Added size and weight make attachment planning more significant, particularly on tall or exposed chimneys.
Material choices
Stainless steel resists corrosion and generally requires less finish maintenance than plain or coated steel. It is often selected for wood-burning, gas, and oil venting applications when the design is compatible with the flue and appliance.
Copper develops a changing surface color as it weathers and is often chosen for appearance. Copper components and fasteners must be planned together because contact between dissimilar metals can contribute to corrosion.
Galvanized steel has a protective zinc coating, but cut edges, scratches, heat exposure, and years of weather can lead to rust. Periodic inspection is useful because corrosion often begins around fasteners, seams, and screen connections.
Masonry hoods and architectural covers may suit certain chimney designs, but their weight and support needs differ from those of metal caps. Cracks, open joints, or an improper flue opening can admit water or restrict exhaust, so masonry construction alone does not remove the need for inspection and upkeep.
Safety note: Rust streaks are not merely cosmetic when they begin at a screen seam or mounting leg. Corrosion in those locations can allow the lid or screening to loosen during wind, so the attachment should be checked before the fireplace or appliance is used.
Screens, lids, and special conditions
Screening helps exclude animals and larger debris, and it may help contain larger embers from a wood-burning flue. Openings that are too restrictive can collect soot, creosote, frost, or lint-like debris, reducing the space available for exhaust.
The lid needs adequate width to deflect falling and wind-driven precipitation, plus enough height above the outlet to avoid choking the flow. Lid overhang, screen layout, flue position, and prevailing wind direction work together, so choosing by overall appearance alone is unreliable.
High-wind locations may call for a termination designed to reduce wind-related pressure effects. Heavy animal activity may justify stronger screening and more secure attachment, while wooded properties often need a design that can be opened or removed for regular cleaning.
No cap should be treated as a universal draft cure. Wind-control designs can help in specific conditions, but chimney height, nearby rooflines, trees, flue sizing, house pressure, and appliance operation may still need attention.
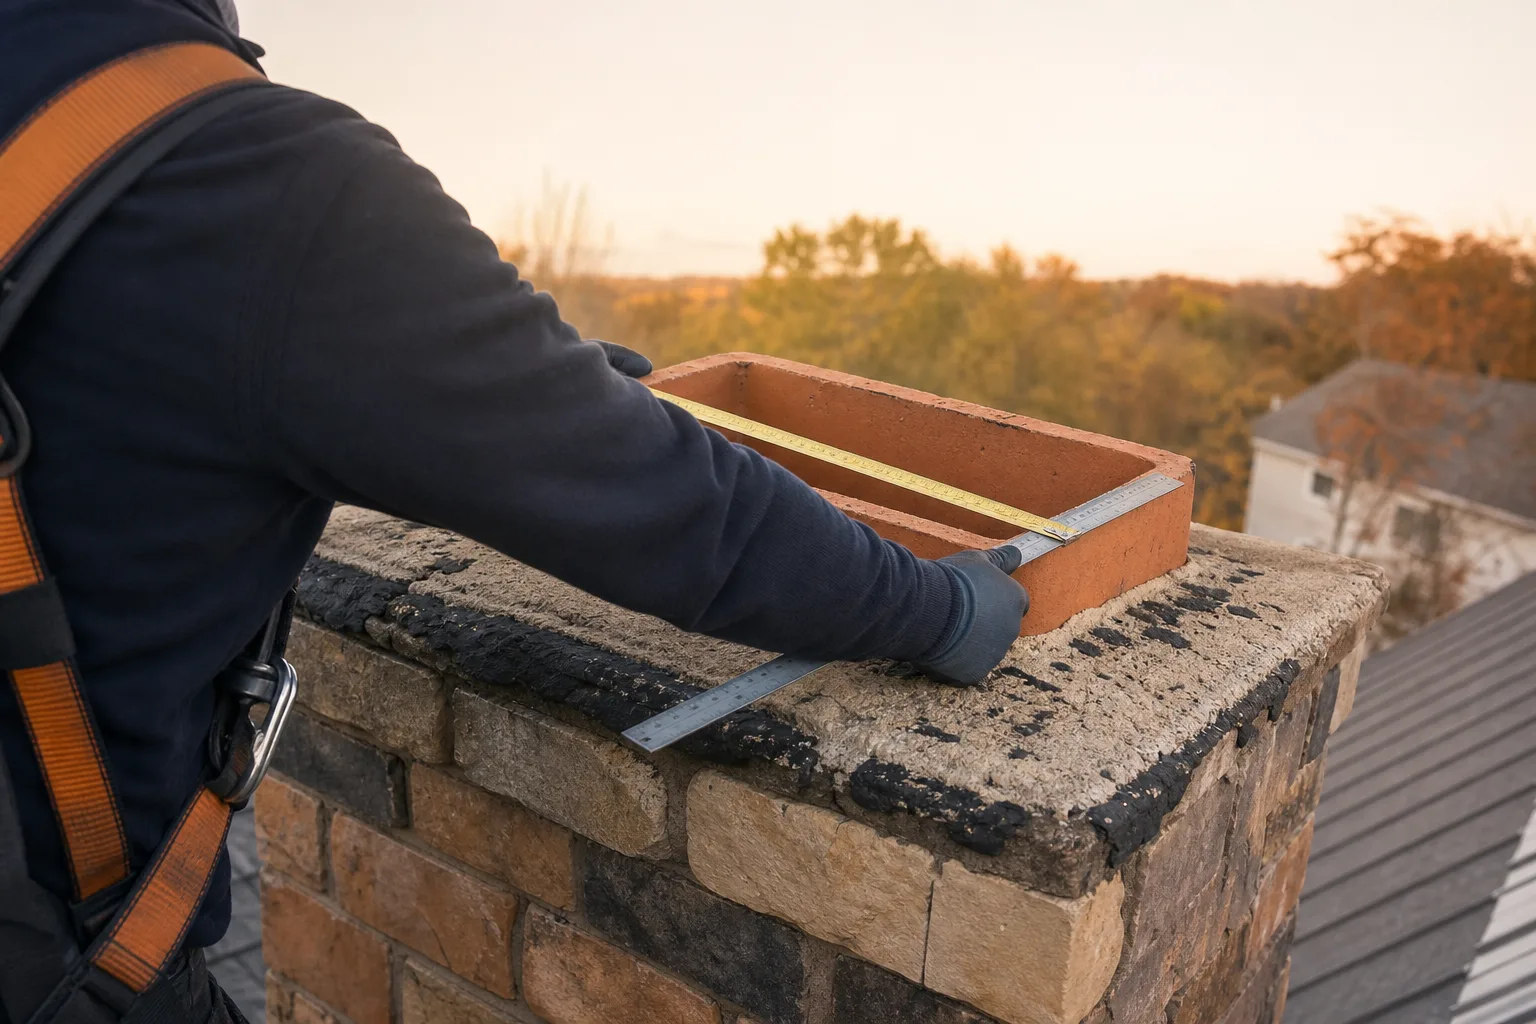
How to choose the right size and fit
Accurate sizing begins with the flue shape, its outside dimensions, how far it projects, and the mounting space around it. Measurements should be taken at the actual chimney top because nominal liner sizes, ground-level estimates, and old paperwork may not reflect the installed opening.
For a square or rectangular clay tile, measure the outside width and length rather than only the open passage. Record how far the tile rises above the crown, check whether its sides are straight enough for clamping, and note any chips or cracks near the mounting area.
For a round flue, measure the outside diameter where the cap will connect. Confirm whether the outlet is clay, a flexible liner termination, a rigid metal liner, or part of a factory-built chimney because similar diameters do not make those connections interchangeable.
For an oval flue, measure the maximum outside length and width and verify the exact profile. Oval liners vary in shape, and a connection that grips only at a few points may loosen or distort the liner.
A multi-flue layout also requires the height and dimensions of every outlet, the distance between flues, and the usable area between the outlets and crown edges. Nearby antennas, roof slopes, walls, or upper roof sections may affect installation access and the space available for a larger lid.
Pro tip: Place a straightedge across the crown when checking tile projection. Measuring from one high spot on a rough or sloped crown can make a short tile appear tall enough for a clamp when it is not.
Match the connection to the chimney top
A tile-mount connection clamps around the outside of a projecting clay tile. It depends on sound clay, sufficient projection, and even contact that will not place excessive pressure on a chipped corner.
An inside-mount connection uses hardware or a sleeve inside the flue opening. This style can be useful when exterior gripping space is limited, but it reduces some outlet area and must be compatible with the liner, fuel, and venting conditions.
A crown-mount connection anchors a frame or base to the top masonry surface. The crown must be sound and thick enough for the intended fastening method, and penetrations must be placed and sealed without creating paths for water or breaking thin edges.
A chase-cover connection is part of a metal chimney arrangement rather than a substitute for one. The termination, storm collar, chase-cover collar, and vent sections must fit together as required for that system.
Adequate clearance between the flue outlet and the underside of the lid allows combustion gases to escape without excessive resistance. A low lid or tight screen can contribute to smoke spillage, poor appliance performance, soot deposits, or exhaust gases entering the home.
An undersized lid may fit the mounting point yet still allow rain to reach the flue. Wind-driven water can pass through open sides or bounce from the crown, especially when the outlet sits near the edge of the lid or the roof receives strong sideways weather.
An on-site assessment is the safer choice when flue tiles are cracked, multiple appliances share the chimney structure, the crown is uneven, or there is little clearance between outlets. Nonstandard shapes, mixed flue materials, conflicting vent heights, liner repairs, and signs of poor draft also warrant closer evaluation before a part is ordered.
The flue should be inspected for obstructions and existing damage before any new cover is installed. If measurements or access are uncertain, book a chimney-top assessment or call our team for help choosing the correct fit.
Signs your cap is missing, damaged, or poorly installed
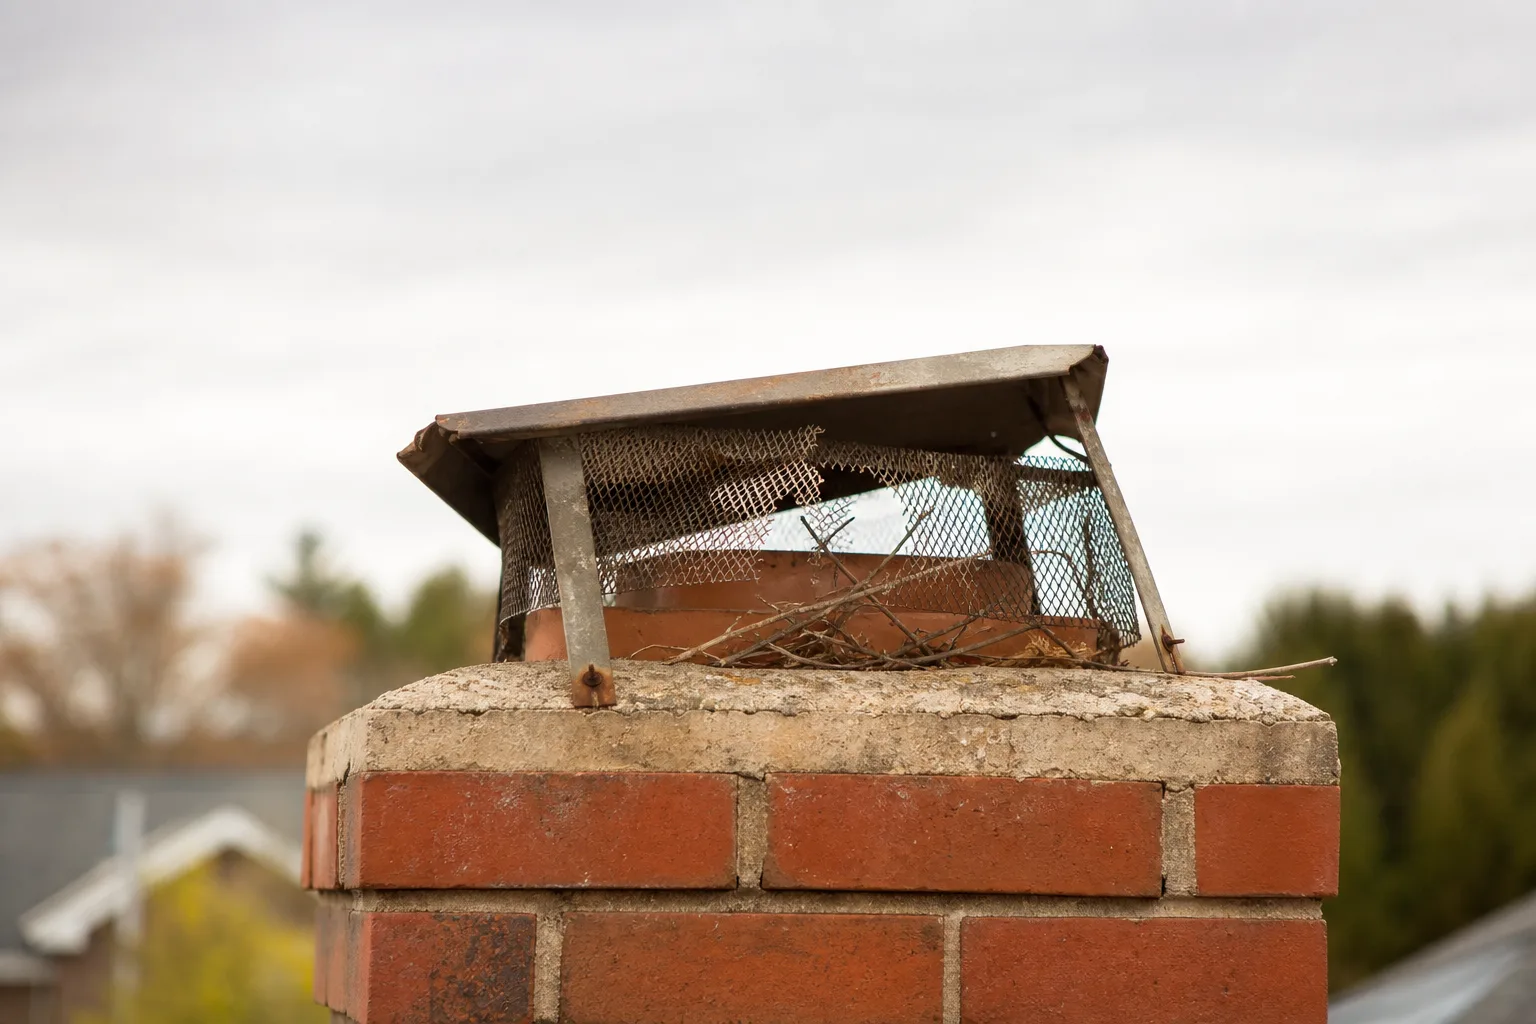
A missing or damaged chimney cap often reveals itself through water in the firebox, animal sounds, unusual odors, rust, or pieces of leaves and masonry below the flue. From the ground, you may also see a tilted lid, loose screening, open gaps, or a cap that shifts in strong wind.
Common warning signs include:
- Water stains, puddles, or damp ash inside the fireplace.
- Rust on the damper, firebox, connector pipe, or metal components near the appliance.
- Scratching, chirping, or fluttering sounds from the flue.
- Leaves, twigs, nesting material, or pieces of screening falling into the firebox.
- Persistent animal or decaying organic odors, especially during warm weather.
- A lid that appears crooked, lifted, dented, or smaller than the flue opening.
- Mesh that is torn, detached, clogged, or missing from one side.
- Fasteners that have pulled loose from the flue tile, crown, or chase cover.
Water inside a fireplace can point to a cap problem, but the entry path is not always directly above the flue. Cracked crowns, failed flashing, open mortar joints, damaged chase covers, and leaks below the roofline can produce similar staining. A professional assessment can trace the moisture pattern before someone replaces a part that was not causing the leak.
Condensation can also be mistaken for rain entry. It is more likely when warm, moisture-laden exhaust meets a cold or oversized flue, while rain leaks tend to follow storms or snowmelt. White deposits, recurring dampness, liner deterioration, and appliance operating conditions help a technician separate condensation from exterior water entry.
Odors and fallen debris may indicate a blockage rather than a simple missing cover. Birds, squirrels, leaves, collapsed liner pieces, and heavy soot deposits can restrict exhaust even when the top looks open from below. A smoke or odor problem that begins after animal activity should be treated as a venting concern until the full passage has been checked.
Freeze and thaw cycles can loosen masonry anchors and widen small cracks around mounting points. Corrosion can weaken mesh and fasteners, while storms, falling limbs, snow movement, and poor attachment methods can bend or dislodge the entire assembly. Fasteners driven into fragile tile edges or deteriorated mortar may seem secure at first but can fail without much warning.
Pro tip: Watch the chimney top from the ground during a breezy day, but do not stand directly below it. A lid that rocks, rattles, or changes angle likely has loose hardware even if it looked normal in a still photograph.
Stop using the fireplace or connected appliance if a cap has fallen into the flue, a blockage is suspected, the liner appears damaged, or smoke enters the room. Continued operation can send smoke and combustion gases into living areas or expose nearby materials to excess heat. The venting path should be inspected and cleared before the appliance is used again.
Installation, safety, and code considerations
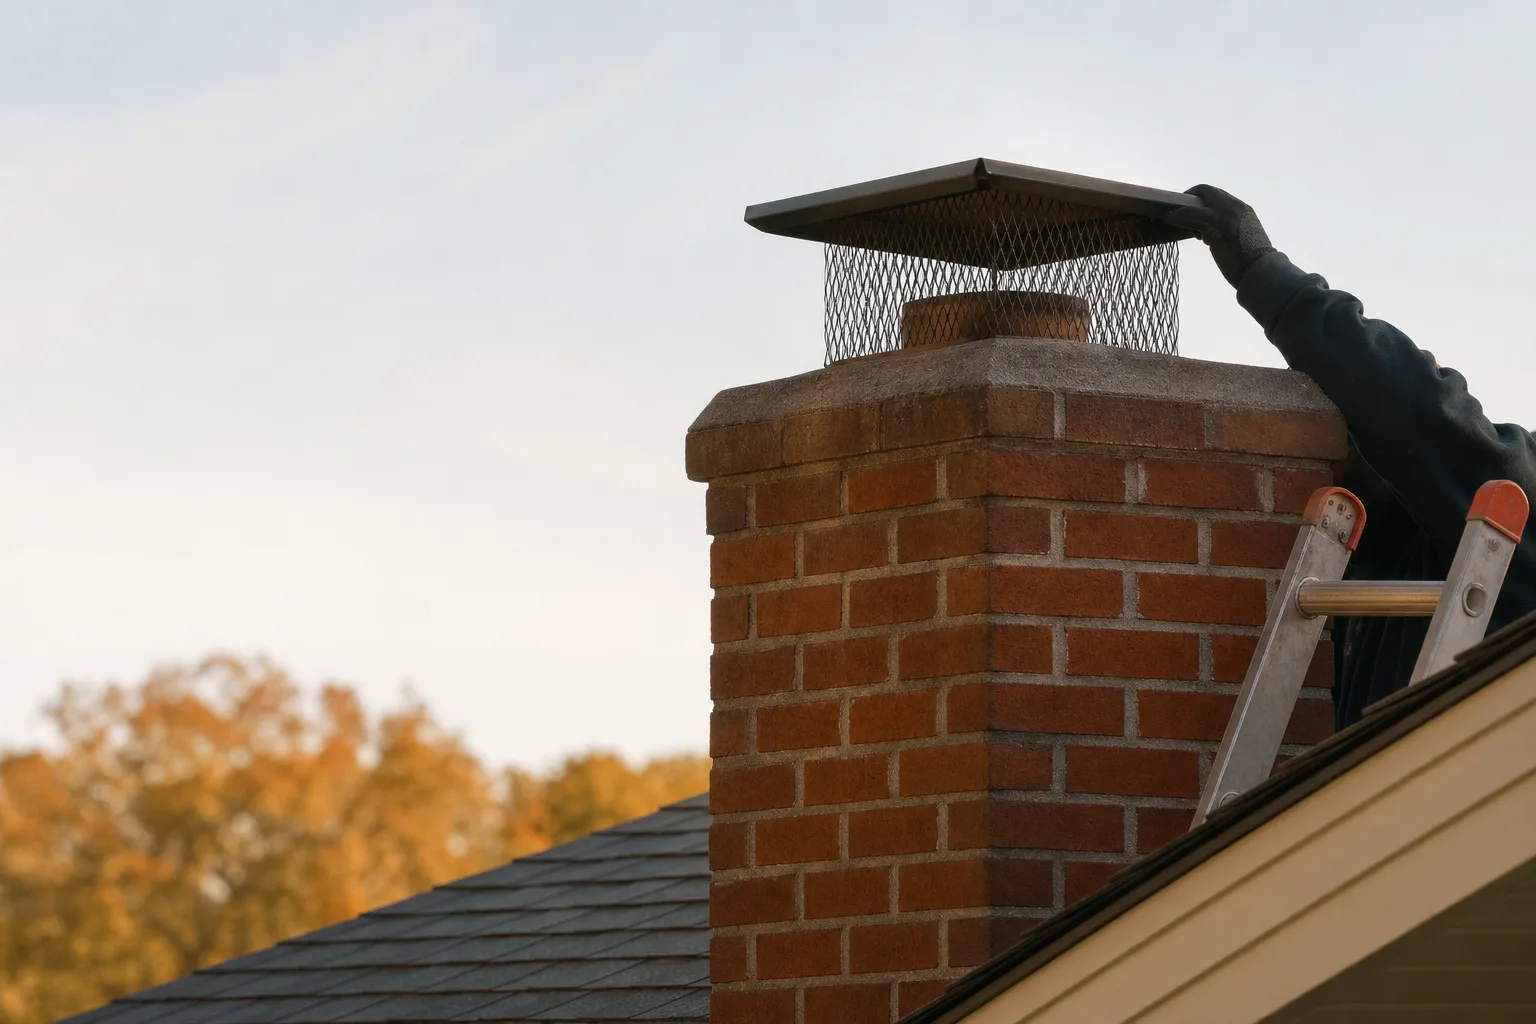
Installing a cap safely requires more than matching its shape to the opening. Roof pitch, chimney height, surface condition, fastening location, vent type, and termination clearances all affect whether the finished installation stays secure and allows exhaust to leave freely.
Do-it-yourself work may be reasonable only when the chimney is safely accessible, the vent type is known, and the mounting instructions are clear. Steep roofs, high chimneys, brittle roofing, wet surfaces, overhead wires, and limited ladder placement can turn a small repair into a serious fall hazard. Carrying tools and a metal assembly up a ladder also makes maintaining three points of contact difficult.
A cap must be attached without cracking the clay flue tile or opening new paths through the crown. Over-tightened clamps can fracture old tile, while masonry anchors placed too close to an edge can split the crown. Sealants and fasteners must also be suitable for exterior exposure, heat conditions, and the surface receiving them.
Safety note: Never lean an extension ladder against a clay flue tile or an existing cap. Neither component is designed to support ladder loads, and a tile can crack below the roofline where the damage is hard to see.
Factory-built chimney systems require a listed termination that matches the installed venting system. A generic masonry cap can alter clearances, trap heat, interfere with cooling air, or defeat the tested assembly. The system label, installation instructions, and existing components should be identified before any replacement is selected.
Draft depends partly on keeping enough open area above and around the flue outlet. A lid set too low can restrict exhaust, and screening with openings that are too small can clog quickly with soot or creosote. A lid that is too narrow may leave the flue exposed to wind-driven rain even when its height appears acceptable.
Local building and fire rules may address termination height, clearances from nearby roof surfaces, spark-control screening, and installation methods. NFPA 211 provides recognized guidance for chimneys, fireplaces, vents, and solid-fuel-burning appliances, but local code and the vent manufacturer's instructions still govern the specific installation. Requirements can differ according to fuel, appliance type, chimney construction, and local wildfire conditions.
Before installation, a service technician should inspect:
- The flue opening for nests, debris, soot, and broken liner material.
- Clay tiles or metal vent sections for cracks, separation, corrosion, or distortion.
- The crown for open cracks, soft mortar, standing water, and failed previous repairs.
- Mortar joints and upper masonry for movement or missing material.
- The chase cover, storm collar, and nearby seals when a framed chase is present.
- The proposed mounting surface for enough sound material and usable clearance.
- The appliance connection and liner for signs of venting trouble or incompatible components.
A cap should not be installed over an obstruction simply because the opening is difficult to inspect. Trapped nesting material or collapsed liner pieces can remain hidden below the new assembly and prevent safe exhaust flow. Cleaning and repairs should be completed first when the inspection finds a restricted or damaged passage.
If the roof is steep, the vent cannot be identified, or the mounting surface is deteriorated, you can request an installation assessment. A technician can verify the fit and explain any repairs needed before work begins.
Cleaning and maintaining the cap
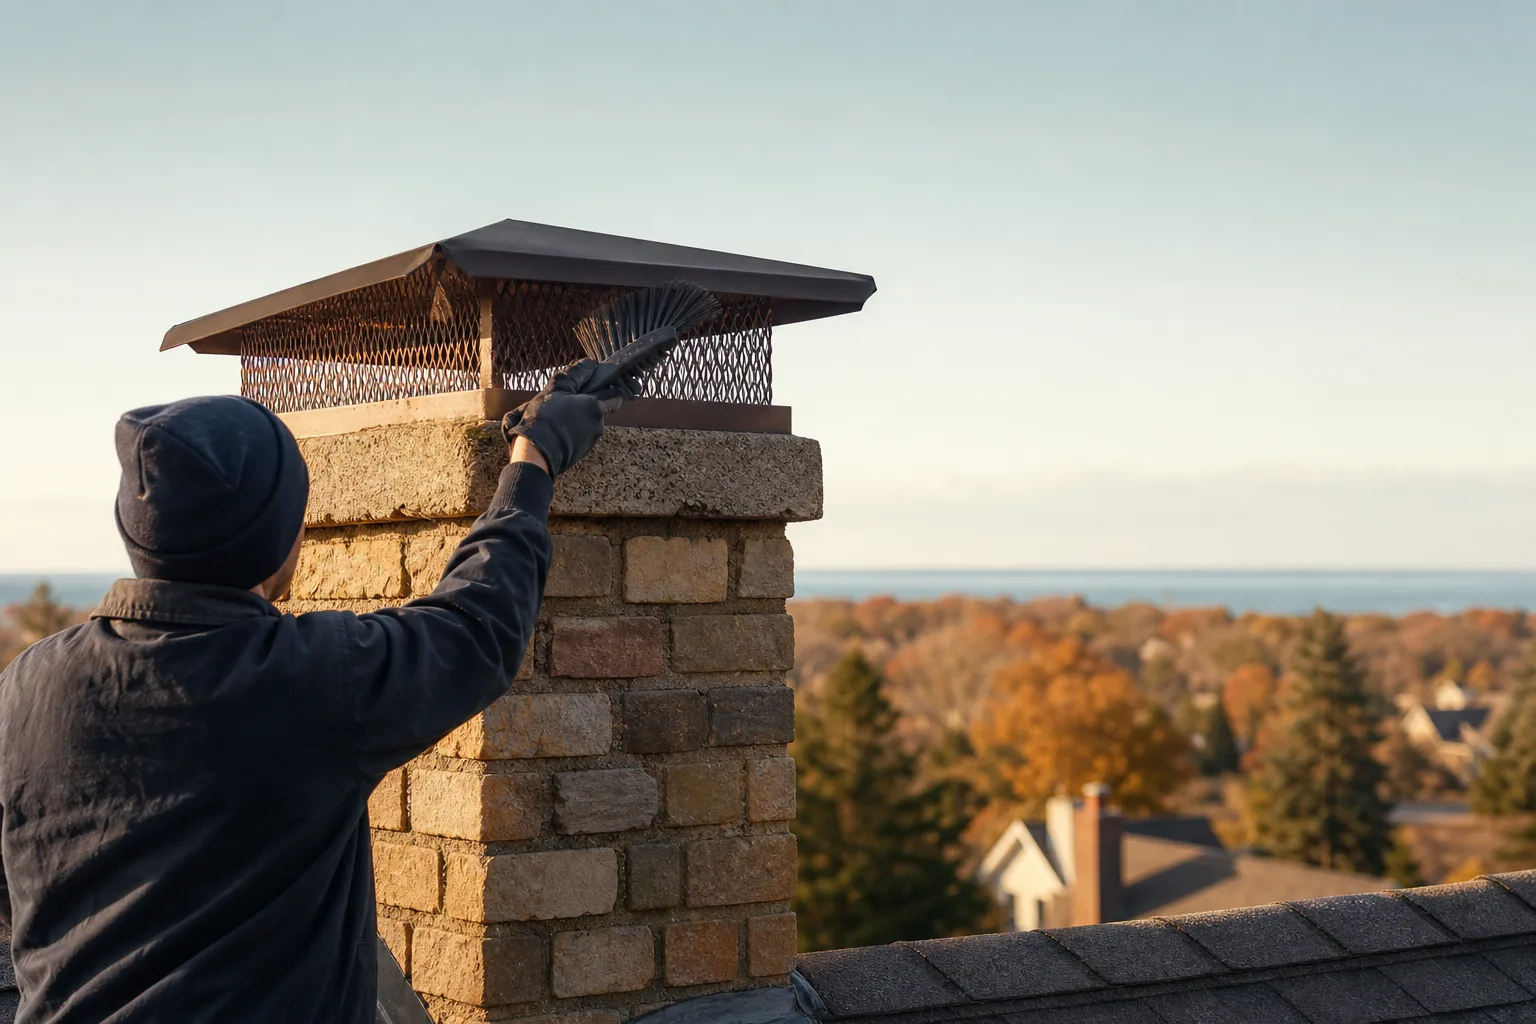
A cap should be checked during routine chimney inspection and after severe storms, confirmed animal activity, or damage to nearby trees. Ground-level checks can reveal obvious movement or missing parts, but they cannot show whether the screen is clogged on the roof-facing side or whether fasteners are failing underneath.
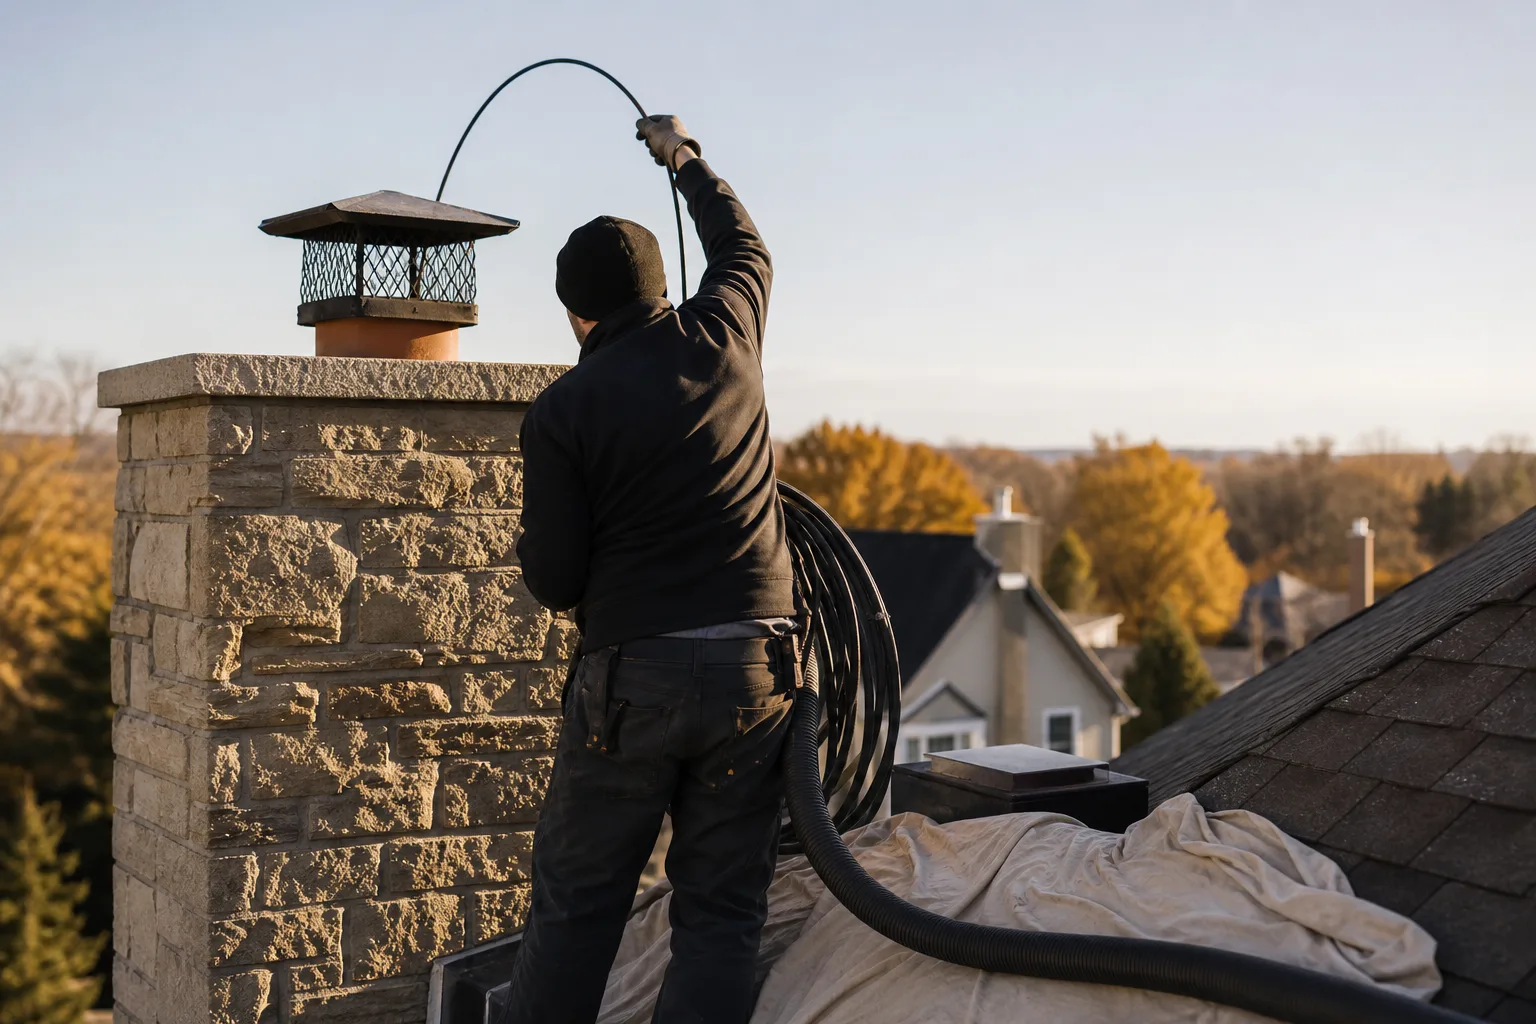
Soot and creosote can collect on mesh around wood-burning flues, especially when deposits are sticky or the screen openings are narrow. Leaves, seed pods, nests, and windblown debris can block other vent types. Corrosion may also reduce the open area gradually as mesh flakes, swells, or separates at its attachment points.
A restricted screen can interfere with draft and contribute to smoke spillage or poor appliance performance. Dark staining around the lid, smoke escaping from joints, or a sudden change in draft should prompt an inspection rather than repeated attempts to operate the fireplace. Cleaning the visible screen alone will not correct a blockage farther down the flue.
Good to know: Technicians often inspect the underside of the lid because deposits can bridge between the flue outlet and the cap where they are hidden from the ground. This area may remain restricted even after the outer screen looks clean.
Cleaning methods depend on the chimney type, fuel, cap material, deposit, and safe roof access. Dry brushing may suit loose soot on durable stainless steel, while sticky creosote or compacted nesting material may require removal of the assembly and closer inspection. Factory-built terminations must be handled according to their instructions so air passages and fitted components are not altered.
Copper, painted metal, and plated finishes need care during cleaning. Harsh abrasives can remove protective coatings or create scratches that hold moisture, while aggressive scraping can tear thin screening. The goal is to restore open vent area without weakening joints, changing the cap's shape, or damaging the roof beneath it.
Loose fasteners do not always mean the whole assembly needs replacement. Sound components may be repairable when the mounting surface remains solid and the correct hardware can restore a secure fit. Torn mesh, warped lids, widespread corrosion, rust-through, broken welds, and repeated movement usually support replacement instead.
The mounting surface should be part of every repair decision. A new cap attached to a cracked tile, crumbling crown, or corroded chase cover will not remain dependable. Repairs to the underlying surface should come before, or be coordinated with, the new installation.
Routine chimney service can include checking the lid, mesh, fasteners, flue outlet, and mounting surface together. This approach is more useful than cleaning one visible component while leaving the vent passage and surrounding masonry unchecked.
A practical decision guide for your chimney
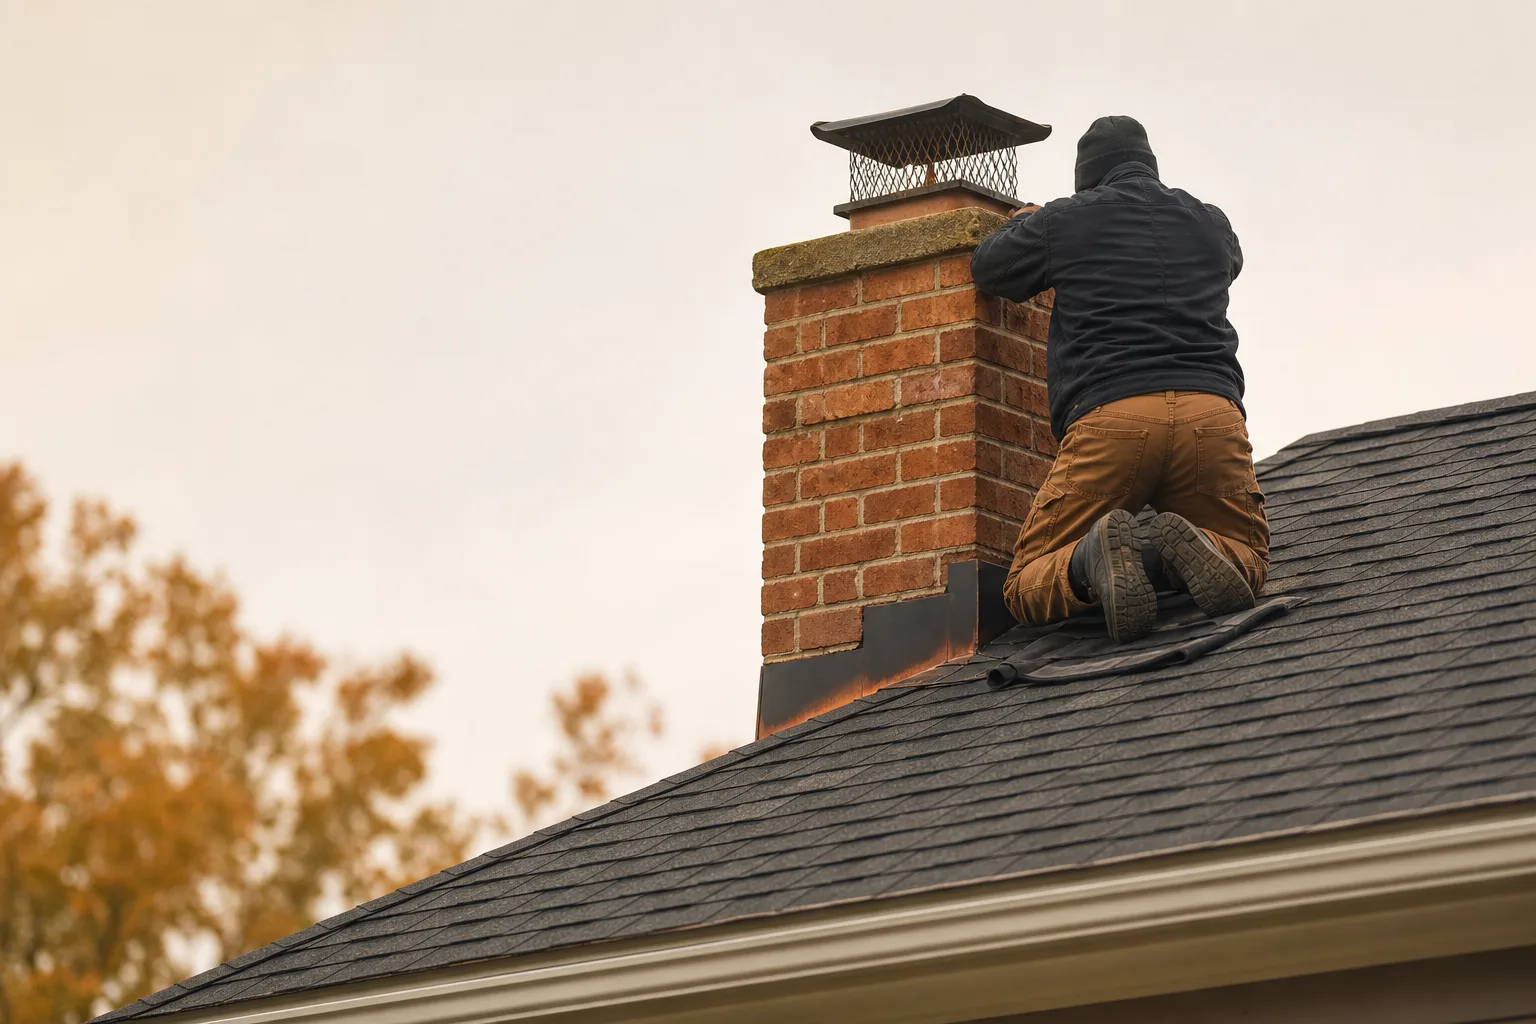
The right chimney cap is the one designed for your chimney type, flue arrangement, fuel, dimensions, and exposure. A standard model may suit one sound masonry flue, while multiple outlets, unusual shapes, factory-built vents, damaged mounting surfaces, or tight clearances often require a custom or system-specific solution.
Use the following checklist before choosing or installing a replacement:
-
Identify the chimney construction. Determine whether you have exposed clay flue tile, a round metal vent, a masonry chimney with several flues, or a framed chase with a metal cover. Do not rely on the shape of the visible housing alone, since different vent systems can look similar from the ground.
-
Count every flue and identify what it serves. A chimney may vent a fireplace, heating appliance, or more than one appliance through separate liners. Each active outlet needs suitable clearance, and unused flues should be assessed before they are enclosed beneath a shared cover.
-
Confirm the fuel and venting system. Wood, gas, oil, and pellet appliances can have different termination and venting requirements. Factory-built systems must retain the listed components specified for that system rather than being adapted to a generic masonry design.
-
Measure the actual opening and mounting area. Record the flue's outside dimensions, shape, tile projection, spacing between nearby flues, and usable crown or chase-cover area. Square, rectangular, round, and oval outlets require measurements taken at the point where the new component will attach.
-
Check lid coverage and outlet clearance. The lid should extend far enough to shed rain away from the opening while leaving adequate space for exhaust. Closely spaced flues may need a shared outside-mount design so individual lids and screens do not interfere with one another.
-
Consider roof and weather exposure. High winds, overhanging branches, heavy precipitation, drifting snow, salt air, and repeated freeze and thaw cycles can influence material and fastening choices. Wind-related draft complaints require diagnosis because a specialized cap cannot correct every flue-sizing, pressure, or house-air problem.
-
Assess animal pressure and debris. Frequent bird or squirrel activity may call for sound screening and secure attachment, but the openings must still suit the appliance and local rules. Dense screening chosen only to exclude small pests may clog or restrict venting.
-
Look for existing damage before covering the opening. Cracked flue tiles, loose mortar, failed crowns, rusted chase covers, and blocked liners need attention before installation. An inspection before installation can determine whether the mounting surface will hold fasteners and whether the flue is open from top to appliance.
A standard single-flue model may be suitable when one sound clay tile projects above a stable crown and has enough room for proper attachment. The dimensions must still match, the lid must provide suitable rain coverage, and the screen must leave enough open area for exhaust.
A custom multi-flue or outside-mount design is often the better choice when several liners are close together, the crown is irregular, or individual caps would conflict. Custom fabrication may also be appropriate for oversized masonry tops, unusual flue shapes, low tile projection, or a need to protect the crown surface along with the flue openings.
A system-specific termination is the safer choice for a factory-built chimney, even if a generic part appears to fit. Appearance does not confirm listing compatibility, cooling-air function, attachment, or heat clearance. The vent label and installation documentation should guide the selection.
Pro tip: Photograph the entire chimney top and each side of the existing termination before taking measurements. Include a ruler in close views only when the roof can be reached safely, since distant photos alone can distort tile projection and spacing.
No new cover should be installed until the chimney has been checked and cleared of obstructions. Nests, leaves, loose masonry, creosote, and damaged liner sections can remain below the opening, and enclosing them may hide a condition that prevents safe venting.
If you cannot safely reach or identify the chimney top, book an assessment or call our office. We can help determine the chimney type, inspect the vent path, and recommend a suitable next step.
Symptom checker
What is your chimney doing?
Tap the closest match for an honest first answer.