



On this pageWhat to expect from pellet stove installation7 sections+6
- What to expect from pellet stove installation
- Choosing a safe location for the stove
- How pellet stove venting differs from wood stove venting
- Installing a pellet stove through an existing chimney
- Permits, clearances, and installation requirements
- The installation and startup process
- Maintenance starts with the installation plan
Quick answer
Pellet stove installation requires a model approved hearth, listed pellet vent, correct combustible clearances, grounded power, and outside combustion air when required. The vent route, termination, permits, and any existing chimney liner must follow the appliance instructions, vent listing, and local code.
What to expect from pellet stove installation
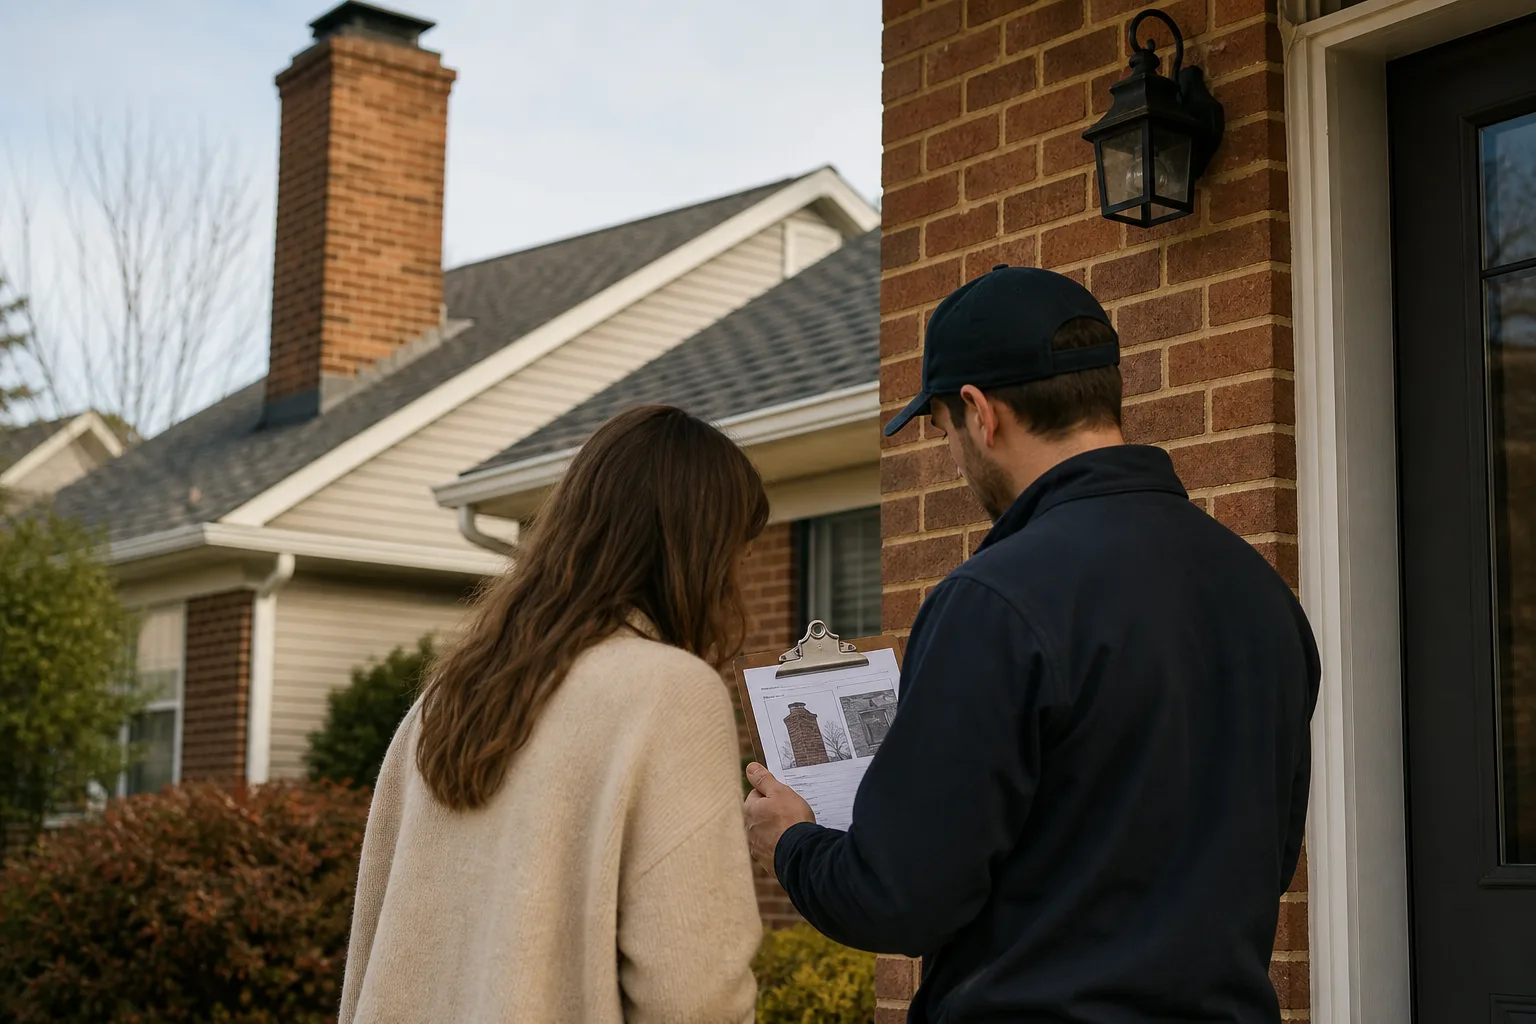
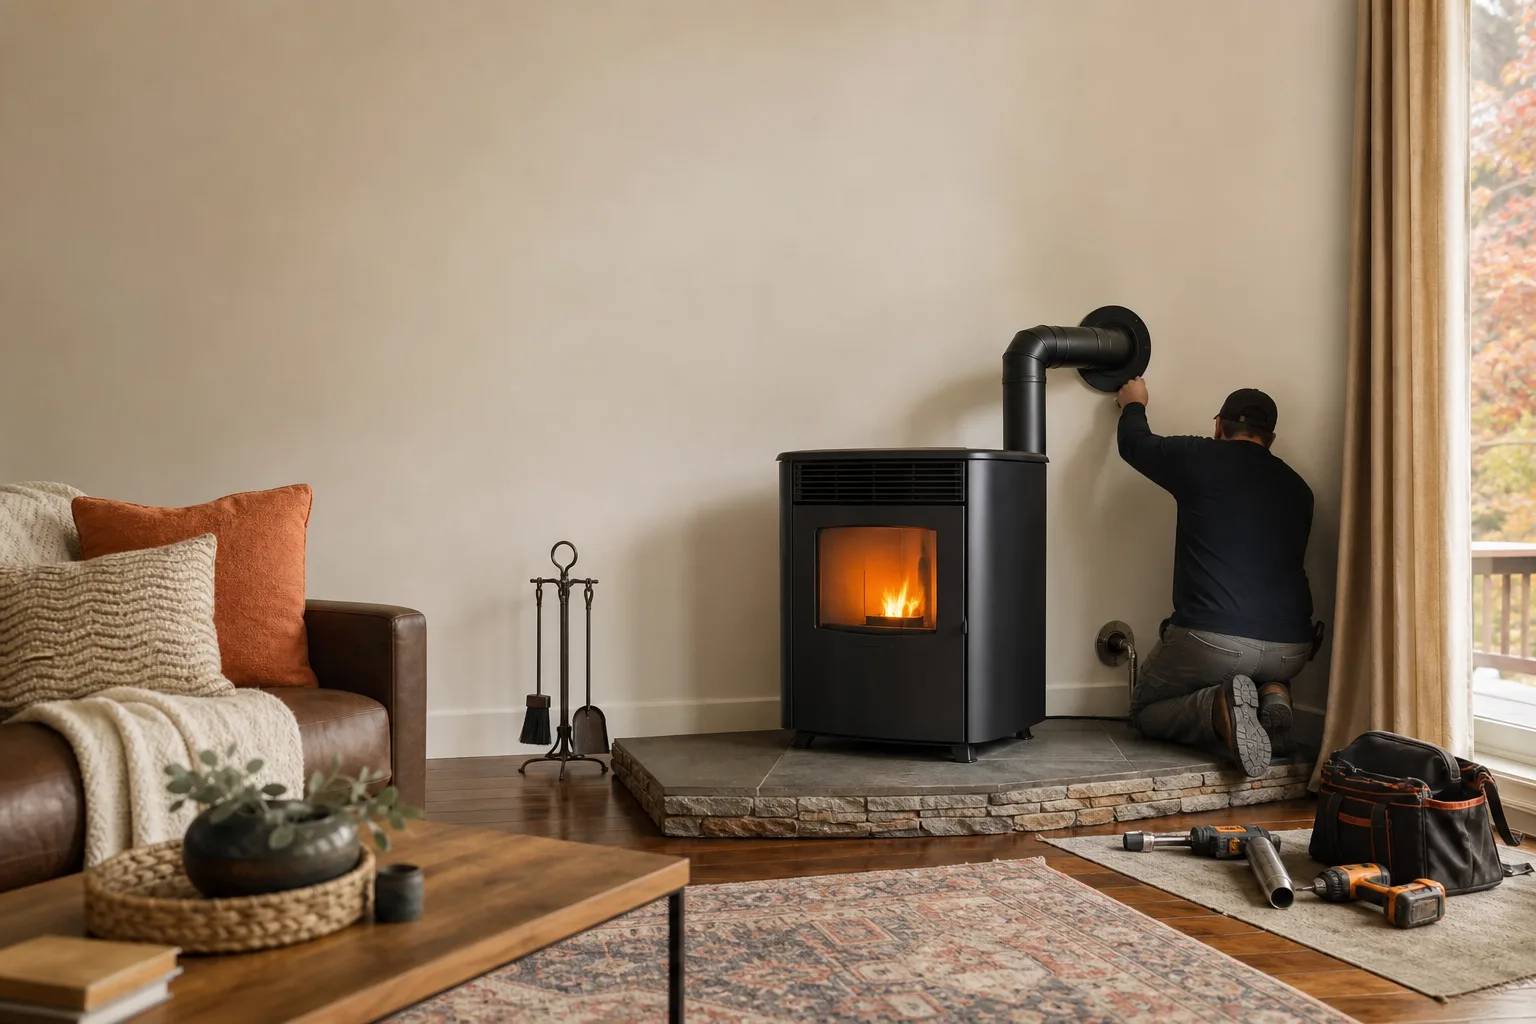
Pellet stove installation starts with a site assessment, not with moving the appliance into place. The installer checks the proposed location, floor construction, vent path, outside air options, electrical access, and the stove manual before deciding how the system should be assembled. A layout that looks convenient from inside may put the termination too close to a window, doorway, roofline, or neighboring wall.
Once the route is settled, the work usually moves through floor protection, stove placement, vent assembly, outside air connection, and startup testing. Pellet appliances have powered fuel delivery and mechanical exhaust systems, so the job involves more than setting down a freestanding heater and attaching a simple piece of pipe.
Installation time varies with wall construction, chimney condition, roof access, and the number of vent fittings required. Clear the route between the entry door and the stove location, remove fragile items, and make sure the installer can reach the electrical panel, proposed vent exit, and any chimney cleanout.
From the field: A short vent route is not always the best route. Technicians often find that shifting the stove a small distance creates better termination clearances, adds useful vertical rise, and leaves enough room to remove service panels later.
Before the crew leaves, the stove should be test-fired and checked through a full operating cycle. The final walkthrough should cover lighting, normal flame appearance, heat settings, shutdown, thermostat operation, ash removal, and the warning lights or sounds that mean the appliance needs attention.
Want the vent route checked before you commit? Request an installation assessment or call (513) 655-6702 for a practical review of the room, chimney, and proposed stove location.
Choosing a safe location for the stove
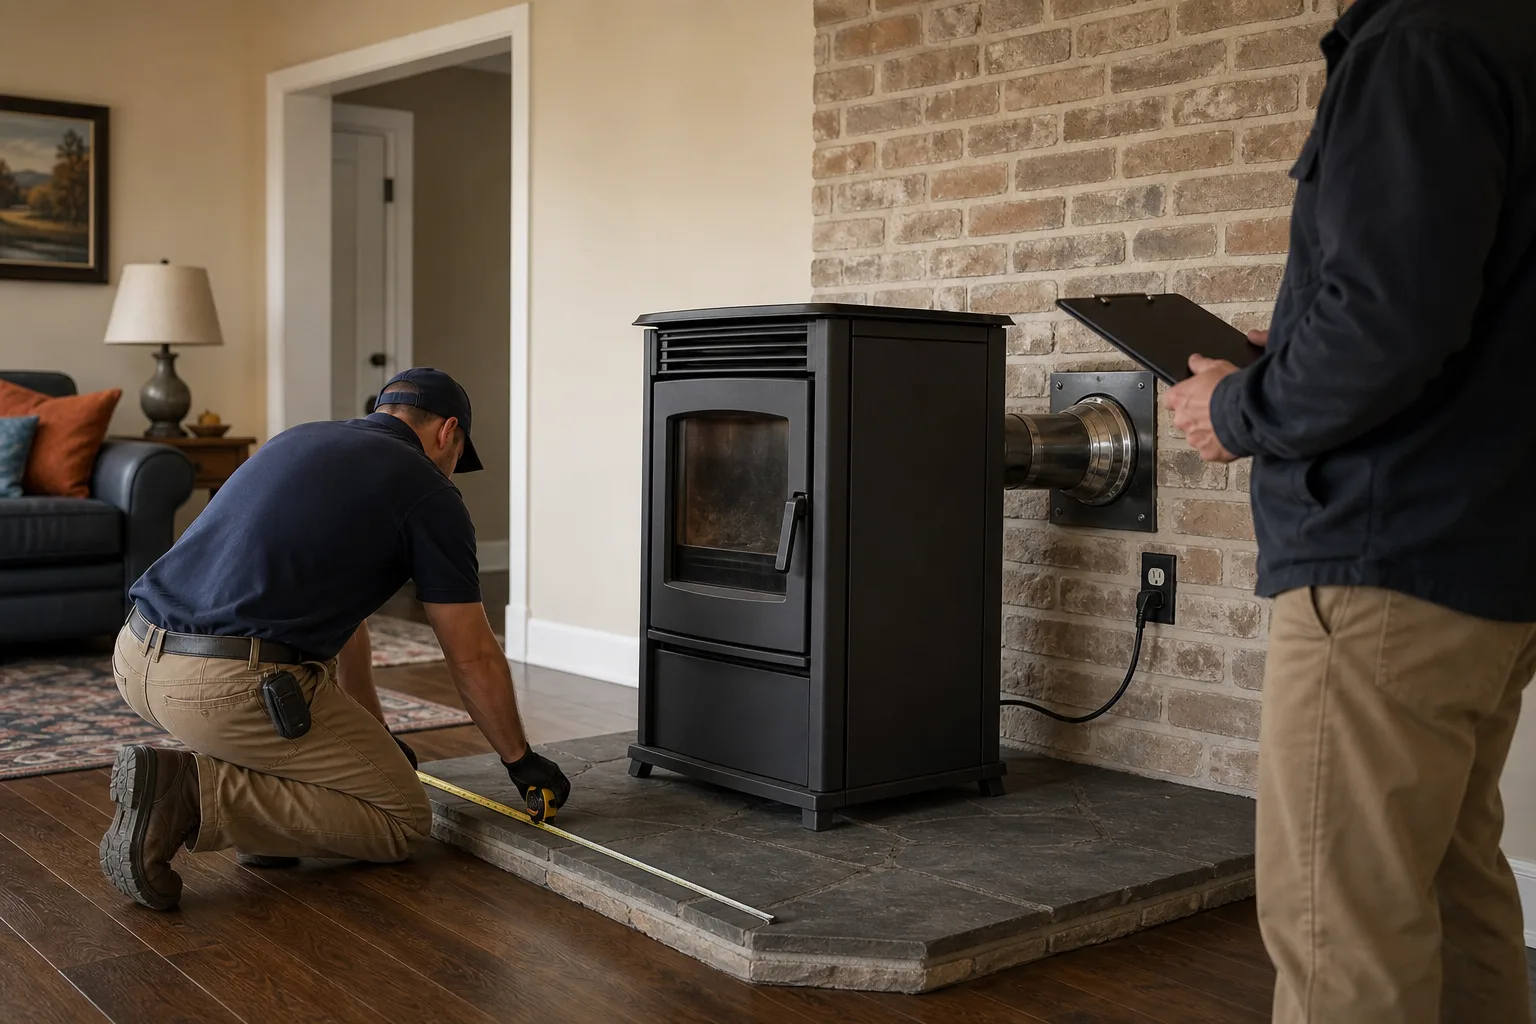
The safest location is one that meets the stove manufacturer's listed clearances while leaving a direct, serviceable vent route. Required space from walls, trim, furniture, curtains, shelving, and other combustible materials varies by model, so a clearance borrowed from another stove cannot be assumed to apply.
Measure from the exact points shown in the appliance manual, which may include the stove body, rear shield, vent connector, or corner. Decorative wall protection does not automatically reduce a listed clearance. Any reduction must use an approved method that the appliance instructions and local authority accept.
The hearth pad provides ember protection beneath and around the appliance. Its required material, thickness, and projection beyond the loading or ash-removal area depend on the stove listing, and some models also call for specific thermal protection rather than a simple noncombustible surface.
A homeowner can screen a possible location with a few practical checks:
- Measure nearby combustibles. Include baseboards, window trim, mantels, curtains, furniture, and anything mounted above the stove.
- Trace the vent route. Look outside for windows, doors, decks, corners, utility equipment, eaves, and places where snow or leaves collect.
- Find grounded power. Confirm that a suitable receptacle is nearby without relying on an extension cord across the room.
- Leave service space. Make sure side and rear panels, the hopper, ash pan, and vent cleanout can be reached without moving built-ins.
- Picture the heat path. Doorways and open floor plans may help heat move, while an isolated room can remain warm as the rest of the house stays cool.
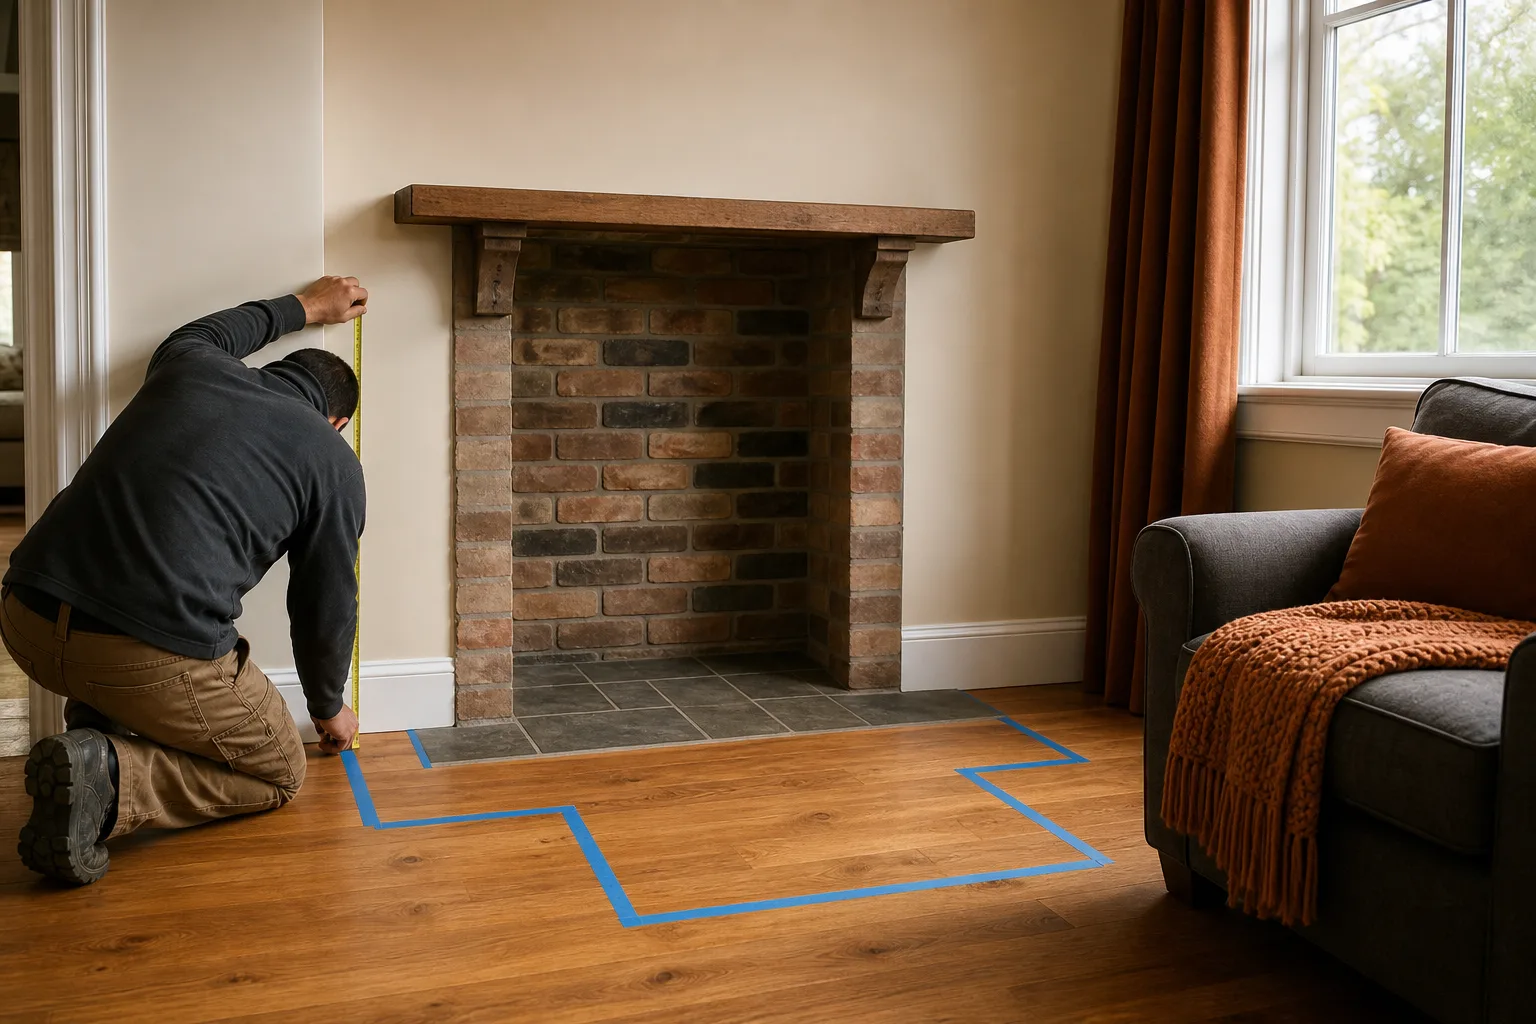
Pro tip: Place painter's tape on the floor to mark the stove body, hearth edge, and required clearances. This simple outline reveals blocked walkways, tight furniture spacing, and service problems before a heavy appliance enters the room.
Stove placement also affects noise and daily use. Pellet stoves contain fans and motors, and owners need room to lift fuel bags, open the hopper, remove ash, and clean the burn area without bumping a wall or nearby chair.
How pellet stove venting differs from wood stove venting
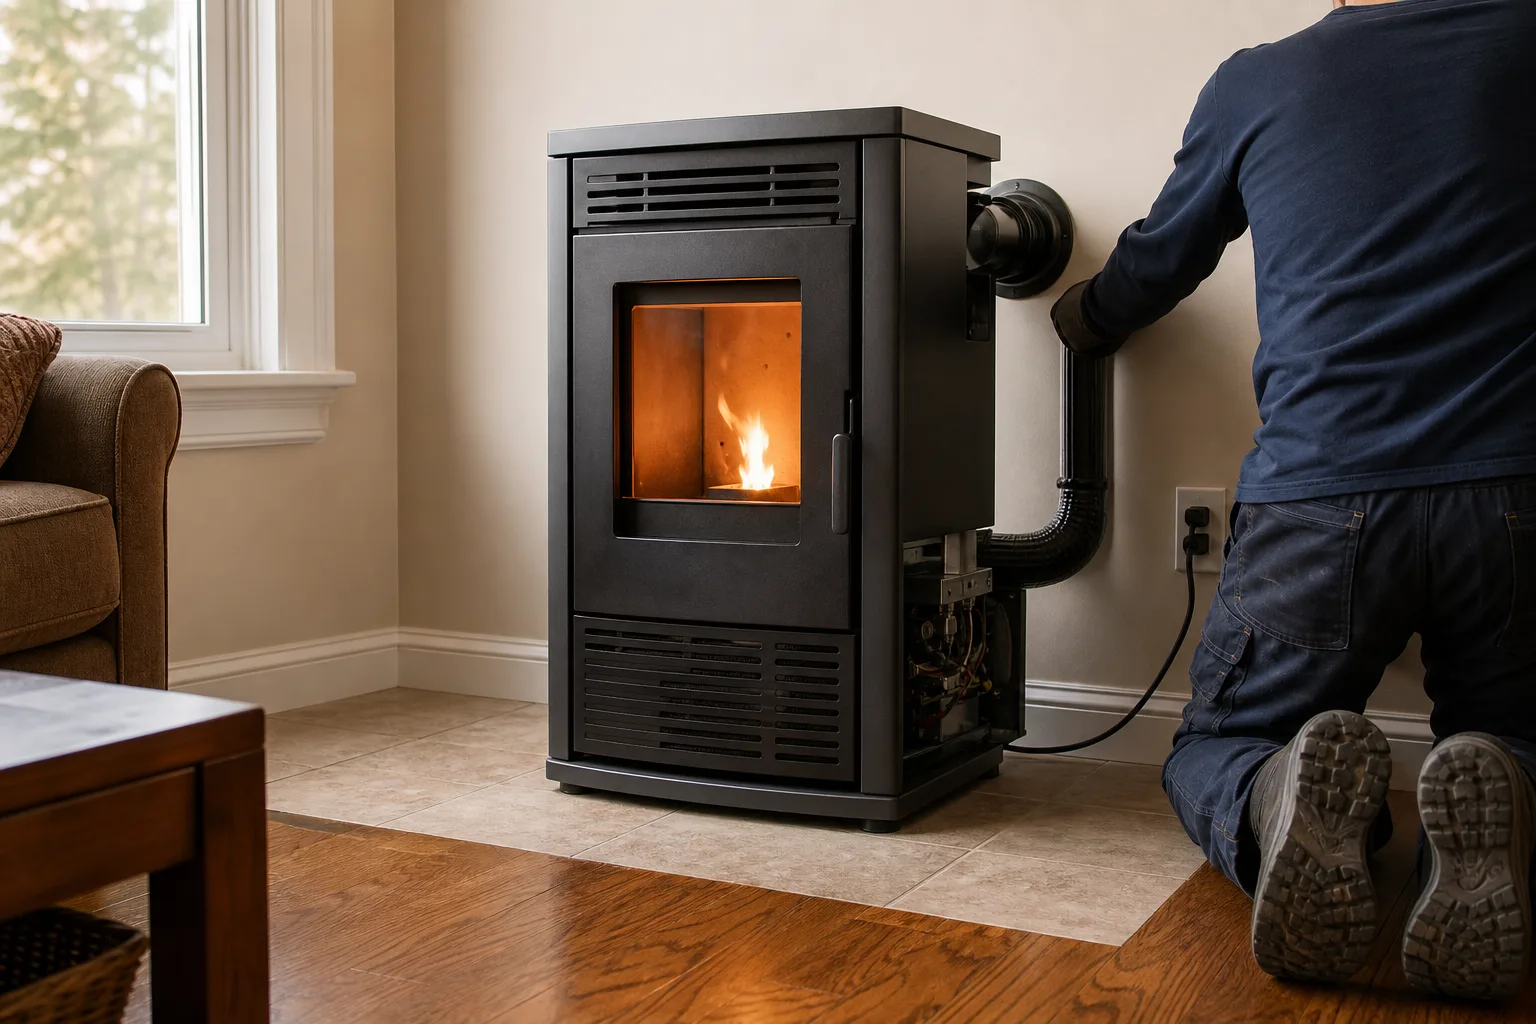
The defining venting difference in pellet stove installation is the use of a listed pellet vent system, often called PL vent, rather than ordinary wood stove connector pipe. A pellet stove's exhaust fan pushes flue gases through the system, so approved pipe, sealed joints, proper supports, and the manufacturer's specified vent configuration all matter.
Pellet vent commonly has an inner flue wall and an outer wall that helps maintain clearance from combustible construction. Sections must be oriented, locked, fastened, and sealed as directed by the vent manufacturer. Mixing unapproved components or treating a joint as secure because it feels tight can allow ash or exhaust to escape under pressure.
| Venting feature | Pellet stove | Wood stove |
|---|---|---|
| Exhaust movement | Assisted by a combustion or exhaust fan | Primarily driven by natural draft |
| Typical connector | Listed pellet vent, often called PL vent | Connector and chimney system listed for wood-burning use |
| Joint concerns | Must resist positive exhaust pressure | Must maintain draft and contain flue gases |
| Combustion air | Often supports performance and may be required | Requirements depend on appliance and building conditions |
| Layout effect | Elbows and horizontal runs affect fan performance | Height, temperature, and chimney draft strongly affect operation |
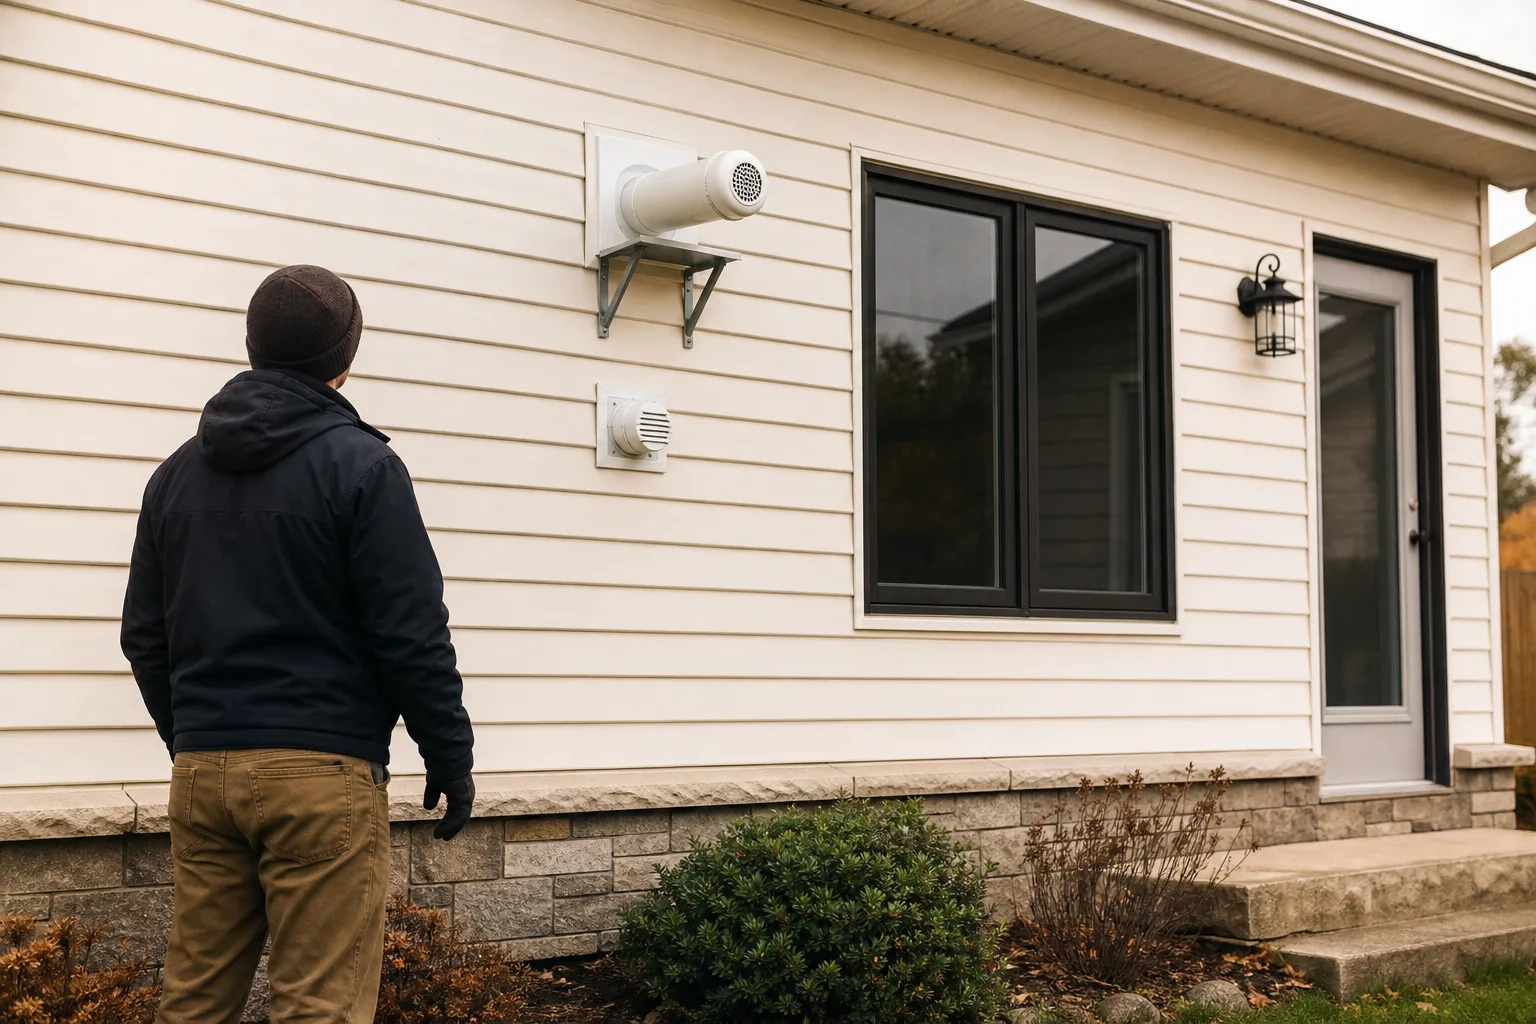
A through-wall route can be shorter and easier to clean, but the termination still needs approved separation from doors, windows, air inlets, grade, vegetation, and building corners. A through-roof route may provide more vertical rise and move exhaust above outdoor activity areas, but it adds roof flashing, weather exposure, and higher cleaning access.
Vertical rise can help establish natural movement if the power fails and may improve vent behavior under wind or cold-start conditions. The correct amount depends on the stove, total vent length, elevation, and fittings, since every elbow and horizontal section adds resistance.
Safety note: Never choose a termination point from the indoor side alone. Walk outside and look up as well as sideways, because an eave, operable window, dryer vent, gas meter, or sheltered corner may rule out an otherwise tidy wall exit.
Outside combustion air supplies the stove from outdoors instead of drawing all combustion air from the room. It may be required by the appliance listing, local rules, or the type of home, and it can be especially helpful in tightly built houses where kitchen fans, bath fans, or other appliances compete for air.
The intake needs an approved kit and a termination protected from blockage, pests, and drifting snow. It should not be improvised with household duct material, and its relationship to the exhaust termination must follow the appliance instructions.
Need help comparing wall and roof routes? Book a site visit or call (513) 655-6702 to have the clearances, outside air path, and service access reviewed together.
Installing a pellet stove through an existing chimney
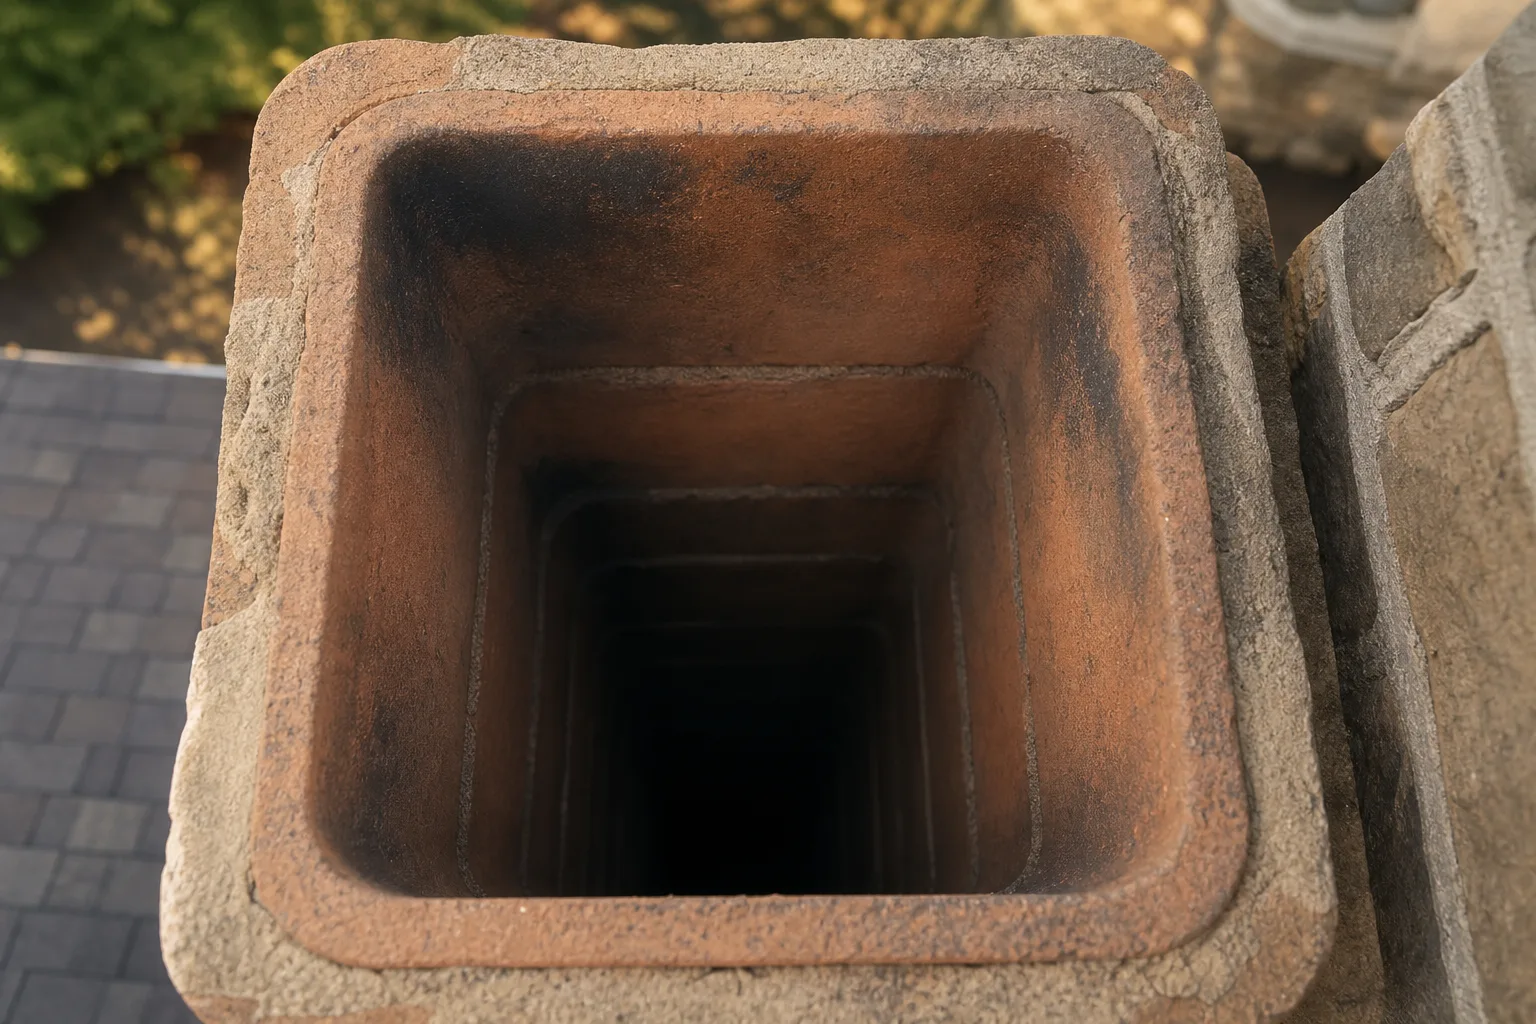
An existing chimney can sometimes carry a pellet vent system, but it must be inspected before installation. A fireplace opening or an old stove connection does not show whether the flue is clean, structurally sound, correctly sized, moisture-resistant, or compatible with the proposed appliance.
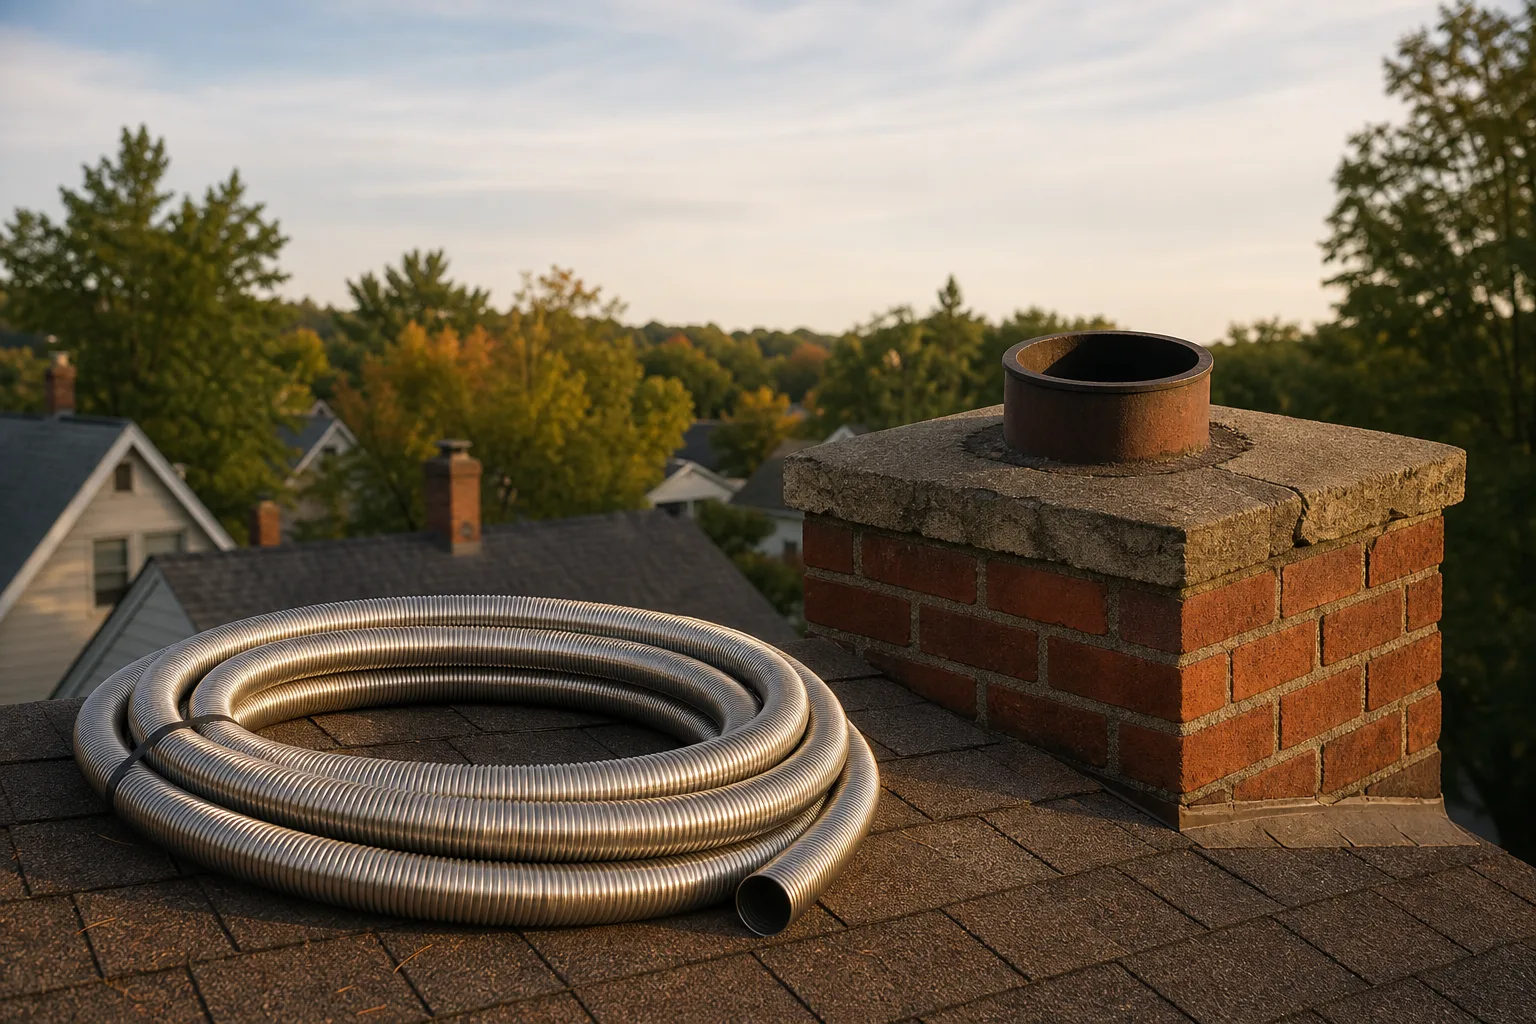
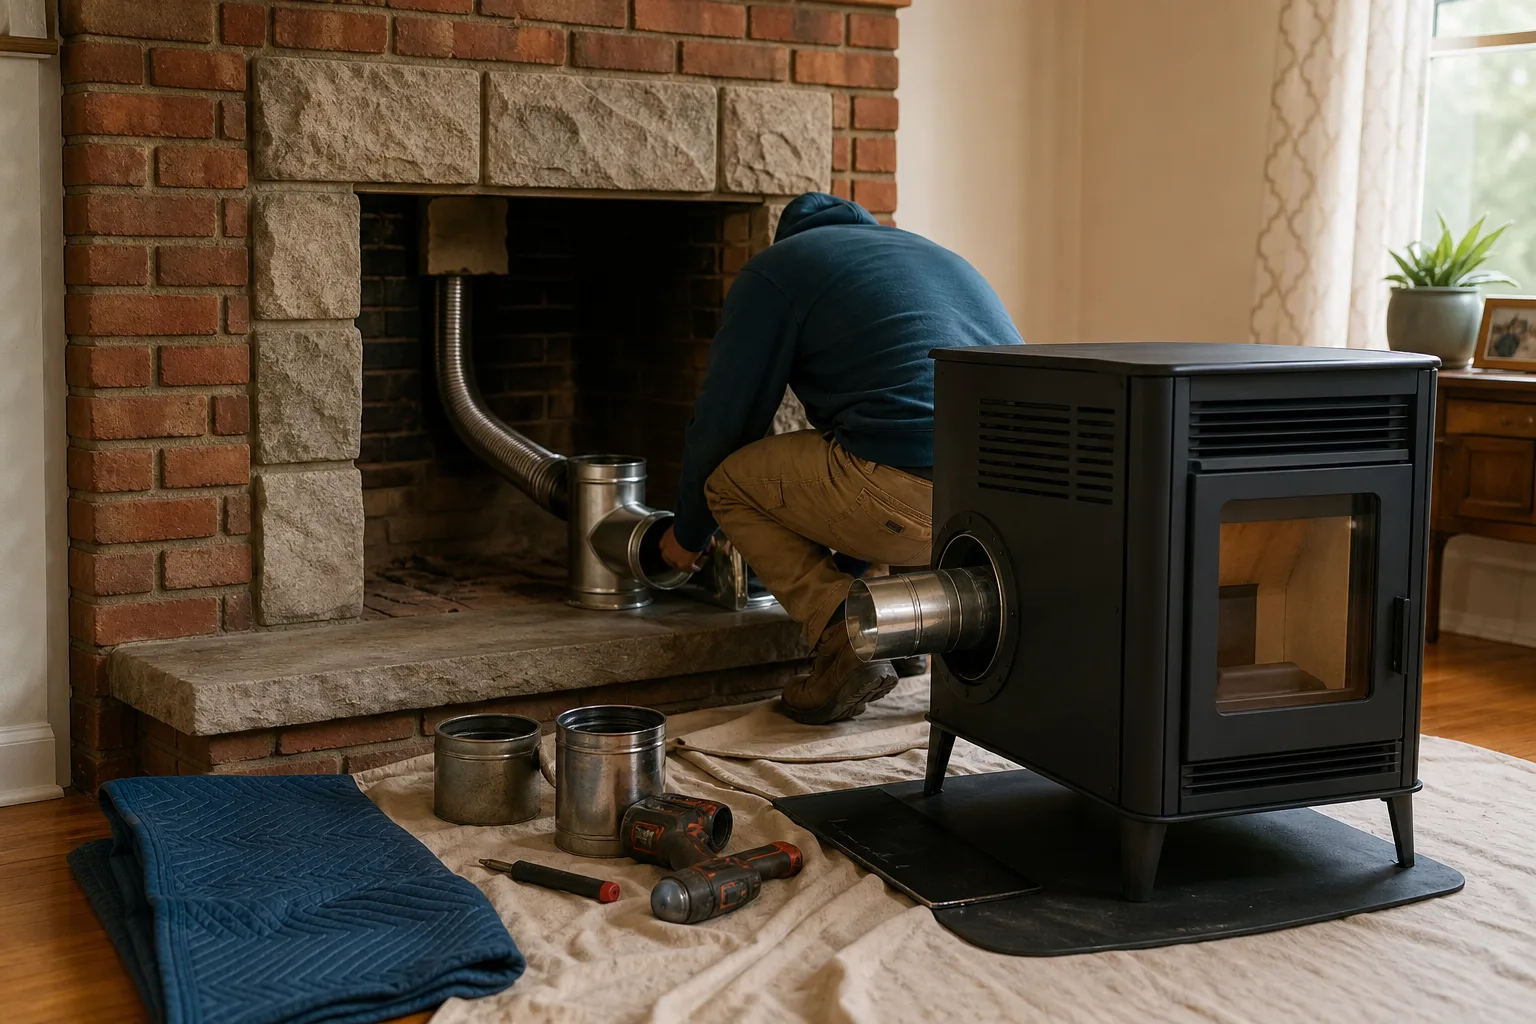
Most installations should not discharge pellet exhaust into a large, open masonry flue. The common approach is a properly sized, listed liner that runs through the chimney and connects to the stove with approved components, although the exact system must be permitted by the appliance, liner instructions, and chimney type.
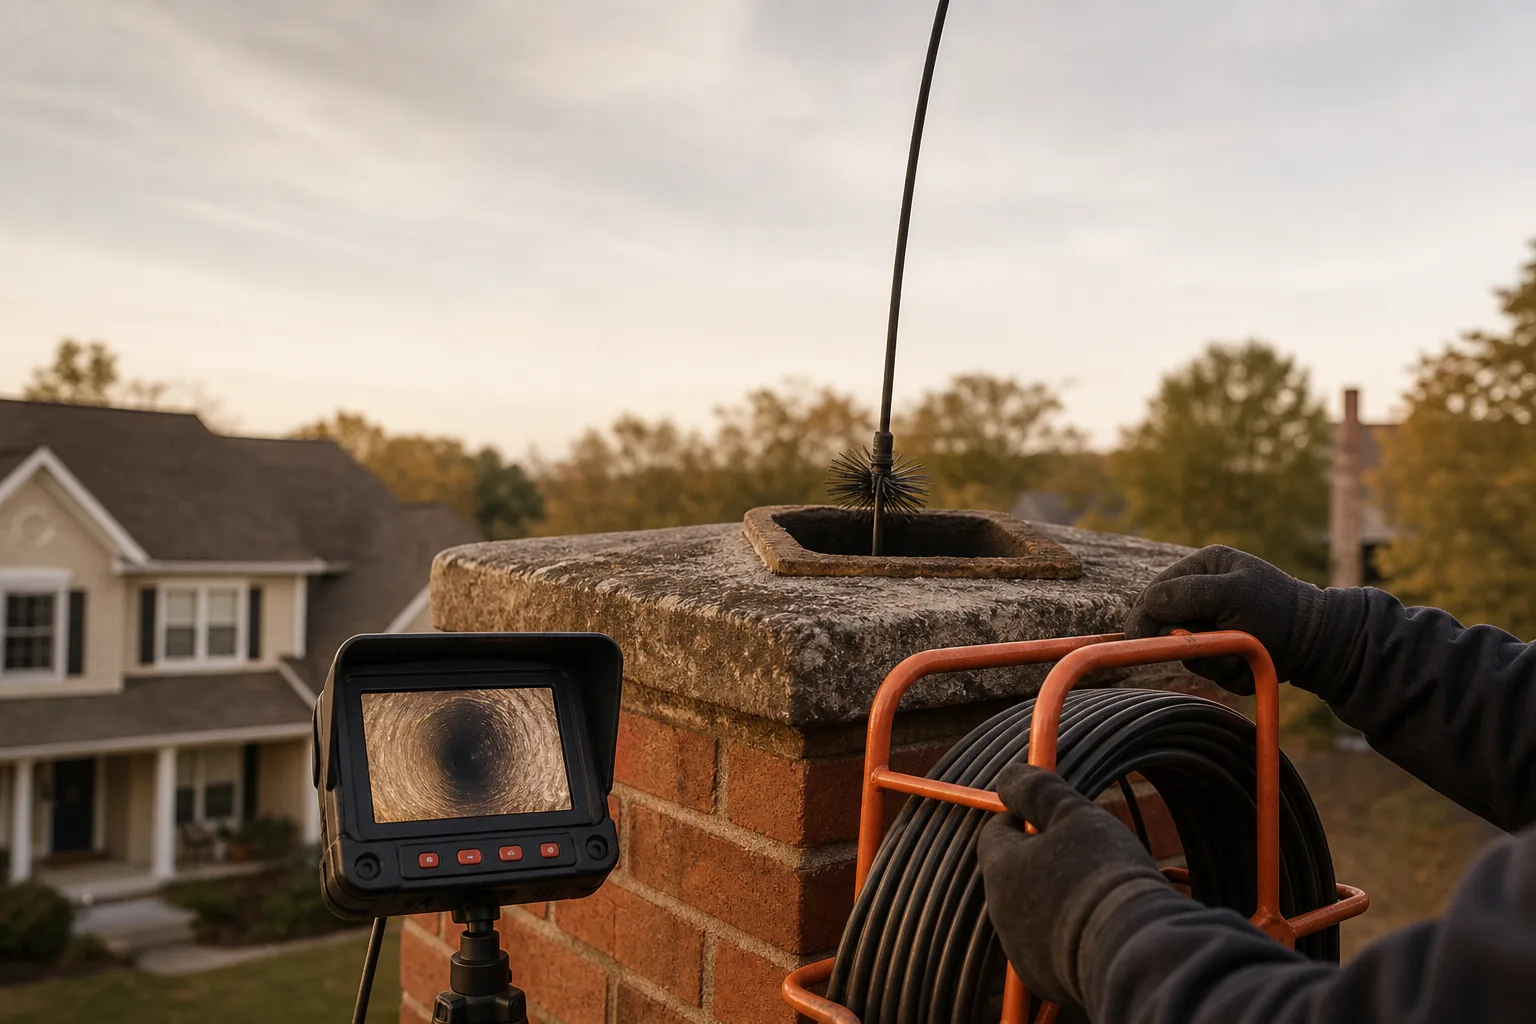
A masonry chimney should be cleaned before the liner goes in so old soot, glazed deposits, nesting material, and loose debris are not trapped around it. The inspection should also check cracked tiles, missing mortar joints, water damage, blockages, and the condition of the smoke chamber or old thimble where relevant.
A factory-built chimney requires a different review because its listing depends on matched parts and a specific installation method. An installer must confirm that the existing system can be adapted as proposed rather than cutting, removing, or filling components in a way that defeats its listing.
From the ground, a homeowner can make a useful first pass without climbing onto the roof:
- Check the chimney cap. Look for a missing top, bent screen, visible nests, or heavy rust.
- Scan the crown or chase cover. Look for cracks, low spots, corrosion, or vegetation growing from joints.
- Follow the flashing line. Stains below the roof edge or on nearby ceilings may point to water entry.
- Inspect the lower opening. Note loose masonry, old connector holes, damp ash, or debris at the cleanout.
- Photograph visible damage. Clear pictures help the installer plan access, but they do not replace an internal inspection.
Liner insulation may be required based on the liner listing, chimney clearances, local code, and the condition of the surrounding flue. Connections at the appliance, fireplace opening, tee, cleanout, and top termination must remain supported and accessible rather than disappearing behind a plate with no way to inspect or sweep them.
Myth vs. fact: An unused fireplace does not make a pellet connection ready. The flue may be oversized, dirty, damaged, wet, or shared with another appliance, and a decorative block-off plate does not correct those conditions.
The top of the chimney needs a listed termination and weather protection that keeps rain and snow out without restricting exhaust. The installation should also prevent water from running down the liner or collecting around a tee, where moisture and fine fly ash can form a dense, corrosive paste.
If the chimney condition, liner route, or connection details are uncertain, request an on-site installation assessment or call (513) 655-6702. A crew can inspect the available path and explain what must be cleaned, repaired, or lined before the stove is connected.
Permits, clearances, and installation requirements
A compliant pellet stove installation begins with the appliance manual, the vent manufacturer’s instructions, and local permit rules. Many jurisdictions require a permit and final inspection, including when a pellet stove replaces an older stove or another heating appliance. Existing holes, hearths, and chimneys do not grandfather an unsafe arrangement.
The stove’s listing sets model-specific wall, corner, ceiling, and floor clearances. Vent components have their own clearance requirements, which can differ from the stove body clearances. Local building or fire officials may add requirements based on the home, chimney, or termination location.
NFPA 211 provides recognized guidance for chimneys, vents, solid-fuel appliances, and floor protection. However, the approved appliance manual and local authority govern the final installation. When instructions conflict or a condition is not addressed, stop and ask the inspector or installer rather than making a field-built workaround.
Myth vs. fact: A previous stove permit does not automatically cover a new pellet appliance. The replacement may have different clearances, vent specifications, electrical needs, or outside-air requirements, so local officials may require a new permit and inspection.
The installation also needs a properly grounded receptacle within the location allowed by the manufacturer. Extension cords and cords routed behind hot venting create avoidable hazards. The power connection, thermostat wiring, fuel hopper, service panels, and any disconnect must remain reachable after the stove is set in place.
Working smoke alarms and carbon monoxide alarms should be installed in the locations required by local code and their manufacturer instructions. Test them before the first burn, and make sure furniture or stored pellets do not block the stove’s controls, power plug, air intake, or service access.
Need the requirements checked before work begins? Request an installation assessment or call (513) 655-6702 for a clear review of the stove, vent route, and local inspection needs.
The installation and startup process
Pellet stove installation proceeds from floor protection and final positioning to vent assembly, outside-air connection, electrical hookup, and controlled startup. Each component is fastened, supported, and sealed according to its listing. The installer then confirms that the fuel feed, combustion blower, exhaust path, and safety controls operate as intended.
The hearth pad goes down first so its required coverage can be measured around the appliance. Once the stove is leveled and positioned, the vent is assembled in the direction specified by the vent manufacturer, with listed adapters at the appliance and any chimney liner connection. Wall brackets, firestops, thimbles, flashing, and termination parts are installed wherever the route requires them.
An outside-air kit is connected without pinching the duct or placing its intake where snow, leaves, exhaust, or dryer lint can obstruct it. The stove is then connected to the approved electrical supply. Sealants, screws, locking bands, and gaskets must match the component instructions because pellet exhaust is mechanically pushed through the vent.
| Pre-start check | What the installer verifies |
|---|---|
| Vent and supports | Joints are locked, sealed as required, and held without sagging |
| Termination | Required separation from openings, grade, corners, and other equipment |
| Combustion airflow | Intake and exhaust paths are open and correctly connected |
| Fuel system | Pellets feed normally without bridging or unusual motor noise |
| Test burn | Ignition is steady, exhaust operates, and no visible smoke escapes indoors |
Before startup, you can make a simple exterior check from the ground. Do not climb onto the roof or remove a hot termination cap.
- Check the outlet. Confirm that siding, plants, stacked firewood, and stored items are clear of the termination.
- Check the air intake. Look for leaves, snow, nests, or lint that could restrict combustion air.
- Check the wall penetration. Look for loose trim, open gaps, staining, or signs of water entry.
- Check the roofline. From the ground, look for displaced flashing or a cap that appears tilted.
Safety note: Shut the stove down if smoke enters the room, the vent joint leaks, the combustion blower sounds abnormal, or an alarm activates. Let the appliance complete its shutdown cycle, leave the power connected unless instructions say otherwise, and call for service.
The handoff should include lighting, normal shutdown, thermostat settings, pellet loading, ash removal, and the meaning of control-panel warnings. You should also be shown which surfaces become hot, how long the exhaust fan may run after shutdown, and where to find the model manual and service access points.
Maintenance starts with the installation plan
A short, supported vent route with reachable cleanouts is easier to maintain than a route hidden behind the stove or packed into a tight corner. The installer should leave enough room to remove service panels, pull the ash pan, brush vent sections, and reach a chimney liner connection without dismantling half the room.
Pellet appliances produce fine fly ash that settles in the burn pot, internal passages, exhaust housing, elbows, and vent. Cleaning frequency varies with fuel quality, heat setting, vent layout, and the amount of use. A stove burning daily needs attention on a different rhythm than one used for occasional supplemental heat.
| Maintenance rhythm | Typical work |
|---|---|
| Frequent owner cleaning | Empty ash as directed, scrape the burn pot, and keep air holes open |
| Periodic deeper cleaning | Clean internal ash traps, inspect gaskets, and remove fly ash from accessible vent sections |
| Scheduled professional service | Inspect and clean the full vent or liner, blowers, seals, sensors, termination, and chimney connection |
Always let the stove cool fully and follow its shutdown procedure before opening panels or handling ash. Place cold ash in the container specified by local fire-safety guidance, away from combustible floors and walls. Ash can conceal heat even when the surface appears cool.
From the field: Technicians commonly find an elbow directly behind a stove with no room to remove its cleanout cap. A few extra inches of service clearance during installation can prevent scratched floors, damaged gaskets, and unnecessary vent disassembly later.
Poorly placed cleanouts, inaccessible elbows, cramped side panels, and liner connections buried above a fireplace damper all make routine work harder. Moisture entry adds another problem because damp fly ash can cake inside a termination or liner and promote corrosion. Caps, flashing, storm collars, and masonry openings should therefore remain accessible for inspection.
Professional inspection should cover more than brushing the visible pipe. The technician should check the entire exhaust route, chimney liner where present, appliance gaskets, combustion and convection blowers, outside-air path, electrical cord, vent supports, and signs of staining or leakage.
Good to know: A clean burn pot does not mean the full exhaust system is clean. Fine ash can collect farther downstream in horizontal runs, tees, chimney liners, and termination caps while the firebox still looks tidy.
Keep a simple maintenance record with cleaning dates, pellet changes, warning codes, and unusual sounds. That history helps a technician separate a fuel issue from restricted airflow, a worn gasket, or a developing feed problem.
If the vent route, chimney condition, cleanout access, or code requirements are uncertain, get the layout reviewed before the stove is installed. Book a service assessment or call (513) 655-6702 for a practical plan that leaves the appliance safe to operate and straightforward to maintain.
Symptom checker
What is your chimney doing?
Tap the closest match for an honest first answer.