



On this pageCan your home support a wood stove installation?7 sections+6
- Can your home support a wood stove installation?
- Is the existing chimney compatible with a wood stove?
- How much clearance and hearth protection will you need?
- Choose a stove that fits the house and venting plan
- Permits, codes, and inspections to plan for
- What happens during the installation?
- Final checks before you buy the stove
Quick answer
A home can support a wood stove installation when it has a suitable stove location, proper floor and hearth protection, required clearances, and a code-compliant chimney route. The selected stove, venting system, permits, and final inspection must all meet the appliance manual, component listings, and local requirements.
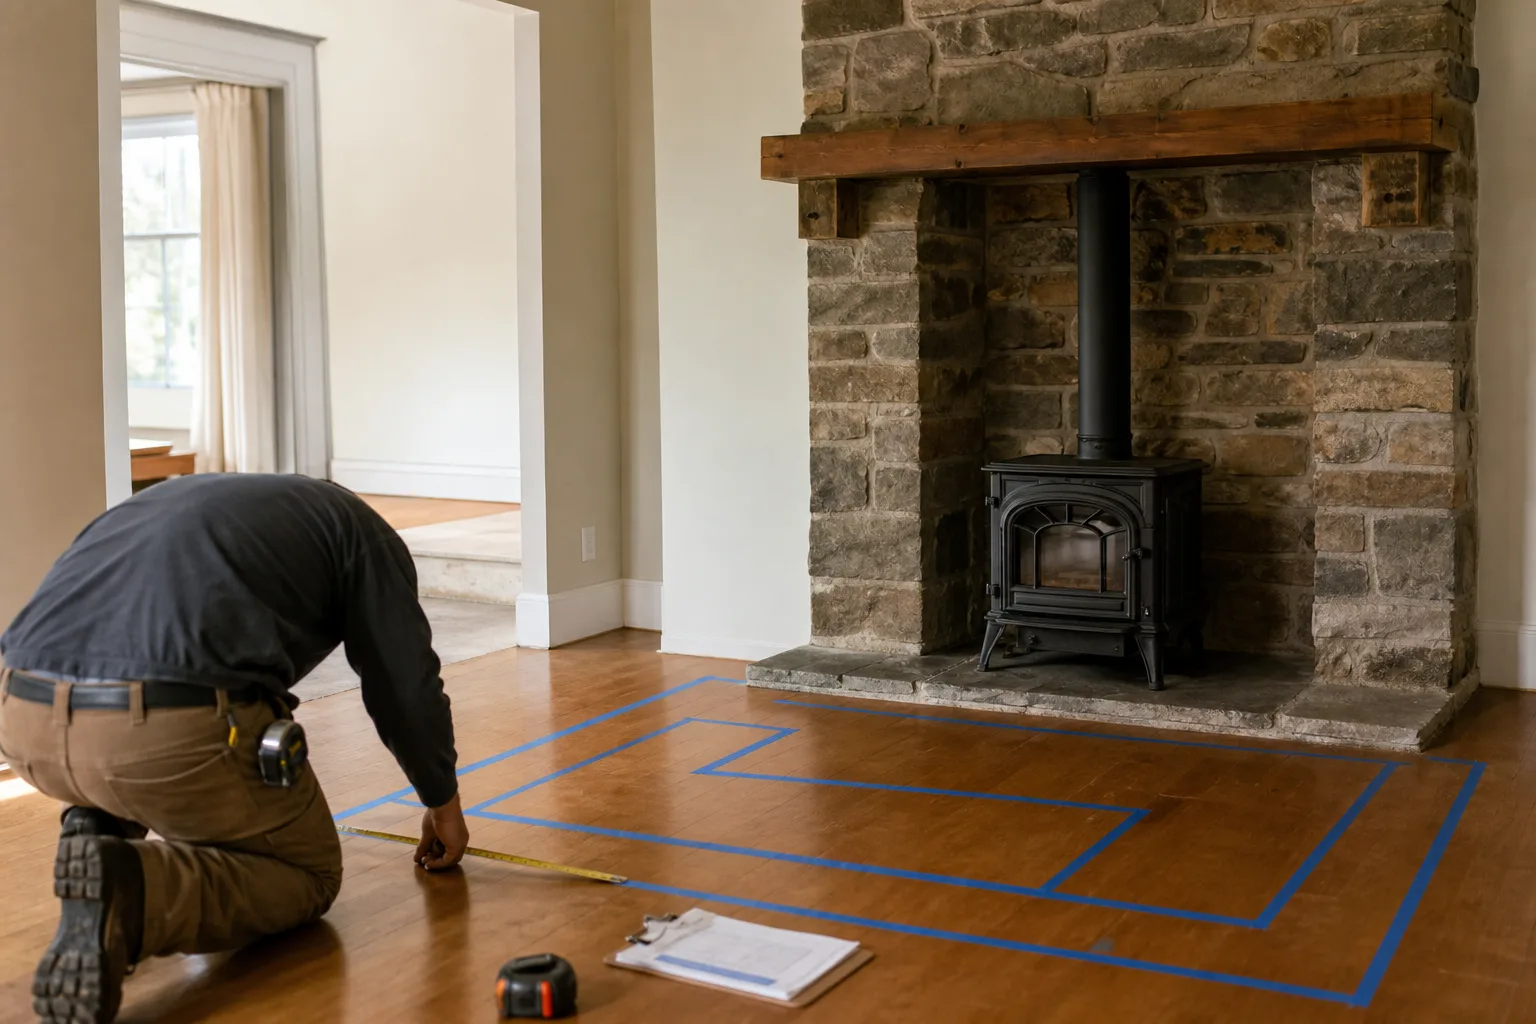
Can your home support a wood stove installation?
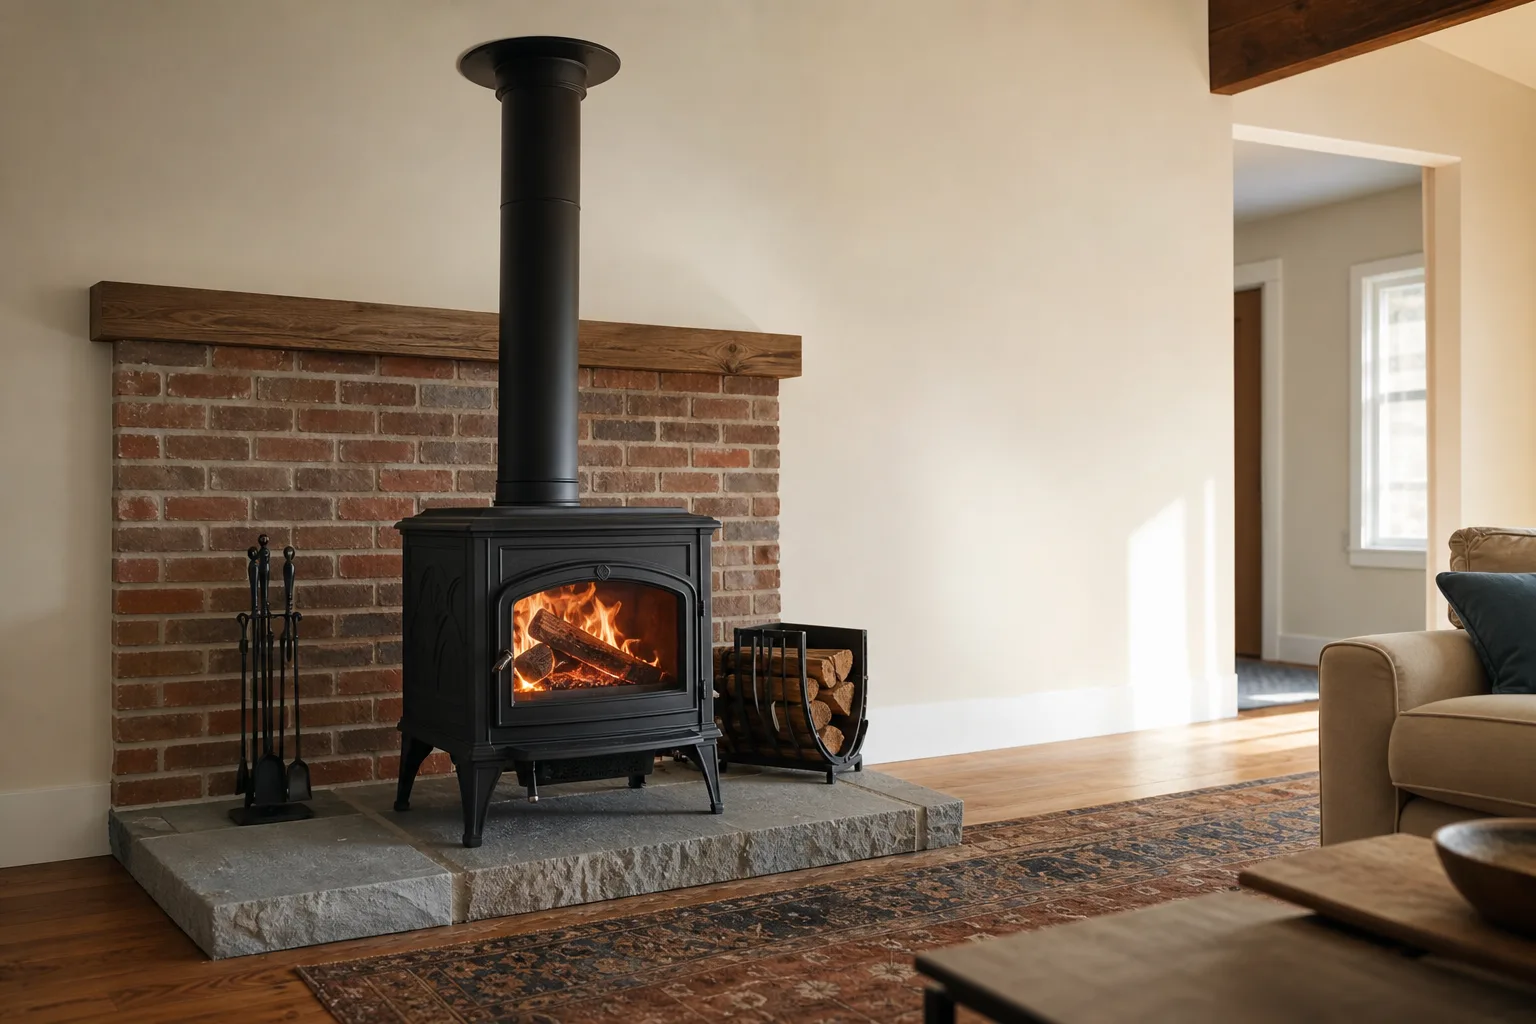
Your home can support a wood stove installation if it has a workable stove location, a code-compliant chimney route, enough clearance from combustible materials, and suitable floor and hearth protection. The final decision must follow the selected stove’s installation manual, its listing, and local code requirements rather than a general rule of thumb.
Start where the stove would sit, then look upward. A promising corner can become unworkable when the chimney route meets a floor joist, roof truss, plumbing vent, electrical cable, or a second-floor doorway. Outside, the chimney also needs a suitable termination location away from roof features that could interfere with draft or make future cleaning difficult.
Use this short site check before shopping for an appliance:
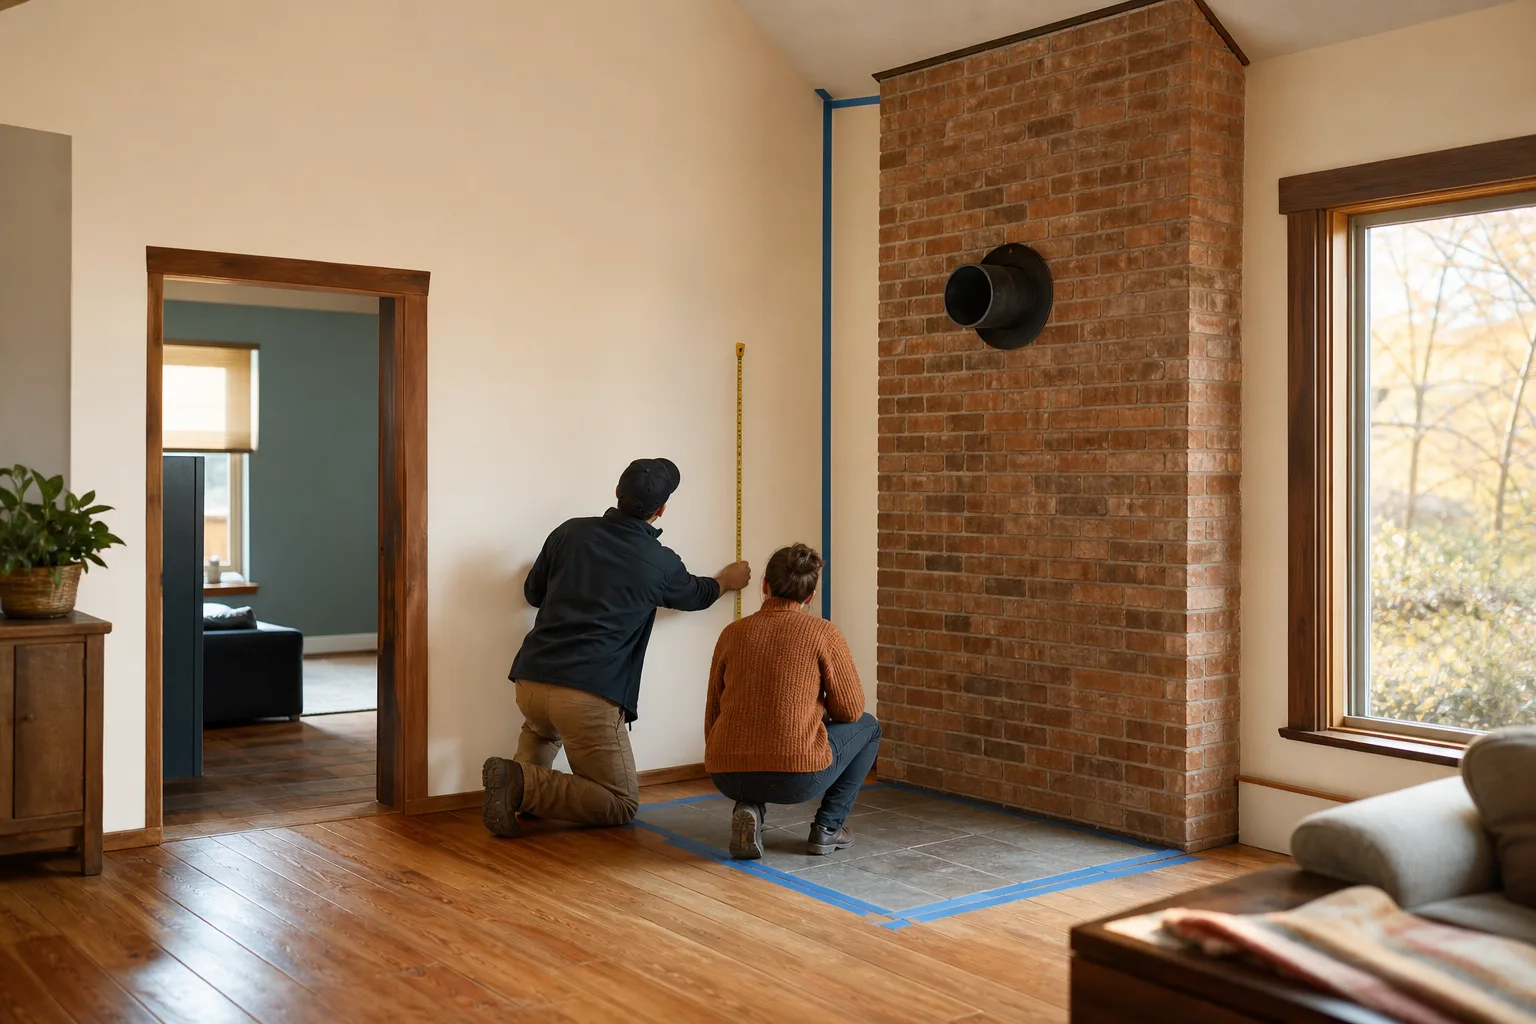
- Mark the stove footprint. Include the required hearth extension and space for the loading door to open.
- Trace the chimney route. Look for framing, wiring, pipes, ducts, attic storage, and roof valleys above the proposed location.
- Check the roof exit. From outside, note nearby ridges, dormers, skylights, solar panels, trees, and steep roof sections.
- Measure the delivery path. Confirm that doors, stairs, corners, and railings leave enough room to bring the stove inside safely.
- Inspect the floor below. Identify the framing direction, span, existing damage, and any reason the added load may need structural review.
A hearth pad protects against embers and, when required, heat transfer. It does not automatically make a weak or damaged floor suitable for a heavy appliance. Floor framing may need assessment when there is a long unsupported span, visible sagging, water damage, or a heavy hearth assembly planned over the stove location.
Room layout matters as much as floor area. The stove should not pinch a normal walking route, crowd furniture, block a door, or place hot surfaces where children and pets cannot pass safely. Combustible trim, wood mantels, drywall over wood studs, curtains, and furnishings all count when checking clearances.
Pro tip: Place painter’s tape on the floor to show the stove body, hearth edge, and minimum clearance zone. Open nearby doors and walk the room normally. This simple mock-up often exposes a tight traffic path before any equipment is purchased.
The manufacturer’s instructions settle details such as floor protection, connector type, alcove approval, and clearance reduction methods. If the proposed location only works by ignoring one of those instructions, it is not a workable location for that stove.
Want the route checked before you buy? Request an on-site installation assessment or call (513) 655-6702 for a practical review of the location, floor, and chimney path.
Is the existing chimney compatible with a wood stove?
An existing chimney is compatible with a wood stove installation only when its flue size, liner, height, clearances, and condition match the selected appliance and local requirements. A chimney that vented a fireplace, furnace, or older stove should not be assumed suitable until the entire flue and connection point have been evaluated.
Stovepipe and chimney are different parts of the venting system. Stovepipe, also called connector pipe, runs from the stove’s flue collar to the chimney entrance within the room. The chimney is the insulated or masonry structure that carries exhaust through the building and terminates above the roof.
| Component | Where it belongs | What it does |
|---|---|---|
| Stovepipe | In the occupied room, between the stove and chimney | Connects the appliance to the chimney |
| Factory-built chimney | Through ceilings, attics, walls, and the roof as its listing permits | Contains hot exhaust while maintaining specified clearances |
| Lined masonry chimney | Within a properly built masonry structure | Provides a suitable flue when its liner and construction match the appliance |
Ordinary stovepipe cannot pass through a wall, ceiling, attic, closet, or roof. Those transitions require an approved pass-through method and a listed chimney system designed for the location. Single-wall and double-wall connector pipe also have different clearance and installation requirements, so one cannot be substituted for the other without checking the stove manual and connector listing.
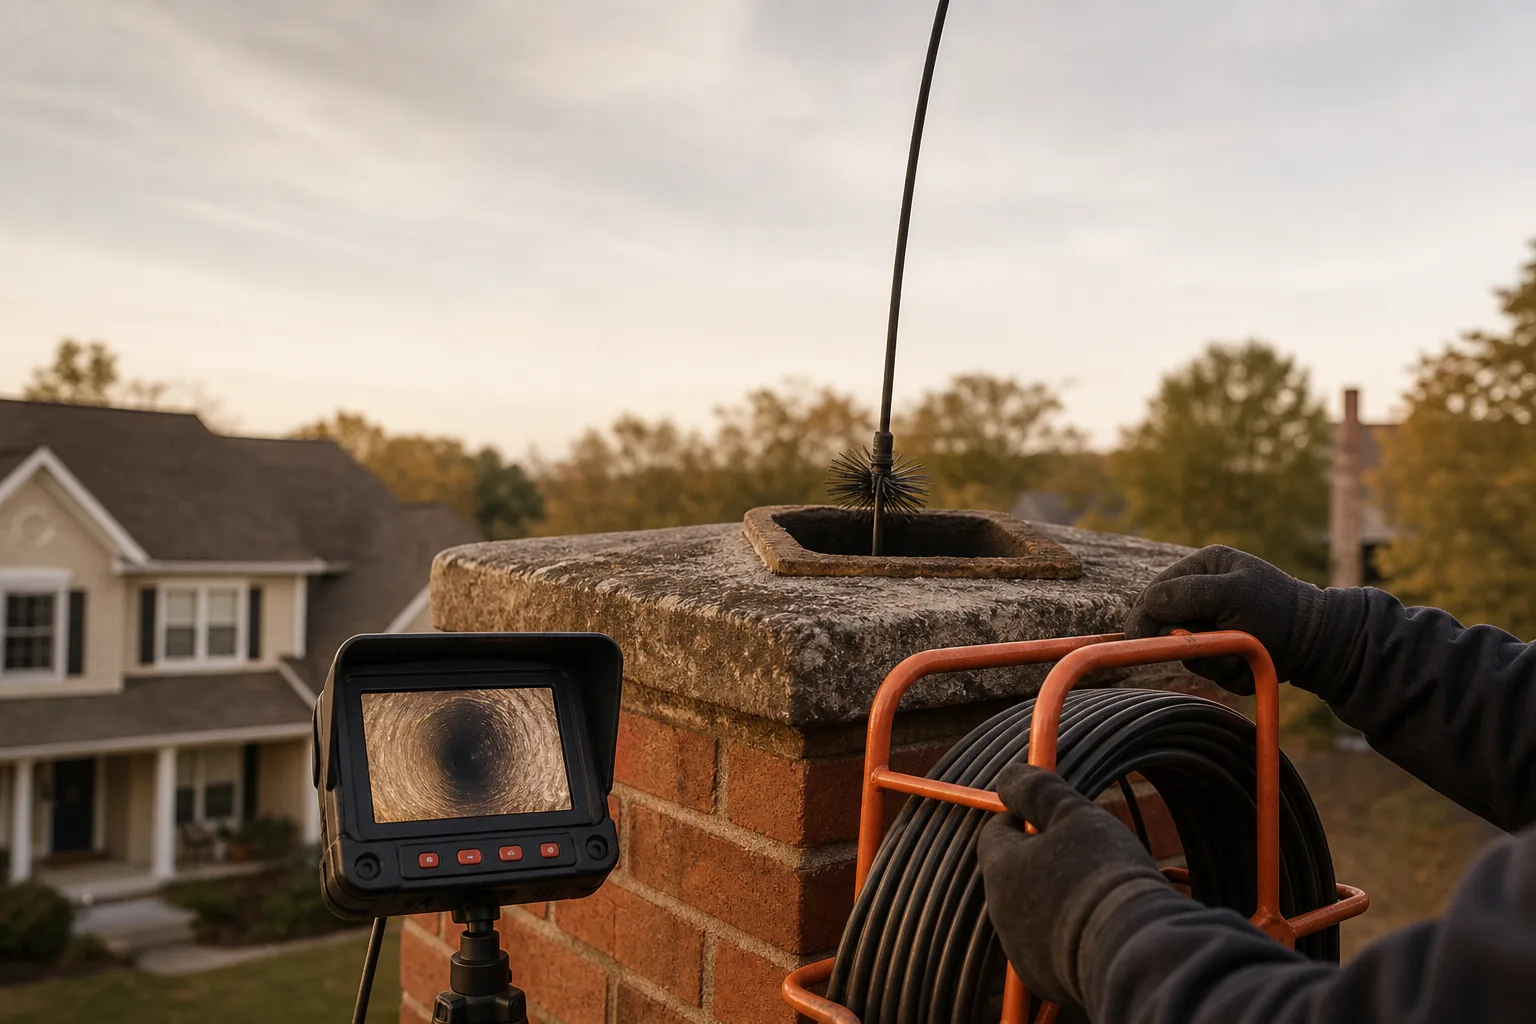
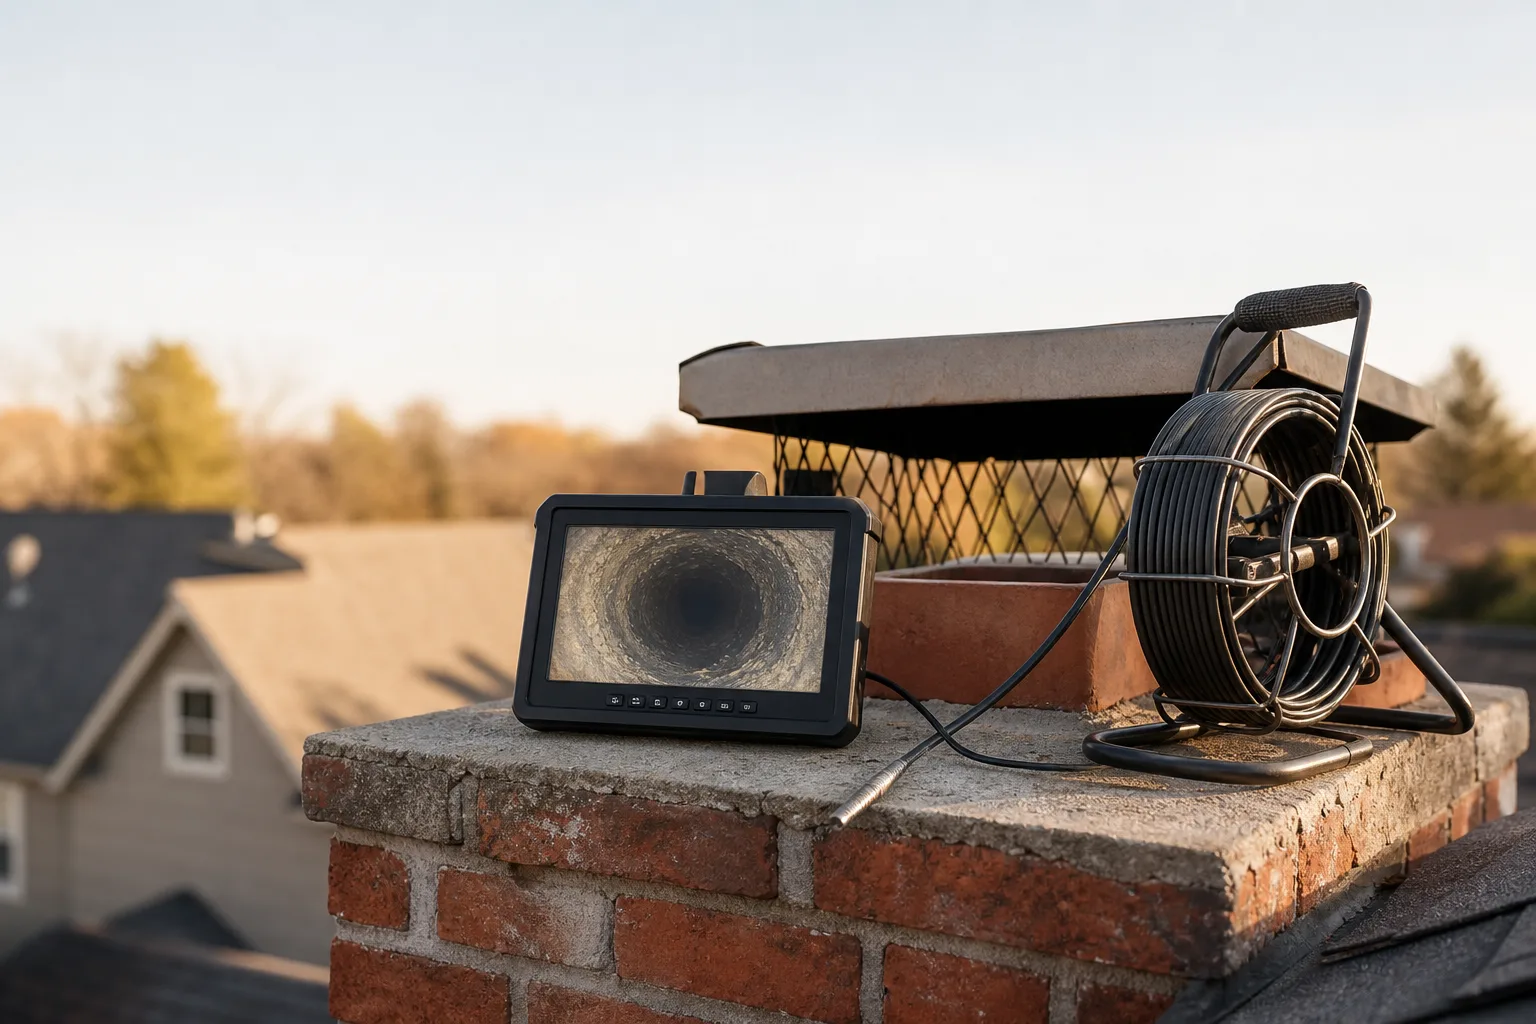
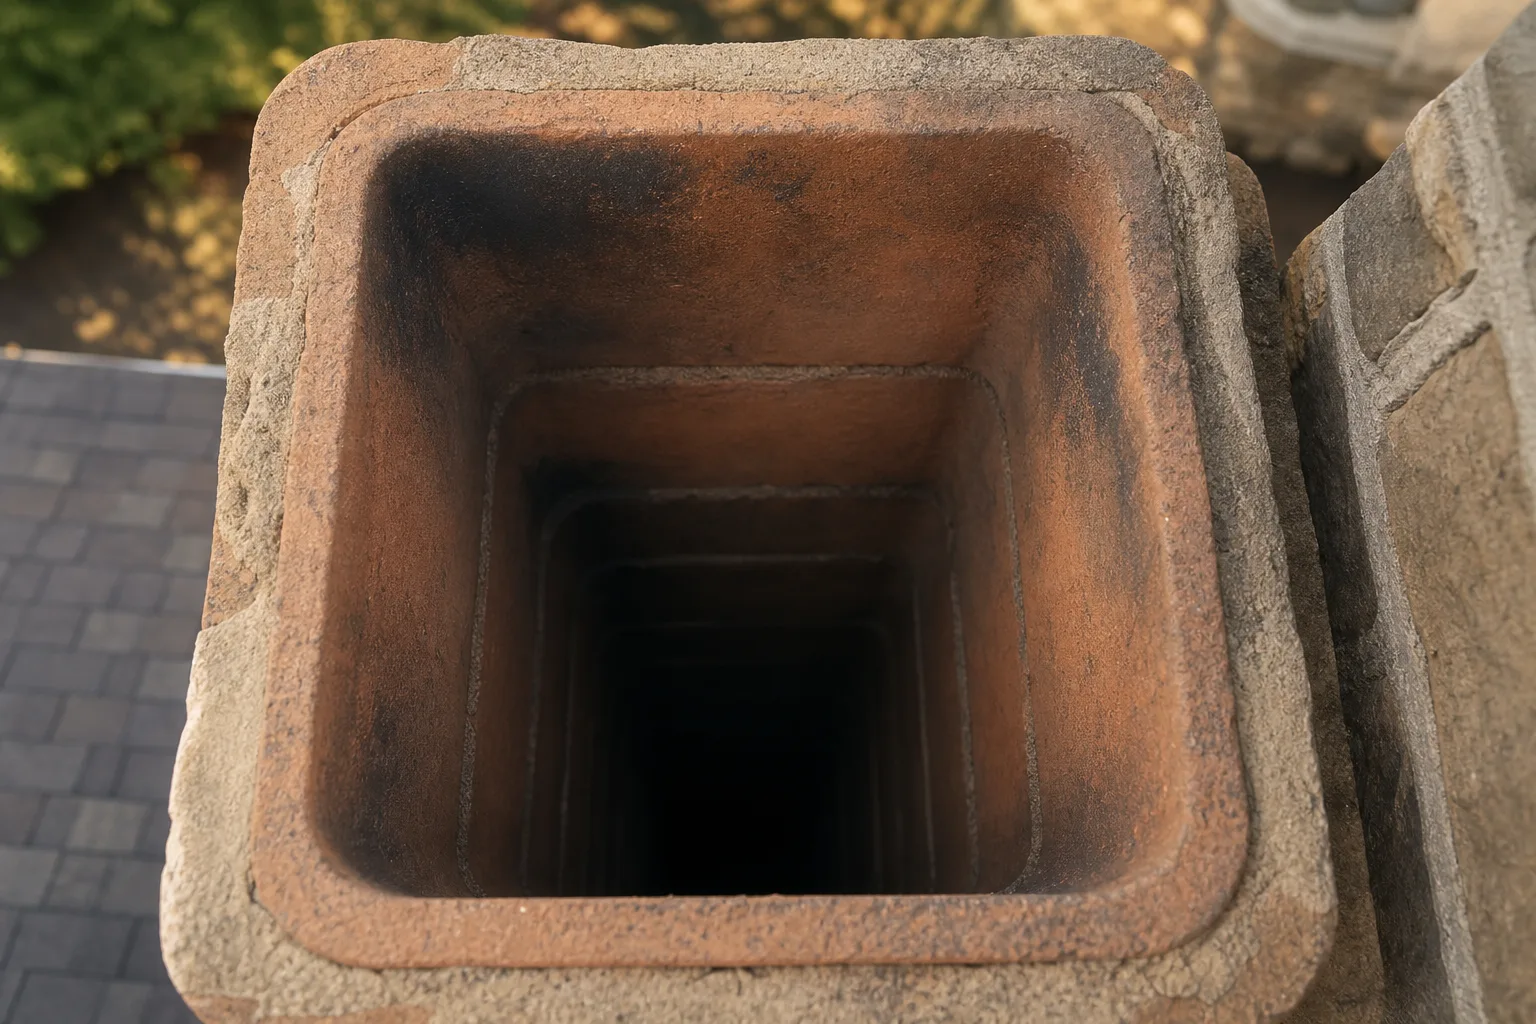
A masonry chimney assessment should examine more than the visible fireplace opening. The flue liner may be cracked, deteriorated, offset, oversized, obstructed, or poorly connected at the thimble. Chimney height and surrounding roof conditions also affect draft, while missing clearances around masonry can create hidden heat exposure where the chimney passes wood framing.
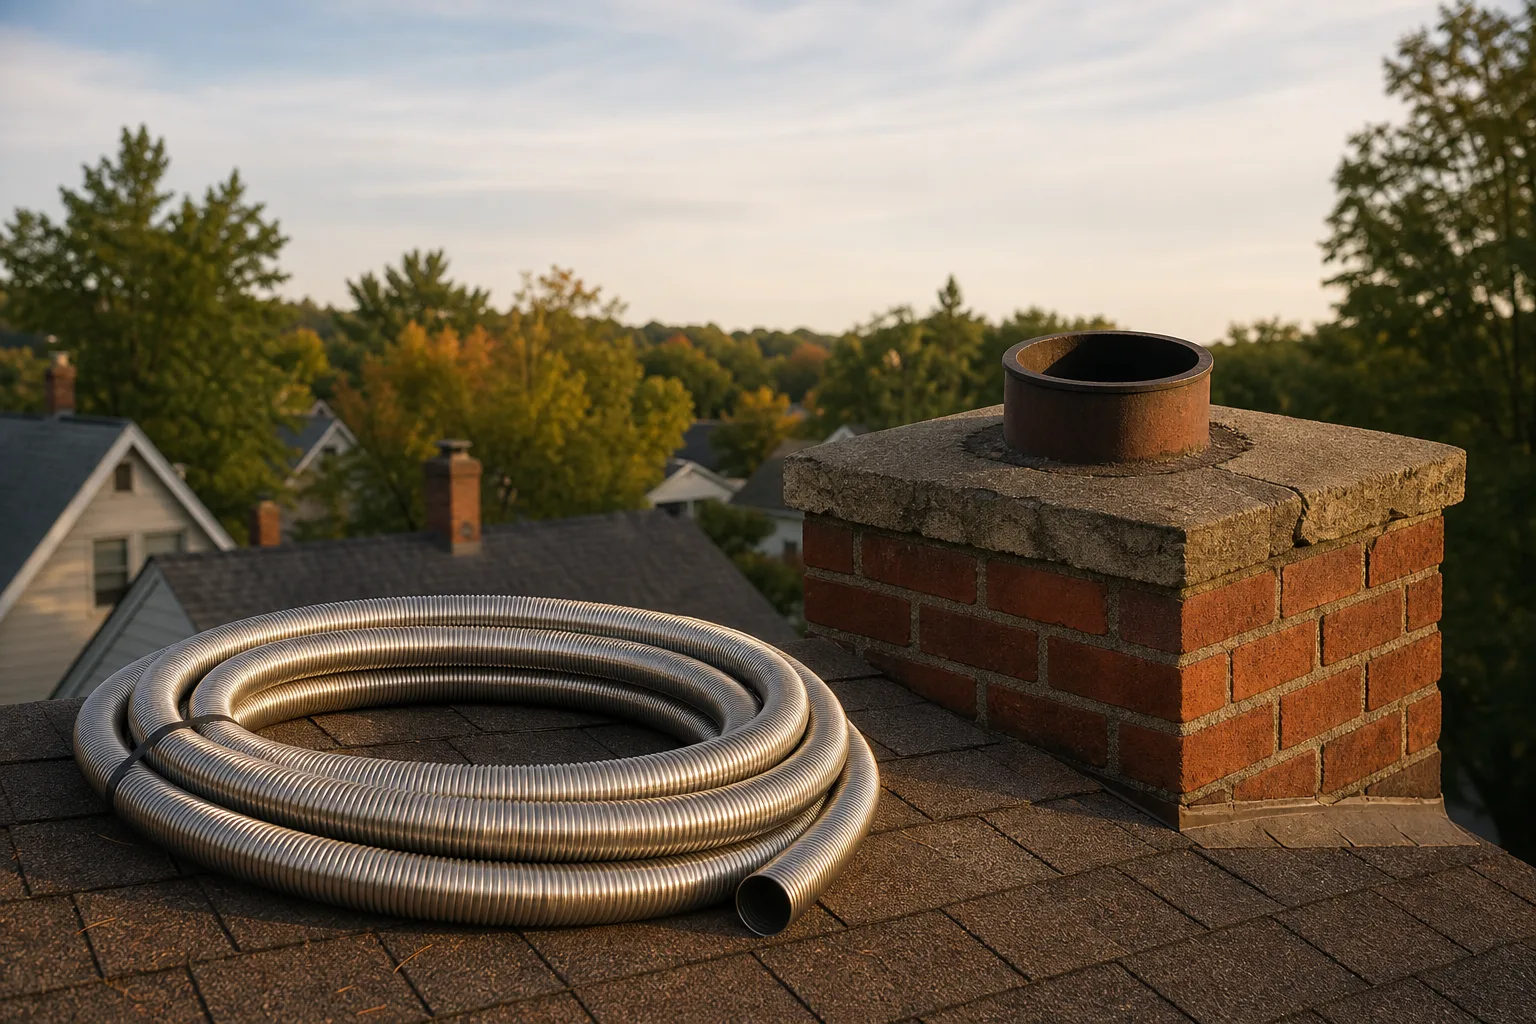
An oversized masonry flue can allow smoke to cool too quickly, weakening draft and encouraging creosote deposits. Depending on the appliance and chimney condition, a properly sized listed liner may be needed. The liner must be suitable for solid-fuel service and installed with the insulation, termination, and connection details required by its listing.
From the field: Technicians often find that the clean-looking part of a chimney is the short section visible from the room. Problems tend to hide above the ceiling line, around an old thimble, or inside a flue that cannot be judged from below.
A listed factory-built chimney may be the better option when no suitable masonry flue exists or when the existing chimney cannot be adapted safely. Its supports, firestops, attic insulation shields, flashing, storm collar, and cap are parts of one tested system. Components should not be mixed unless their listings specifically permit the combination.
Myth vs. fact: Myth: A wood stove can share any open flue if both appliances are used carefully. Fact: A wood stove generally needs its own properly sized flue. Shared or improvised connections can disturb draft, allow exhaust to enter another appliance opening, and conflict with appliance instructions or code.
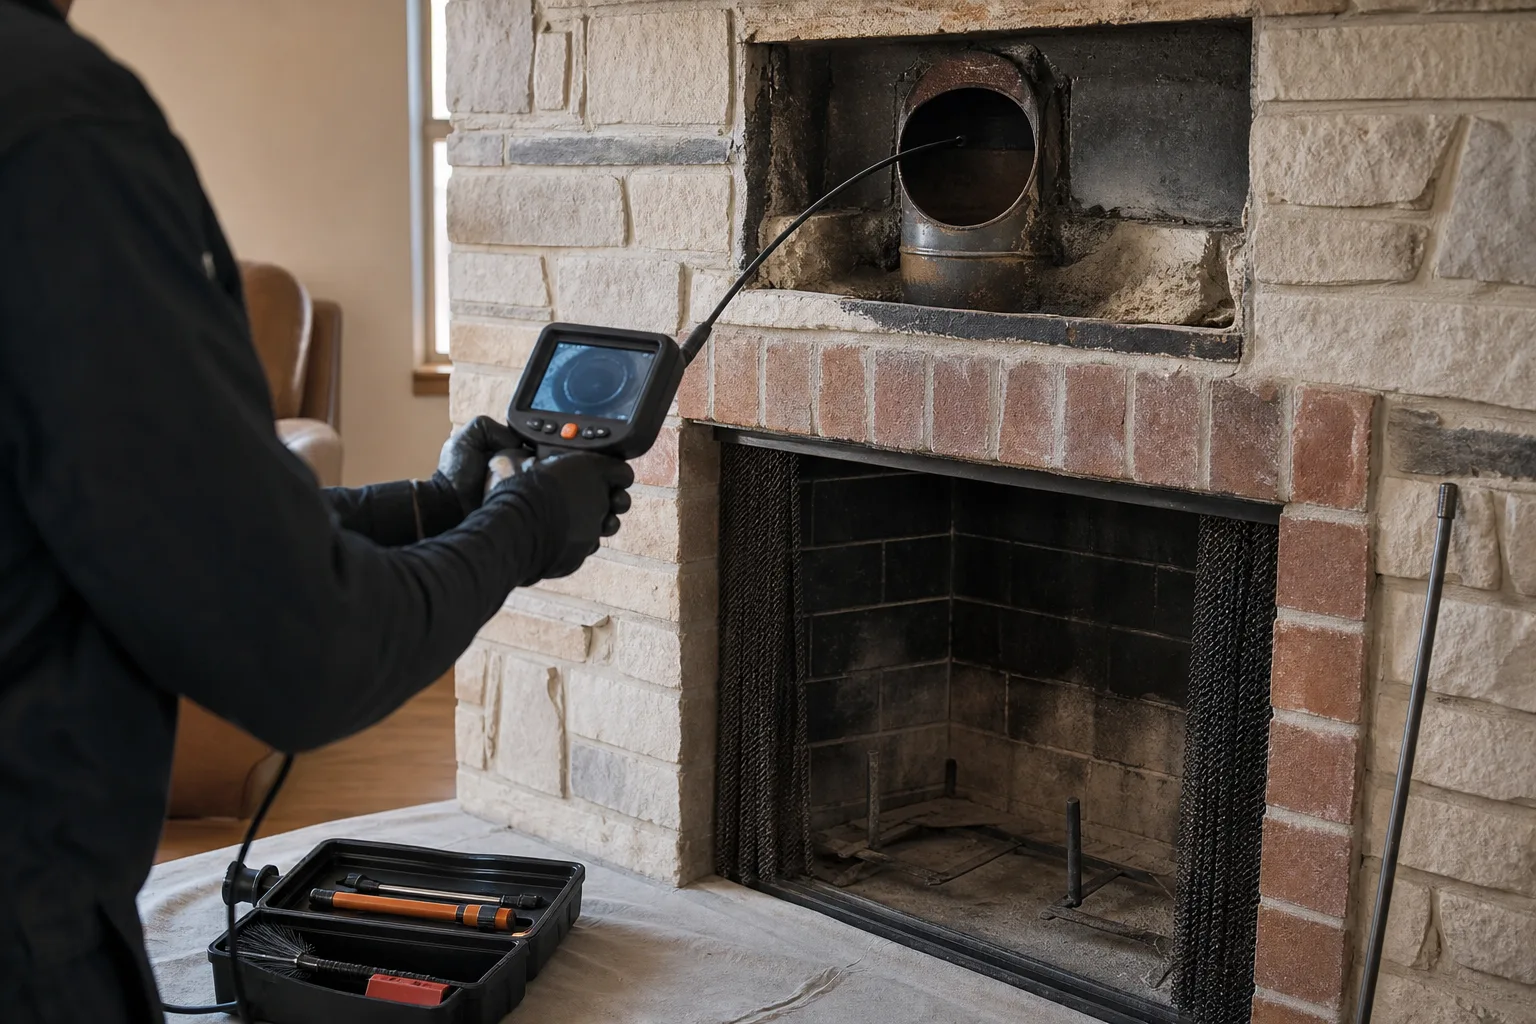
How much clearance and hearth protection will you need?
The required clearance and hearth protection come from the stove’s listing label and installation manual, not from the stove’s appearance or a universal measurement. You must account for combustible walls, ceilings, trim, furniture, flooring, and nearby projections, then provide the specified ember and thermal protection beneath and around the appliance.
A material can be combustible even when it does not look exposed. Tile or sheet metal attached directly to drywall does not erase the wood studs behind it. Wood trim around brick, a mantel above a masonry surface, and cabinets beside a corner installation must also remain outside the required clearance zone.
Approved wall protection may reduce certain clearances, but only when built as an allowed clearance-reduction system. The assembly may need noncombustible material, an air space, open ventilation at the bottom and top, noncombustible spacers, and specific edge clearances. Fastening a decorative panel flat against the wall is not the same thing.
Safety note: Do not plan a clearance reduction before selecting the stove. Some listed appliances permit specific reductions, while others limit or prohibit them. The installation manual controls, and local officials may require documentation showing how the shield was built.
Hearth requirements have two separate purposes. Ember protection keeps sparks and coals from reaching combustible flooring. Thermal protection limits heat transfer into the floor and may be expressed in the manual through an insulation or thermal-resistance requirement that the complete hearth assembly must meet.
Hearth dimensions are measured from the appliance or its loading opening as directed by the manual. Door swing, side-loading doors, ash removal, and the path a coal could take all affect the practical layout. A pad that fits under the stove body but stops close to the loading door may not satisfy the listed extension requirements.
Alcoves, corners, and small rooms deserve extra attention before purchase. A stove may have different side, rear, ceiling, or connector clearances in an alcove, and some models are not listed for alcove installation at all. Tight rooms can also leave no safe place for fuel, tools, furniture, or a protective gate once the required clearances are marked.
Good to know: The connector pipe can determine the final wall clearance even when the stove body fits. Check the pipe route and its required distance from combustibles at the same time as the appliance clearances.
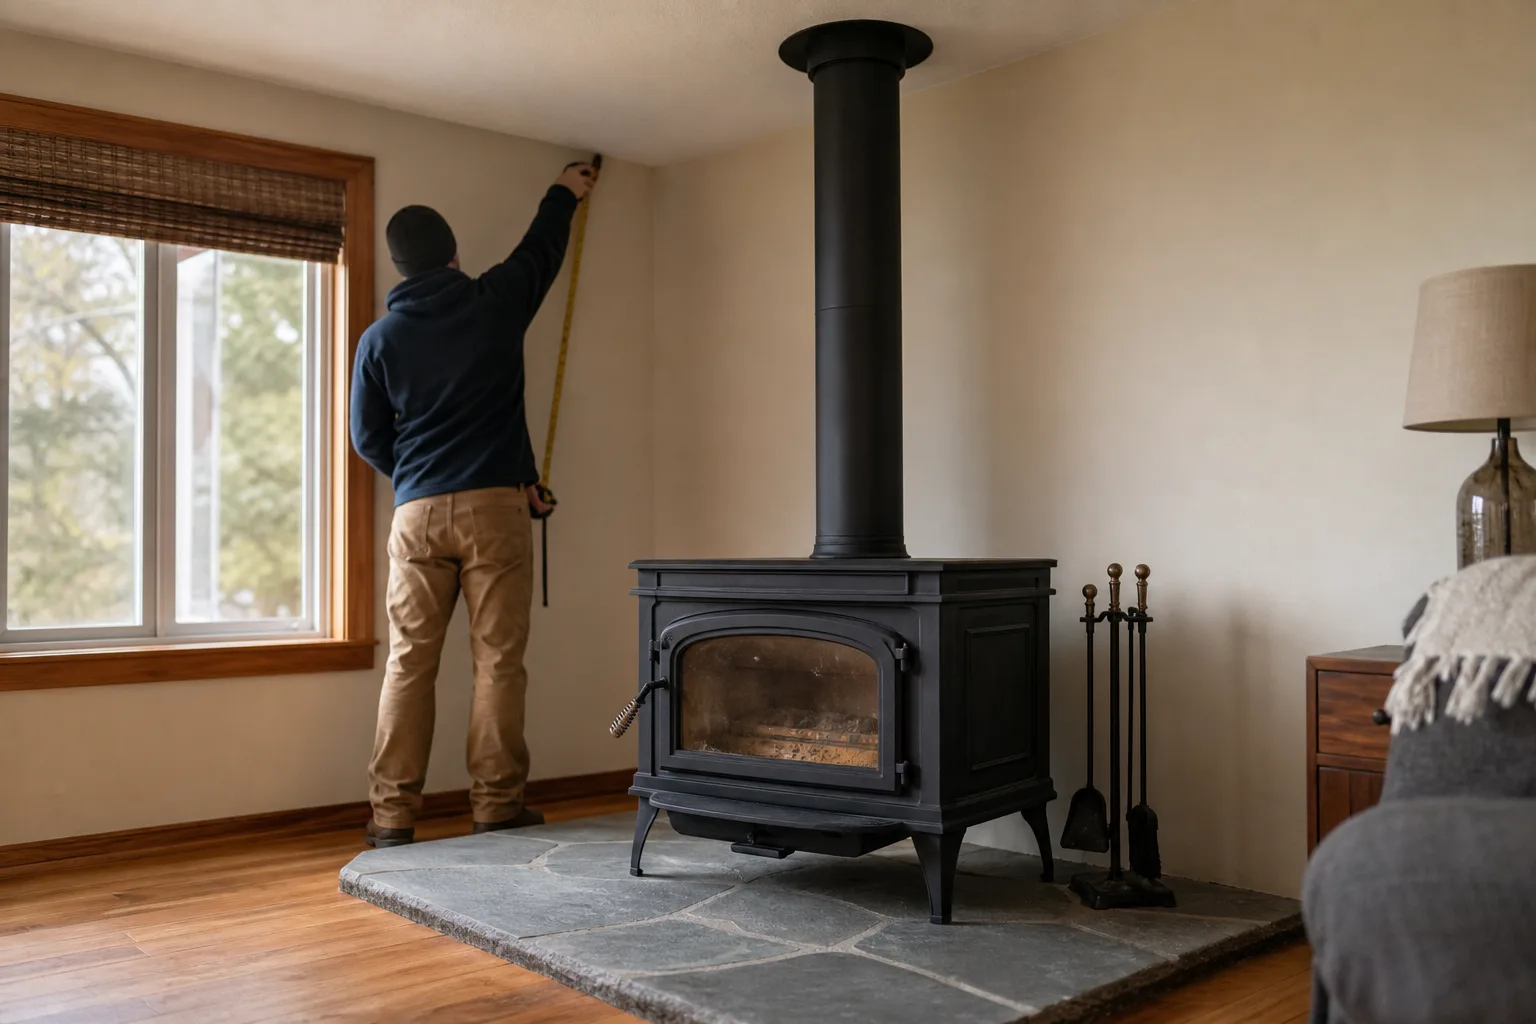
Choose a stove that fits the house and venting plan
Choose the stove only after narrowing the available installation space and chimney route. Heating needs matter, but so do room layout, ceiling height, insulation, the way heat moves through doorways, the planned chimney configuration, and how often the appliance will be used. A stove that fits the heat load but not the venting plan is the wrong stove for the house.
Avoid selecting an appliance only by its maximum heat output. An oversized stove may make the main room uncomfortable and encourage slow, smoky fires as you try to reduce heat. Repeated low-output burning can weaken combustion and contribute to creosote formation, especially when paired with a cold or oversized flue.
Pro tip: Think about the smallest fire the room can comfortably accept, not only the largest fire the stove can produce. Mild-weather use often reveals an oversized appliance long before the coldest night does.
A new wood stove should be an EPA-certified model meeting the applicable EPA 2020 standards. Confirm the appliance has a readable permanent listing label and obtain its installation manual before purchase. The label and manual identify tested clearances, approved venting arrangements, floor protection, mobile-home restrictions where applicable, and other conditions that cannot be guessed from a sales description.
Match the flue collar diameter and permitted connector arrangement to a chimney that can be installed exactly as directed. Check whether the appliance permits rear or top venting, what connector type is allowed, whether horizontal runs are restricted, and what chimney size or draft conditions the manufacturer specifies. Do not plan to solve a mismatch with an improvised reducer or an assortment of elbows.
The final choice should pass these checks:
- Confirm the heat range. Match the appliance to the area you intend to heat and the home’s actual layout.
- Confirm the physical fit. Include the hearth, connector, controls, loading door, and required service access.
- Confirm the venting match. Verify flue size, chimney type, route, height considerations, and approved connection details.
- Confirm the paperwork. Keep the EPA information, listing label details, and complete installation manual available for review.
From the field: The easiest installations are usually planned backward from a safe chimney termination to the stove. Starting with a favorite stove and trying to force a vent around framing, roof valleys, and tight clearances tends to create expensive compromises.
Ready to confirm the full setup? Book a wood stove installation assessment or call (513) 655-6702 before committing to the appliance.
Permits, codes, and inspections to plan for
Confirm permit and inspection requirements before purchasing equipment or scheduling a wood stove installation. The local building department can tell you which approvals apply, what drawings or product documents must accompany the application, and whether inspections are required before the stove is used.
Local requirements often work alongside the appliance listing, chimney-system listing, manufacturer instructions, and NFPA 211. The inspector may review hearth protection, clearances, connector pipe, chimney supports, wall or ceiling penetrations, roof termination, and access for cleaning.
Good to know: A permit does not replace the installation manual. If the listed stove or chimney requires more clearance than a general code provision, the listed instructions normally govern that component.
Structural changes can add another layer of review. Cutting or reinforcing framing, building a chimney chase, modifying a masonry opening, or adding an outside-air system may require details beyond the basic stove permit. Electrical approval may also apply if the stove uses a blower, powered controls, or a new receptacle.
Ask when inspections occur, since some work must remain visible. Covering a framed chase or closing the ceiling around a support box too early can leave the inspector unable to confirm clearances and firestopping.
Keep the stove manual, chimney instructions, listing information, permits, inspection records, and clear installation photos together. Those records help with future service, home sales, insurance questions, and replacement parts.
Want the permit and venting plan checked first? Request an on-site assessment or call (513) 655-6702 before equipment is ordered.
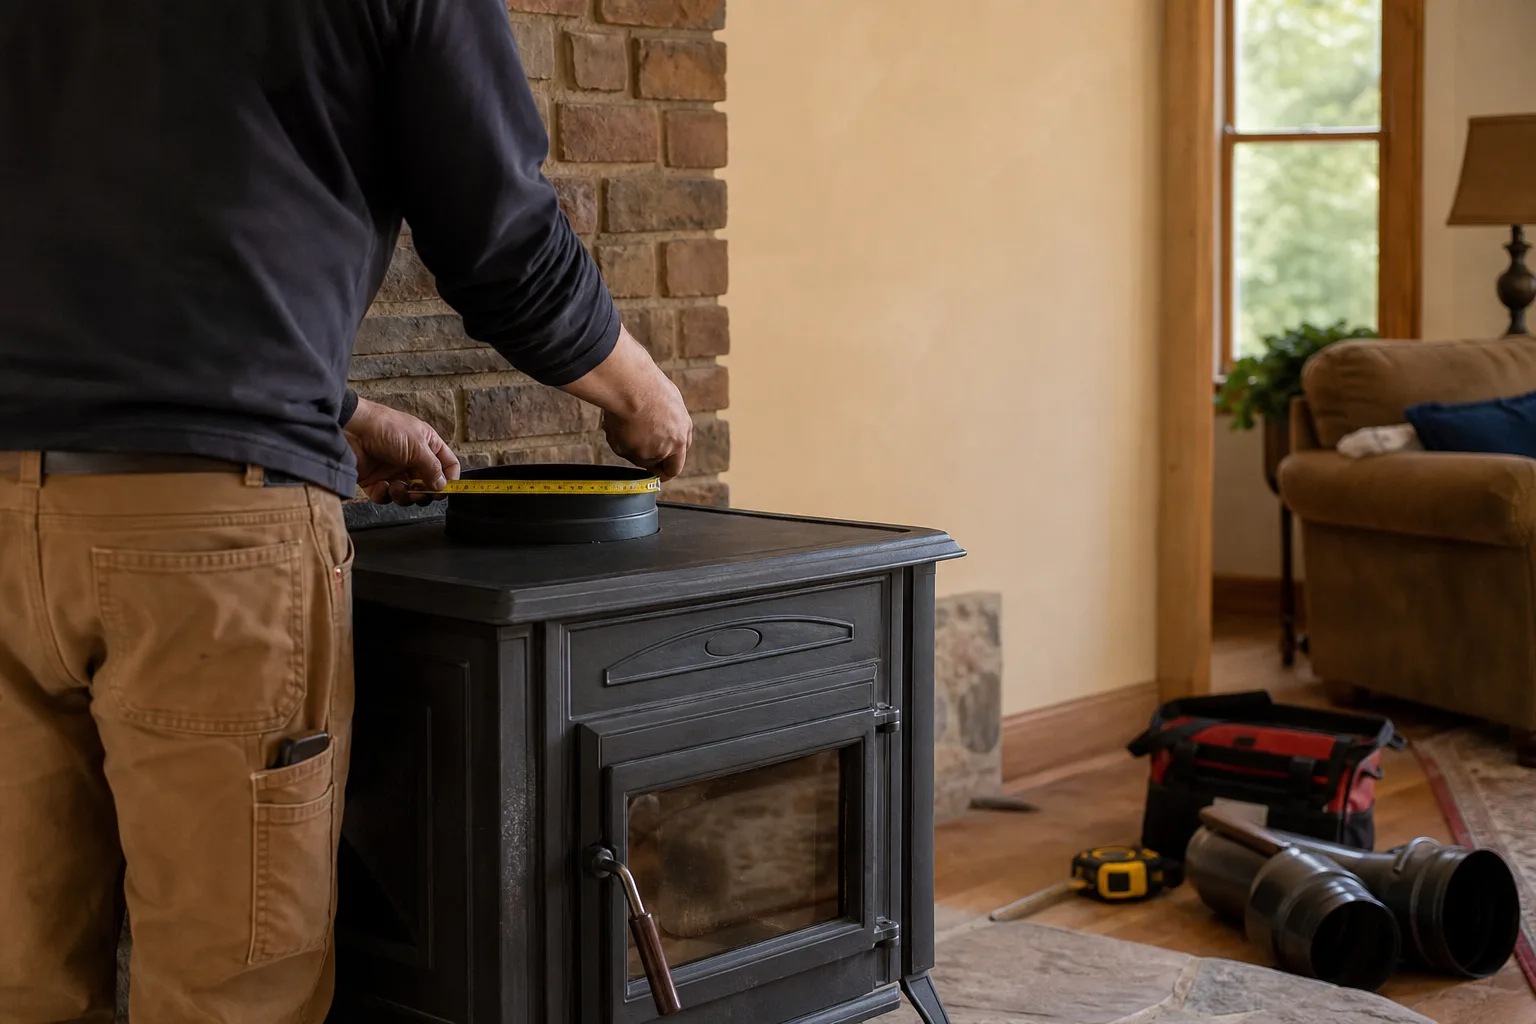
What happens during the installation?
A wood stove installation usually starts with protecting the work area and confirming measurements, then moves through hearth preparation, chimney or liner work, stove placement, connector assembly, sealing, and testing. The order may change with the house, but no permanent opening should be cut until framing, clearances, and the full venting route are confirmed.
A typical sequence looks like this:
- Protect floors, furniture, and nearby finishes from soot, masonry dust, and metal debris.
- Build or place the hearth protection required by the stove listing.
- Install or prepare the chimney, liner, thimble, ceiling support, flashing, and termination.
- Move the stove into position and confirm every clearance again.
- Assemble the connector pipe with the specified orientation, overlap, fasteners, and support.
- Seal only the joints and transitions identified by the component instructions, then complete the inspection and operating checks.
Stovepipe and chimney components are not interchangeable. Each piece must face the direction specified by its manufacturer and use the listed supports, locking bands, screws, adapters, and firestops for that system. Clearances must remain open around hidden sections in attics, chases, and framed penetrations.
Safety note: Ordinary stovepipe must not run through a wall, ceiling, attic, closet, or roof. Those transitions require an approved masonry assembly or a listed factory-built chimney system installed with its required clearances.
Some homeowner tasks are reasonable when the installer has the needed experience, tools, and local approval. The risk rises sharply once the work reaches structural framing, masonry repair, liner sizing, concealed clearances, or steep roof access.
| Installation task | Possible homeowner role | When professional help makes sense |
|---|---|---|
| Layout and measurements | Compare the manual with the proposed room location | Clearances are tight or the route is uncertain |
| Hearth preparation | Install a listed pad exactly as directed | The floor needs reinforcement or added thermal protection |
| Connector assembly | Assemble permitted exposed sections | Offsets, unusual adapters, or draft concerns are present |
| Chimney or liner work | Document existing conditions | The flue is damaged, unlined, poorly sized, or hard to access |
| Roof work | Check the proposed termination from the ground | Flashing, bracing, steep slopes, or nearby roof features complicate access |
Final checks include verifying clearances, supports, flashing, cap height, chimney termination, and access for sweeping. The installer should also check draft, look for smoke leakage, confirm that doors and controls operate correctly, and explain the first-fire procedure without overfiring a new appliance.
From the field: Problems often appear where the room looks finished but the venting path is hidden. A ceiling support placed too close to framing or a liner connection that cannot be inspected can turn a neat installation into a correction job.
Need help with the chimney or roof portion? Schedule an installation assessment or call (513) 655-6702 for a clear plan before openings are cut.
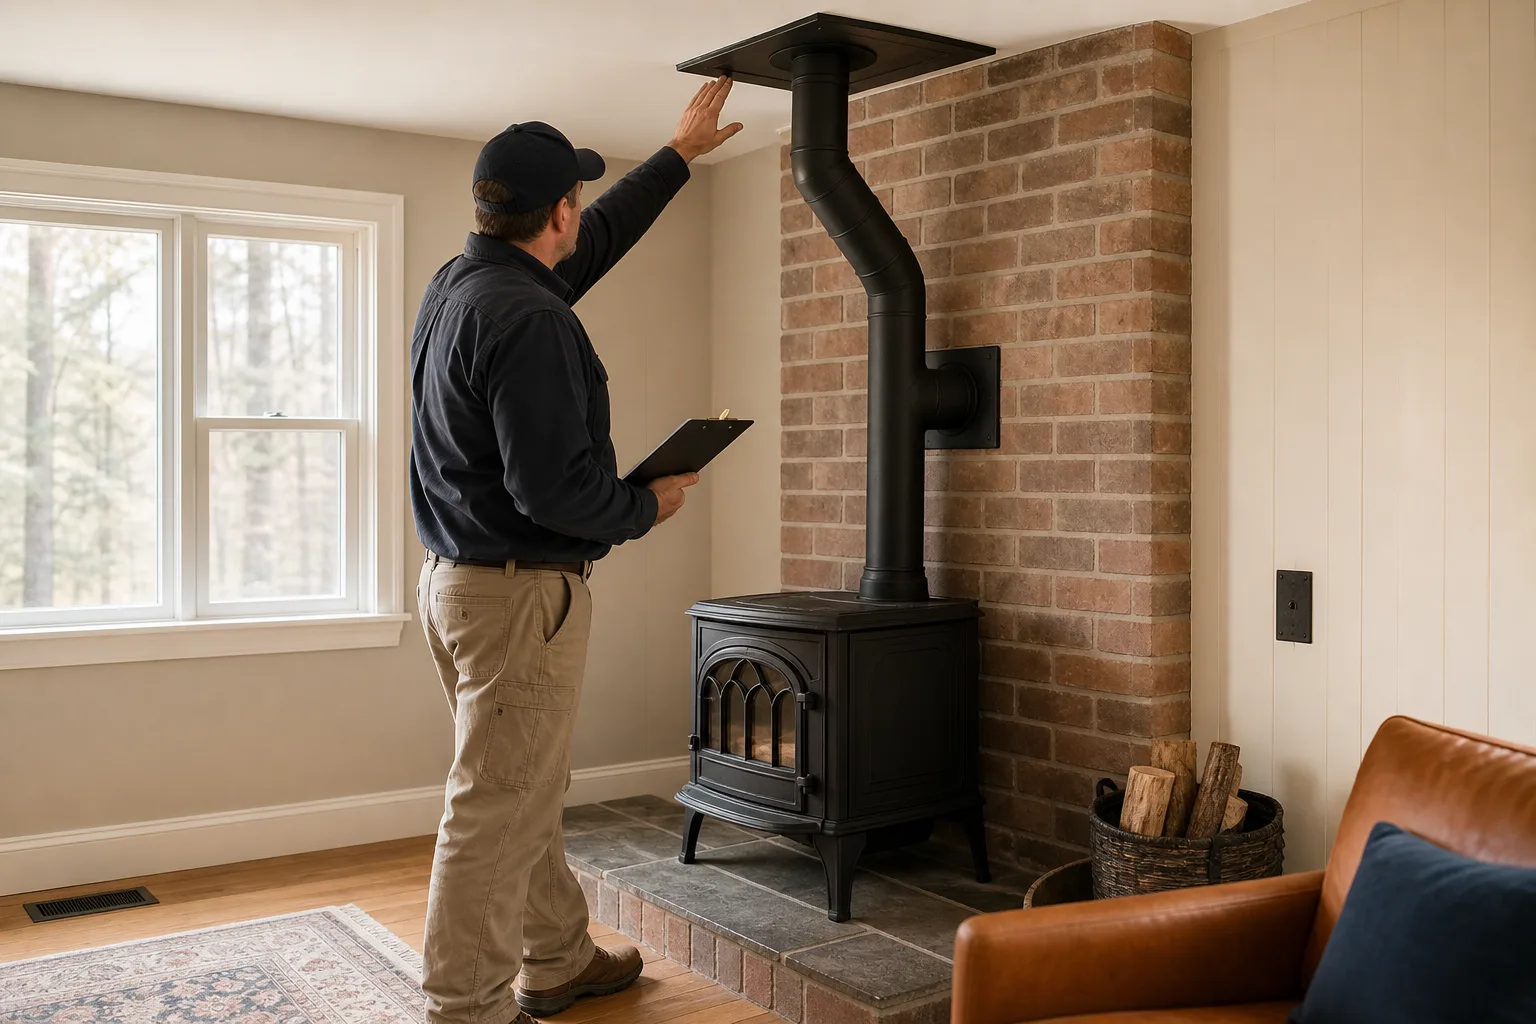
Final checks before you buy the stove
Confirm the proposed location, chimney path, appliance clearances, hearth requirements, permit process, and inspection stages before committing to a specific model. A stove that fits the room can still be unsuitable if its flue size, chimney requirements, alcove restrictions, or floor protection cannot be accommodated.
Walk the property and record what can be seen safely from the ground. Do not climb onto a roof without suitable access and fall protection.
- Check the chimney exterior. Look for leaning sections, open joints, staining, loose masonry, or damaged factory-built chimney components.
- Check the crown and cap. Look for cracks, missing protection, or obvious water entry on a masonry chimney.
- Scan the roofline. Note ridges, valleys, dormers, nearby walls, branches, and other features that could affect termination height or roof access.
- Trace the route indoors. Mark ceilings, closets, attic framing, wiring, plumbing, and upstairs rooms along the proposed chimney path.
- Photograph the conditions. Capture the stove location, hearth area, chimney base, attic route, and roof from several safe angles.
Myth vs. fact: The myth is that an existing chimney makes any wood stove a straightforward purchase. The reality is that flue size, liner condition, clearances, height, connection details, and the stove listing must all work together.
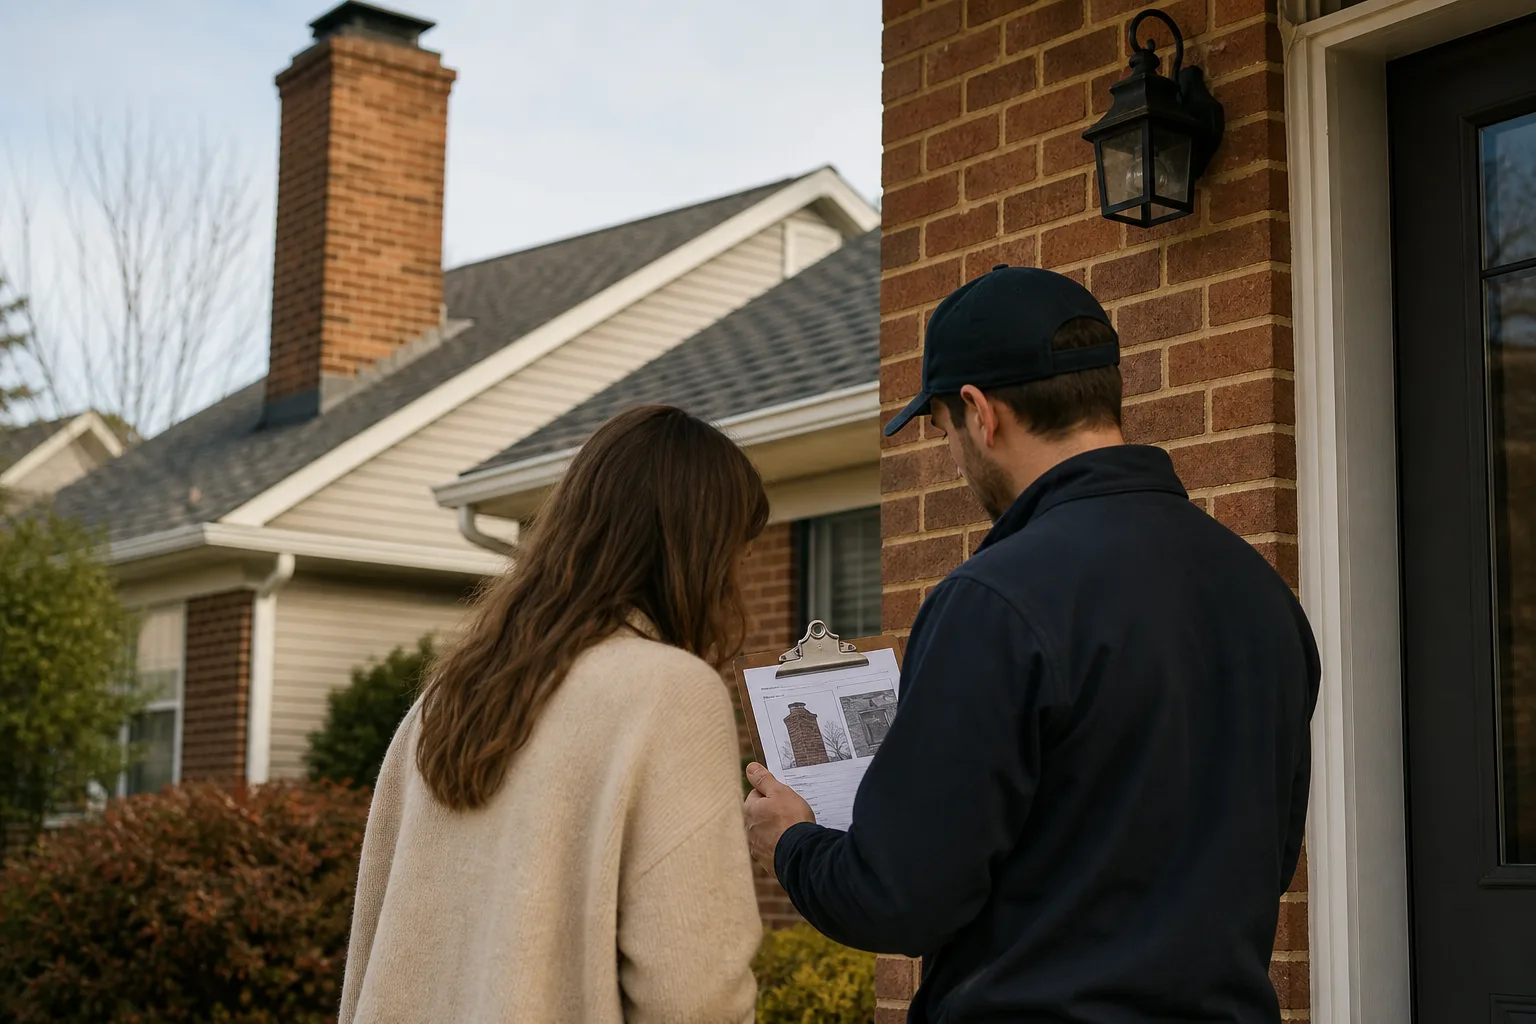
Arrange an on-site assessment when the flue cannot be viewed, the chimney condition is uncertain, or the route may conflict with framing. Professional review is also sensible when the roof is steep, the masonry shows damage, or the proposed location leaves little room for required clearances.
Price the complete system rather than the appliance alone. The plan may need connector pipe, adapters, a chimney liner or listed chimney sections, ceiling or wall supports, attic insulation shields, firestops, flashing, storm protection, bracing, a cap, and the correct termination parts. Every component should be approved for its specific position and compatible with the rest of the system.
Do not accept a parts list built from rough room measurements. The final list should follow the chosen stove manual, the verified route, chimney dimensions, roof conditions, and local inspection requirements.
For confirmation before you buy, request an installation assessment or call (513) 655-6702. You will have a clearer answer about fit, venting, and required work before the stove arrives.
Symptom checker
What is your chimney doing?
Tap the closest match for an honest first answer.