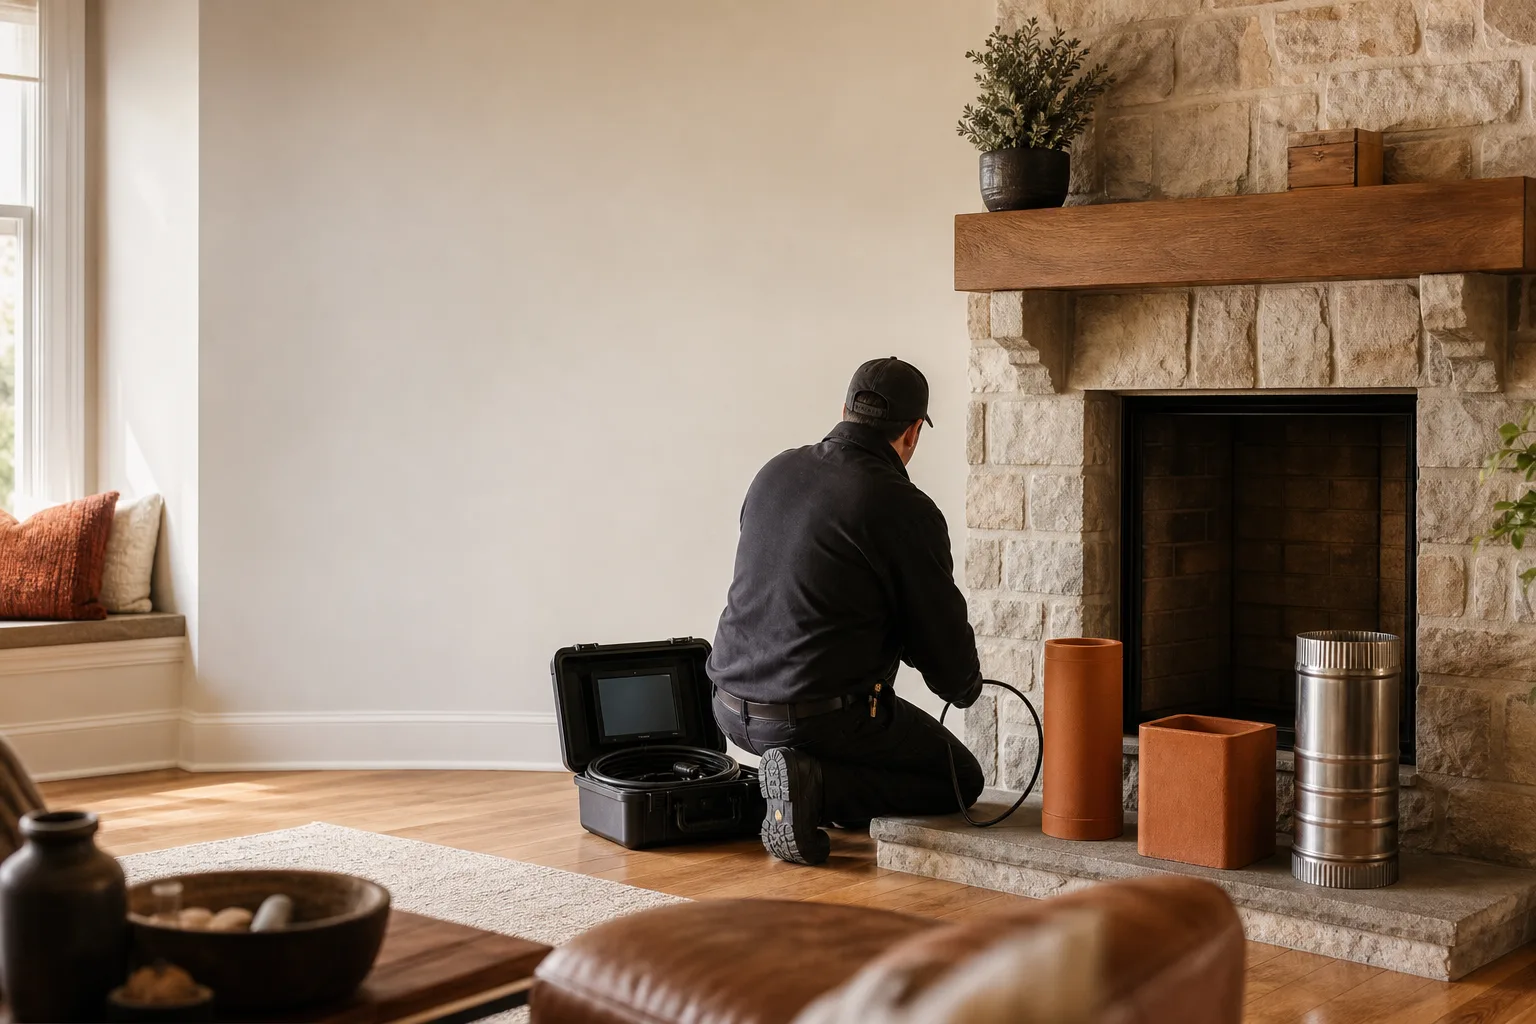




On this pageWhat a chimney liner Does Inside the Flue7 sections+6
- What a chimney liner Does Inside the Flue
- Clay, Stainless Steel, and Cast-in-Place Liners
- Signs a Chimney Liner May Be Failing
- How a Camera Inspection Determines Liner Condition
- When an Insert, Stove, or Fuel Conversion Requires Relining
- How Professionals Choose the Right Liner
- What Chimney Liner Replacement Involves
Quick answer
A chimney liner is the continuous passage that carries combustion gases outdoors while shielding masonry and nearby materials from heat and corrosive byproducts. Clay, stainless steel, and cast-in-place liners suit different conditions, and a camera inspection determines whether the existing liner is intact, correctly sized, and suitable for the connected appliance.
What a chimney liner Does Inside the Flue
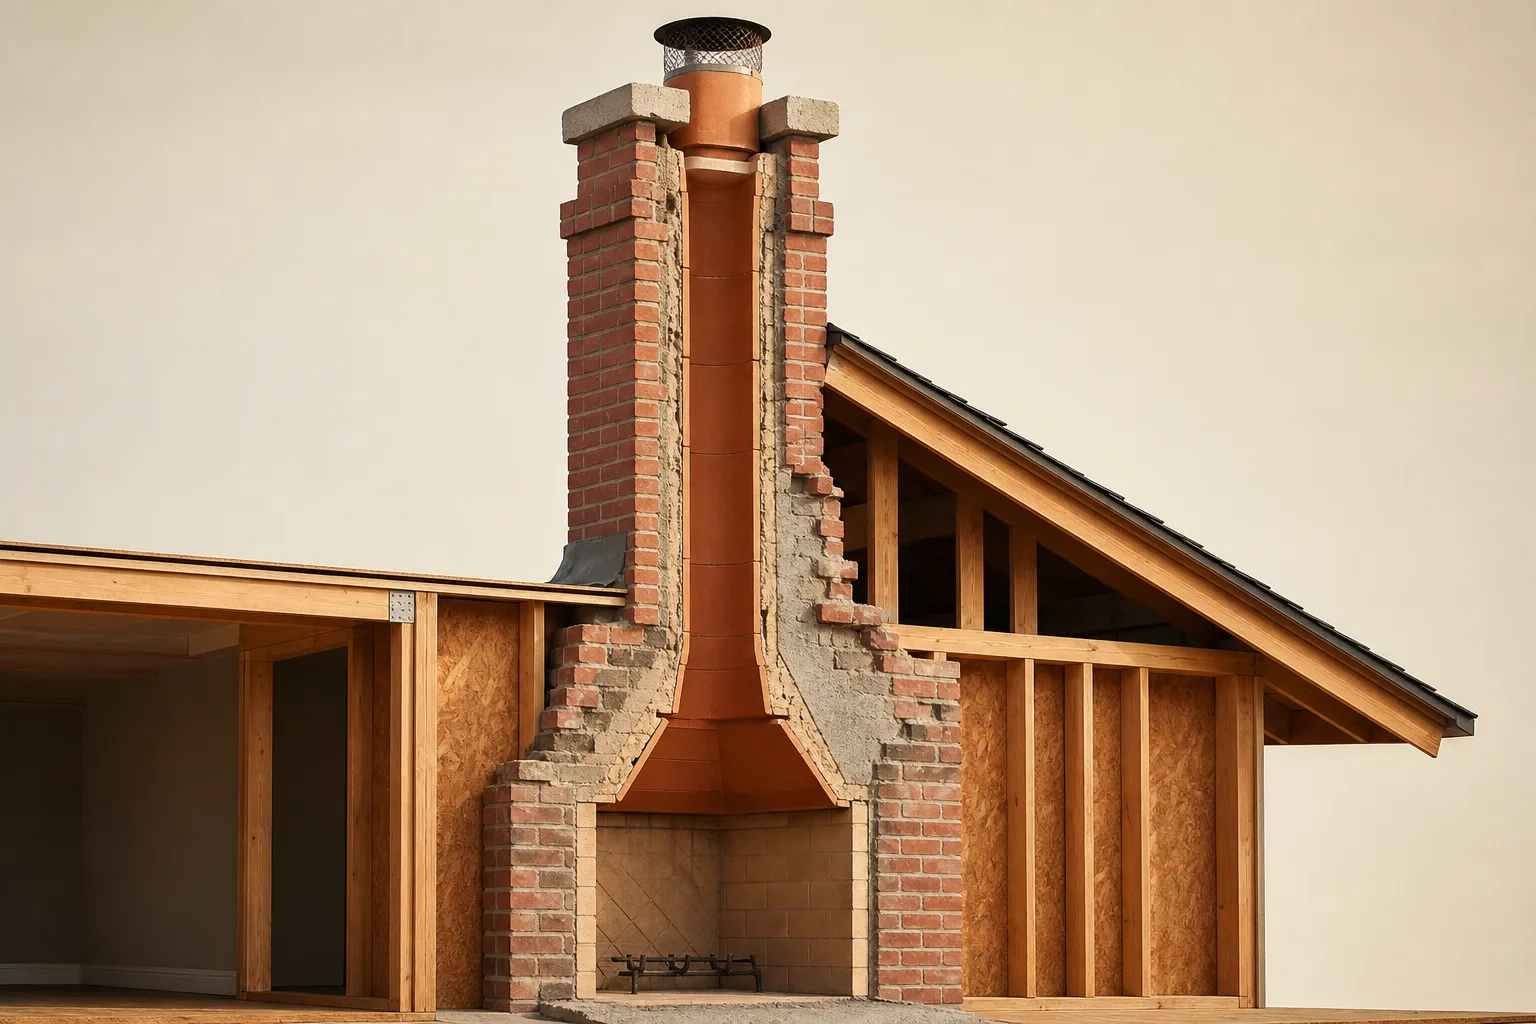
A chimney liner is the protective passage inside a flue that carries smoke, hot gases, and combustion byproducts from a fireplace, stove, furnace, or boiler to the chimney top. It keeps that exhaust contained while separating it from the surrounding masonry and nearby parts of the house.
Put plainly, the chimney liner gives combustion gases a continuous route outdoors. A sound passage also limits heat transfer toward wood framing and shields brick and mortar from moisture, acids, and other byproducts that can wear masonry down from the inside.
That protection depends on continuity. Cracked clay tiles, open mortar joints, corroded metal, or gaps at appliance connections can expose areas that the lining was meant to isolate. Damage may also disturb draft, especially when rough surfaces, offsets, or debris restrict the flue.
The lining must suit the appliance connected to it. A masonry fireplace, wood stove, gas furnace, and oil boiler do not necessarily need the same material or internal dimensions. Fuel, exhaust temperature, moisture, appliance output, chimney height, and the manufacturer's venting instructions all affect what works safely.
Good to know: A flue can look substantial from the roof and still have hidden damage farther down. The brick shell and the passage carrying exhaust are separate parts, so sound exterior masonry does not confirm a sound interior lining.
Clay, Stainless Steel, and Cast-in-Place Liners
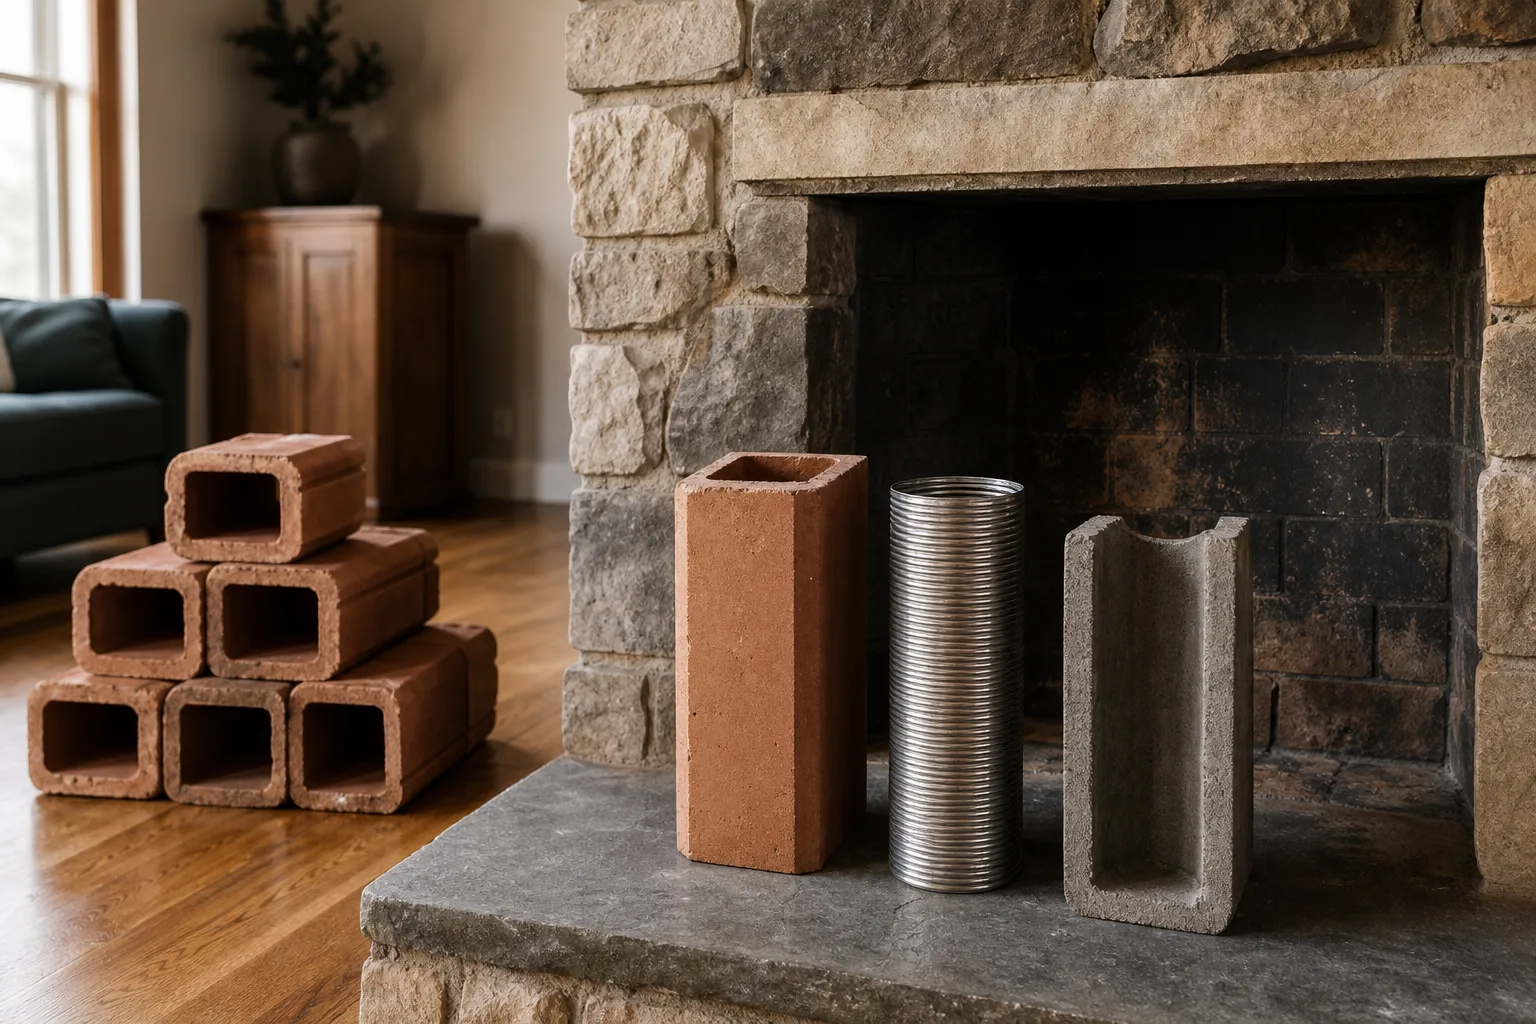
Clay tile, stainless steel, and cast-in-place systems each solve different flue problems. The right choice depends on what is venting through the chimney, the shape and condition of the existing passage, and whether installers can reach and prepare the flue without damaging the surrounding structure.
| Liner type | Where it commonly fits | Practical limits |
|---|---|---|
| Clay tile | Traditional masonry fireplaces and compatible appliances in sound, properly sized flues | Tiles and mortar joints can crack, separate, or shift, and repairs are difficult where access is limited |
| Stainless steel | Relining damaged flues and connecting listed, compatible fireplaces, inserts, stoves, furnaces, or boilers | Alloy, diameter, insulation, and installation method must match the appliance and fuel |
| Cast-in-place | Forming a new passage within certain masonry chimneys, including some irregular flues | Existing space, structural condition, preparation, and appliance requirements can rule it out |
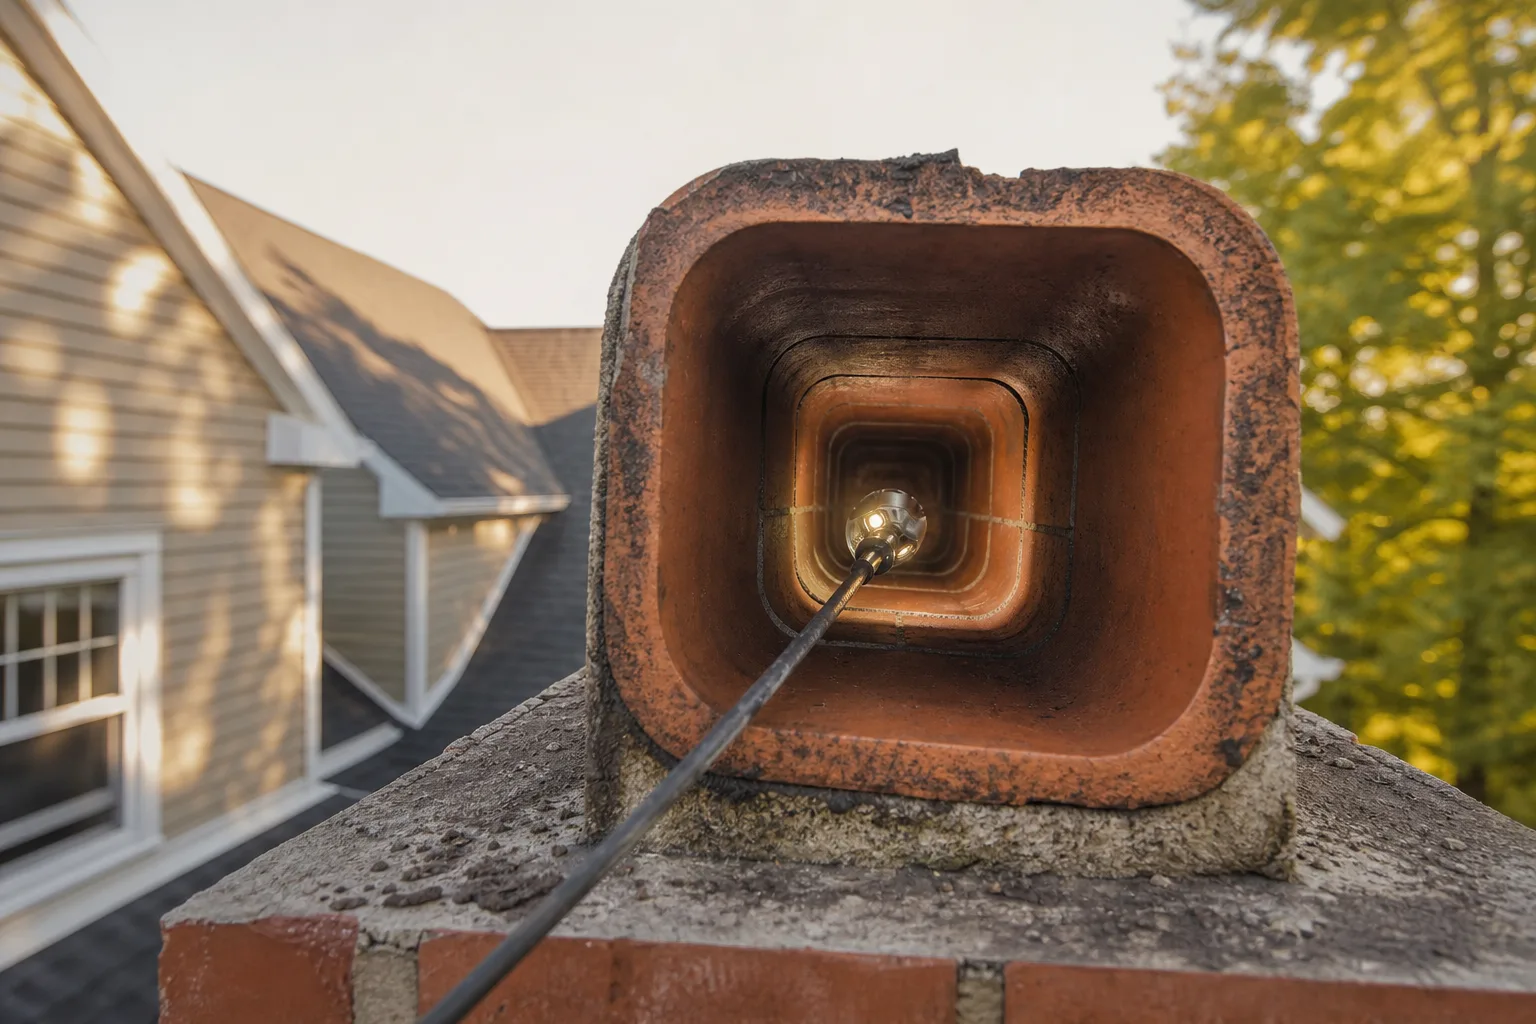
Clay tiles are common in masonry chimneys because they tolerate the heat and byproducts produced by many traditional fireplaces when installed and maintained correctly. Individual sections are joined with mortar, creating a stacked passage from the smoke chamber or appliance connection toward the top.
Clay is durable, but it is not flexible. Chimney movement, moisture, freeze and thaw exposure, poor joints, or a chimney fire can crack a tile or open the seam between sections. A small fragment in the firebox or cleanout may be the visible clue to damage much higher in the flue.
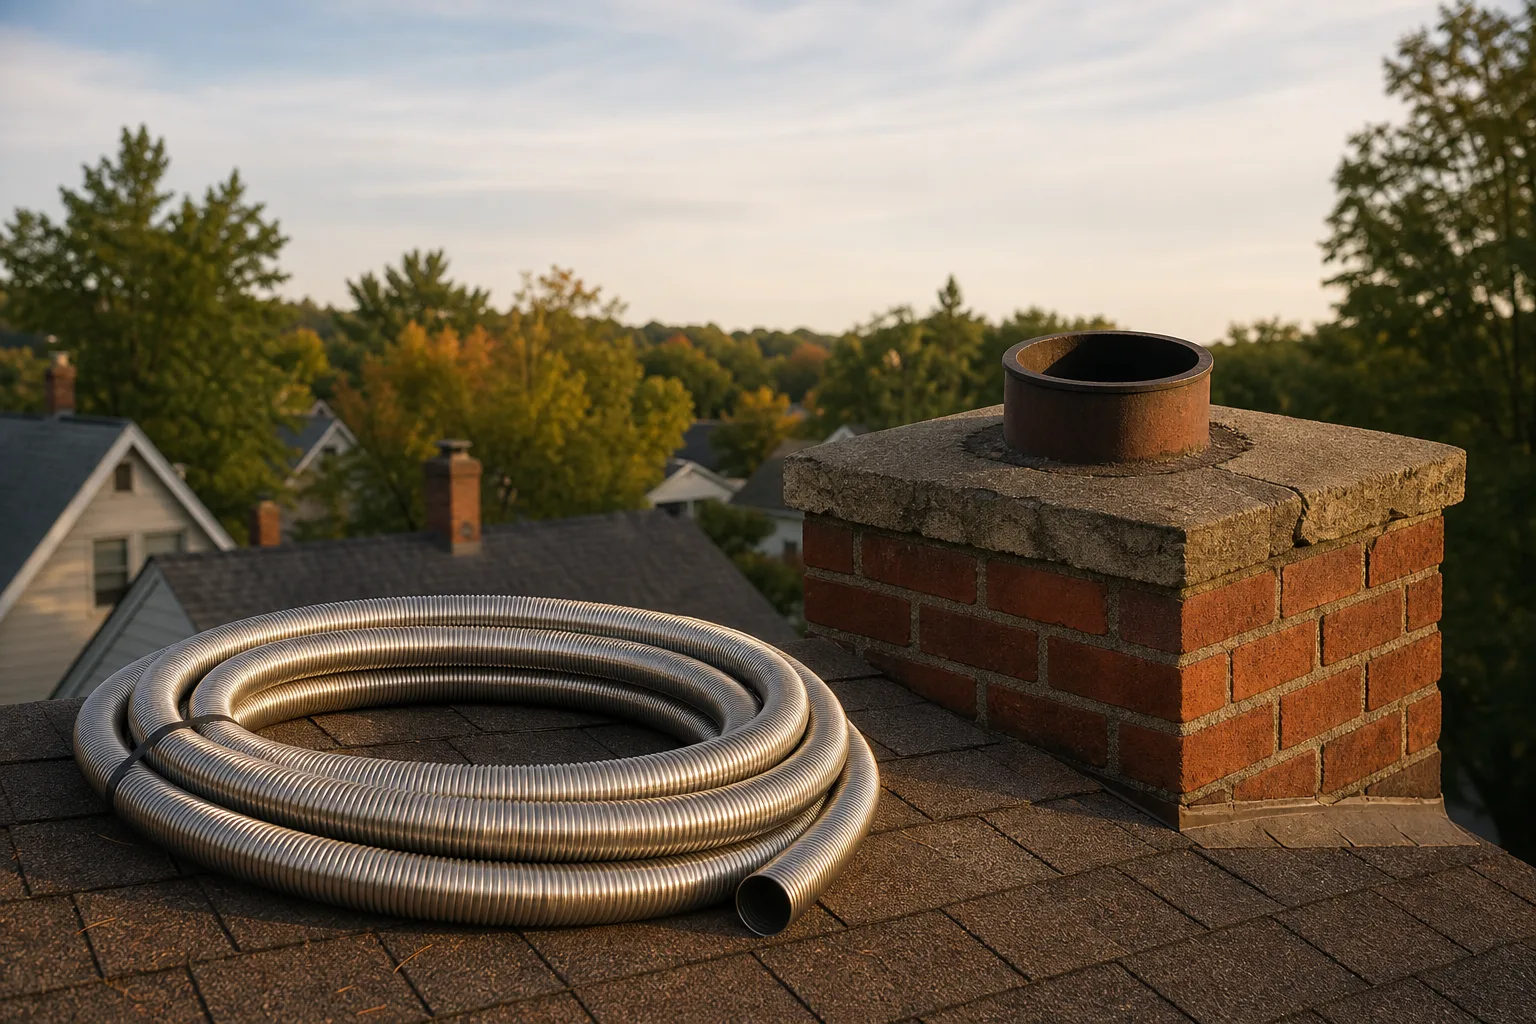
Stainless steel is often selected when an existing passage is damaged, oversized, or unsuitable for a new appliance. Flexible liner can follow modest offsets, while rigid sections may suit straighter routes. The metal grade, wall construction, diameter, connection parts, and any required insulation must be selected as one compatible venting system.
Cast-in-place lining uses a specialized material to form a new passage against the inside of some masonry flues. It can seal certain gaps and create a continuous surface where installing metal would be difficult. It is not a universal repair for unstable masonry, severe obstructions, inadequate space, or a venting configuration that conflicts with appliance instructions.
From the field: Technicians often find that the material is only half the decision. A narrow throat, hidden offset, projecting mortar joint, or shifted tile can determine whether a proposed system can actually pass through the chimney.
No single option is best for every house. A straight, sound clay flue serving its intended fireplace may need no replacement, while a damaged or poorly sized passage may call for metal or a formed system. A professional has to compare appliance requirements with actual flue measurements and conditions.
Need help sorting out the options? Request a flue evaluation or call (513) 655-6702 for a practical recommendation based on the chimney and connected appliance.
Signs a Chimney Liner May Be Failing
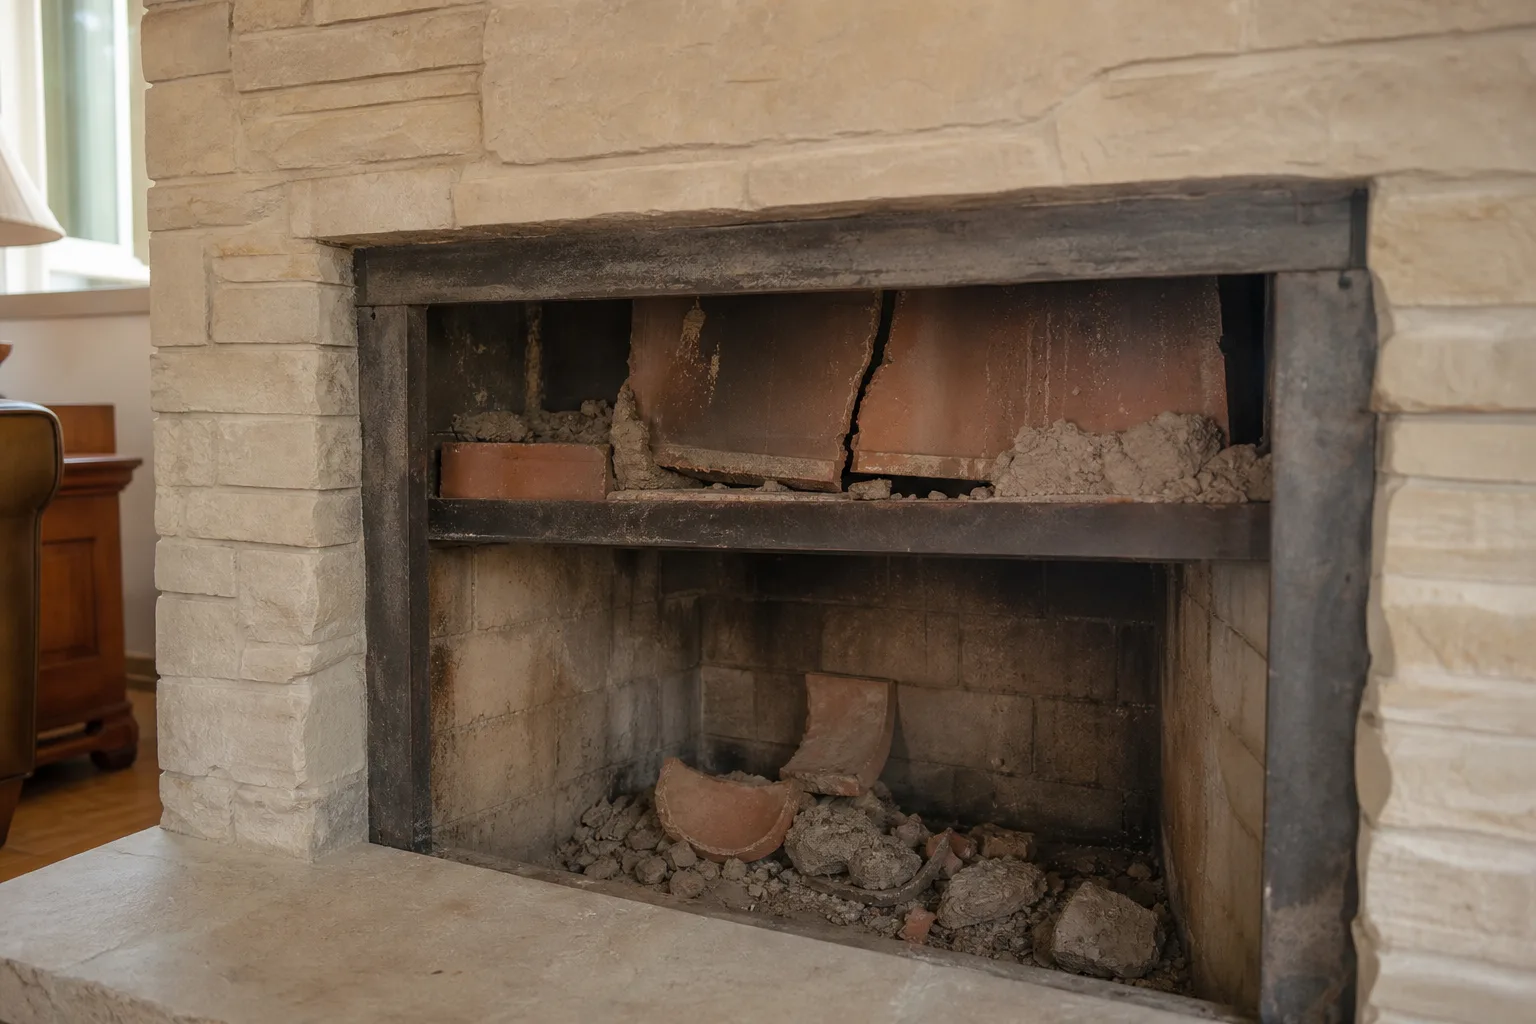
Possible warning signs include fallen tile pieces, loose mortar, dark staining, persistent smoky odors, smoke entering the room, and deterioration visible near the damper, thimble, or flue opening. These clues justify further evaluation, but none identifies the full location or extent of damage by itself.
Tile fragments may appear on the smoke shelf, in a fireplace, or behind a cleanout door. Rust flakes can point toward deterioration in a metal passage or connector. White, brown, or black staining may reflect moisture, combustion deposits, or escaping byproducts, so the source must be traced rather than guessed.
Smoke entering the room can result from an obstruction, poor draft, pressure changes in the house, or a damaged venting path. Persistent odors can also come from creosote, moisture, debris, or gaps that let air move through contaminated areas. Symptoms narrow the possibilities, but an internal examination is needed before recommending repair.
You can make a few observations without climbing or opening the venting system:
- Check the hearth and cleanout. Look for curved orange or tan tile fragments, mortar pieces, rust flakes, or fresh debris.
- Look from safe ground level. Watch for staining below the cap, around the chimney walls, or near an exterior appliance connection.
- Observe the first minutes of a fire. If smoke spills indoors, shut the appliance down safely instead of trying repeated fires.
- Listen and smell. Report unusual roaring, strong hot odors, or persistent smoky smells after the appliance is cold.
- Check your alarms. Keep smoke and carbon monoxide alarms installed and maintained according to their instructions.
Some failures remain completely hidden. Hairline cracks, missing mortar between tiles, corrosion on the back side of metal, and gaps around connectors may produce no visible household warning. This is why a clean-burning appliance and an undamaged chimney exterior cannot prove that the interior passage is intact.
Lining defects can expose nearby materials to more heat, allow combustion gases to escape their intended path, interfere with draft, and let acidic moisture reach masonry. The exact risk depends on the defect, appliance, fuel, and chimney construction, so symptoms should not be used to diagnose the repair from the living room.
Safety note: Stop using the appliance if you suspect a chimney fire, find heavy pieces of tile or metal, see major displacement, or have smoke or combustion gases entering occupied space. Leave the home and contact emergency services if an active fire or carbon monoxide event may be occurring.
How a Camera Inspection Determines Liner Condition
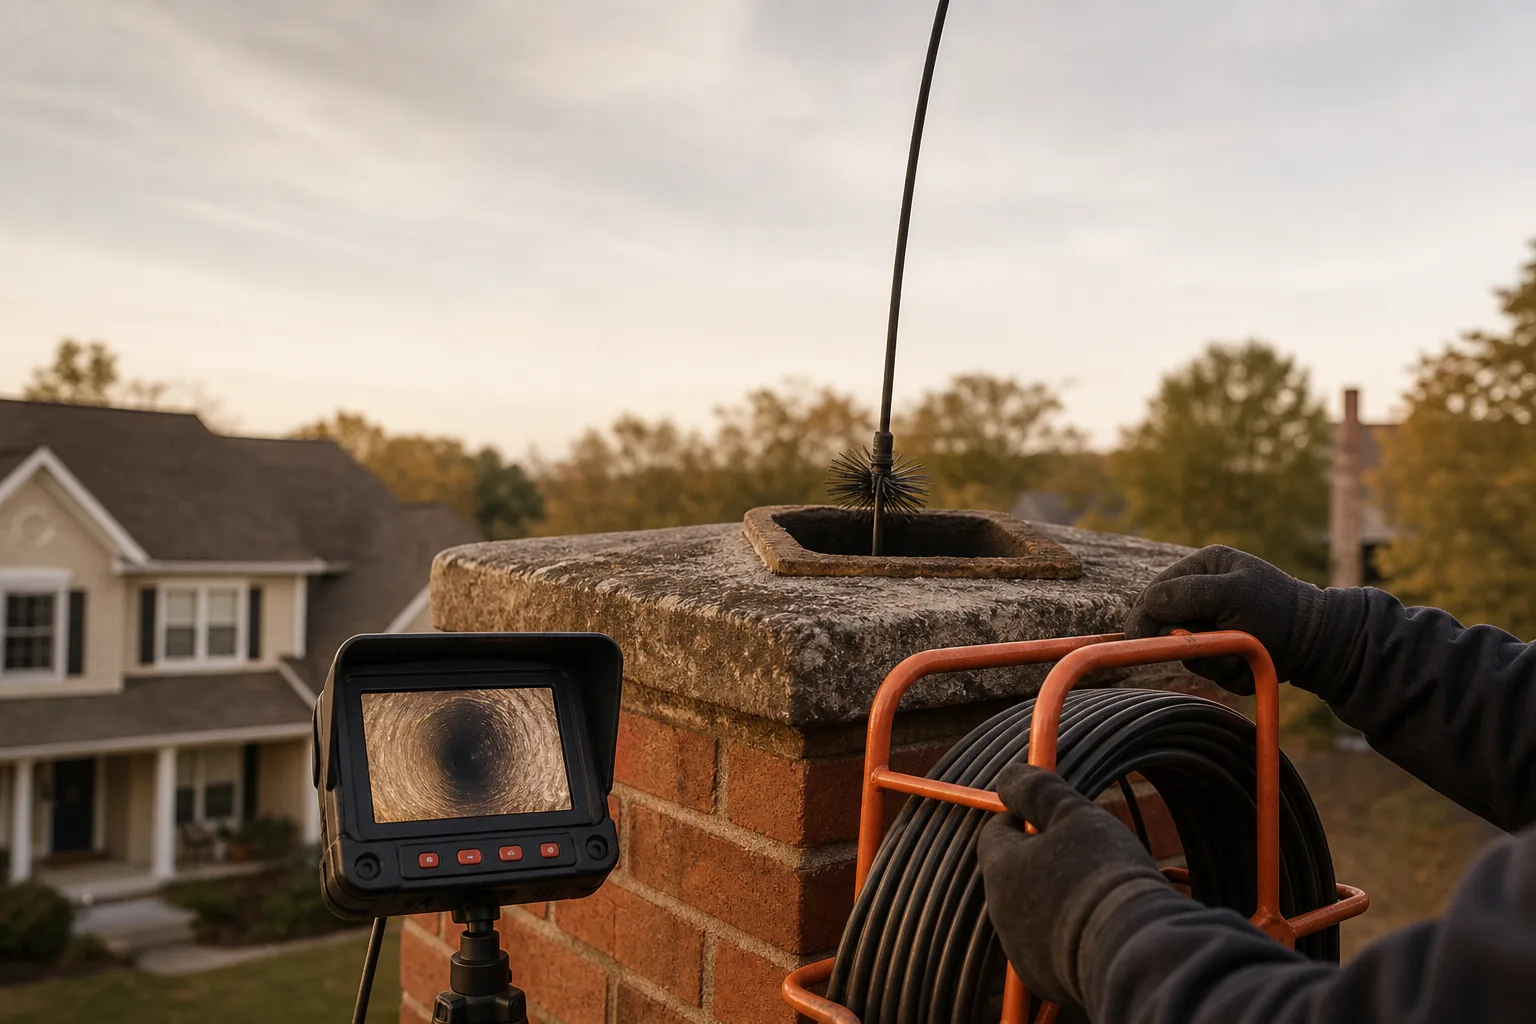
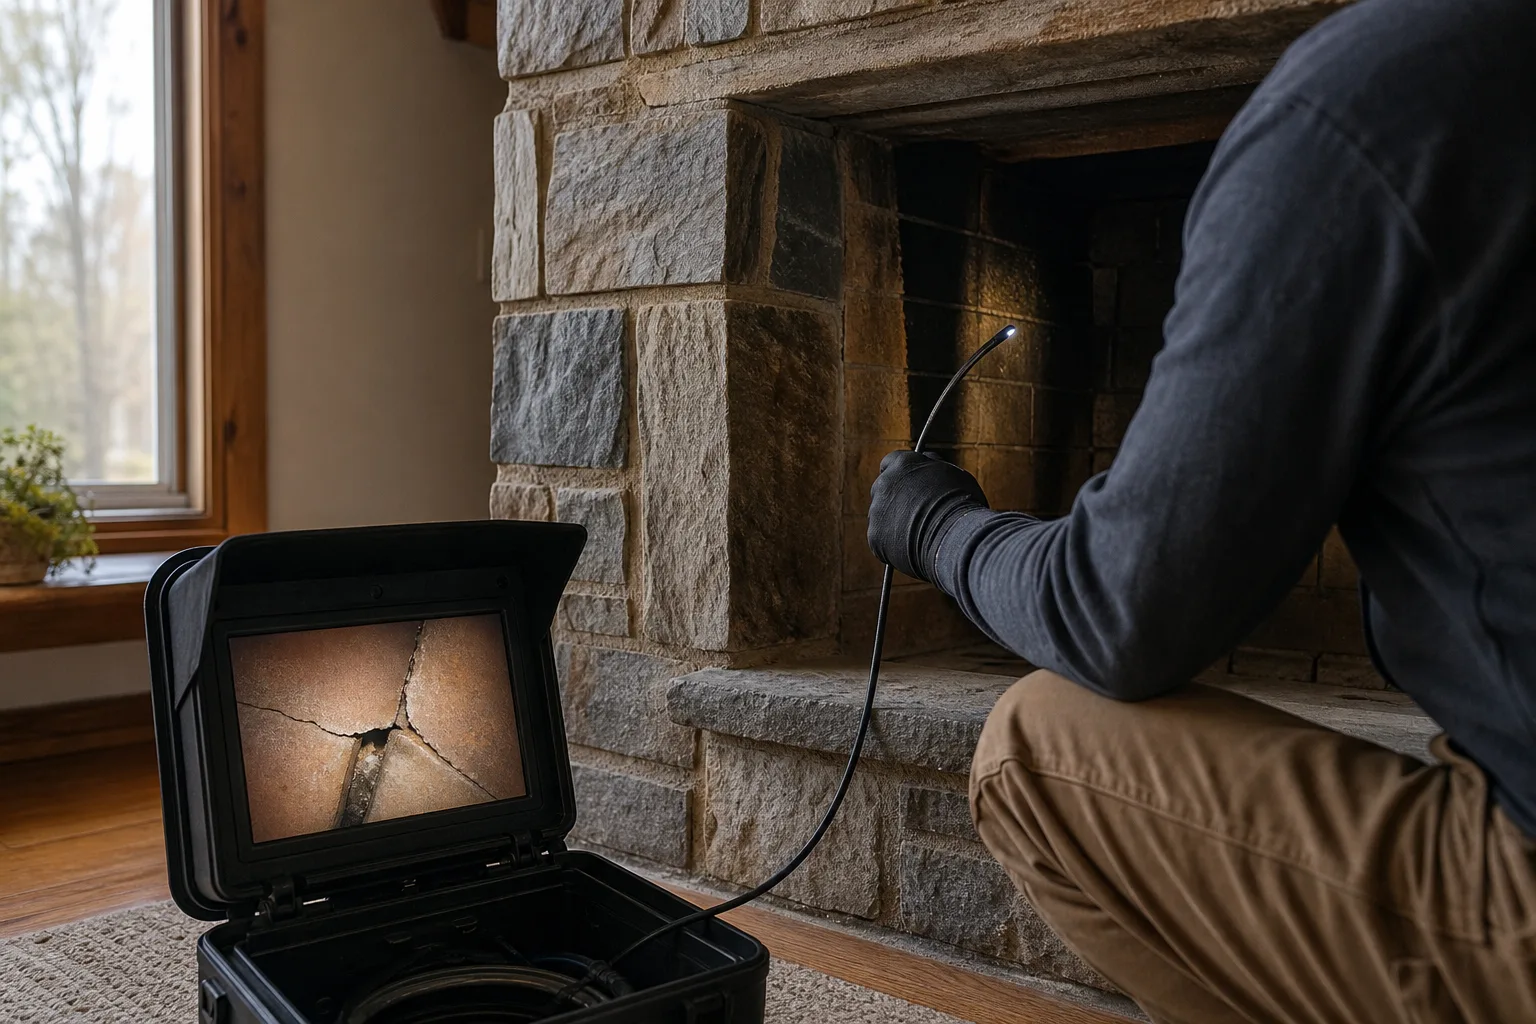
A camera inspection determines liner condition by giving the technician a close, recorded view of the flue from end to end. As the camera moves through the passage, it can reveal cracks, missing mortar, gaps, shifted tiles, corrosion, deformation, deposits, nesting material, and other obstructions that cannot be judged from either opening alone.
Before the camera enters, the flue may need cleaning so soot and deposits do not hide the surface. The technician then controls the camera slowly, examining tile joints, offsets, appliance entry points, and areas where the passage changes shape. Proper lighting and orientation help distinguish a true crack from a stain or surface mark.
Pro tip: Ask to see the recorded findings in context, not just a single close-up image. A useful record shows where the defect sits in the chimney and whether similar damage appears above or below it.
Recorded images help separate an isolated concern from damage extending through much of the flue. One open joint may suggest a localized problem, while repeated cracks, displaced sections, or widespread corrosion can change the recommended approach. The footage also provides a baseline for discussing repair and documenting conditions before appliance work.
A camera image is only one part of the decision. The technician also considers flue dimensions, chimney height, bends and offsets, masonry stability, connector arrangement, appliance type, fuel, and required clearances. Appliance instructions, local requirements, and applicable guidance such as NFPA 211 help determine whether the existing passage can continue serving its intended use.
Measurements matter because a surface can appear intact yet still be wrong for the connected appliance. An oversized passage may cool exhaust too quickly, while an undersized or restricted route may not carry gases as intended. A damaged connector or improper shared-flue arrangement can also affect the recommendation even when much of the lining looks sound.
A professional chimney inspection should leave you with understandable findings rather than a vague statement that the flue is “bad.” Ask which defects were observed, where they are located, whether the passage is suitable for its present appliance, and what additional preparation would be needed before repair or replacement.
Ready for a clear look inside the flue? Book a camera inspection or call (513) 655-6702 to arrange an evaluation and discuss the recorded findings.
When an Insert, Stove, or Fuel Conversion Requires Relining
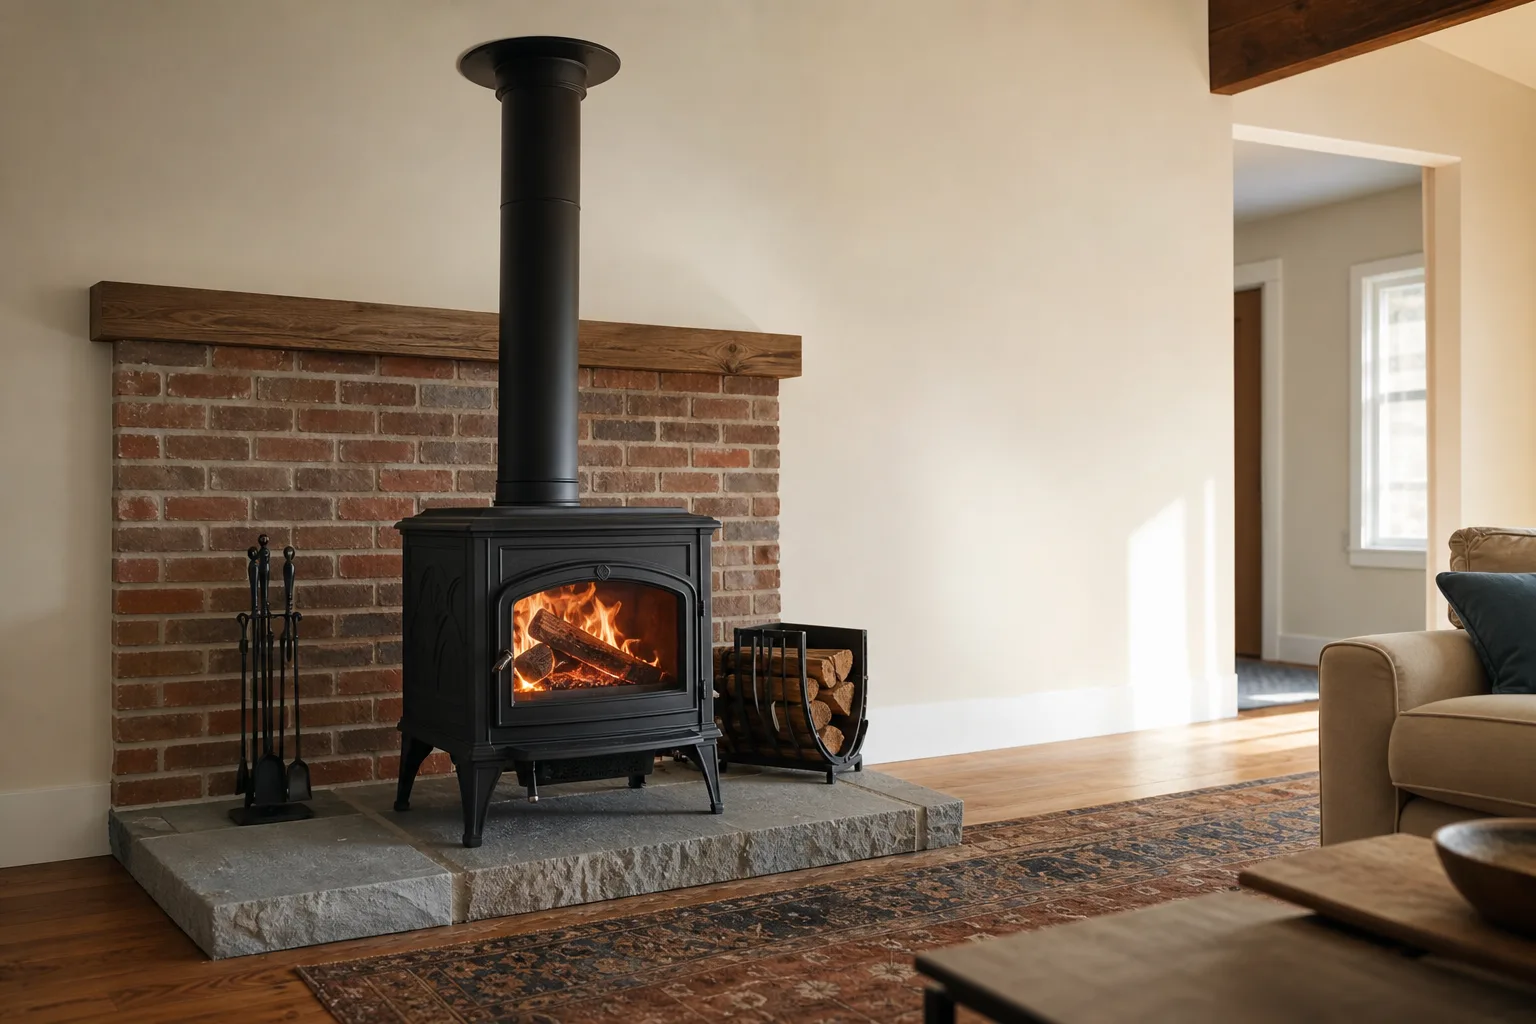
A new insert, stove, or fuel conversion often requires a chimney liner sized and approved for the appliance, even when the existing masonry flue appears intact. The new appliance may produce a different volume and temperature of exhaust, so releasing it into a large or unsuitable flue can lead to weak draft, condensation, deposits, or corrosion.
Fireplace inserts generally need a continuous liner connection from the appliance outlet to the chimney top. Connecting only to the old fireplace throat can leave exhaust cooling and spreading inside a flue that was designed for an open fire rather than a controlled appliance.
Wood, gas, oil, and other fuels do not create identical venting conditions. A conversion can change exhaust temperature, moisture content, draft needs, and the type of corrosive residue that contacts the flue, which is why an old liner should not be assumed suitable for the new setup.
Myth vs. fact: An intact clay flue is not automatically approved for every insert or stove. The liner material, dimensions, route, and appliance listing all have to work together.
The installation manual provides the starting requirements, while local code and the existing chimney determine what is possible. A chimney inspection service can document flue dimensions, hidden damage, offsets, and connection conditions before an installer commits to a venting plan.
An appliance should not be installed first with the expectation that the flue can be sorted out later. Confirming the venting plan before purchase can prevent a poor fit, an unsupported connection, or an appliance that cannot be installed as listed.
Ready for a clear venting plan? Request an insert or stove assessment, or call (513) 655-6702 before the appliance is installed.
How Professionals Choose the Right Liner
The right chimney liner is chosen by matching the appliance and fuel to the required flue size, then accounting for chimney height, route, condition, clearances, moisture exposure, and installation access. Material alone does not settle the decision, because the same liner may be suitable in one chimney and impractical in another.
Liner sizing comes from the connected appliance requirements and the venting configuration, not simply from the width of the existing chimney opening. A liner that is too large can allow gases to cool too quickly, while one that is too small may restrict flow or fail to match the appliance outlet and listing.
| Site factor | How it affects the recommendation |
|---|---|
| Appliance and fuel | Sets material compatibility and sizing requirements |
| Chimney height | Influences draft and venting performance |
| Bends and offsets | May limit liner shape, stiffness, and installation method |
| Existing flue damage | Can require tile removal, repair, or added preparation |
| Moisture exposure | Affects material choice, insulation, and top termination details |
| Access and clearances | Determines how the liner can be lowered, formed, connected, and supported |
Insulation around a metal liner may be specified to keep exhaust warmer, support steadier draft, and satisfy the liner system or installation requirements. It can also help separate the liner from surrounding masonry, but the need and method depend on the chimney structure and the listed system being installed.
Pro tip: Measure the entire venting path, not only the fireplace opening and chimney top. A tight bend behind the smoke chamber or a narrow tile near the roofline can control what will fit.
A technician also checks whether the flue is shared. Some appliance combinations cannot use the same passage, and an abandoned connection hidden behind a wall may have to be located and properly closed before the new venting system is approved.
Structural damage changes the conversation. Loose masonry, severe tile displacement, unsupported sections, or a deteriorated chimney top may need repair before any liner can be installed and secured correctly.
You can prepare for an assessment without climbing onto the roof:
- Read the appliance label. Record the model, fuel type, outlet size, and installation instructions if available.
- Trace the visible route. Note bends in the stovepipe, old connection openings, and where the chimney passes through the house.
- Look from ground level. Watch for leaning masonry, open joints, staining, or a damaged chimney top, but do not climb onto the roof.
- Clear the work area. Move furniture, fuel, and loose fireplace tools so the appliance and cleanout can be reached.
Unusual offsets, limited roof access, and tight fireplace cavities can affect labor and the recommended liner type. A written assessment should explain those limits rather than treating every chimney as a straight, open shaft.
What Chimney Liner Replacement Involves
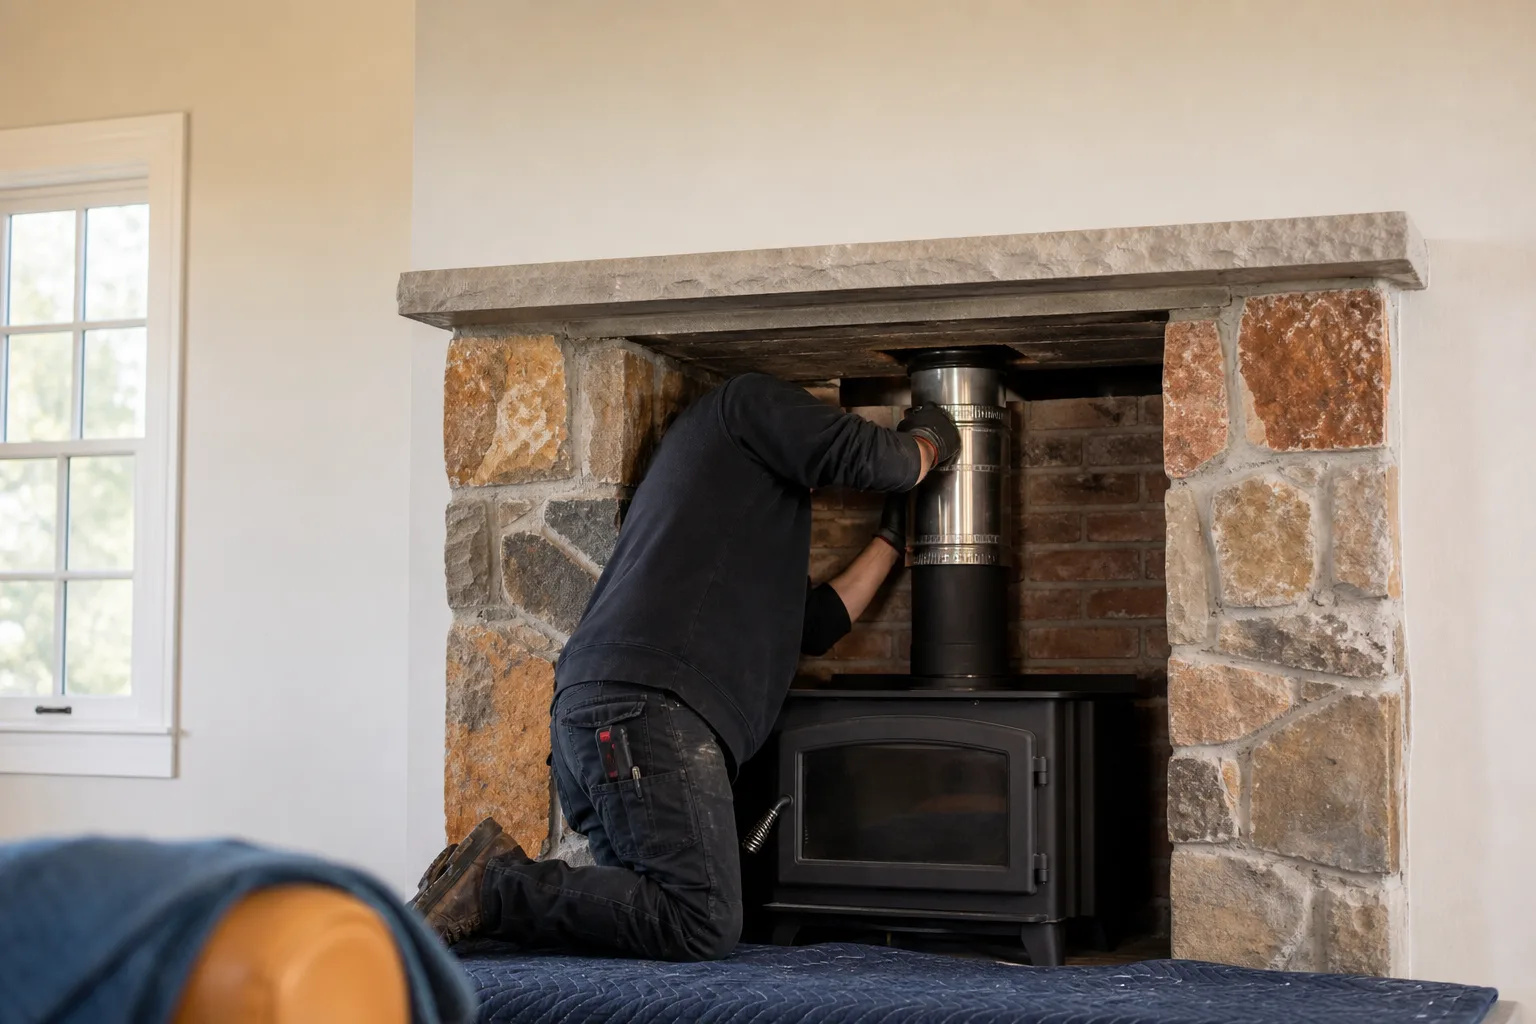
Chimney liner replacement begins with an appliance review and internal flue inspection, followed by cleaning, preparation, installation or formation of the new passage, connection work, and final checks. The process is planned around the actual chimney rather than handled as a generic tube dropped from the roof.
Creosote, soot, loose mortar, and debris must be removed so the flue can be measured and the new system can be installed against a prepared surface. Camera findings also show whether cracked tiles can remain, whether damaged sections need removal, or whether an obstruction must be opened before work starts.
From the field: A flue that looks straight from the fireplace often contains a ledge, offset tile, or squeezed section higher up. Camera footage and test measurements reveal those restrictions before a liner becomes stuck midway down the chimney.
For a metal system, technicians typically assemble or prepare the liner, lower or guide it through the flue, add insulation when specified, and connect it to the appliance with approved components. The liner is then supported and terminated at the top so water, debris, and movement do not compromise the installation.
Cast-in-place work follows a different sequence because the new passage is formed within the masonry flue. The existing condition, flue shape, and system instructions determine the preparation and forming method, so this work is not a substitute for repairing a chimney that is structurally unstable.
Damaged clay tiles can narrow the opening or create sharp edges that prevent a new liner from passing. Tight offsets, inaccessible cleanouts, steep roofs, and cramped appliance connections can also change how the flue is prepared and which installation method is practical.
Safety note: Liner installation is not a trial-and-error project. Incorrect sizing, unsupported joints, poor clearances, or an unapproved appliance connection can allow heat or combustion gases to reach areas where they do not belong.
Final checks should confirm the connection, support, termination, and compatibility with the appliance. The contractor should also verify that the flue is open and continuous, document the completed work, and explain any operating or maintenance instructions tied to the installed system.
Homeowners should receive records that identify:
- The liner material and system installed
- The appliance and fuel connected to it
- The liner dimensions and insulation details, when applicable
- The connection and top termination used
- Inspection findings and preparation performed
- Any remaining masonry repairs or use restrictions
A chimney liner replacement service assessment should give you a written recommendation based on camera evidence, measurements, and appliance requirements. Ask to see the relevant images so you understand whether the concern is isolated or extends through much of the flue.
Need an inspection or replacement assessment? Book a service visit, or call (513) 655-6702 for a straightforward review of the chimney and connected appliance.
Symptom checker
What is your chimney doing?
Tap the closest match for an honest first answer.