



On this pageWhat is wood stove pipe, and where does it belong?7 sections+6
- What is wood stove pipe, and where does it belong?
- Single-wall vs. double-wall stovepipe
- Where stovepipe ends and Class A chimney pipe begins
- Connecting a stove to an existing masonry chimney
- Building a new chimney system for a wood stove
- Why pipe parts cannot be mixed and matched
- Pipe diameter, route, and chimney height affect draft
Quick answer
Wood stove pipe is the exposed indoor connector that carries exhaust from a wood stove to an approved chimney connection. It must stop before any wall, ceiling, attic, roof, closet, or concealed space, where listed Class A chimney pipe or an approved masonry flue must take over.
What is wood stove pipe, and where does it belong?
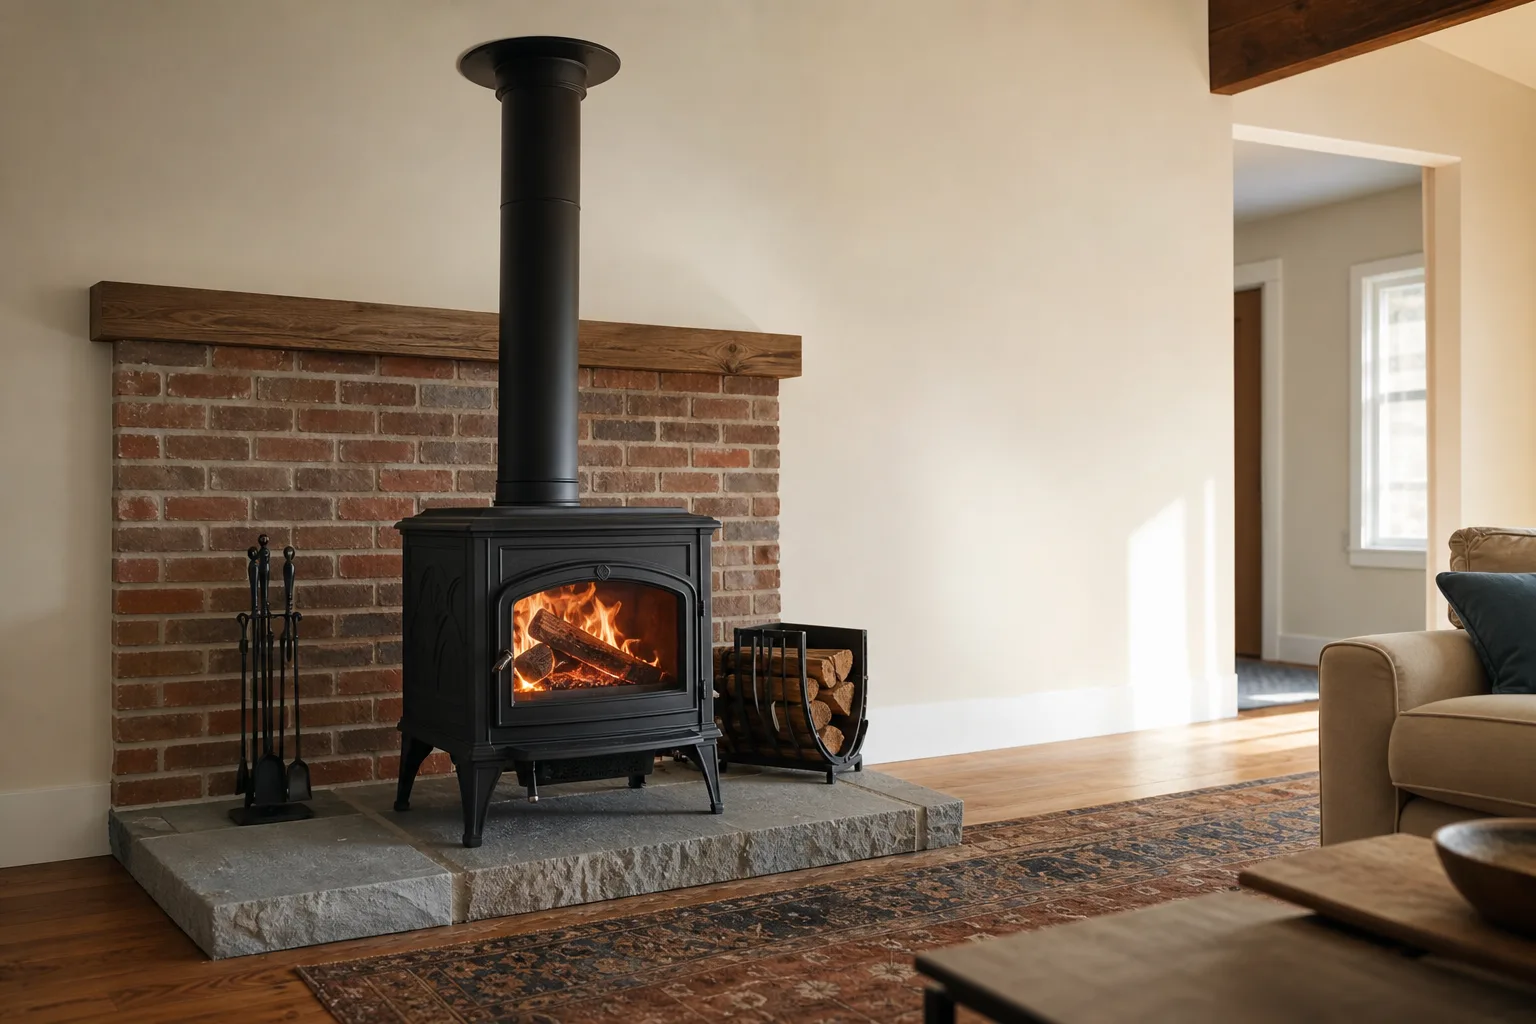
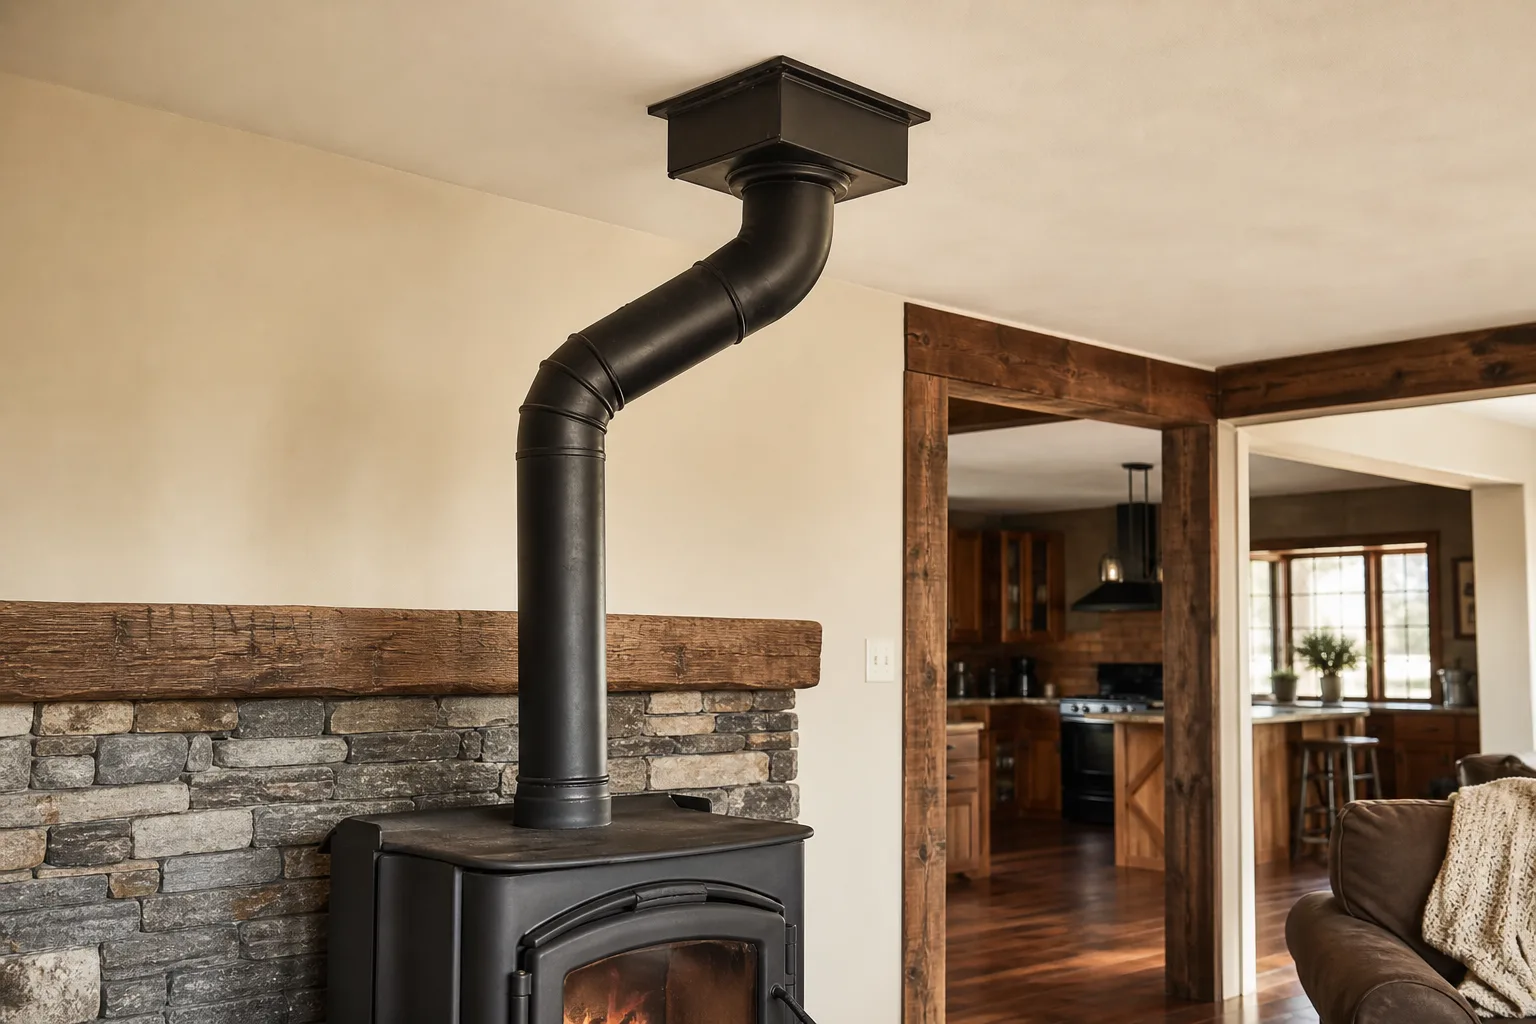
Wood stove pipe is the connector that carries exhaust from the stove’s flue collar to the chimney. It belongs only in the room where the stove is installed. It is not a chimney, and it cannot safely continue through a wall, ceiling, attic, closet, or other concealed area.
The venting path starts at the stove collar. Connector pipe rises from that collar, enters a listed factory-built chimney or an approved masonry chimney connection, and then gives way to a continuous chimney flue that terminates above the roof. Each part has a different job, temperature rating, support method, and required clearance.
In plain terms, wood stove pipe handles the visible indoor portion of the route. Once the vent reaches a combustible penetration or leaves the stove room, a listed chimney system must take over. Covering connector pipe inside a framed chase does not turn it into chimney pipe.
Safety note: Never pass connector pipe directly through drywall, framing, a ceiling, or a roof deck. Those assemblies can trap heat around a pipe that was designed to release heat into the room.
A safe route is usually short, direct, and accessible for inspection. The joints should remain visible so corrosion, loose connections, and creosote leakage can be found before they become larger problems. Access also matters when the pipe needs to be disconnected for sweeping or stove service.
You can identify the basic venting path from inside the room:
- Find the stove collar. This is where the connector begins.
- Follow the visible pipe. Look for secure joints, proper support, and the fewest practical direction changes.
- Locate the transition. The connector should meet an approved chimney adapter, support box, or masonry thimble before entering a penetration.
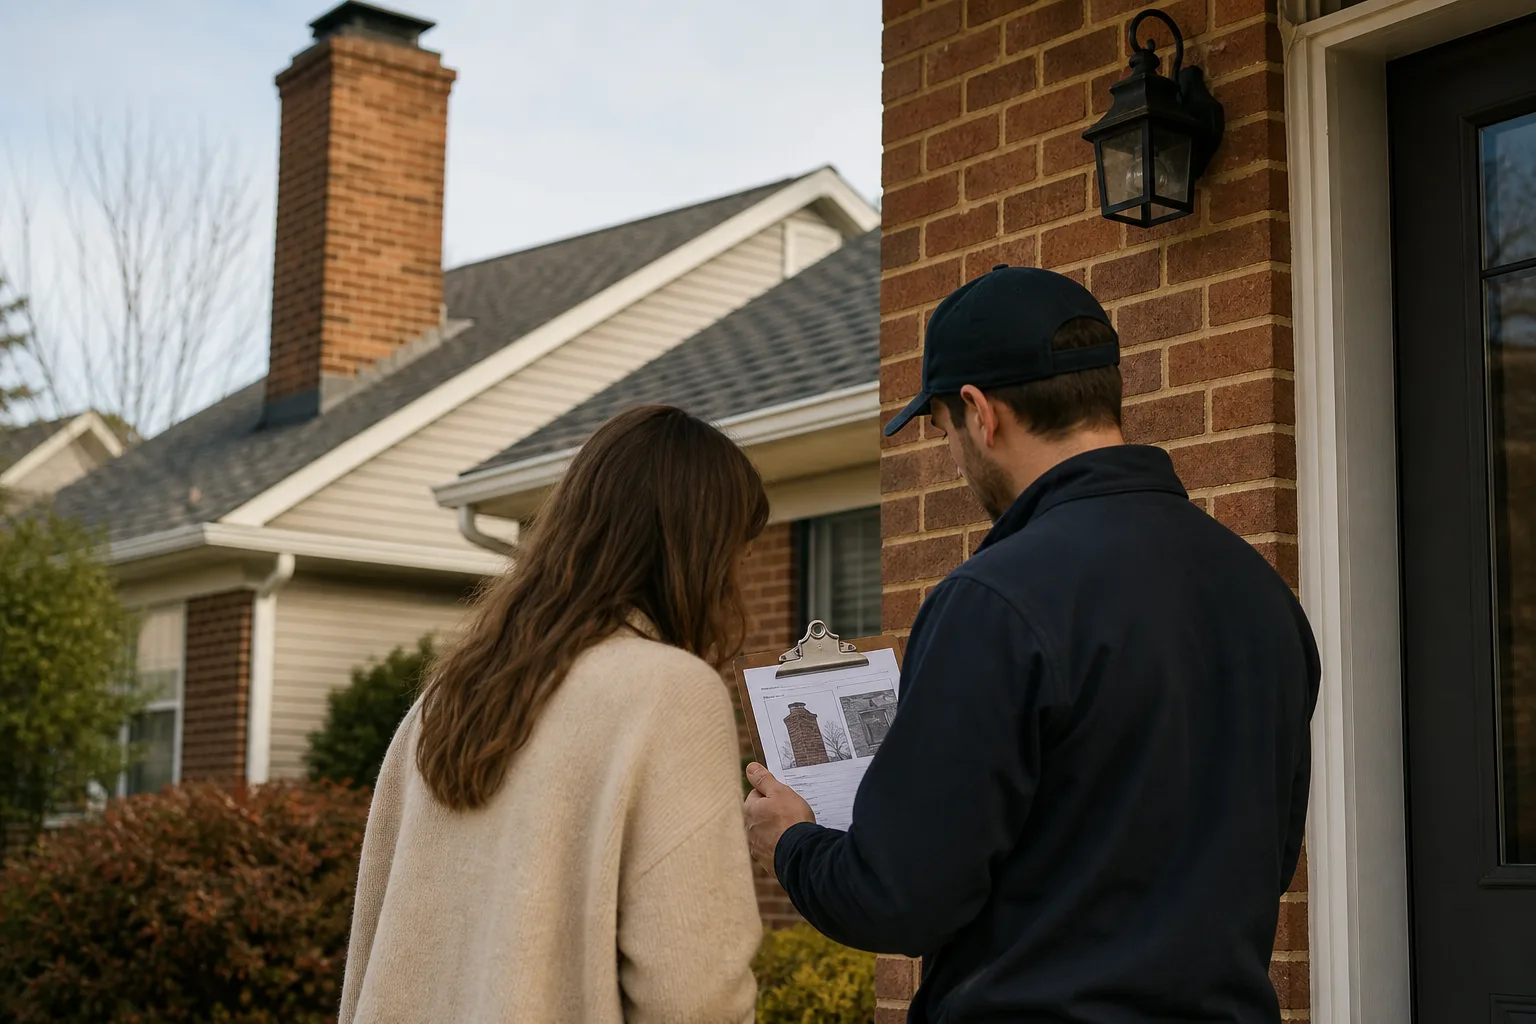
- Look outside from the ground. Confirm that a chimney continues above the roof and has an intact cap. Do not climb onto the roof to inspect it yourself.
Single-wall vs. double-wall stovepipe
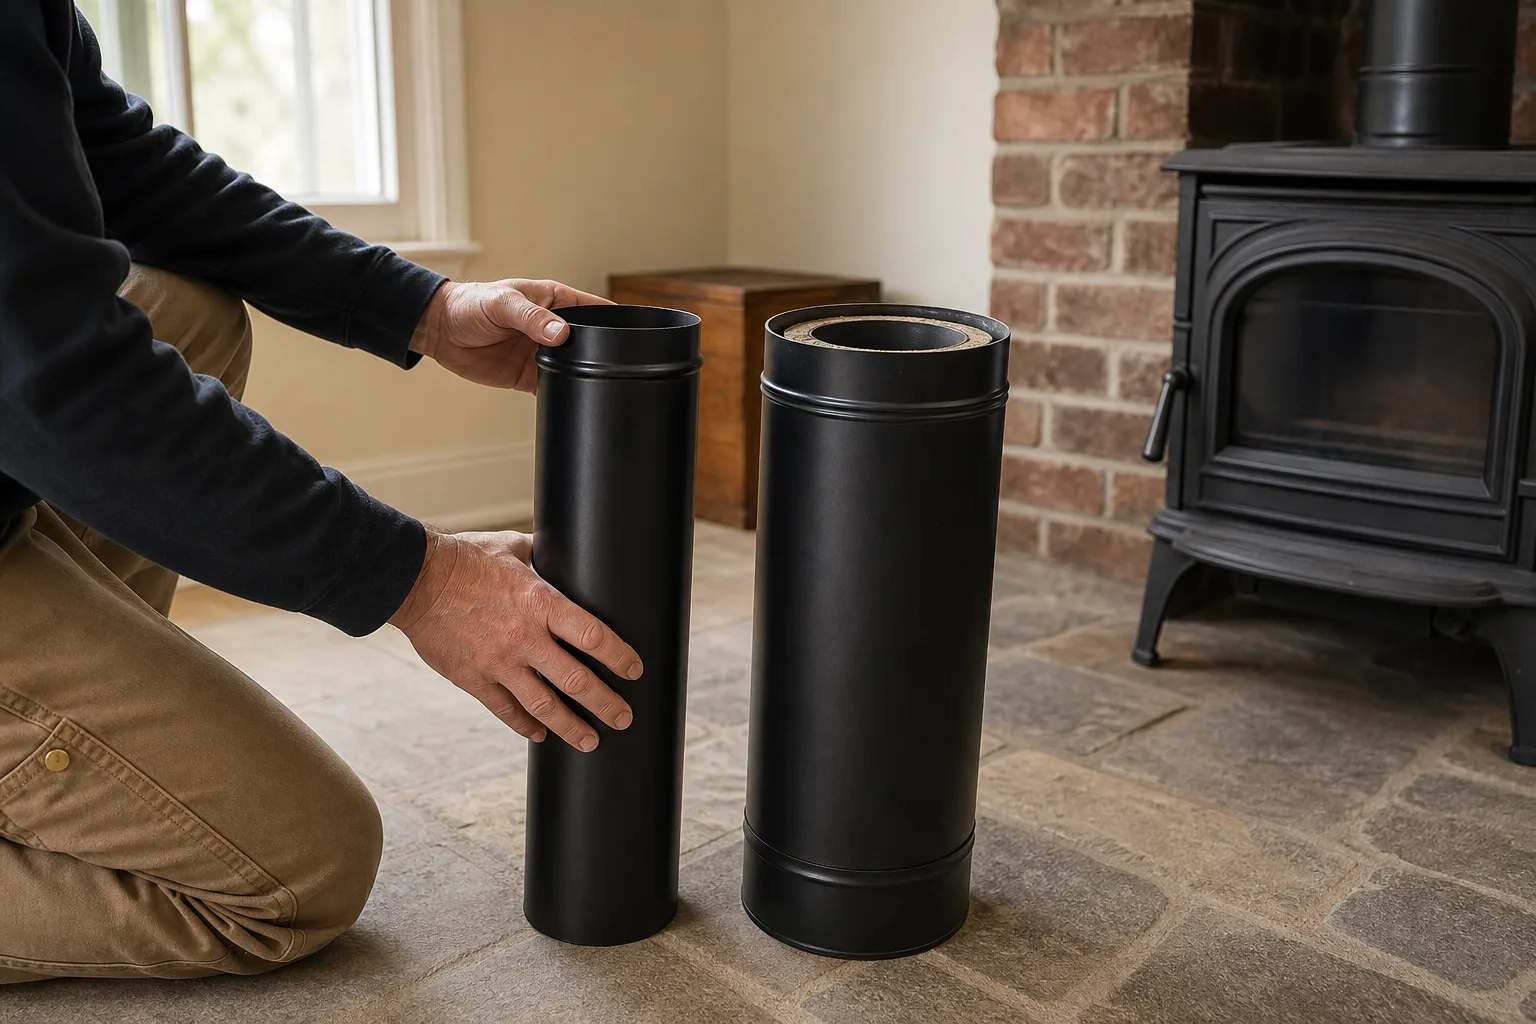
Single-wall and listed double-wall connector pipe perform the same basic job, but they release heat differently and have different clearance requirements. The right choice depends on the stove instructions, available space, ceiling height, nearby combustible walls, and the route to the chimney.
| Feature | Single-wall connector | Listed double-wall connector |
|---|---|---|
| Room heat | Releases more heat from the pipe surface | Retains more heat inside the flue gases |
| Clearance | Generally needs more space from combustibles | Often permits a reduced listed clearance |
| Durability | More exposed to cooling, corrosion, and physical damage | Typically has a protected inner flue and a cooler outer wall |
| Appearance | Simple, traditional profile | Finished outer casing with purpose-made joints |
| Common fit | Open rooms with generous clearance | Tight layouts, tall rooms, or routes near walls |
Single-wall pipe can add radiant heat to the room, but that hot surface needs room around it. It may be suitable when the connector is short, the ceiling is not unusually high, and combustible walls, mantels, trim, furniture, and shelving are well outside the required clearance.
Double-wall connector keeps the exhaust warmer while reducing the temperature of the outer wall. Warmer flue gases can help draft, especially with a tall connector run or a chimney that is slow to warm. Its listed joints can also create a cleaner finished appearance, although the pipe must still remain exposed and accessible.
Pro tip: Measure from the pipe surface to the nearest combustible material, not just to the wall. Wood framing can sit behind drywall, while shelves, trim, curtains, and mantel components may project closer than the wall itself.
Clearance is not chosen by appearance or a general rule of thumb. Follow the connector listing, the stove manual, NFPA 211, and local code together. A listed heat shield or approved wall protection may change an allowed clearance, but a sheet of metal attached directly to a wall is not automatically an approved shield.
Ceiling height and route often settle the choice. A long rise through a tall room can cool smoke inside single-wall pipe, while a tight corner may not provide enough clearance for it. Double-wall connector may solve those constraints, provided its approved adapter fits both the stove collar and the chimney transition.
Ready to verify the route before parts are ordered? Request a venting assessment or call (513) 655-6702 for a practical review of pipe type, clearance, and chimney connection.
Where stovepipe ends and Class A chimney pipe begins
Connector pipe ends where the vent reaches the chimney connection, before it enters a wall, ceiling, attic, roof, or other concealed area. Listed Class A chimney pipe begins at the approved transition and continues through combustible construction to the termination above the roof.
A ceiling route commonly changes over at a ceiling support box. The box supports the chimney’s weight and provides the listed transition between the indoor connector and the factory-built chimney. Above it, chimney pipe continues through required firestops, attic insulation protection, roof flashing, and the chimney cap.
A wall-exit route uses a listed wall thimble rather than running connector pipe through the framing. Chimney pipe passes through the thimble into an exterior tee, where a tee support or wall support carries the vertical chimney. Additional wall brackets stabilize the rise according to the chimney manufacturer’s instructions.
Good to know: The round pipe is only part of the system. Support boxes, thimbles, tees, firestops, flashing, storm collars, brackets, adapters, and caps are functional safety components, not optional trim.
Class A chimney is built for high-temperature solid-fuel exhaust and for passage near combustible construction when installed at its listed clearance. That clearance must remain open through the entire hidden route. Insulation, stored boxes, roof framing, and later remodeling work cannot be allowed to crowd the chimney.
The chimney must also carry its own weight through listed supports. Connector pipe and the stove collar are not designed to hold a tall chimney stack. Support placement, offsets, roof bracing, and the amount of chimney extending above the roof must follow the specific system instructions and local requirements.
From the field: Attics often reveal trouble that cannot be seen from the stove room. Loose insulation may be packed against the chimney, a firestop may be missing, or framing may have been added too close during later renovation work. Those hidden areas deserve inspection before the stove is used.
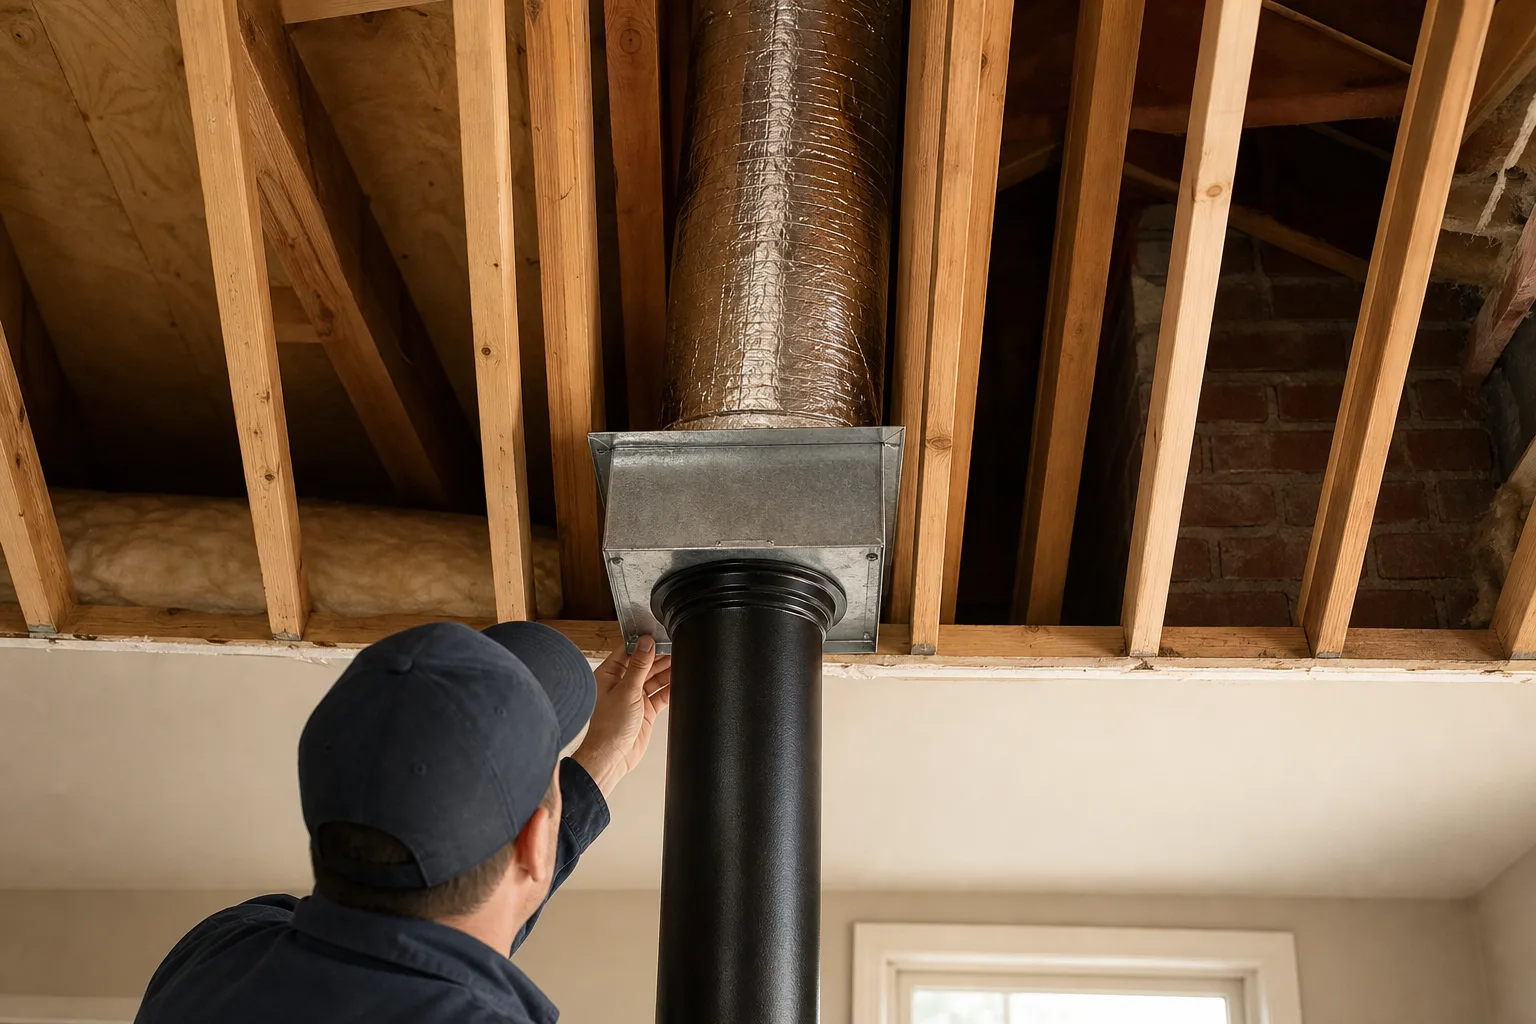
Connecting a stove to an existing masonry chimney
A stove can connect to a suitable masonry chimney through an approved thimble and a continuous, compatible flue. Connector pipe should not be pushed loosely into a masonry opening, left hanging in a fireplace, or allowed to discharge into an open smoke chamber.
The thimble protects the wall penetration and creates a defined connection to the flue liner. Its construction and clearance depend on the chimney, wall materials, connector type, and local requirements. Mortar around a pipe alone does not establish that the penetration is safe.
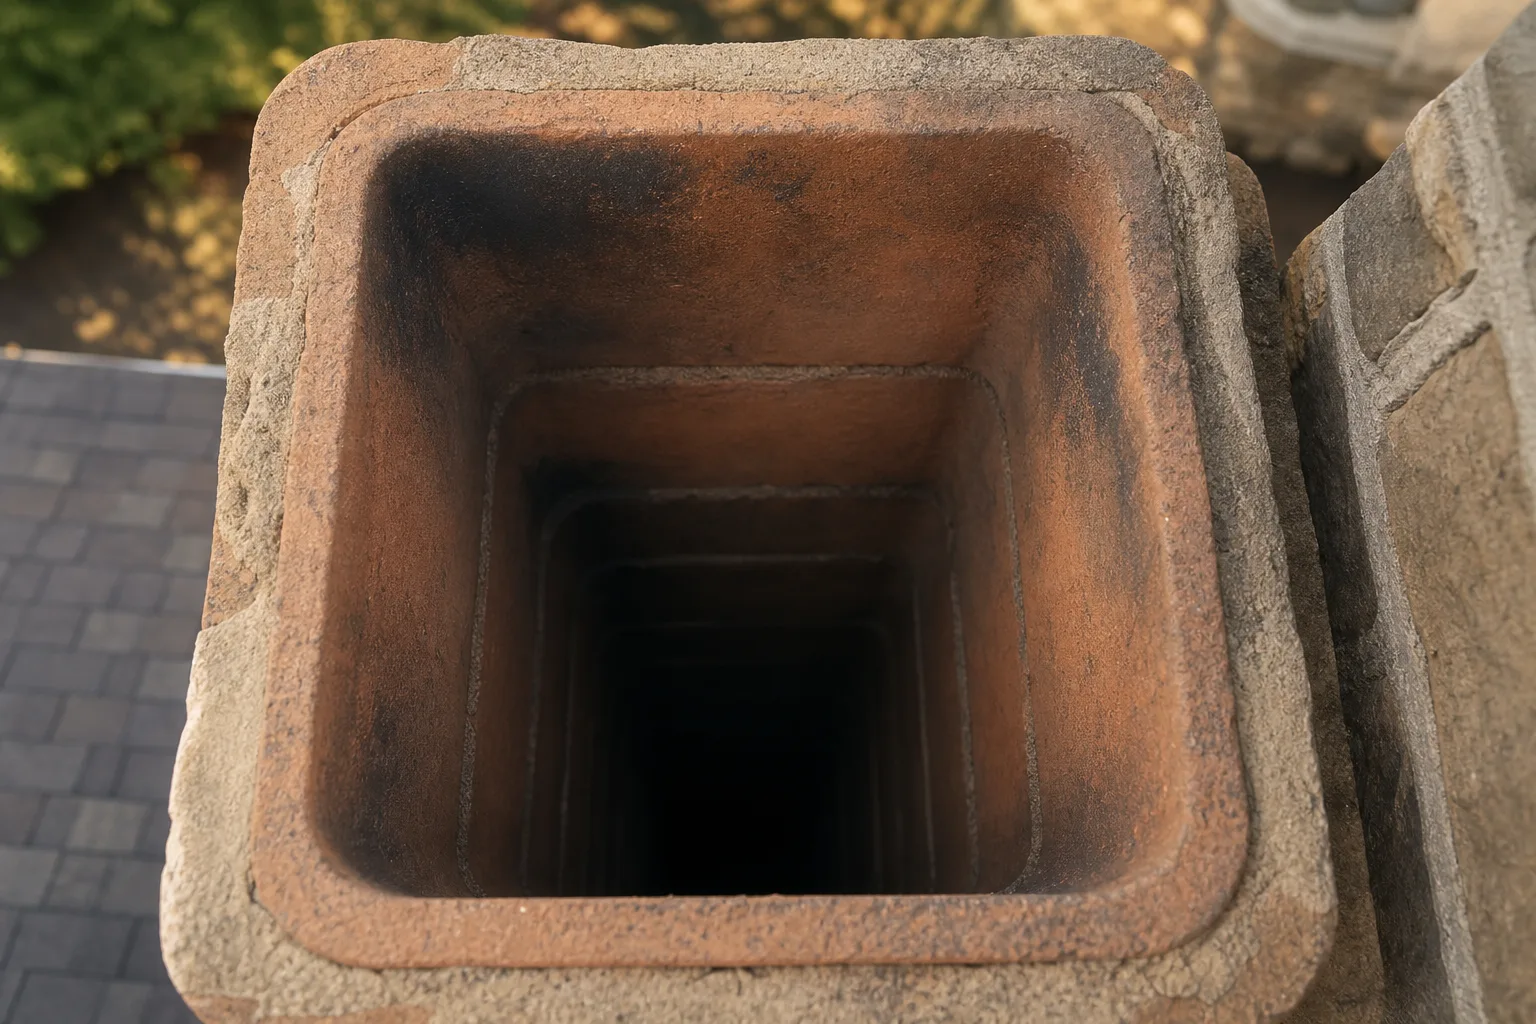
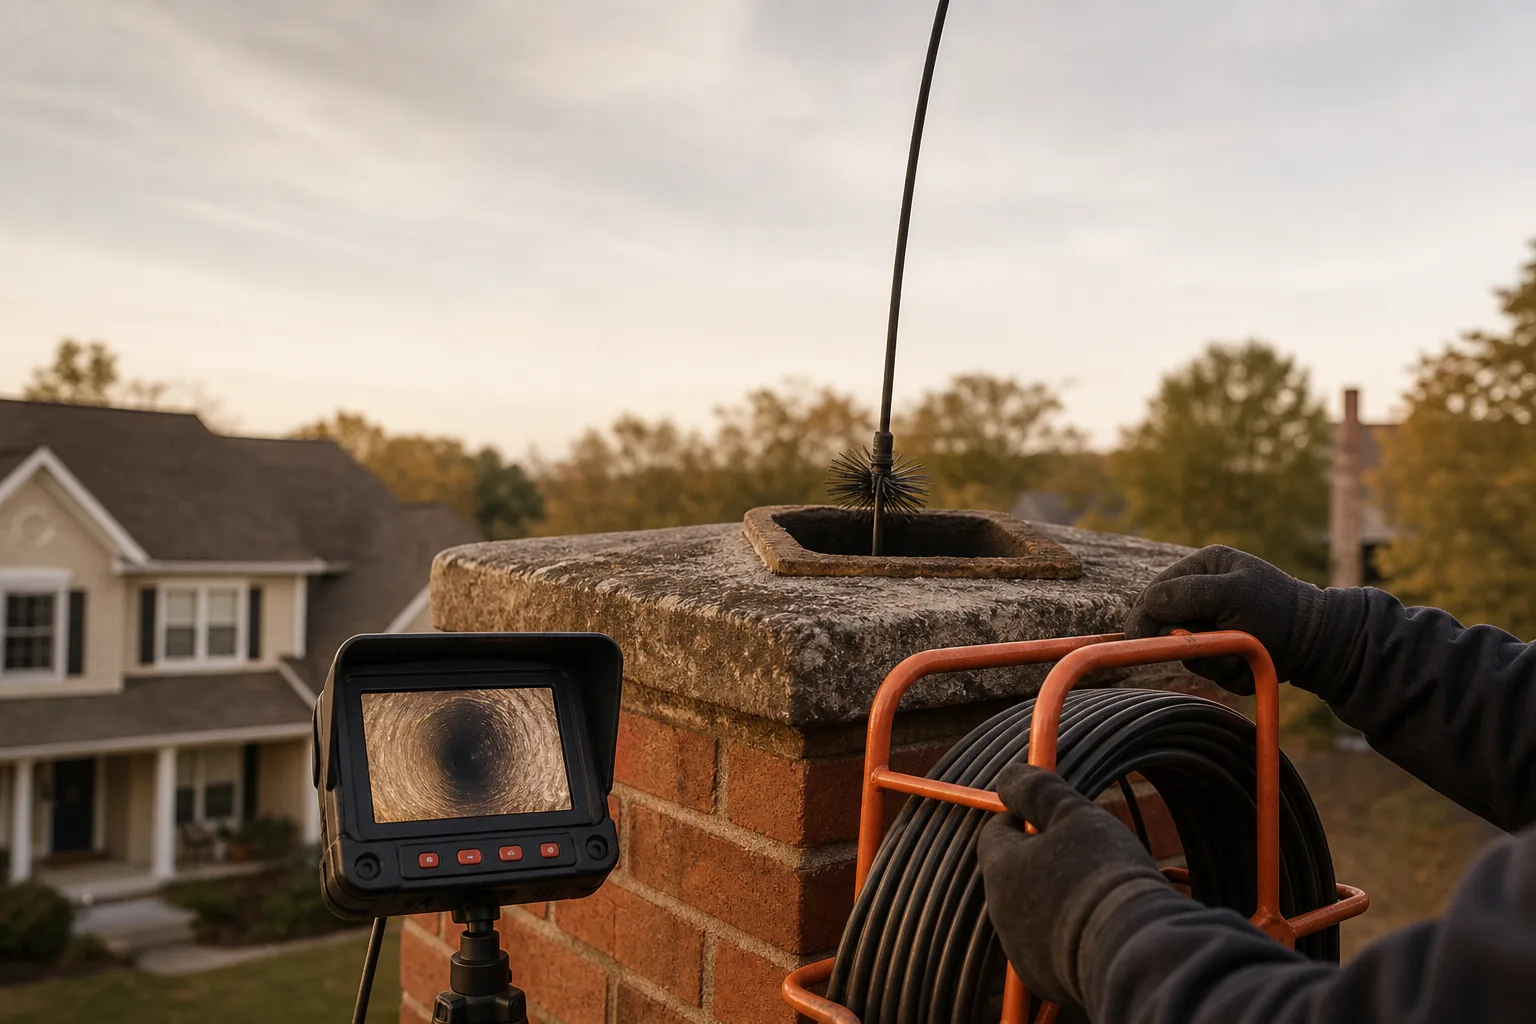
Before connection, the chimney and liner should be inspected for cracks, missing mortar joints, blockages, water damage, and previous venting alterations. The inspection also needs to confirm that the flue serves only approved appliances and is compatible with the stove’s exhaust temperature and fuel.
Flue size matters as much as condition. An oversized masonry flue may stay cold and draft poorly, allowing smoke to slow down and creosote to condense. A damaged, unlined, or poorly sized chimney may need a listed stainless steel liner that creates a continuous flue from the stove connection to the chimney top. The chimney liner guide can help readers understand the liner’s role, but final sizing must follow the stove instructions and the approved installation design.
Fireplace installations need particular care. A freestanding stove or insert cannot simply vent into the fireplace opening and rely on the smoke chamber above. It needs an approved connector or liner arrangement that carries exhaust into a continuous flue, without gaps where smoke and creosote can escape into the chimney cavity.
Myth vs. fact: Myth: If a fireplace once burned wood, its chimney can automatically vent a modern stove. Fact: Stove exhaust may behave differently, and the existing liner, flue area, thimble, and chimney condition must all be checked before use.
A ground-level walkaround can reveal signs that the chimney needs closer examination:
- Check the masonry. Look for open mortar joints, leaning sections, loose bricks, or dark staining.
- Check the crown. From the ground, look for obvious cracks, missing pieces, or vegetation at the top.
- Check the flashing. Watch for lifted metal, gaps, or water staining near the roofline.
- Check the cap. Confirm that one is present and appears secure rather than bent or clogged.
- Check inside the fireplace. Look for fallen tile pieces, heavy debris, moisture, or damaged masonry, without reaching into the flue.
Do not light the stove as a test when the flue condition or connection is uncertain. A draft problem can send smoke into the room, while hidden liner damage can expose masonry and nearby construction to heat and combustion byproducts.
Want the chimney and connection checked before the first fire? Book an inspection or request service, or call (513) 655-6702 to discuss the existing flue and the safest connection method.
Building a new chimney system for a wood stove
A new wood stove pipe route usually follows one of two plans: straight up through the ceiling and roof, or through an exterior wall before turning upward. The indoor connector ends at the listed support or wall assembly, and Class A chimney pipe carries the exhaust through combustible construction and outdoors.
A straight vertical route generally drafts better because hot gases keep rising with fewer turns and less resistance. It also keeps more of the chimney inside the heated building, which helps the flue warm faster and can reduce creosote formation. Ceiling framing and roof obstacles may still require offsets.
A wall exit can work when a vertical route is blocked, but it adds a horizontal connector section, an elbow, and an outdoor chimney exposed to cold air. The chimney typically begins at an approved wall thimble, connects to a supported tee outside, and rises along the wall to the required termination height.
| Route | Main advantage | Planning concern |
|---|---|---|
| Straight through ceiling and roof | Warmer flue and fewer direction changes | Framing, attic clearances, and roof flashing |
| Through wall, then upward | Can avoid rooms or framing above the stove | Colder exterior chimney, tee access, and added supports |
Every part has a specific job. A ceiling route may need a support box, firestops, an attic insulation shield, roof flashing, a storm collar, and a cap. A wall route commonly needs a thimble, tee with cleanout access, wall supports, flashing where applicable, and a listed cap.
Pro tip: Keep the route as straight as the building allows. Each elbow and horizontal section adds resistance, creates another joint to inspect, and gives soot another place to collect.
The chimney must remain supported independently rather than hanging from the stove collar or connector. Flashing keeps roof water outside, while the support and penetration parts maintain the chimney manufacturer's required airspace around hot pipe.
Use the companion wood stove installation guide when planning the full project, since the vent route must be coordinated with the stove location, floor protection, and manufacturer instructions.
Need help choosing a safe route? Request a site visit or call (513) 655-6702 for practical guidance based on your home.
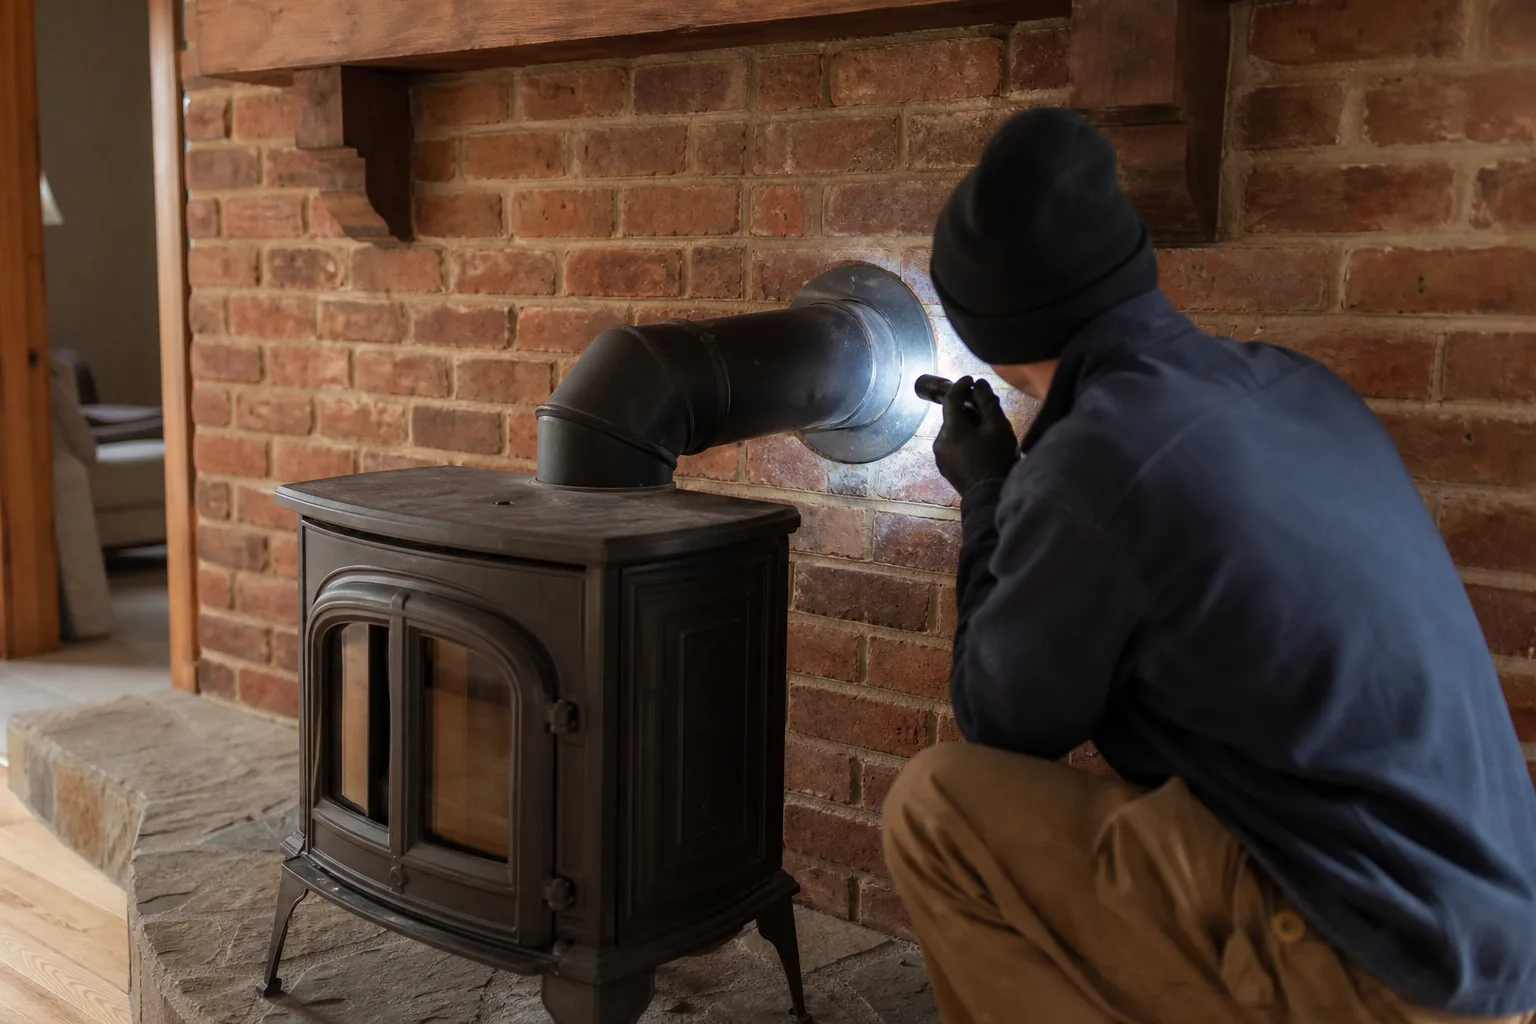
Why pipe parts cannot be mixed and matched
Pipe parts cannot be mixed and matched because listed venting systems are tested as complete assemblies, not as a collection of similar-looking metal pieces. Their joints, locking bands, adapters, supports, insulation, and clearances work together. Substituting an unapproved part can break the listing and leave the installation without a tested connection method.
Two sections with the same stated diameter may have different inner and outer dimensions, joint shapes, insulation thicknesses, or locking methods. A forced joint may look secure from the room while leaving an internal gap where smoke, condensate, or creosote can escape.
Myth vs. fact: The myth is that any pipe fits if the diameter matches. The reality is that diameter describes only part of the component. The listing and approved connection system determine whether the parts belong together.
Connector pipe, Class A chimney pipe, pellet vent, and gas vent are not interchangeable. Each is designed and tested for particular appliances, temperatures, fuels, clearances, and installation locations. An improvised reducer, sheet-metal sleeve, or shop-made adapter does not turn one vent type into another.
A sound installation plan follows the stove manual, the vent manufacturer's instructions, NFPA 211, and local code together. If the directions conflict or an adapter is not shown as approved, stop and confirm the design before cutting a wall or ceiling.
Safety note: Do not assume an older support box, wall thimble, or chimney section can accept new parts. Labels may be hidden, damaged, or missing, and similar-looking connector systems may use incompatible joints.
Want the parts checked before installation? Request service or call (513) 655-6702. A review before assembly is easier than rebuilding an unsafe vent path.
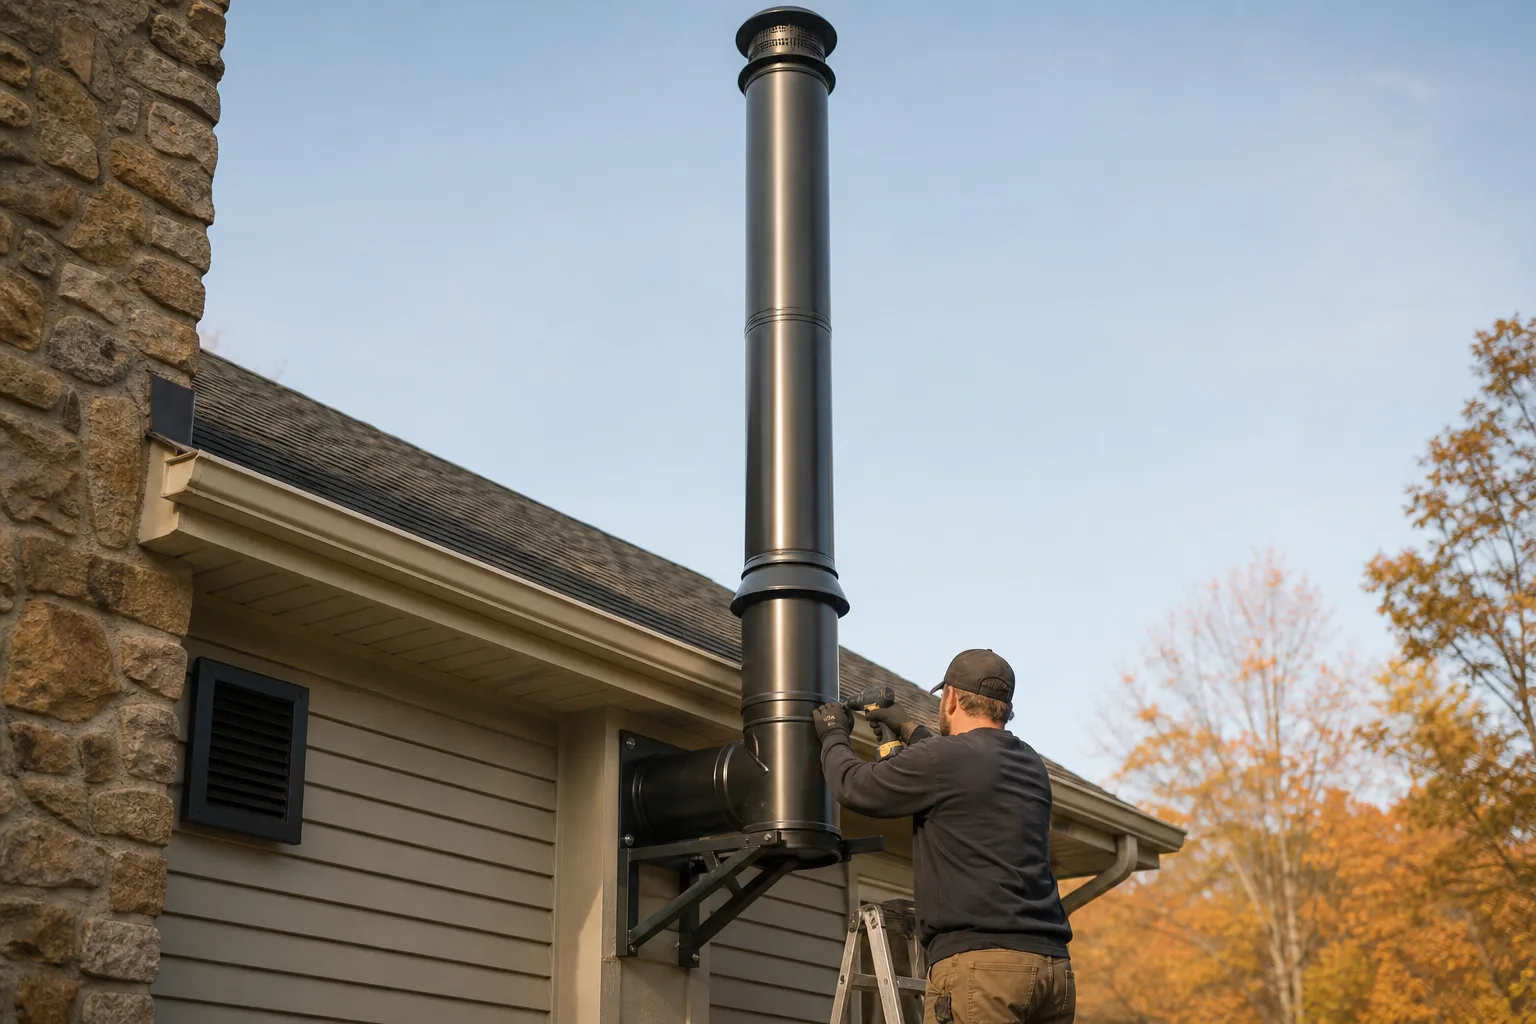
Pipe diameter, route, and chimney height affect draft
The correct wood stove pipe diameter, a mostly vertical route, tight joints, and enough chimney height help create stable draft. The vent should normally match the stove's flue collar unless the appliance instructions and an approved vent design specifically allow a change. Arbitrary reductions or enlargements can cause weak flow, cooling, or poor stove control.
A reduced flue can restrict exhaust during startup or reloading. An oversized flue may allow smoke to expand and cool, especially inside an unlined masonry chimney. Cooler exhaust moves more slowly and can leave additional creosote on the flue walls.
Horizontal connector sections should be kept short, supported, and pitched upward toward the chimney as required by the applicable instructions. Long horizontal travel, repeated elbows, poor upward rise, and leaking joints all weaken the pressure difference that draws smoke out of the firebox.
From the field: Smoke spillage is often blamed on the stove when the vent route is the real problem. Technicians commonly find a cold exterior chimney, a long connector run, loose joints, or an elbow packed with soot.
Chimney height also matters, but adding pipe without reviewing the whole system is not always the answer. The termination must satisfy the appliance instructions, chimney listing, NFPA 211, and local requirements for its position relative to the roof and nearby structures. Tall trees, adjoining rooflines, and surrounding buildings can create wind pressure that disrupts draft.
Use this planning checklist before ordering components or opening the roof:
- Confirm the diameter. Match the stove outlet unless an approved design states otherwise.
- Trace the route. Walk from the stove to the proposed roof or wall exit, noting ceilings, framing, eaves, and nearby walls.
- Identify each pipe type. Mark where connector pipe ends and listed chimney pipe begins.
- Measure clearances. Check the stove manual and each pipe listing rather than relying on appearance.
- Limit resistance. Avoid unnecessary elbows, long horizontal runs, and weak upward pitch.
- Verify compatibility. Use approved adapters, supports, penetration parts, flashing, and caps from the selected system.
- Look from outside. Check how the proposed termination sits relative to the roof peak, higher roof sections, trees, and nearby buildings.
- Assess existing masonry. If any masonry chimney will be reused, arrange an inspection of its liner, size, and condition.
- Plan inspection access. Make sure joints, tees, and cleanout points can be reached for future sweeping and repairs.
A vent design should be settled before materials are purchased, since changing one elbow or penetration can affect support parts, chimney height, and clearances throughout the system. For help planning or inspecting the route, book a service visit or call (513) 655-6702.
Symptom checker
What is your chimney doing?
Tap the closest match for an honest first answer.