



On this pageWhat Chimney Liner Installation Actually Involves (and When You Really Need One)8 sections+7
- What Chimney Liner Installation Actually Involves (and When You Really Need One)
- The Liner Types, and Which One Belongs in Your Chimney
- Sizing: The Detail That Decides Whether Your New Liner Works
- Insulation: The Line Item That Separates Two Identical-Looking Quotes
- What Installation Day Actually Looks Like
- How to Read a Chimney Liner Installation Estimate
- Keeping the Liner You Paid For
- How VIO Helps With Chimney Liner Installation
Quick answer
Chimney liner installation runs a continuous, sealed flue from the appliance to the top of the chimney so combustion gases never touch the masonry. Two details decide whether it works: the liner diameter must match the appliance manufacturer's listed requirement, and the liner usually needs insulation to draft properly and meet its clearance listing. The work follows a camera inspection and is done by an independent local chimney company.
Most people who look up chimney liner installation are not curious. They are holding a piece of paper. A sweep came out for what was supposed to be a routine cleaning, ran a camera up the flue, turned the monitor around, and showed them something cracked and dark that meant nothing to them. Then came a number several times larger than what they expected to spend that day. Now they are at the kitchen table trying to work out whether the number is honest.
That is fair to wonder. You cannot see the inside of your own chimney, and you never will. It is the only part of your house you are asked to spend real money on without laying eyes on the problem.
So this guide will not open by explaining what a chimney liner is. You already know roughly. It hands you the things that actually decide whether the job is done right, starting with this: a brand new liner can still draft badly for a reason that has nothing to do with the liner itself. It is a decision made before anything gets ordered. That is section three.
What Chimney Liner Installation Actually Involves (and When You Really Need One)
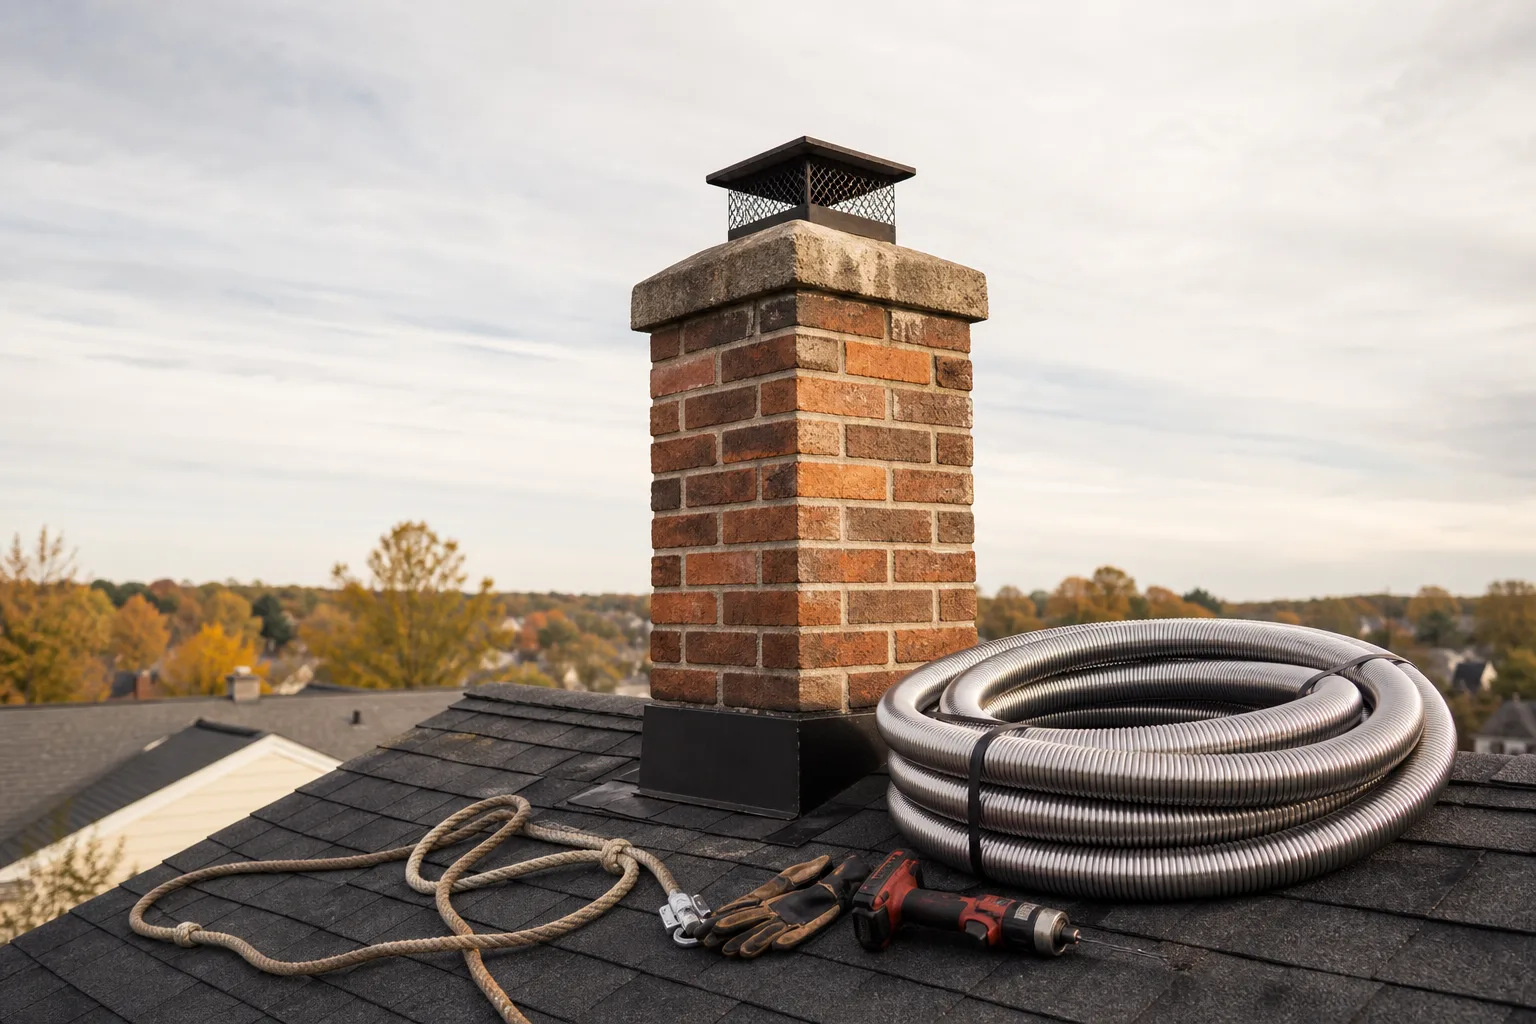
Strip away the sales language and the job is this. A continuous, sealed, correctly sized channel runs from your appliance or firebox to the top of the chimney, so combustion gases have exactly one path out and never touch the masonry directly. Material, insulation, connectors, cap: all of it serves that one sentence.
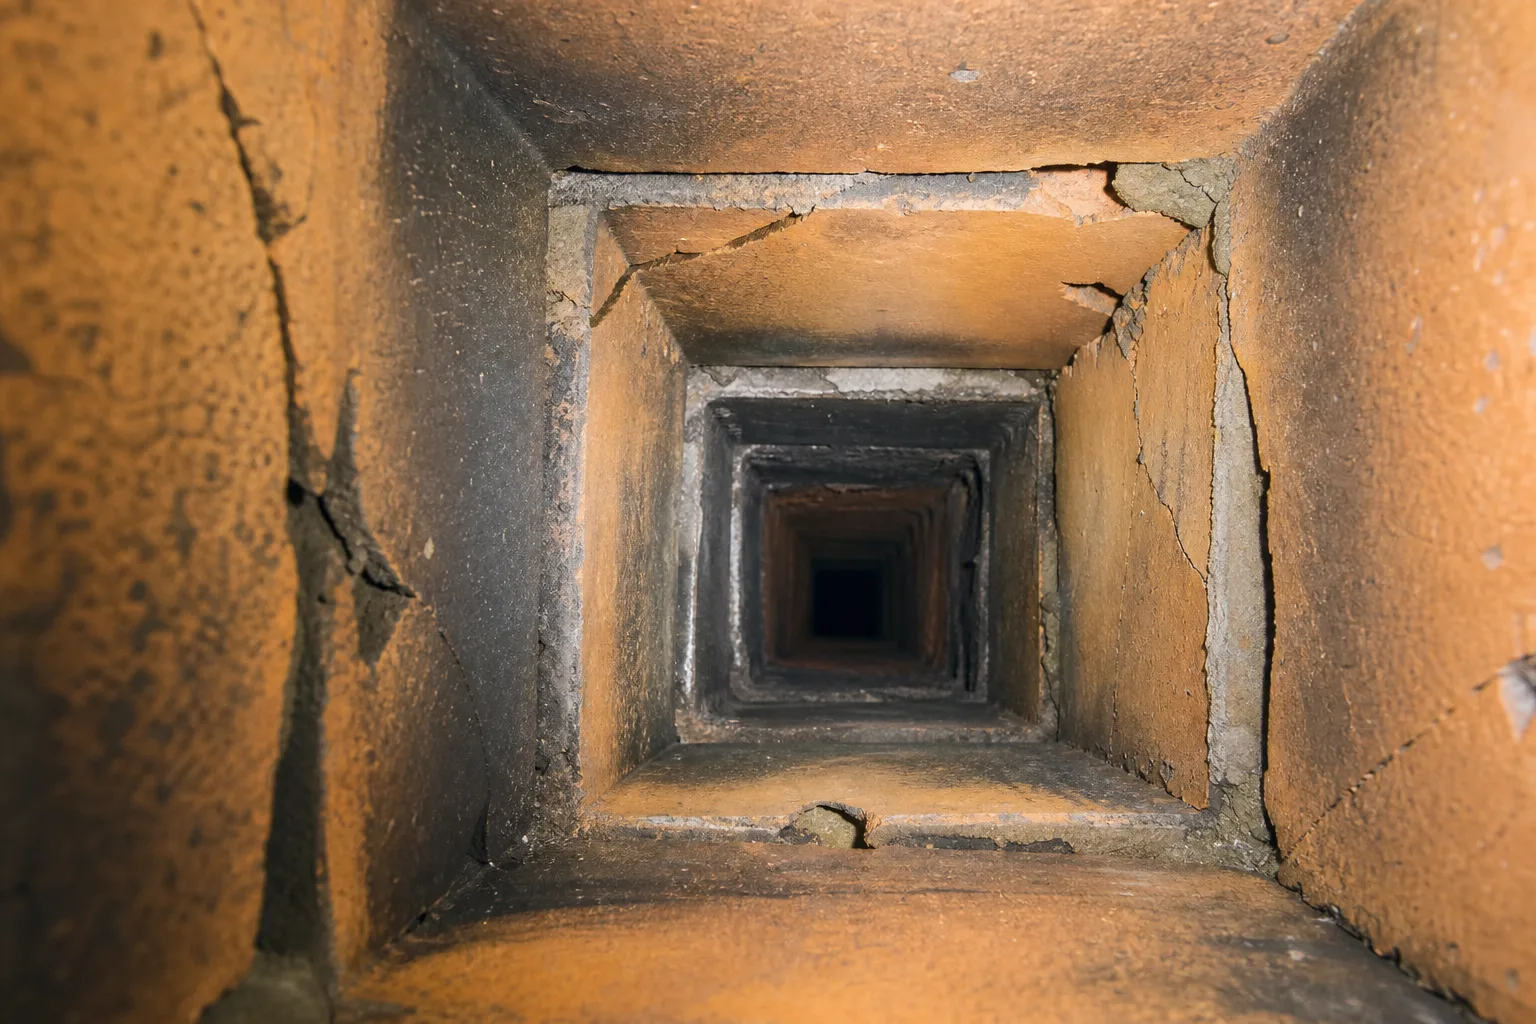
Older chimneys were lined with stacked clay tiles, and clay has a weakness that took decades to show. The tiles are rigid, joined by mortar, and they expand at a different rate than the brick around them. Heat cycles work those joints year after year, and a chimney fire can crack them in seconds. Once a joint opens, flue gas reaches brick it was never meant to reach, and carbon monoxide has a path into your framing cavities.
The three situations that put a new liner on the table
The flue is damaged or missing. Cracked or spalled tiles, open joints, a gap you can see daylight through, or an unlined masonry chimney, common in houses built before liners were standard.
You changed the appliance. This one catches people off guard. Drop a fireplace insert or a wood stove into an opening that used to hold an open fire, and the flue that served the old setup is badly oversized for the new one. Same story when a high efficiency gas furnace or boiler replaces an older unit: the new appliance sends out cooler, wetter exhaust, and a large masonry flue turns that moisture into condensation that eats brick from the inside. The appliance manufacturer's instructions specify what the vent has to be, and those instructions are not a suggestion.
A chimney fire happened. Even a small one, and especially a small one, because people talk themselves out of taking those seriously. A fire does not automatically mean you need a new liner. It means NFPA 211 calls for a Level 2 inspection, and what that inspection finds in the flue is what decides whether the liner can stay.
When you can slow down and get a second opinion
Here is the honest boundary, since nobody else seems willing to draw it. If your chimney is sound, your appliance has not changed, and nothing has happened to the system, a liner is not something to rush into. Age alone is not a diagnosis. Neither is a photo you cannot interpret.
Before you sign, you are entitled to the camera footage, an explanation of what you are looking at, and a written inspection report naming the defect and where in the flue it sits. Any company doing this properly hands those over without being pushed. If someone will not show you the inside of your own chimney, that tells you more than the estimate does.
Safety note: NFPA 211, the standard governing chimneys and venting in the US, requires a Level 2 inspection at specific moments: on the sale or transfer of a property, when the system changes (including a new appliance or a new liner), after a malfunction, after a chimney fire, and after an external event such as a severe storm or an earthquake. A Level 2 inspection includes a camera scan of the flue interior. If your situation is on that list, the inspection is the standard, not an upsell.
The Liner Types, and Which One Belongs in Your Chimney
An estimate that says "stainless steel chimney liner" and nothing else has told you almost nothing. Two companies can quote what sounds like the same product and be describing genuinely different jobs. Where that difference hides is section six.
Flexible stainless steel
Corrugated stainless that arrives coiled and feeds down the flue from the top. It is the workhorse of the category, and the reason is geometry: real chimneys are rarely straight. Flexible liner negotiates bends that rigid pipe cannot. It is the standard choice for connecting stoves and inserts, and for most relines in existing masonry.
Rigid stainless steel
Straight sections joined together. Where a flue genuinely runs straight, rigid has an advantage that matters over a long life: the interior wall is smooth, so it sweeps more easily and gives creosote less to hold onto. Fewer chimneys qualify for it than you would guess.
Cast-in-place and poured liners
A cementitious mixture is pumped in around a form, curing into a seamless, insulated flue that also lends structural support to the masonry. For a deteriorating older stack where the brick itself is tired, this can be the right answer, because it strengthens the chimney rather than just running a pipe through it. It is a bigger, more disruptive job, and it is permanent in a way stainless is not. Change appliances later and you are living with the flue you poured.
The alloy question, 316 versus 304
Stainless comes in grades, and the grade is part of the specification rather than a sales tier. 316 grade (often listed as 316Ti) is prized for corrosion resistance and broad fuel compatibility, which is why it gets selected so often. Plenty of 304 systems are listed for wood as well, so the categorical shortcuts you will read elsewhere are not reliable. What actually settles it is the specific liner system's listing read together with your appliance's instructions. Ask which grade you are getting, ask what its listing covers for your fuel, and get the answer on the estimate in writing.
Here is the whole category on one screen:
| Liner type | Best suited to | Handles bends | Sweeping and service | Trade-off to know |
|---|---|---|---|---|
| Flexible stainless (316Ti) | Stoves, inserts, most masonry relines; broad fuel compatibility | Yes, its main advantage | Straightforward with the right brush | Corrugated wall holds creosote more readily than smooth pipe |
| Flexible stainless (304) | The applications its own listing covers | Yes | Straightforward | Confirm the listing covers your fuel before you choose it |
| Rigid stainless | Straight flues, high heat wood appliances | No, needs a near straight run | Easiest of the three, smooth wall | Only usable where the flue actually runs straight |
| Cast-in-place | Deteriorating masonry that needs structural help | Yes, it takes the flue's shape | Smooth and seamless once cured | Permanent, disruptive, locks in one flue size |
Myth vs. fact: Myth: stainless is stainless, so any stainless liner is the same liner. Fact: alloy grade, wall construction, diameter, UL 1777 listing, and insulation are five separate variables. A quote that names none of them is not a quote, it is a price.
Sizing: The Detail That Decides Whether Your New Liner Works
Here is the payoff I promised.
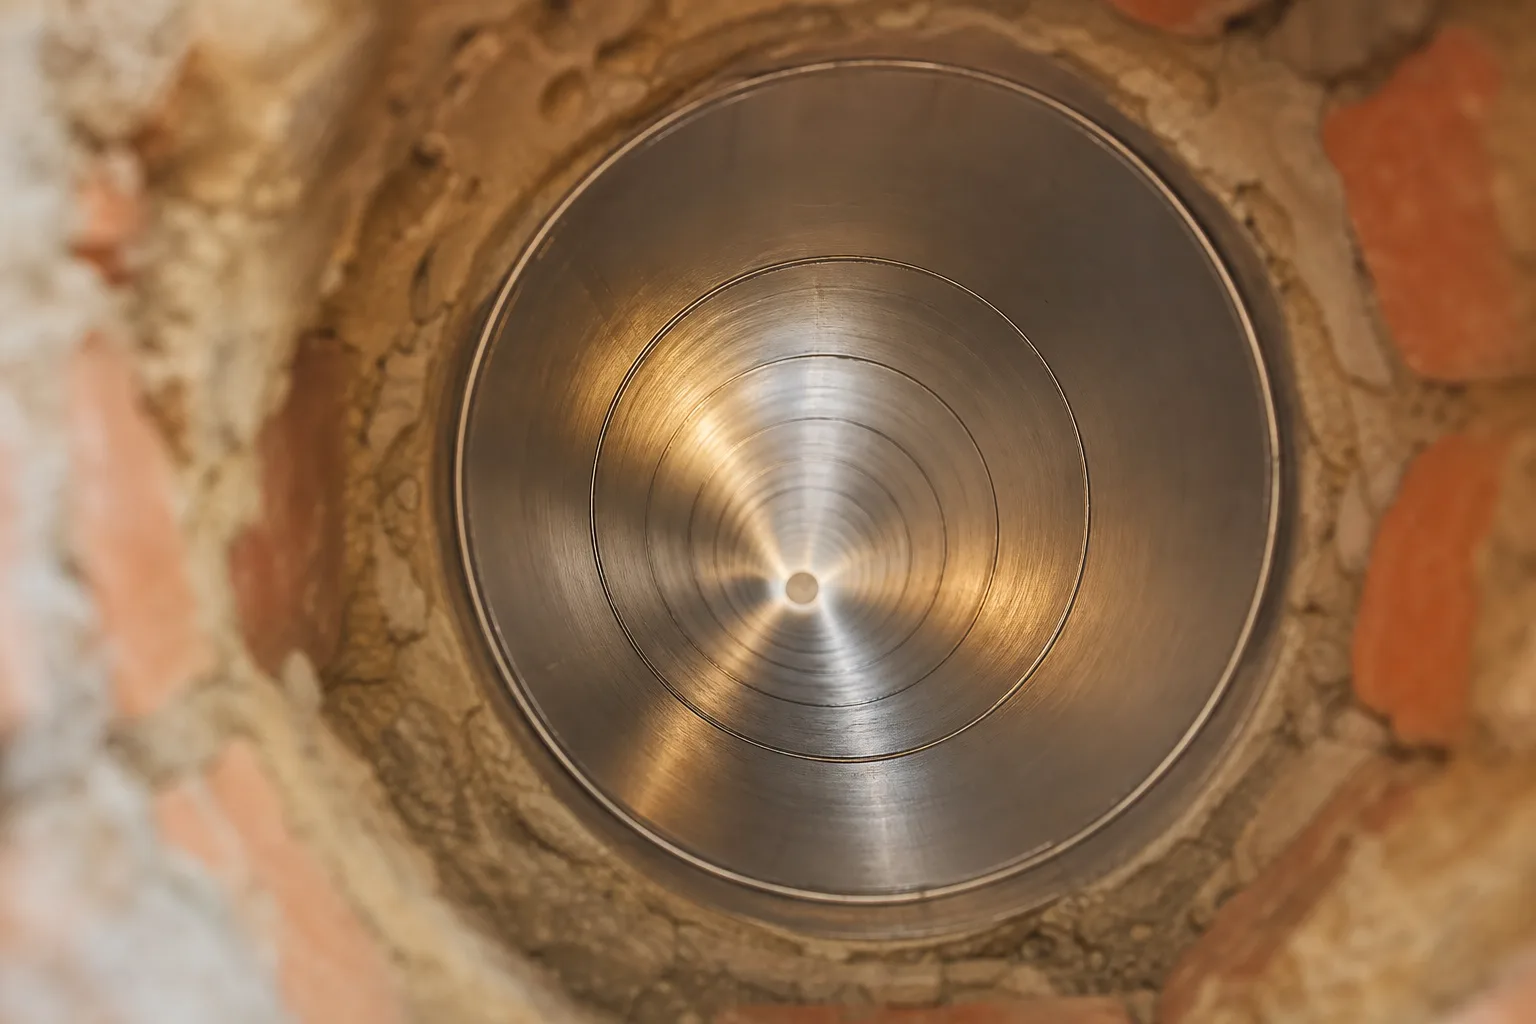
A new liner can underperform for a reason that has nothing to do with its quality: the wrong diameter. Not defective, not cheap, not badly installed. Wrong size. And it is invisible, because a liner that is too large looks exactly like one that is correct, right up until the first cold evening when smoke rolls into the living room.
The liner is sized to the appliance, not to the chimney
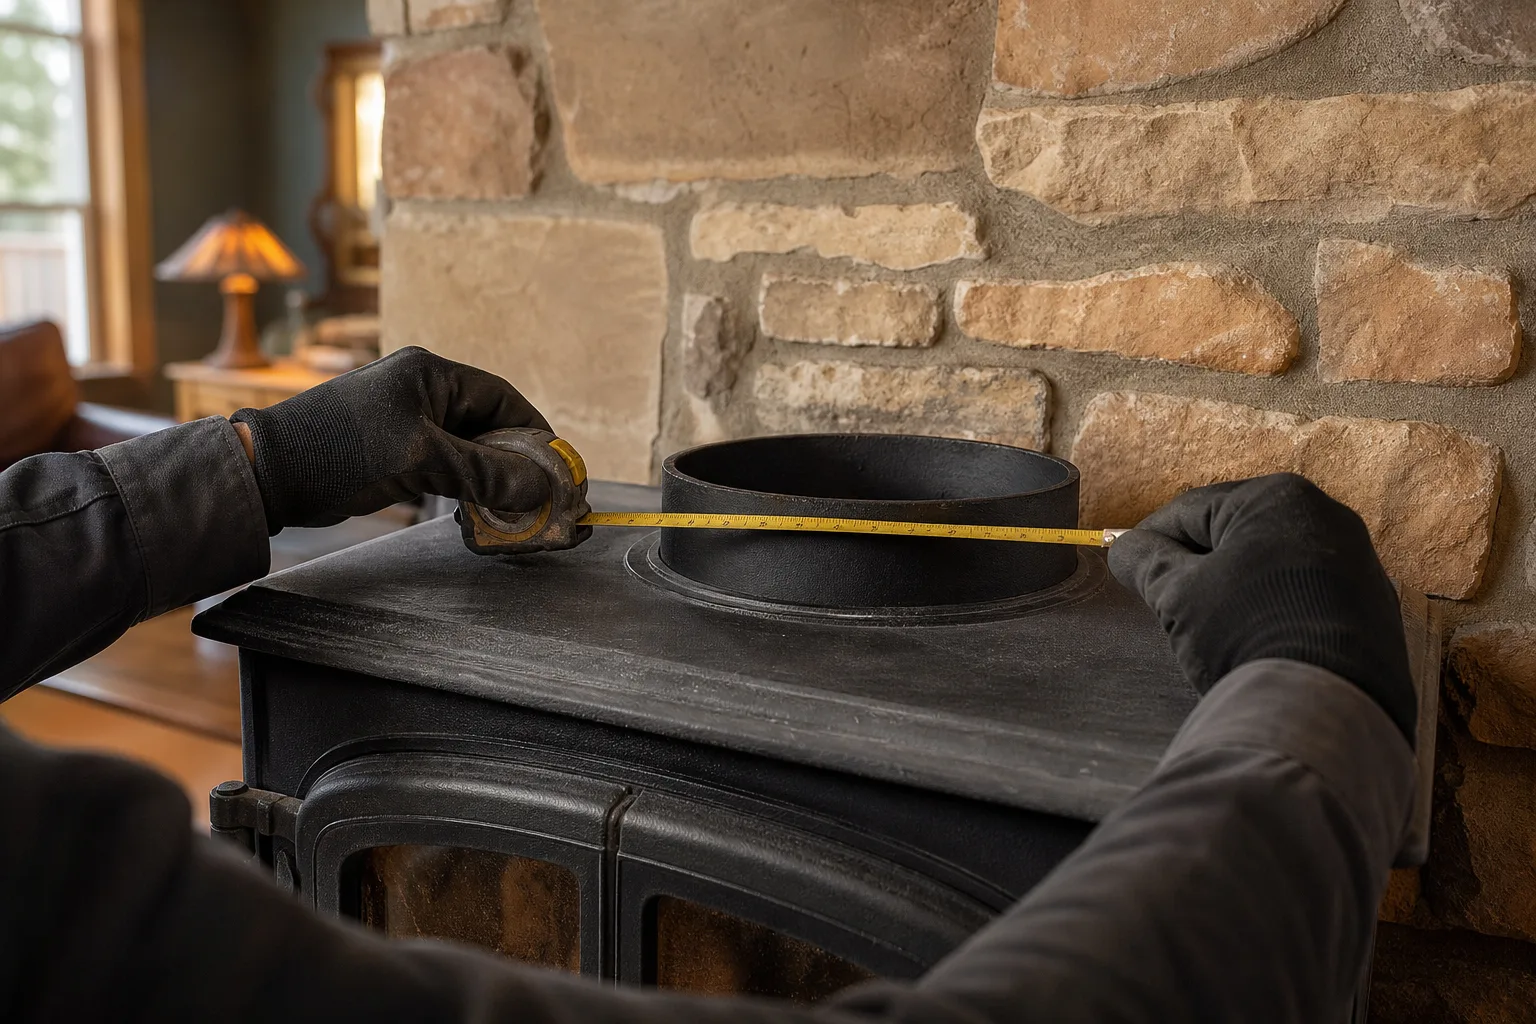
This is the sentence to remember. Diameter is determined by what the liner connects to. On a wood stove installation, a six inch outlet gets a six inch liner, because the manufacturer's listed instructions say so and those instructions are what the work has to comply with. Not what fits down the existing hole, and not what the crew happened to have on the truck.
Why a liner that is too big is a real problem
Draft is a temperature engine. Hot gas rises because it is less dense than the air around it, and that rising column pulls exhaust out of your house. Put the same volume of gas into an oversized channel and it spreads out, slows down, and cools on the way up. Cool flue gas drafts weakly, which means smoke that hesitates at the firebox opening and finds the room instead. Worse, cooling gas deposits creosote faster, so an oversized flue actively builds the fuel for a chimney fire.
People assume bigger is safer with venting. With flues it is the opposite. An oversized flue can leave you worse off for draft than what you started with, and you paid for the privilege.
The offset, and what happens in older chimneys
Chimneys in older houses are rarely a straight shot. A stack serving a first floor fireplace often jogs sideways around a second floor fireplace or a framing member, and that jog is called an offset. Offsets are ordinary and workable, but they narrow the effective path, they demand flexible liner, and they add labor. A crew that scanned your flue knows where your offsets are before quoting. A crew that did not is guessing, and a wrong guess arrives mid-installation as a change order.
Pro tip: Ask for the diameter, in inches, written on the estimate. Then ask one follow-up: what was it matched to? A good answer names your specific appliance and its listed requirement. A vague answer is your signal to get a second estimate. That one question sorts companies faster than any review site.
Insulation: The Line Item That Separates Two Identical-Looking Quotes
If you take one thing from this page that you were not going to learn elsewhere, take this.
When two estimates for the same stainless liner come back meaningfully apart, insulation is frequently what is different. It is easy to leave off, it is invisible once the job is done, and it costs real money in both material and labor.
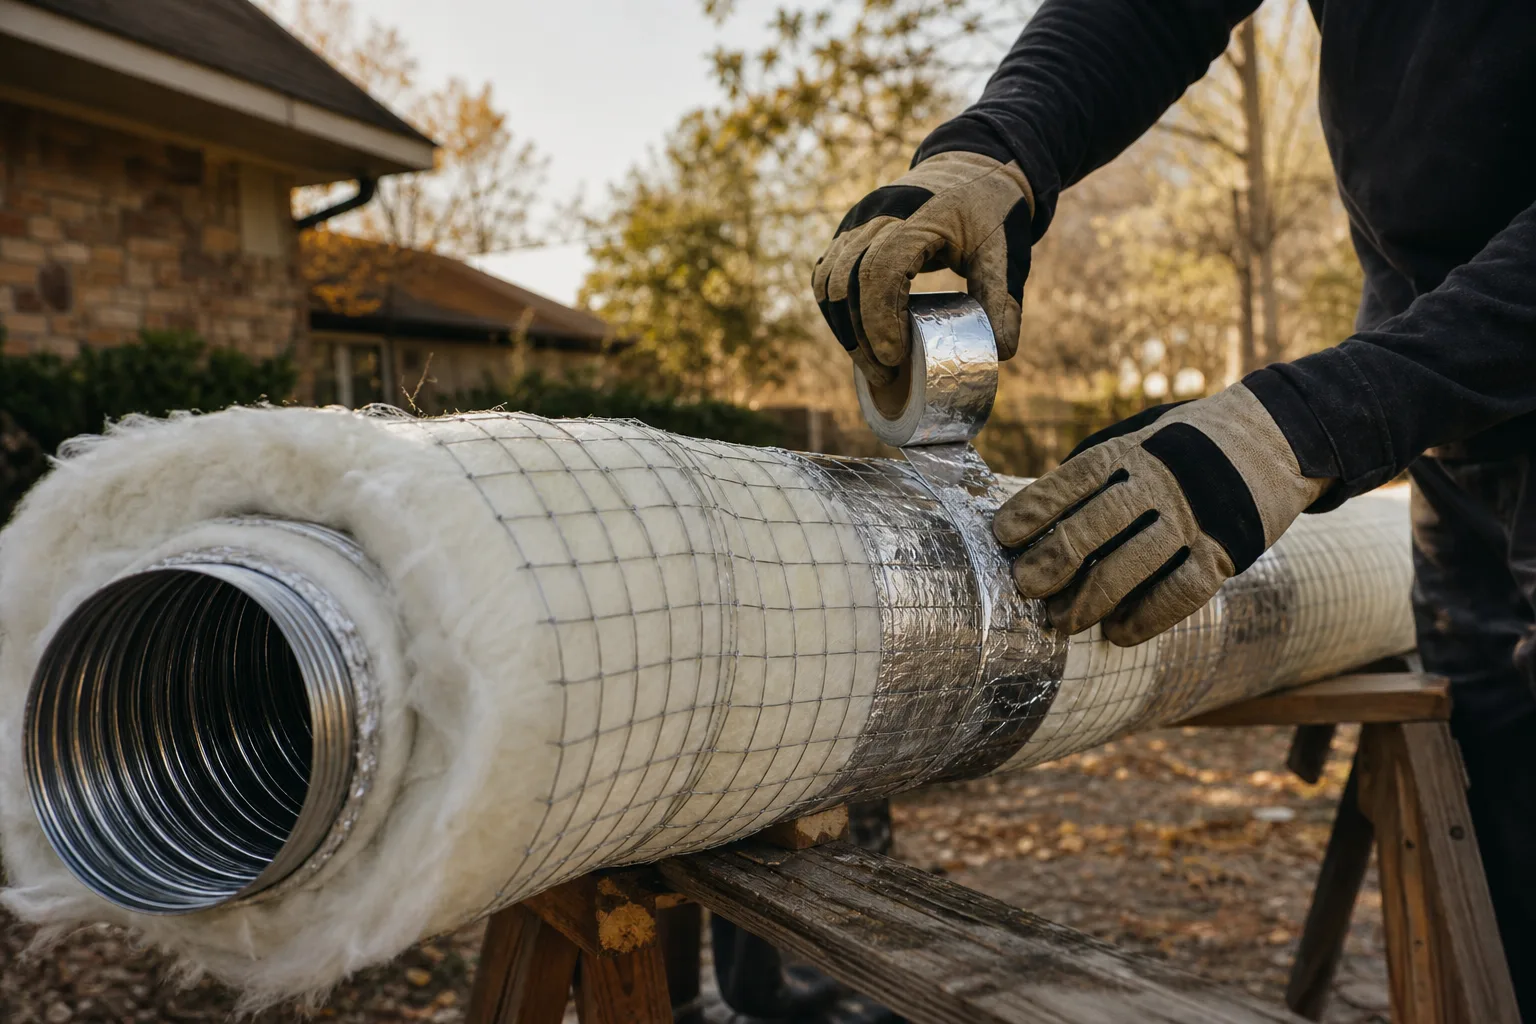
Insulation comes as a blanket wrap fitted around the liner before it goes down, or as a loose fill poured into the space between liner and masonry afterward. Both do the same job: keep flue gas hot all the way to the top.
That matters for three reasons pointing the same direction. Hot gas drafts better, so the appliance performs the way it was designed to. Hot gas deposits less creosote, so you get a safer flue and easier sweepings. And insulation is often what the liner's own listing requires to achieve its rated clearance to combustible materials, which is the point of the UL 1777 listing that makes the installation code compliant.
That last one turns insulation from a nice extra into part of the specification. A liner installed without the insulation its listing calls for may not be a compliant installation, whatever the invoice says.
Good to know: Insulation is not an upgrade a salesperson invented to pad the total. Ask both companies whether their price includes insulating the liner. If one says no, you now know why the two numbers looked so far apart. You are comparing different jobs, not different prices.
Not sure the quote on your table is the right job?
Tell VIO what your chimney is connected to and what you were told, and we will match you with a screened independent chimney company near you. Ask them for a written estimate before anyone touches the flue. If the first estimate was right, you will find that out too. Call (513) 655-6702. No obligation, and nothing proceeds without your say-so.
What Installation Day Actually Looks Like
Almost nobody describes this part, which is strange, because it is what people are quietly nervous about.
Before anyone climbs: the camera scan and the measurements
The crew starts inside, not on the roof. A camera goes up the flue and the footage gets reviewed with you standing there. Then come the measurements: flue height, appliance outlet, the location of any offsets, the size of the existing clay tile. On a stove or insert job, the appliance's listed vent requirement is confirmed against what is actually there.
From the field: The camera scan is the most useful part of the visit for you as the buyer, so do not treat it as a formality to wait out. A cracked joint you can see on a monitor is a different thing from one you have been described, and this is the moment to ask what you are looking at and where in the flue it sits. A company's willingness to walk you through the entire scan, rather than the one still image that supports the estimate, is information worth having.
The work at the roof
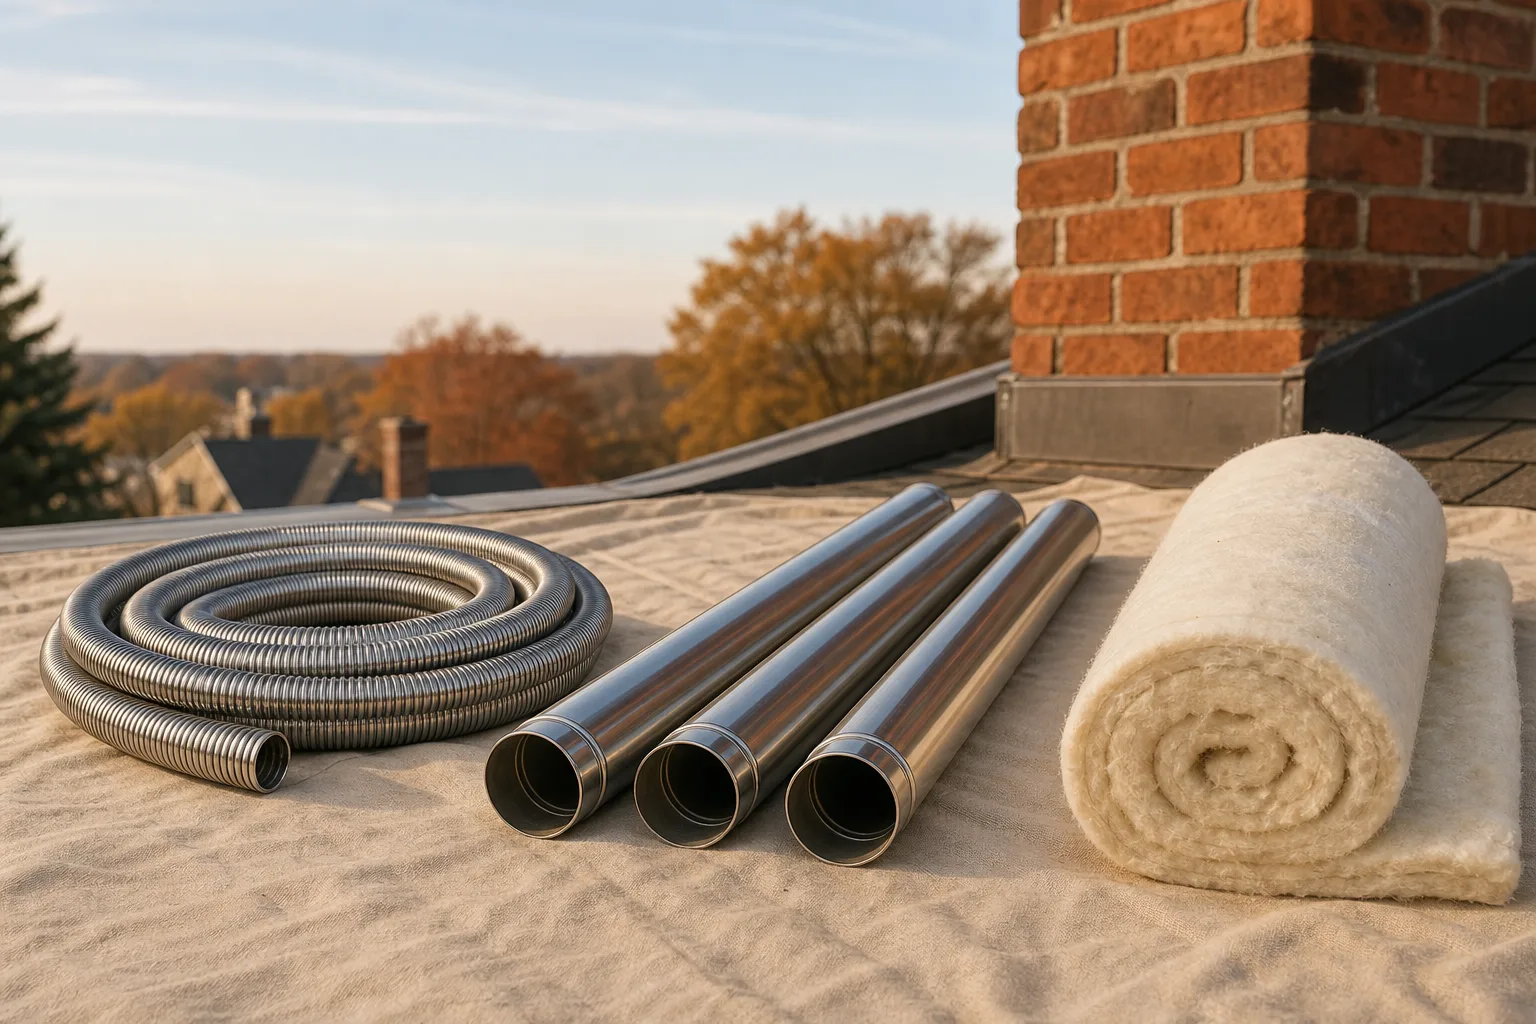
Most of the day happens above your head. The old cap comes off. If damaged clay tile has to be removed to make room for the correct diameter, that happens now, and it is loud, dusty work that adds hours. The liner, insulated if the job calls for it, feeds down from the top and is guided past the offsets. This is where flexible liner earns its place, and where a chimney that was never scanned becomes a problem.
At the top, a top plate seals the liner to the crown and supports its weight, and the chimney cap goes on over it. The top plate is not trim. It keeps water out of the space between liner and masonry, and water in that space is how you undo the work you just paid for.
The connection at the bottom
Inside, the liner is joined to the appliance. For a stove or insert that is usually a direct connection to the outlet collar. For a chimney serving a furnace or boiler through a wall thimble, a tee section lets the liner run continuously past the connection point with a capped bottom below it, which doubles as cleanout access. Connections get fastened and sealed. Corners can be cut here invisibly, so it is worth asking about.
Sealing, the cap, and how a good crew verifies the job
The last hour separates finished from correct. Both ends are sealed, the cap is secured, and the assembly is checked for continuity. Then the appliance is fired and the draft confirmed, ideally with an instrument rather than a hand held near the opening. You should end the day with documentation: make, diameter, listing, whether it was insulated, and the warranty terms.
A straightforward reline in a cooperative chimney is often a one day job. Tile removal, heavy offsets, a very tall stack, or a cast-in-place pour push it longer. Any company that scanned your flue can tell you which one you have beforehand, and that answer belongs in the estimate too.
How to Read a Chimney Liner Installation Estimate
This is the section to keep. Put your estimate next to it.
A chimney liner installation estimate should name every one of the following. A missing line is not automatically dishonesty, but it is a question you have earned the right to ask.
- Liner material and alloy grade. "316Ti stainless," not "stainless."
- Diameter, in inches, and what appliance it was sized to.
- Flexible or rigid, and why that choice fits your flue.
- Insulation: wrap or pour, included or not. Get this one in writing.
- UL 1777 listing for the liner system being installed.
- Tile removal: whether clay tile has to come out, and whether that is in the price or an if-needed extra.
- Top plate and cap, specified as parts, not implied.
- The connection at the appliance, including a tee and cleanout where the setup calls for one.
- Permit and inspection, if your jurisdiction requires them.
- Post-installation verification, including the draft check.
- Warranty terms and what maintains them.
- Cleanup and debris removal, especially where tile is being broken out.
What legitimately drives the price up or down
Chimney height, because everything scales with the length of liner and time on the roof. The number and severity of offsets. Alloy grade, which your fuel decides. Whether the liner is insulated, and by which method. Whether damaged tile has to come out to fit the correct diameter, often the single largest swing in the estimate. Roof pitch and access. The appliance type, and whether a tee and cleanout are needed. Cast-in-place versus stainless, which are different jobs rather than different brands.
Notice what is not on that list: the size of the company, or how urgent the phone call sounded.
Questions to ask before you sign
What diameter, and what did you size it to? Is the liner insulated, and is that in this price? Is it UL 1777 listed? Did you scan the flue with a camera, and can I see the footage? Does the price include removing damaged tile if that turns out to be necessary, or is it a change order? Who pulls the permit? What voids the warranty?
Seven questions. A company doing this work properly answers all seven in one phone call without stalling, and the ones that stall have just saved you a great deal of trouble.
Keeping the Liner You Paid For
Stainless liners are commonly sold with long warranties, sometimes lifetime ones, and those warranties carry conditions almost nobody reads until the day they need to. The usual ones: the liner has to be inspected and cleaned on the schedule the warranty itself names, used with the fuel it was rated for, and installed per its listing, insulation included. Burning the wrong fuel or skipping sweeping is the ordinary way people lose coverage without noticing.
The routine is simple. Have the system inspected every year and swept when the deposits call for it, since cleaning frequency follows what is actually building up in the flue rather than the calendar. Burn seasoned wood if you burn wood, and keep an eye on the cap, because a damaged or missing one lets in water and animals both.
Keep a folder: the camera report, the estimate, the invoice, the liner specifications and listing, and the warranty document. That folder is worth real money at resale, because a Level 2 inspection is required at sale or transfer anyway, and handing the inspector documentation for a recent liner turns a question mark into a selling point.
Pro tip: Photograph the liner's data tag and the finished top plate before the crew leaves, then drop the photos in the folder. Paperwork wanders off over twenty years. A photo of the tag proves what is actually in your chimney when the documents have not survived.
How VIO Helps With Chimney Liner Installation
Plainly: VIO does not install liners. VIO is a referral service. We screen independent local chimney companies, and when you ask us for a match, we connect you with one that works in your area and handles your appliance type.
What that gets you here is a second competent opinion at a moment when you probably have exactly one. Ask the company we match you with to inspect the flue, to size the liner to your appliance rather than to whatever fits down the hole, and to put the scope in writing before any work starts. Then set that estimate beside the one already on your table and compare them line by line, using the checklist above.
If the first estimate turns out to be sound, that is a useful outcome too. Knowing you were quoted fairly is worth one phone call.
Get a second set of eyes on your flue
A liner is something you buy once and live with for decades, so it is worth one more phone call before you sign. Tell VIO your situation and we will match you with a screened independent local pro. Then use the checklist above: ask them to inspect the flue, size the liner to your appliance, and put the whole scope in writing. Call (513) 655-6702. Independent local companies, screened by VIO.
Symptom checker
What is your chimney doing?
Tap the closest match for an honest first answer.