



On this pageStart With the Chimney, Not the Showroom7 sections+6
- Start With the Chimney, Not the Showroom
- Why a Level 2 Chimney Inspection Comes First
- Can the Existing Masonry Chimney Accept an Insert?
- Choosing Wood, Gas, or Electric Based on Chimney Condition
- Liner Sizing and Relining for Fireplace Insert Installation
- What Happens During the Installation
- The Installed Cost Is More Than the Insert Price
Quick answer
Fireplace insert installation should begin with a Level 2 chimney inspection before you select a combustion appliance. The fireplace dimensions, flue condition, liner size, vent route, clearances, and utility access determine whether a wood, gas, or electric insert can be installed safely.
Start With the Chimney, Not the Showroom
A safe fireplace insert installation begins with the existing fireplace and chimney, not with an appliance selected from a showroom display. The insert must fit the firebox, but it also needs a compatible flue, proper clearances, a workable vent route, and enough access for the required connections.
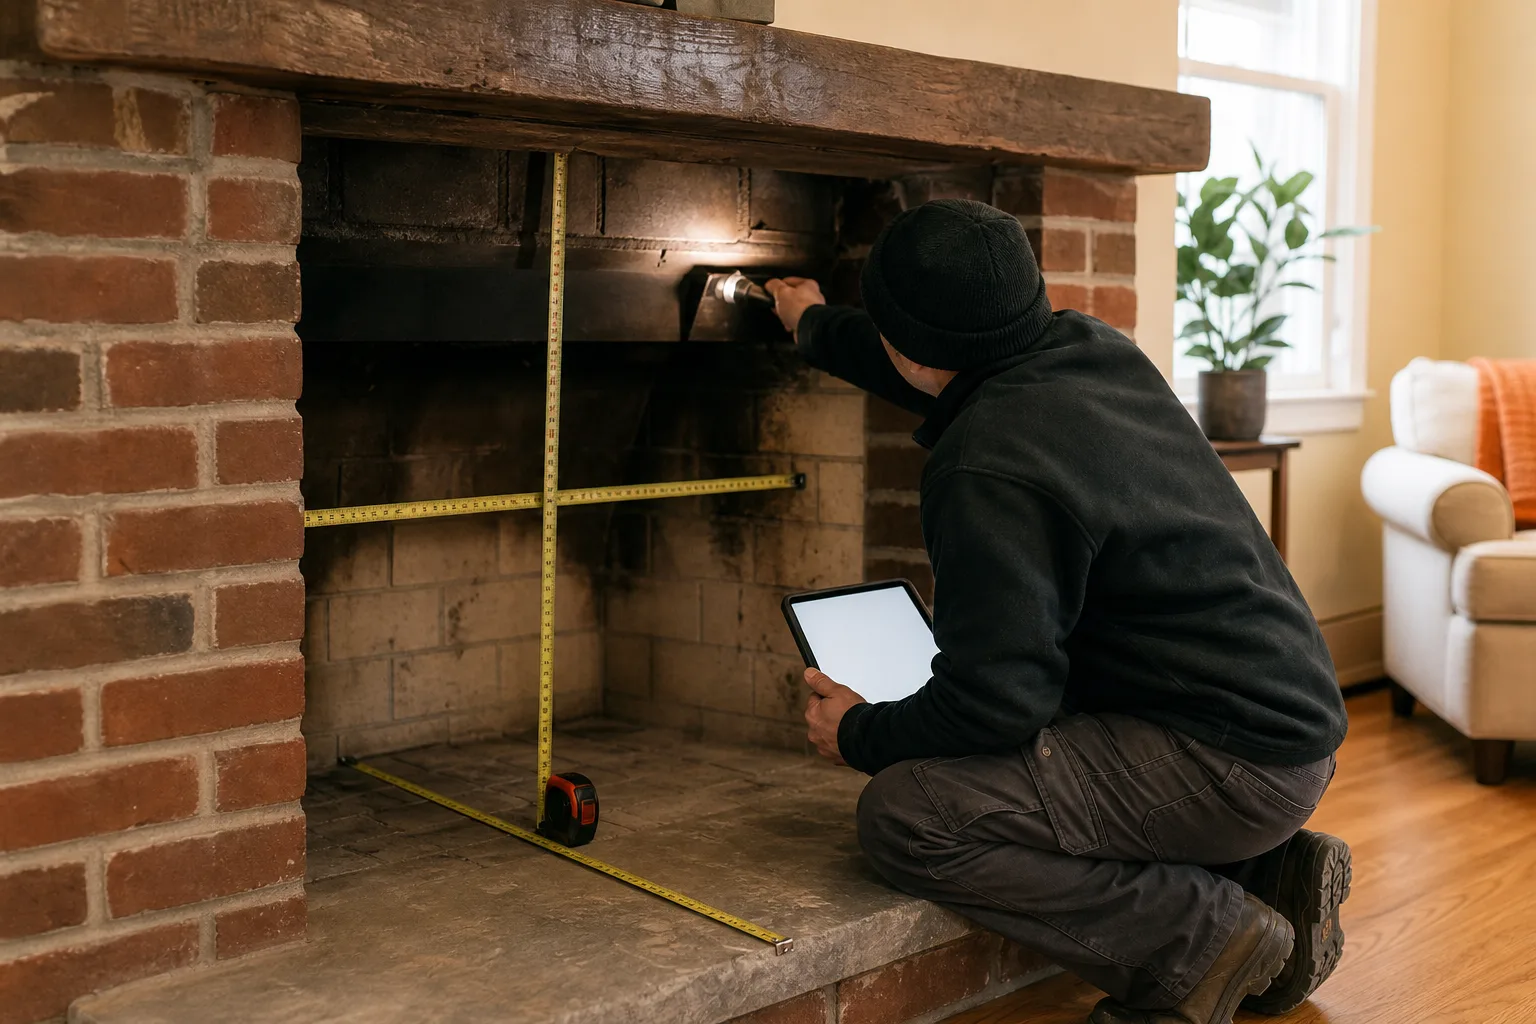
Fireplace width, height, and depth provide only part of the picture. A unit that slides neatly into the opening may still be wrong for an oversized flue, damaged liner, tight chimney offset, shallow hearth, or combustible framing hidden near the masonry.
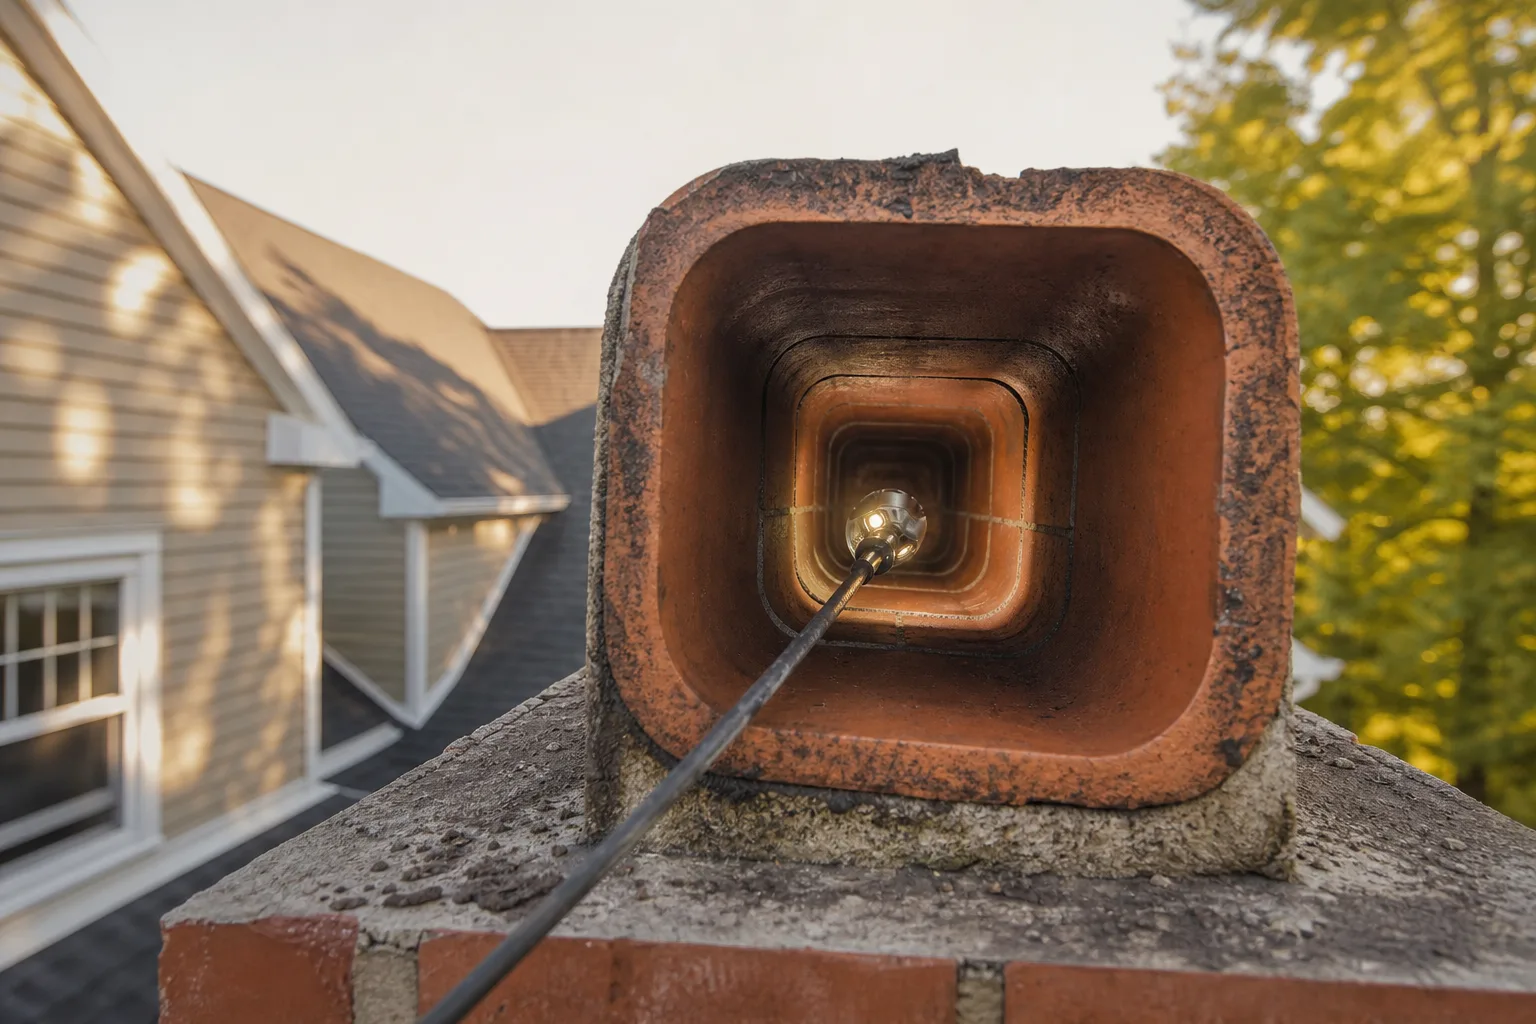
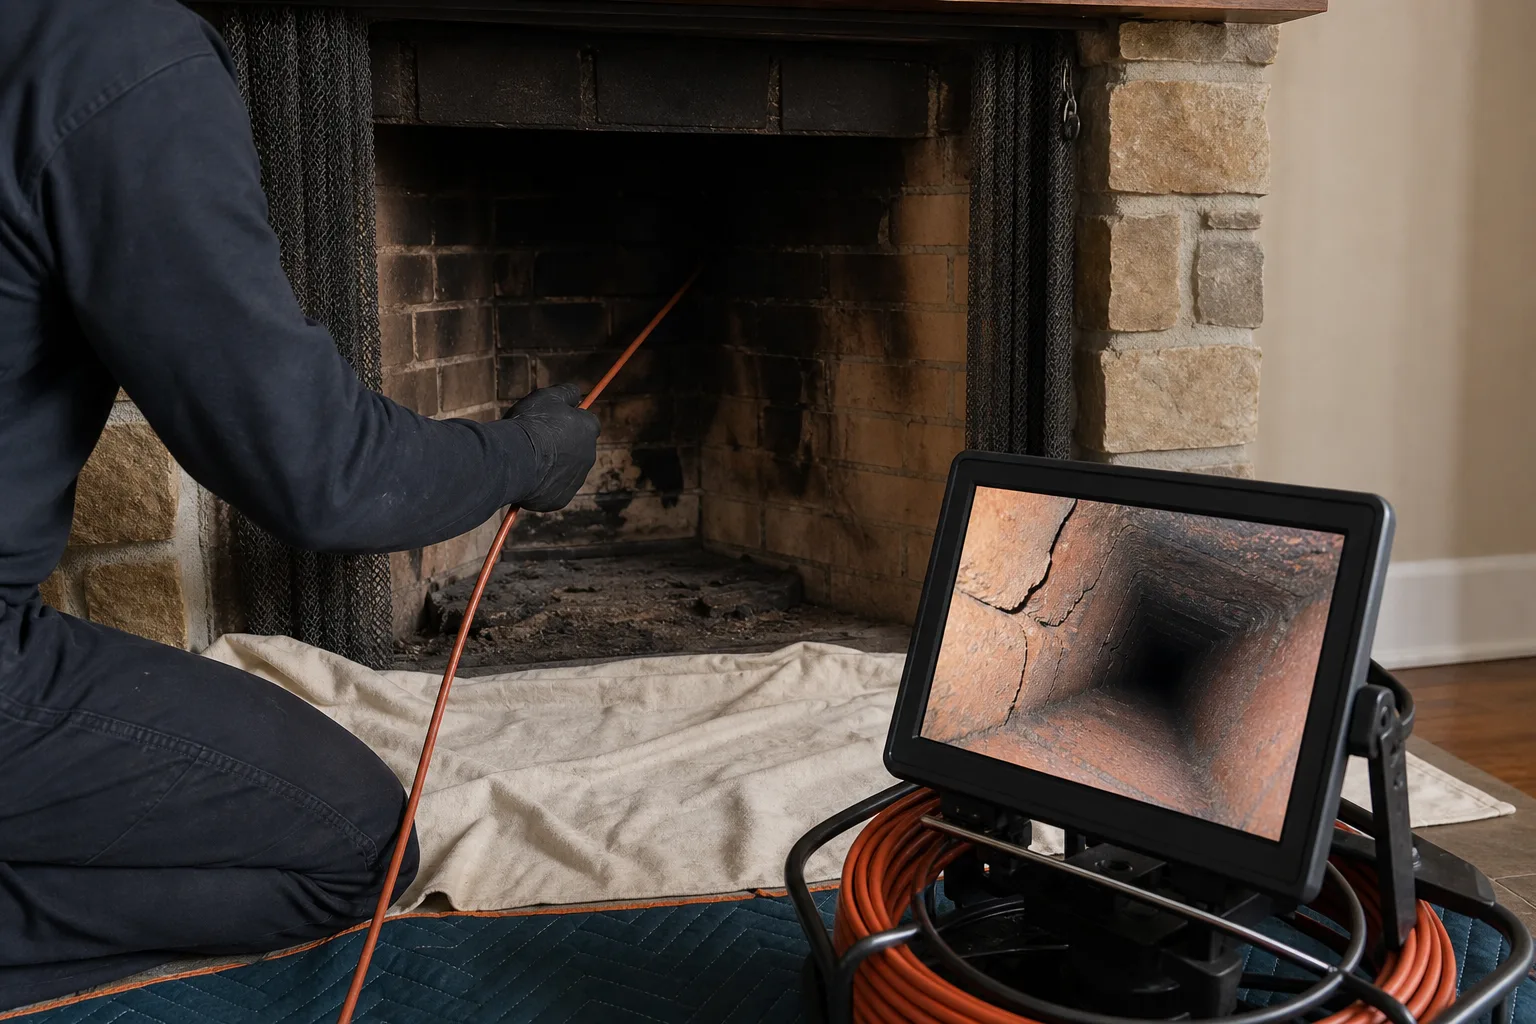
From the field: A clean-looking firebox can hide cracked flue tiles several feet above the damper. Soot, old repair mortar, and darkness make these defects difficult to see without a chimney camera.
Choosing an appliance before evaluating the chimney can force an expensive change of plan. Inspection findings may point toward a smaller model, a new liner, masonry repairs, a different fuel type, or a decision not to use the chimney for combustion venting at all.
The route from the insert collar to the top of the chimney matters as much as the visible opening. Installers need room to pass and connect venting through the damper area, around offsets, and past any old hardware or masonry projections.
Ready for a clear plan before you shop? Request a chimney and installation assessment or call (513) 655-6702.
Why a Level 2 Chimney Inspection Comes First
A Level 2 chimney inspection comes first because installing a new heating appliance changes how the fireplace and venting system will be used. The inspection establishes whether the chimney is suitable, what repairs may be needed, and which insert configurations can be installed according to their listing and instructions.
This inspection covers accessible portions of the chimney exterior and interior, including the firebox, smoke chamber, flue, existing liner, masonry, and termination. It also considers clearances to nearby combustible materials where those areas can be accessed without destructive work.
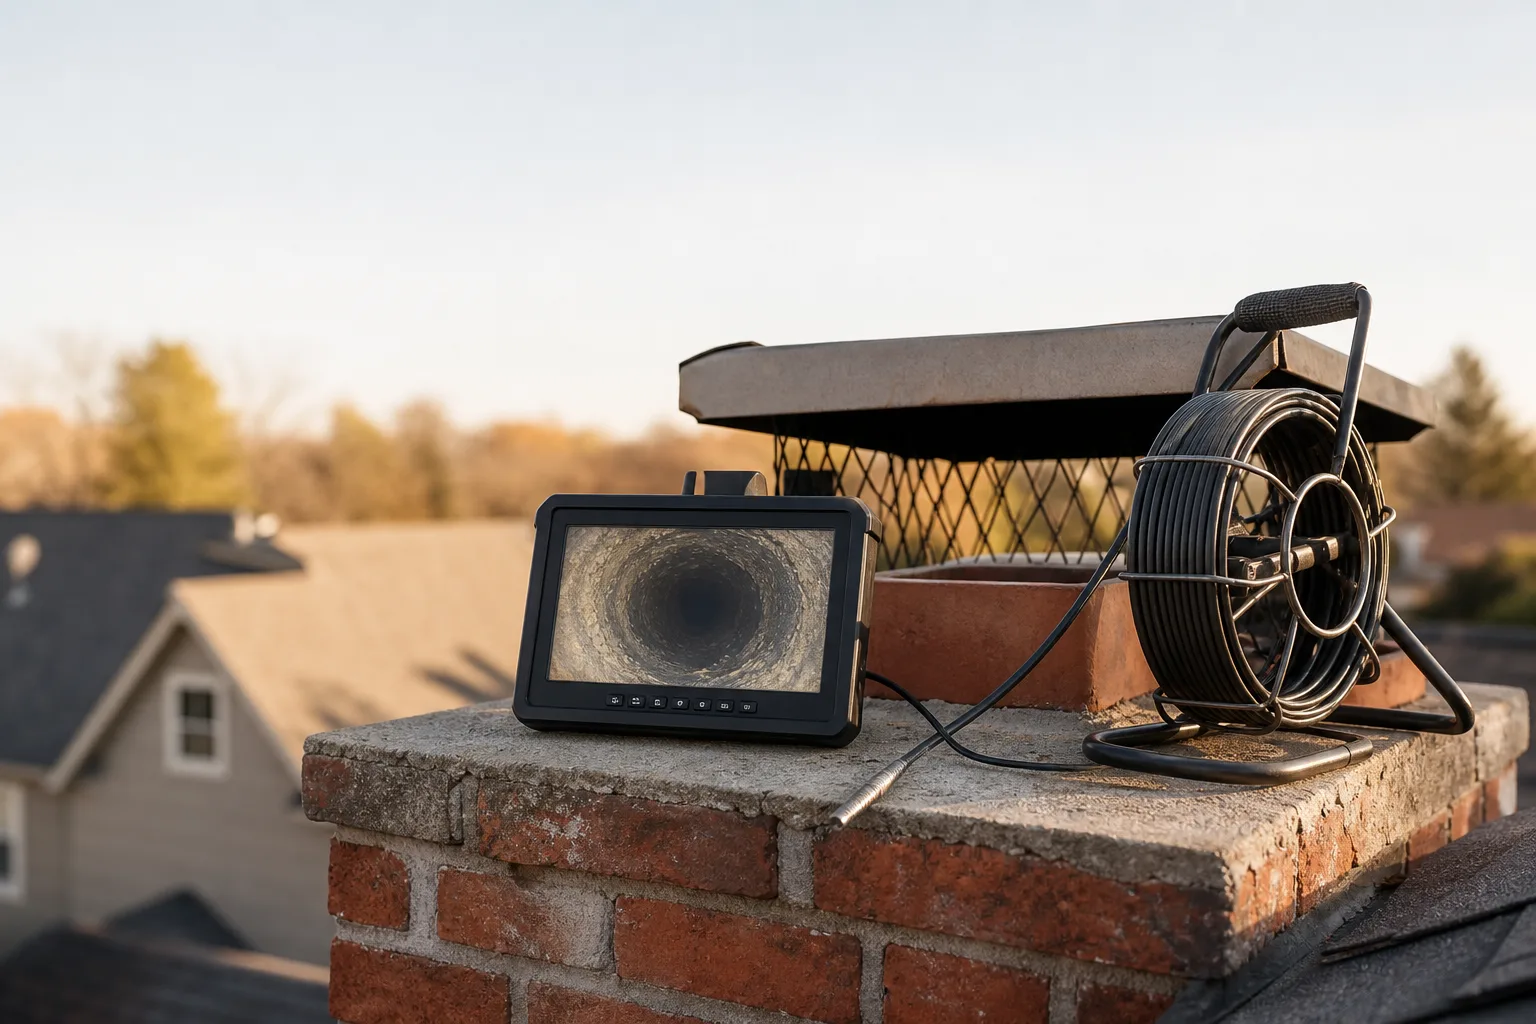
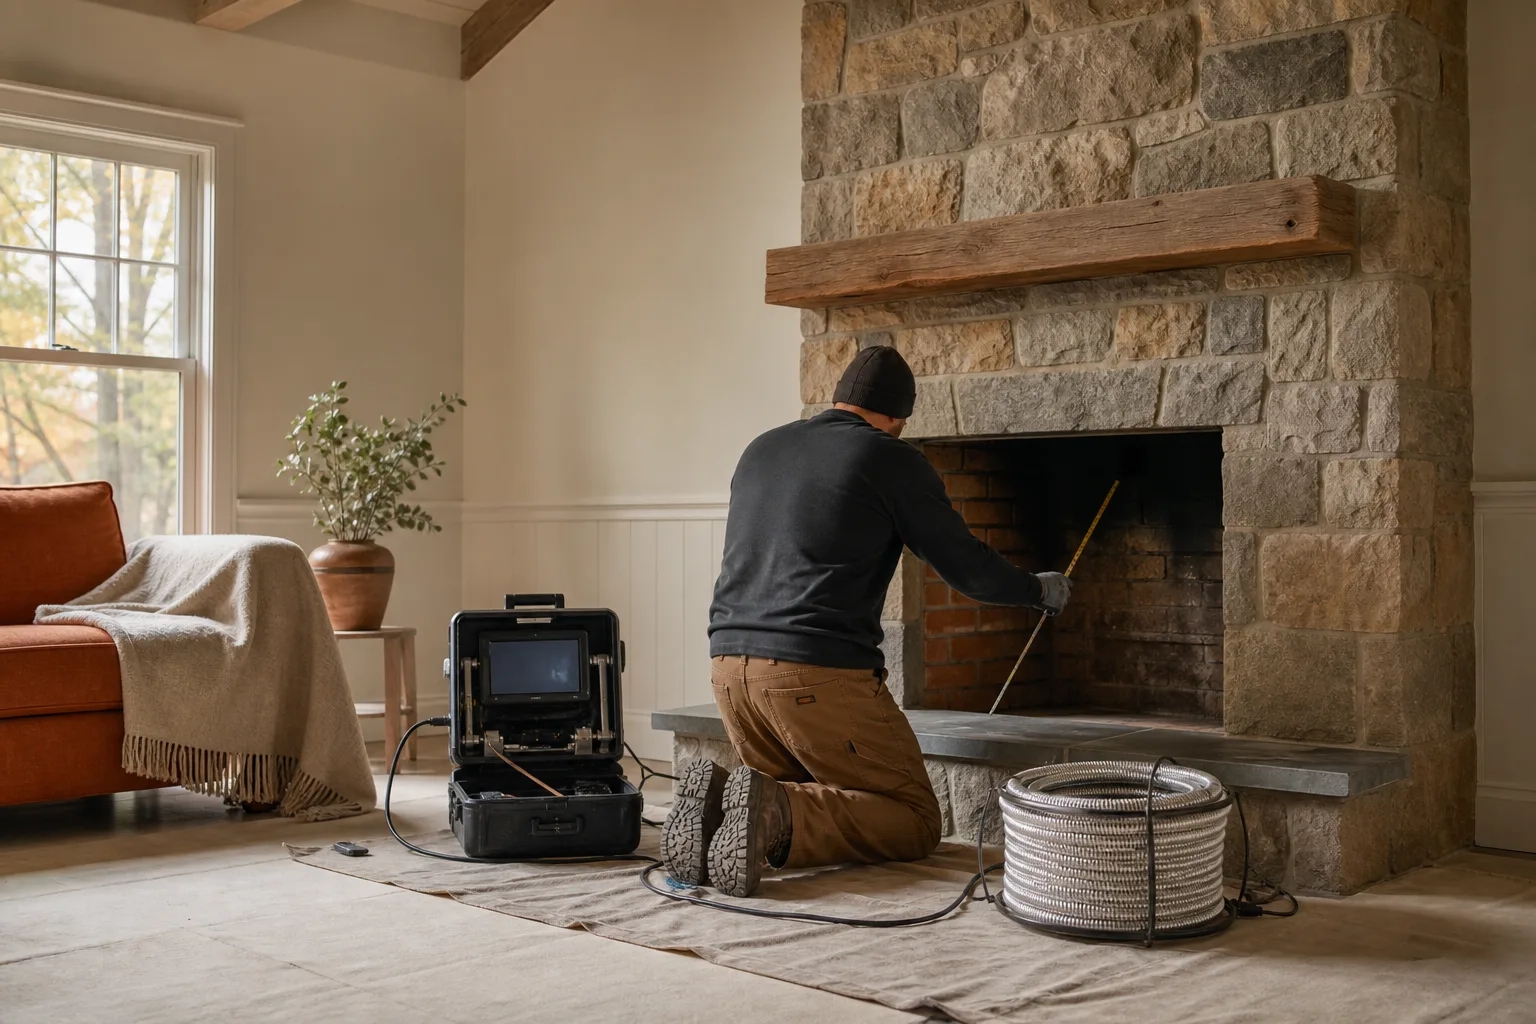
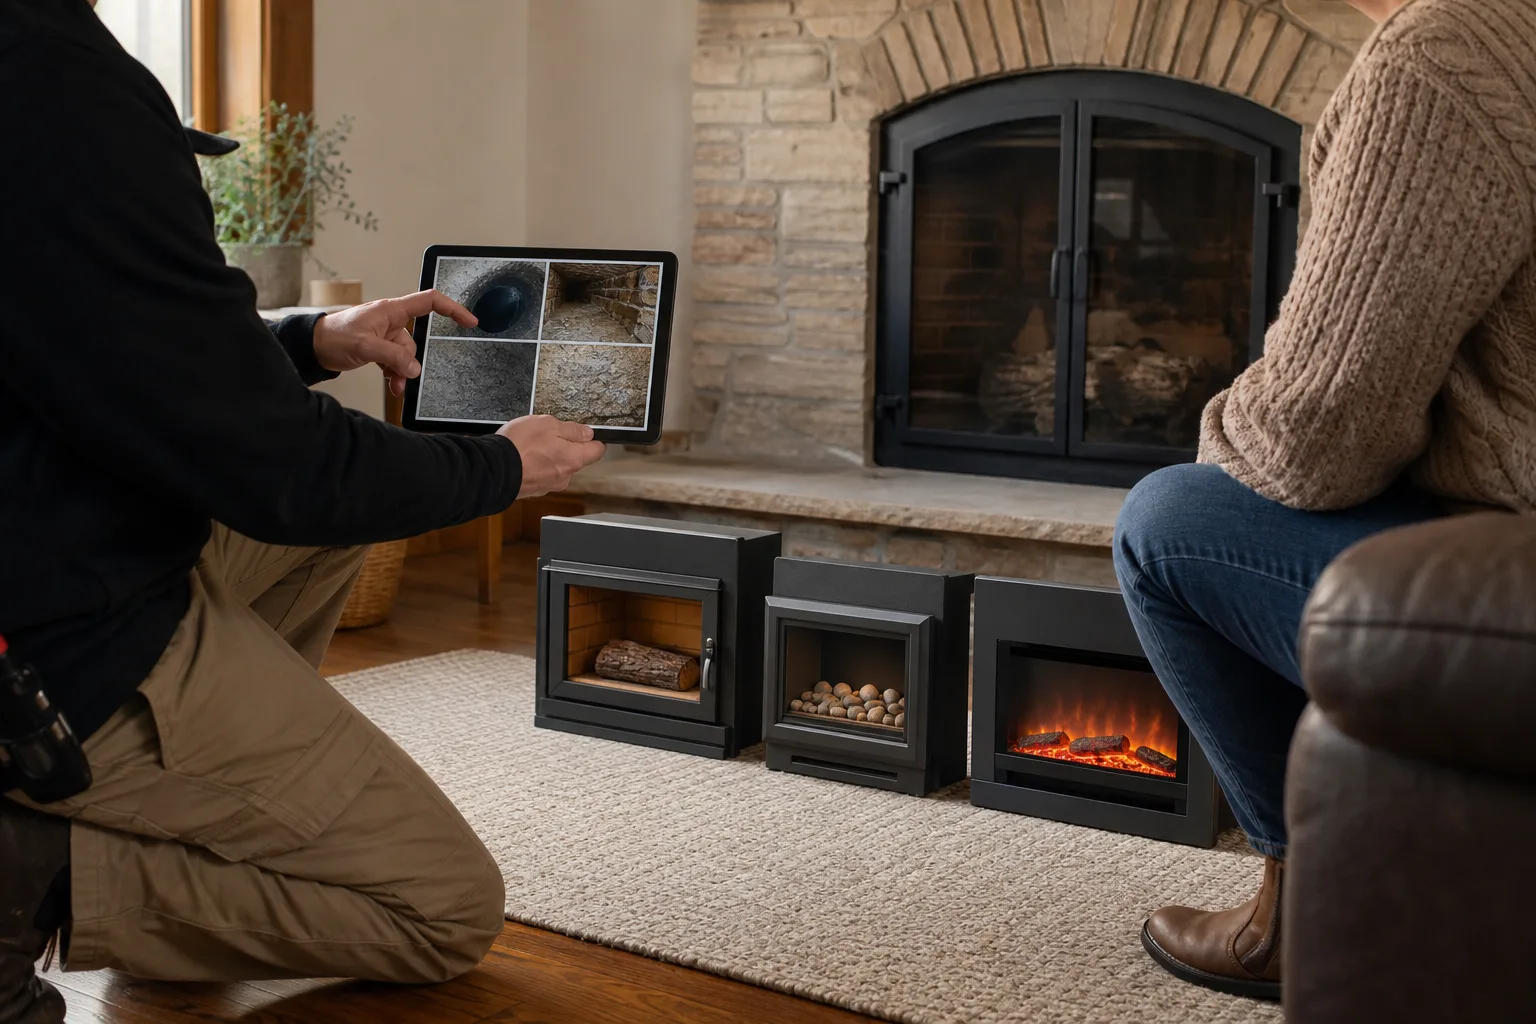
A video scan gives the technician a close view of the flue interior from bottom to top. It can reveal cracked clay tiles, open mortar joints, missing liner sections, blockages, deterioration, and old modifications that cannot be identified by looking upward from the firebox.
Safety note: A chimney that vented an open fireplace without an obvious incident is not automatically suitable for an insert. Inserts can send heat and exhaust through the flue differently, so the venting system must be evaluated for the specific appliance and fuel.
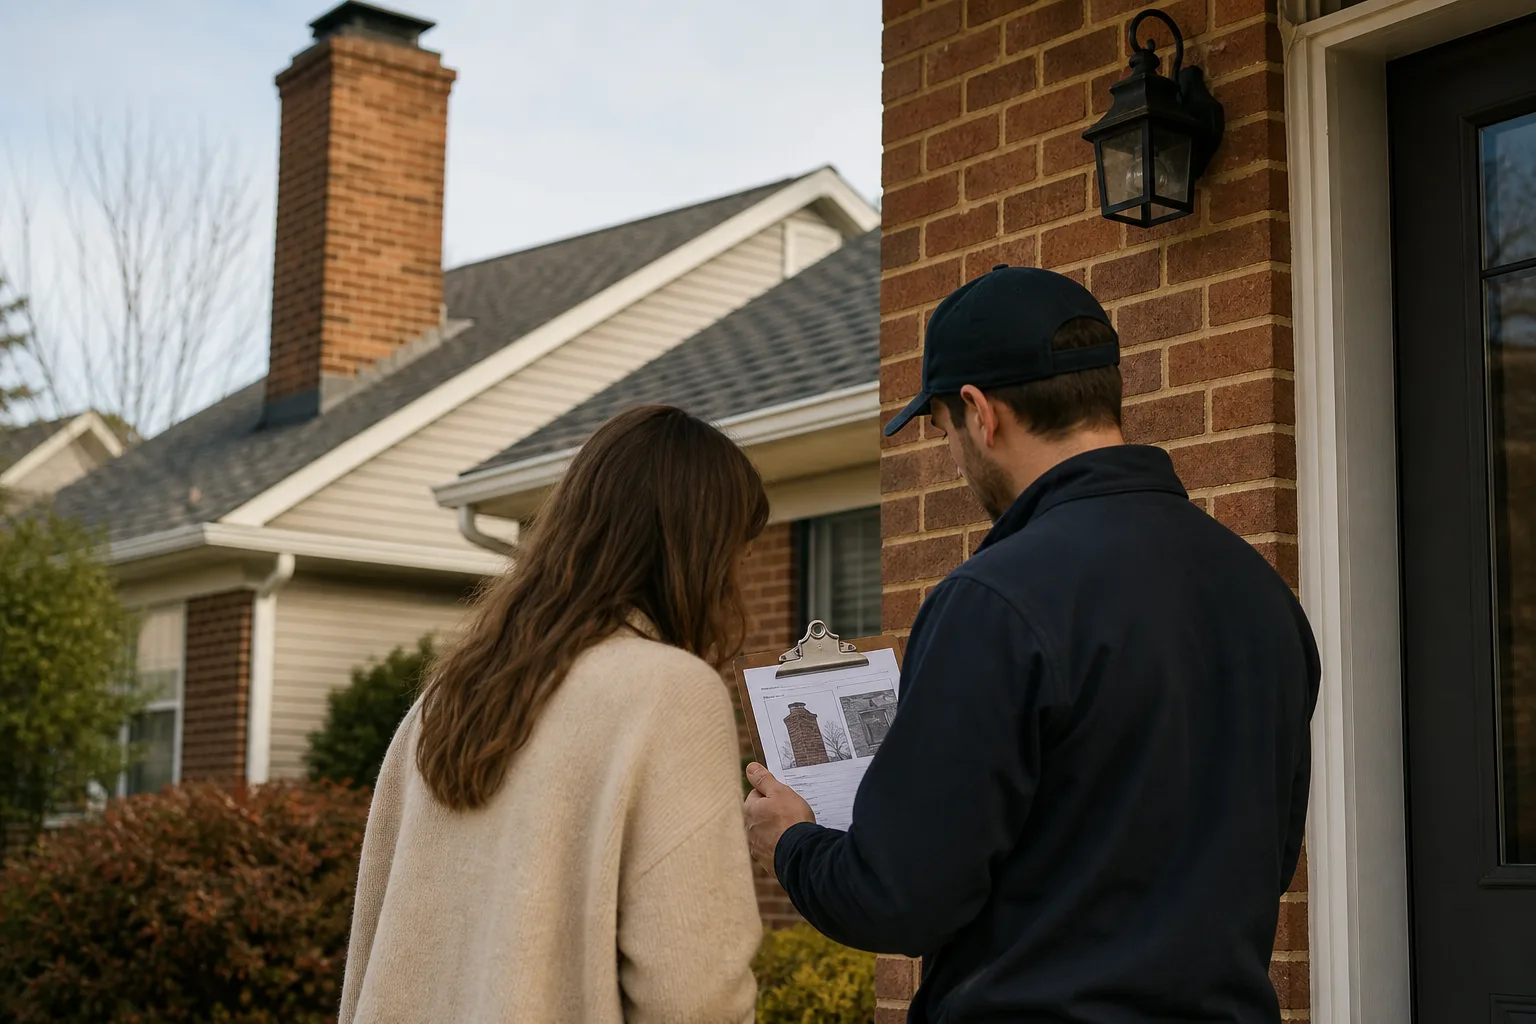
Homeowners can make a simple exterior walkaround before the appointment, although this does not replace an inspection. Stay on the ground and use binoculars rather than climbing onto the roof.
- Check the crown. Look for visible cracks, missing sections, or vegetation growing near the top.
- Check the masonry. Look for loose bricks, open mortar joints, staining, or white mineral deposits.
- Check the flashing. Look for lifted metal, gaps, or water staining where the chimney meets the roof.
- Check the cap. Look for a missing, tilted, or visibly damaged chimney cap.
- Check the fireplace. Note odors, dampness, fallen tile pieces, or loose mortar in the firebox.
Inspection findings turn an appliance idea into a defined project. They help determine whether the job needs cleaning, liner work, smoke chamber correction, masonry repair, or another venting approach before equipment is ordered.
Good to know: The useful result of a Level 2 inspection is not simply a pass or fail. It is a condition report that lets the installer match the appliance and venting plan to the chimney that is actually present.
Can the Existing Masonry Chimney Accept an Insert?
An existing masonry chimney can accept a fireplace insert installation only when the fireplace dimensions, hearth, flue route, chimney condition, clearances, and venting capacity match the selected appliance. Some chimneys are ready after cleaning, others need repair or relining, and some are better suited to a noncombustion option.
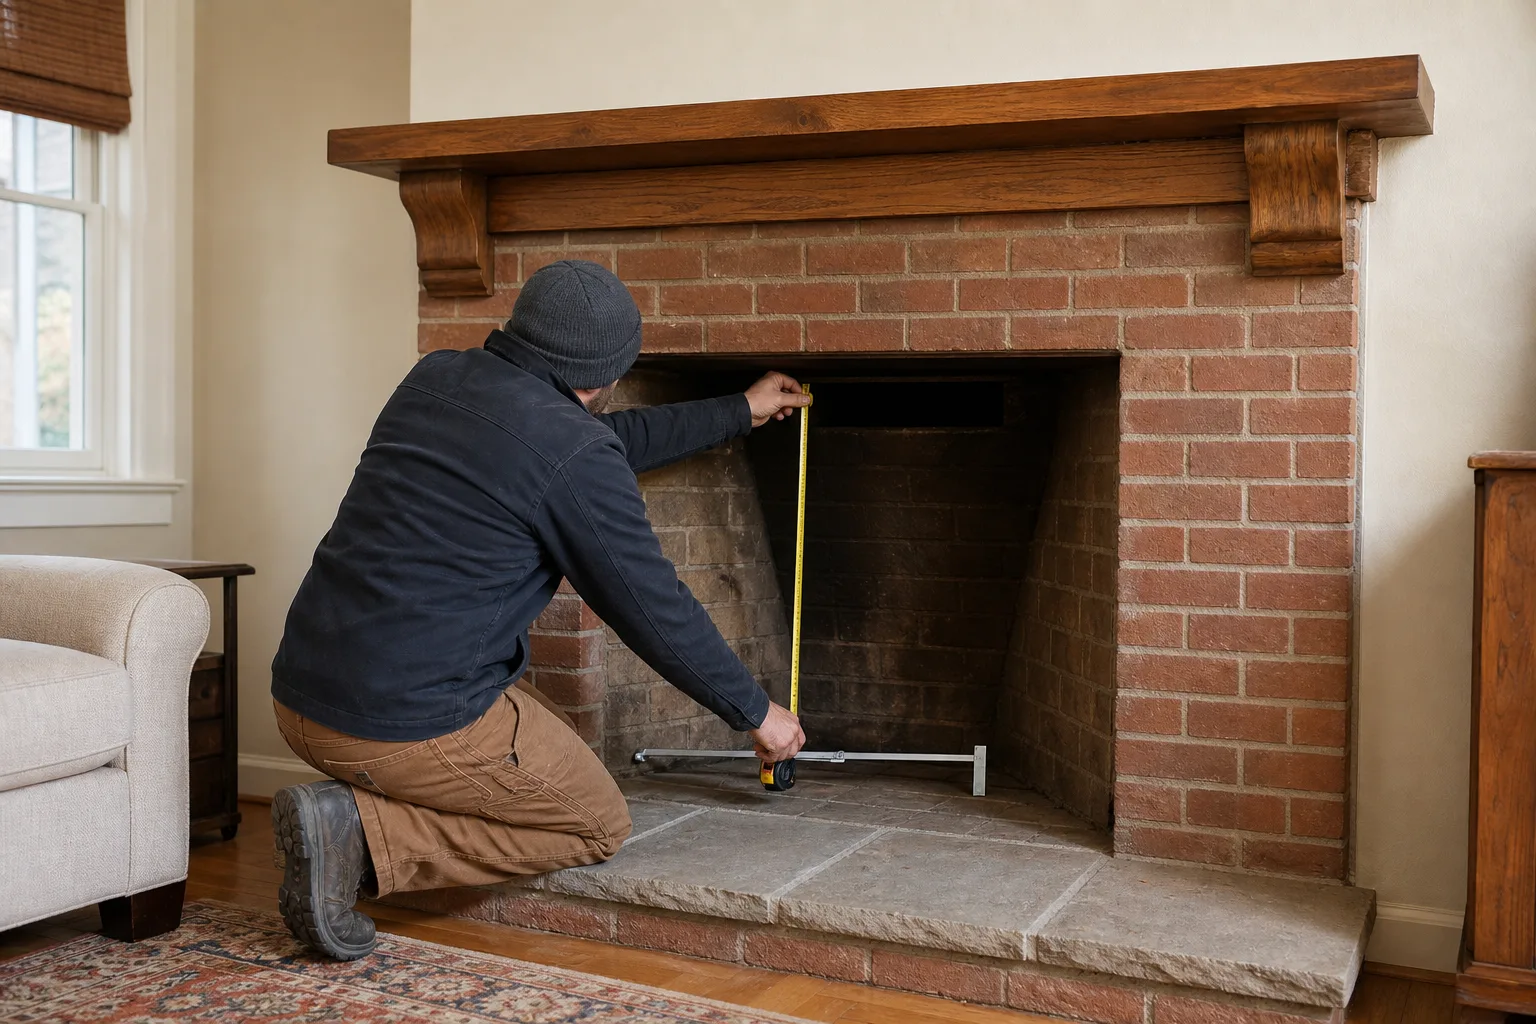
The installer measures more than the front opening. Firebox width at the front and rear, depth, height, hearth projection, chimney height, flue dimensions, offsets, and the space around the damper all affect whether the unit and its venting can be placed correctly.
Surrounding materials also matter. Wood trim, mantels, flooring, framing, and wall finishes must remain outside the clearances stated in the appliance listing and manufacturer instructions, even when the old fireplace was built or used differently.
Several conditions can stop the project until repairs are completed:
- Repair damaged masonry. Loose firebrick, open joints, or an unstable firebox cannot provide a sound enclosure.
- Correct moisture entry. Leaks can damage liners, mortar, steel components, and nearby building materials.
- Address the smoke chamber. Severe gaps, damage, or unsafe past alterations may interfere with the vent connection.
- Restore the flue. Cracked tiles, missing sections, or heavy deterioration may require a properly selected liner.
- Remove obstructions. Debris, old dampers, abandoned vent components, or masonry projections can block the planned route.
Myth vs. fact: The myth is that any insert fitting through the fireplace opening can be installed. The reality is that physical fit means little unless the appliance can also be vented, connected, serviced, and operated with its required clearances.
A chimney may be acceptable as found when its structure is sound and the proposed system satisfies the appliance requirements. Another may be usable only after relining or repair, while a chimney with severe access, moisture, or structural problems may steer the project toward an electric unit instead.
The completed system must follow the appliance listing, manufacturer instructions, local code, permit requirements, and applicable provisions of NFPA 211. Where requirements differ, the installer and code authority determine which conditions govern the work.
Want to know what your masonry fireplace can support? Schedule an on-site assessment or call (513) 655-6702.
Choosing Wood, Gas, or Electric Based on Chimney Condition
Wood, gas, and electric inserts use an existing masonry fireplace in different ways, so chimney condition can narrow the choice before appearance or controls enter the discussion. The right option is the one that can be installed with an approved vent route, required services, proper clearances, and safe access for future maintenance.
| Insert type | How it uses the fireplace and chimney | Chimney conditions that shape the installation |
|---|---|---|
| Wood | Burns inside the insert and vents combustion products through a dedicated flue liner | Liner condition, flue size, chimney height, offsets, draft, and access through the damper area |
| Gas | Usually uses approved intake and exhaust components routed through the chimney | Vent path, termination location, gas supply, electrical needs, and local permit requirements |
| Electric | Uses the firebox as an enclosure and does not vent combustion gases | Opening dimensions, hearth arrangement, nearby materials, and suitable electrical service |
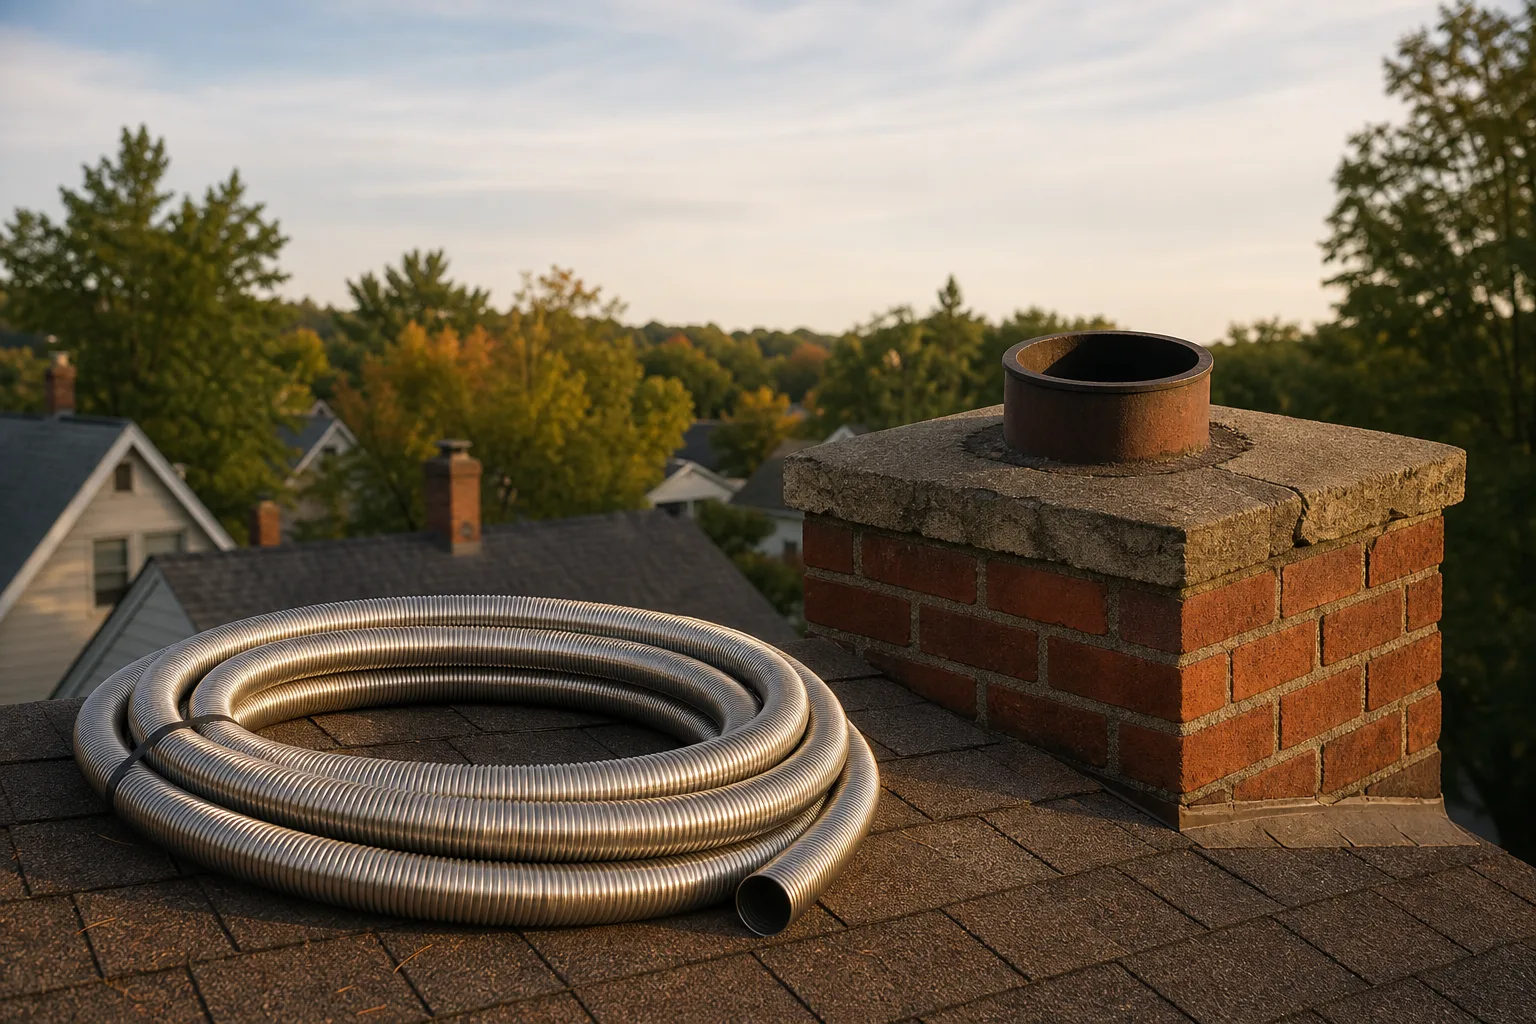
Wood inserts place the greatest demand on the existing chimney as a venting structure. They commonly need a full stainless steel liner extending from the appliance to the chimney top, with liner size and insulation determined by the appliance instructions and chimney conditions.
A wood insert should not discharge into a large, damaged, or incompatible masonry flue simply because that flue once served an open fireplace. Poor sizing or liner defects can contribute to weak draft, difficult cleaning, creosote accumulation, and heat reaching areas that were not meant to receive it.
Gas inserts may use dedicated components for exhaust and combustion air rather than relying on the original flue in the same way as a wood appliance. Feasibility still depends on an approved route through the chimney, a compliant termination, a suitable fuel supply, electrical access where required, and local rules for gas work.
An electric insert can be practical when the chimney cannot safely carry combustion exhaust or when relining and structural work would make another option unreasonable. The firebox must still provide the required dimensions and clearances, and the electrical circuit must meet the unit's installation instructions rather than relying on an extension cord.
Pro tip: Do not treat electric as an automatic fit. Some masonry fireplaces taper sharply toward the back, and an outlet placed behind the unit may interfere with insertion, airflow, or service access.
Chimney defects do not always dictate a single fuel choice, but they change the work attached to each choice. A written assessment lets you compare the appliance together with its liner, venting, repairs, utility connections, and code requirements.
Need help choosing an insert your chimney can actually support? Request an inspection and installation assessment or call (513) 655-6702.
Liner Sizing and Relining for Fireplace Insert Installation
A safe fireplace insert installation needs a venting path sized for the appliance, not simply whatever flue is already above the firebox. An oversized flue can cool exhaust too quickly and weaken draft, while cracked tiles, open joints, or an incompatible liner can allow heat and combustion byproducts to reach places they should not.
Liner diameter is determined by the appliance listing and manufacturer instructions, along with chimney height, flue shape, offsets, and the route from the insert collar to the termination. A technician also needs to confirm that the proposed liner can pass through the damper area and any tight bends without being crushed, sharply kinked, or reduced improperly.
Myth vs. fact: A large masonry flue does not automatically provide better venting. The reality is that inserts usually perform best with a continuous liner matched to the appliance and installed as a complete system.
Relining may be required when clay tiles are cracked, joints are missing mortar, sections have shifted, or the original flue is too large for the appliance. A new liner may also be necessary after a fuel change, since a flue built for an open wood fire may not be compatible with the exhaust characteristics of a wood or gas insert.
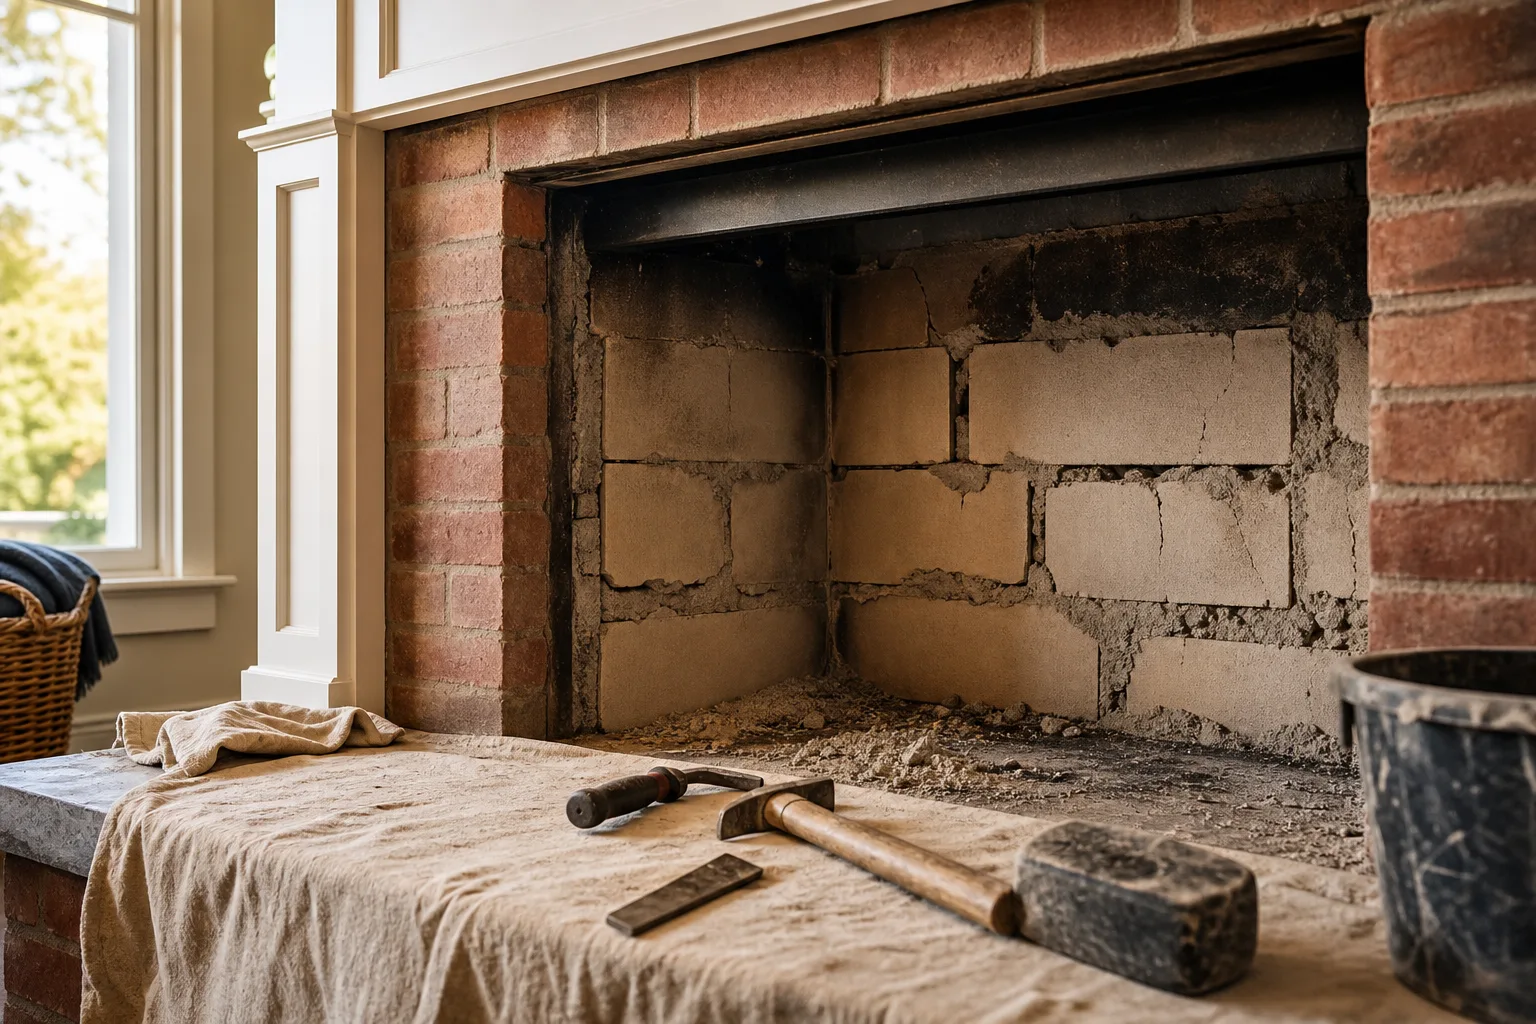
The liner itself is only part of the work. Installation may require chimney cleaning, removal of old damper components, smoke chamber repair, insulation around the liner, or clearing mortar, nesting material, and past repair debris from the flue. Tight offsets sometimes call for additional access or masonry work rather than forcing a liner through and hoping it remains intact.
Before work begins, you can make a useful ground level check without climbing onto the roof:
- Check the crown. Use binoculars to look for open cracks, missing sections, or plants growing at the top.
- Inspect the cap. Look for a loose, tilted, rusted, or missing chimney cap.
- Scan the masonry. Watch for displaced bricks, open mortar joints, white staining, or dark wet areas.
- Look near the flashing. From the ground or attic, check for water stains where the chimney passes through the roof.
These observations cannot determine liner condition, but they can flag moisture or masonry problems that may affect the relining plan.
Safety note: Do not climb onto the roof or lower a camera, brush, or weight into the chimney. Loose tiles and concealed offsets can trap tools, and an unprotected roof edge is not a safe inspection point.
Ready to confirm the venting plan? Request an inspection and written installation assessment or call (513) 655-6702.
What Happens During the Installation
A fireplace insert installation begins with protecting the room, preparing the firebox, and completing any chimney repairs identified during inspection. The crew then installs the approved liner or vent components, positions the appliance, connects the required services, and tests the finished system before explaining operation and maintenance.
Floor coverings and dust control go down first because removing an old damper, cleaning the smoke chamber, or opening masonry can release soot and debris. The firebox may need loose material removed, high spots corrected, or damaged masonry repaired before the insert can sit level and maintain its listed clearances.
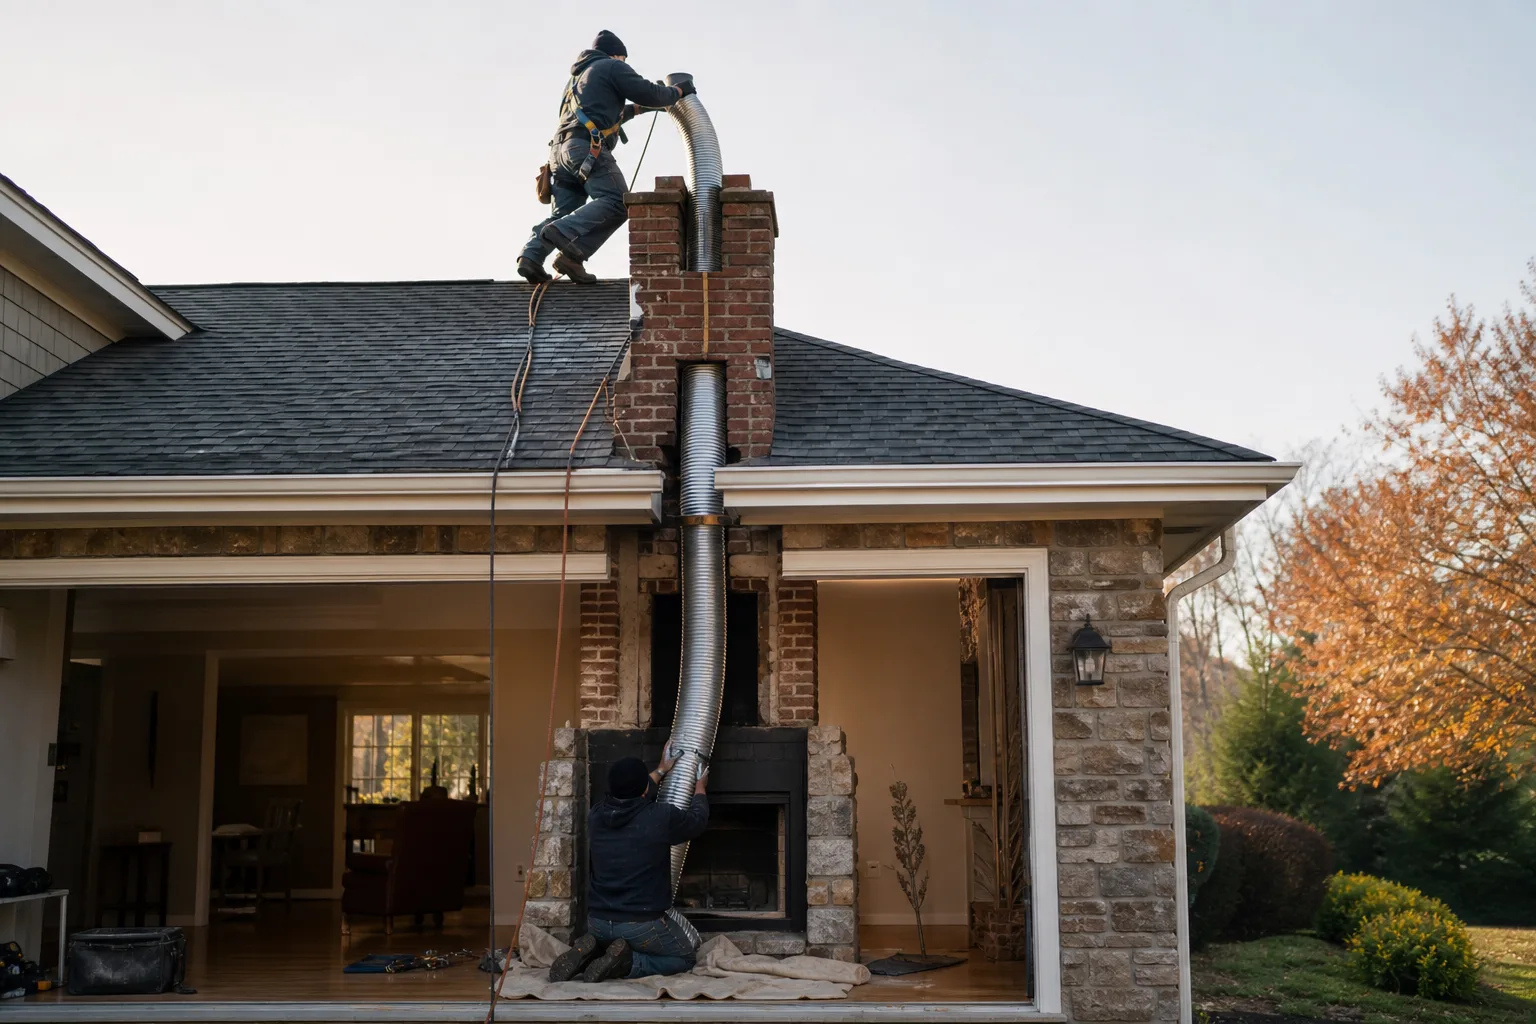
The venting is normally installed before the appliance is set permanently. For a wood unit, that often means lowering a stainless steel liner from the top and connecting it directly to the flue collar. A gas unit may use separate intake and exhaust components, while an electric unit does not need combustion venting but still requires suitable electrical service and space around the cabinet.
From the field: Damper throats are often tighter than the fireplace opening suggests. A liner that appears easy to route from the roof may meet a steel frame, masonry ledge, or abrupt offset just above the firebox, changing how the connection must be made.
Once the insert is positioned, the crew checks hearth projection and clearances to the mantel, trim, flooring, and nearby combustible materials. The surround panel closes the visual gap around the unit, but it cannot hide an unsafe clearance or substitute for required masonry protection.
| Installation component | What the crew confirms |
|---|---|
| Liner or venting | Correct size, secure connections, approved termination, and an unobstructed route |
| Electrical supply | Proper receptacle or approved connection for blowers, controls, or an electric insert |
| Gas supply, when applicable | Approved piping, shutoff access, leak testing, and code compliant routing |
| Hearth and surround | Required projection, stable support, listed clearances, and a clean fit |
| Chimney top | Secure cap or termination, weather protection, and correct liner support |
Final checks depend on the appliance. They may include verifying draft, checking gas pressure and vent operation, testing controls and blowers, confirming clearances, and watching the appliance through a full startup and shutdown cycle. The homeowner should also receive a practical review of fuel loading, control settings, ash handling, shutoff procedures, and signs that warrant service.
Access can change the schedule. Steep roofs, narrow flues, chimney offsets, concealed masonry damage, electrical corrections, or new gas piping may require added work or coordination with permitted trades.
Good to know: A surround panel is usually one of the last pieces installed. Setting it early can conceal the flue connection and make proper inspection or testing harder.
Want the chimney and appliance plan reviewed together? Schedule an on-site assessment or call (513) 655-6702.
The Installed Cost Is More Than the Insert Price
The price on the appliance covers only one part of the finished project. Total installed cost can include a Level 2 inspection, chimney cleaning, liner materials, insulation, masonry repairs, labor, permits, electrical work, gas piping, termination components, and finish work around the opening.
A straightforward electric unit in a sound, correctly sized opening generally has a different scope from a combustion appliance requiring a full liner and chimney repairs. Costs can also rise when crews encounter damaged clay tiles, a blocked damper throat, difficult roof access, water damaged masonry, or a gas line that does not reach the fireplace.
Written proposals are most useful when they separate the appliance from the work needed to install it safely. Compare what each scope says about:
- Inspection findings. The proposal should identify known chimney defects and required corrections.
- Venting materials. It should name the liner or vent configuration, insulation where required, and termination method.
- Preparation and repairs. Cleaning, damper modification, smoke chamber work, and masonry correction should be stated clearly.
- Utility connections. Electrical and gas work should include who performs it and whether permits are needed.
- Testing and handoff. The scope should cover final operation checks and homeowner instructions.
Pro tip: Ask what is excluded as well as what is included. Finish carpentry, mantel changes, hearth extension work, paint touchups, permits, and utility upgrades can otherwise appear late in the project.
The lowest appliance price does not necessarily produce the lowest installed total. A model that requires a different liner, more clearance work, or major changes at the damper may cost more to complete than an appliance better matched to the existing chimney.
Before selecting an insert, request an inspection and installation assessment or call (513) 655-6702. You will have a clearer appliance choice, a written scope, and fewer surprises once work begins.
Symptom checker
What is your chimney doing?
Tap the closest match for an honest first answer.