



On this pageHow to Choose Chimney Repair Near Me7 sections+6
- How to Choose Chimney Repair Near Me
- Signs Your Chimney May Need Repair
- Why a Chimney Inspection Comes Before the Estimate
- Common Chimney Repairs and What They Fix
- When Repair Is Enough and When Rebuilding Makes Sense
- Questions to Ask Before Hiring a Chimney Contractor
- How to Protect the Chimney After Repairs
Quick answer
Choose a chimney repair professional who inspects the entire system, documents damage with photos, explains the cause, and provides a detailed written scope. Confirm appropriate insurance, code awareness, access plans, cleanup responsibilities, materials, and warranty terms before approving the work.
How to Choose Chimney Repair Near Me
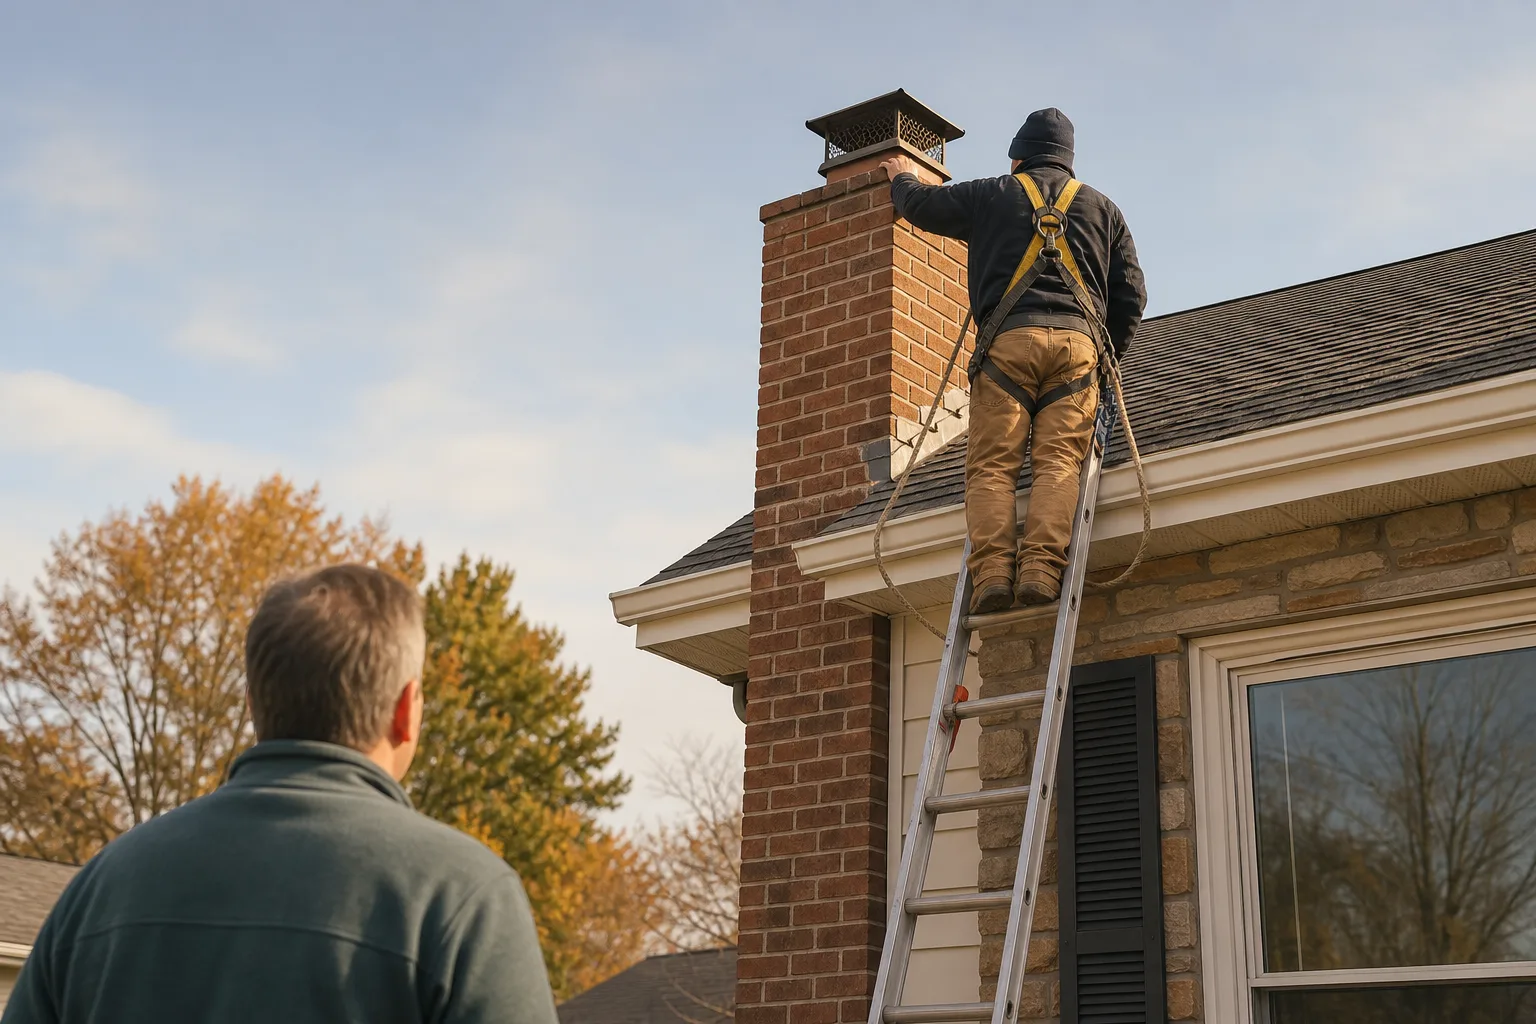
A search for chimney repair near me should lead to a professional who inspects the entire chimney system, explains why the damage occurred, and puts the proposed work in writing. A good contractor looks beyond the first cracked joint or ceiling stain. The goal is to fix the source, not cover the symptom until the next hard rain.
The best way to choose chimney repair near me is to compare the quality of the inspection and the clarity of the repair plan. Ask whether the contractor carries appropriate insurance and how the work will meet local building requirements. The contractor should also be able to explain where NFPA 211 guidance applies to clearances, venting, liners, and masonry repairs.
Use this quick checklist while reviewing the chimney from the ground. Binoculars can help, but stay off the roof unless you have the right access and fall protection.
- Check the crown. Look for open cracks, missing sections, or low areas where water may collect.
- Check the cap. Confirm that it appears secure, straight, and large enough to shield the flue opening.
- Check the flashing. Look for lifted edges, loose sealant, rust, or gaps where the chimney meets the roof.
- Check the masonry. Watch for loose bricks, washed out joints, white staining, or a chimney that appears to lean.
- Check the ground. Pieces of mortar, brick faces, tile, or metal may have fallen from an area you cannot see.
Compare written estimates line by line rather than looking only at the final price. The scope should identify the repair method, materials, work area, roof access, protection for shingles and landscaping, debris removal, cleanup, and warranty terms. Chimney height and staging needs can change the job substantially, even when two chimneys show similar damage from the yard.
Pro tip: Ask the contractor to mark repair areas on photos. A few clear images tied to specific written recommendations are more useful than a folder of unlabeled closeups.
Give more weight to plain explanations and specific findings than to pressure tactics. Statements such as “the whole thing is bad” are not a repair plan, and an unsupported claim of immediate danger should prompt questions. A reliable professional can show what is damaged, describe the likely cause, and explain what may happen if you wait.
Ready for a clear repair plan? Request an inspection and written estimate, or call (513) 655-6702 to discuss what you are seeing.
Signs Your Chimney May Need Repair
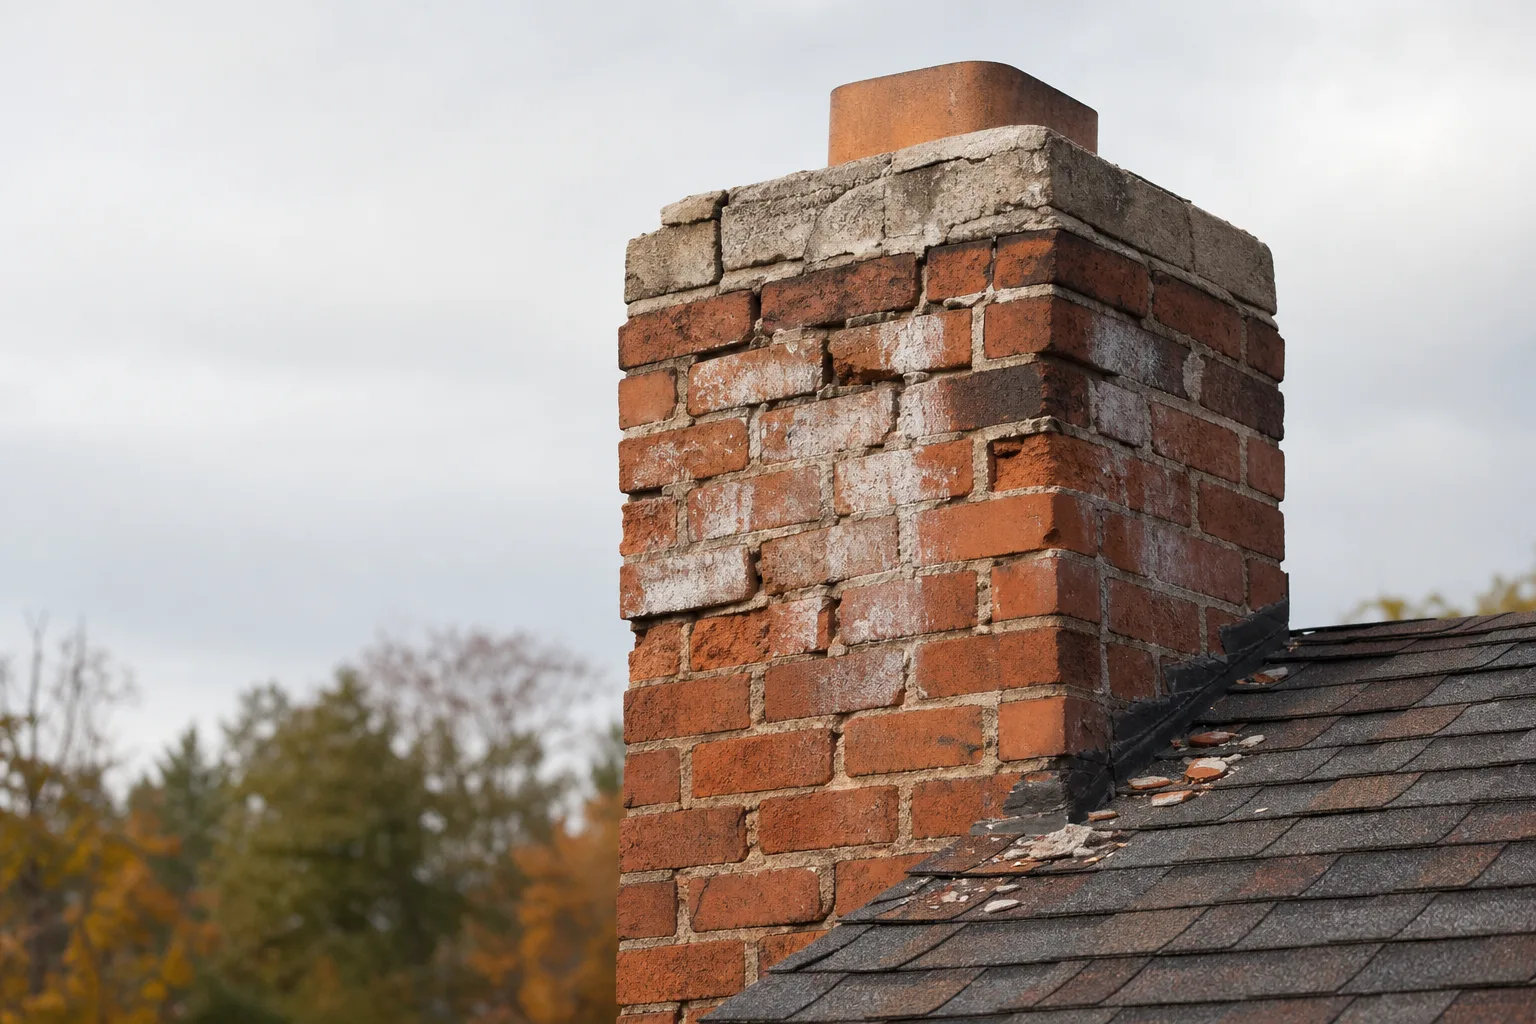
Common signs of chimney trouble include loose bricks, cracked mortar joints, leaning masonry, damaged flashing, water stains, and fragments of brick or mortar around the house. Some deterioration is easy to see from the driveway, while damage on the roof side of the stack may stay hidden. Changes after winter or a heavy storm deserve a closer look.
| What you notice | Possible source | How to respond |
|---|---|---|
| Loose bricks or fallen masonry | Freeze and thaw damage, failed mortar, or movement | Keep people away and arrange prompt inspection |
| Water near the fireplace | Crown, cap, flashing, or masonry leak | Limit use and trace the entry point |
| Smoky odors or poor draft | Flue deposits, damage, blockage, or pressure problems | Stop use if smoke enters the room |
| Rust on the damper or firebox | Ongoing moisture entry | Inspect the upper chimney and interior components |
| Gaps or broken tile in the flue | Liner deterioration or fire damage | Do not use the system until evaluated |
Indoor clues often appear before masonry begins falling. Watch for smoky odors during damp weather, dripping in the firebox, water stains near the chimney chase, rusted dampers, and new draft problems. Visible gaps in the firebox, smoke chamber, or flue can allow heat and combustion gases to reach areas that were never intended to contain them.
White staining on brick often shows that water is moving through the masonry and leaving mineral deposits behind. Dark staining may come from soot, creosote, or repeated moisture exposure. Neither stain identifies the full cause by itself, but both provide useful evidence during an inspection.
Safety note: Stop using the fireplace if masonry is falling, the chimney is leaning, smoke spills into the room, or you can see damaged flue tiles. Signs of a previous chimney fire, including warped metal, cracked liner sections, or unusual glazed deposits, also call for prompt professional evaluation.
Possible carbon monoxide entry requires immediate action. Leave the affected area, follow the instructions for your carbon monoxide alarm, and contact emergency services or the appropriate utility if exposure may be occurring. A chimney repair appointment is not a substitute for an emergency response.
Small cracks do not always mean the chimney needs rebuilding, but location and depth matter. A shallow joint crack near the top may be a localized weather problem, while a stair step crack that continues through several courses may point to movement. Until safe venting and structural stability are confirmed, avoid using a fireplace connected to visibly damaged masonry or a deteriorated flue.
Why a Chimney Inspection Comes Before the Estimate
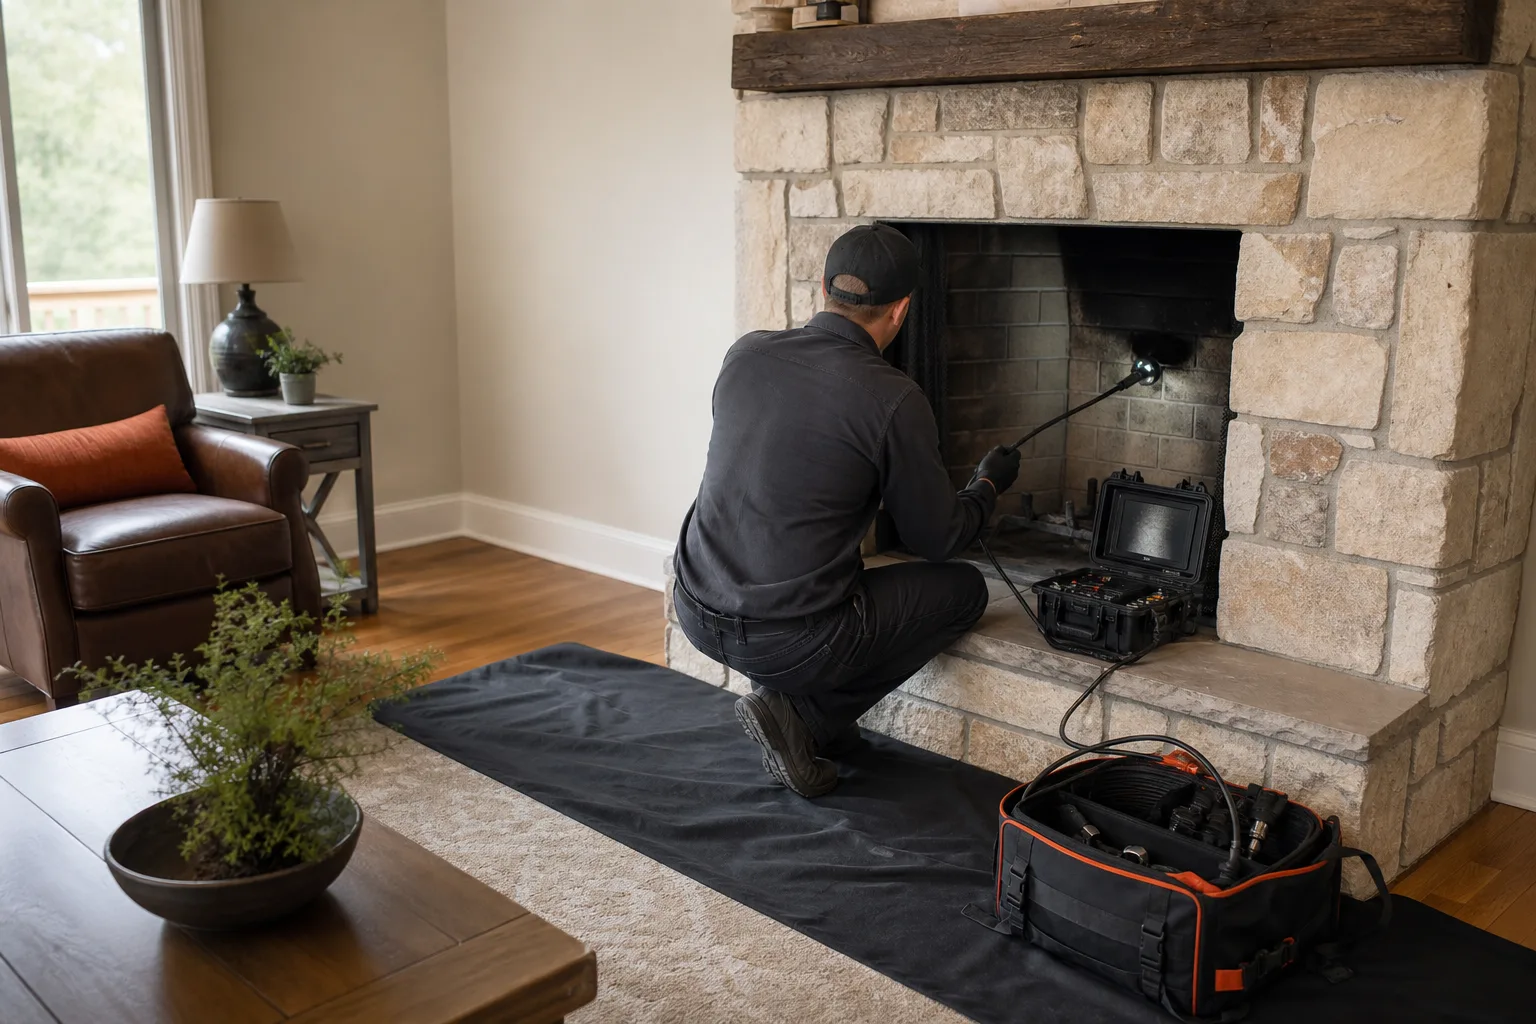
A chimney inspection comes first because visible wear rarely shows the full extent or source of the damage. The same ceiling stain could come from failed flashing, a cracked crown, porous masonry, or a loose cap. An estimate prepared without tracing the leak may price a patch that leaves the actual opening untouched.
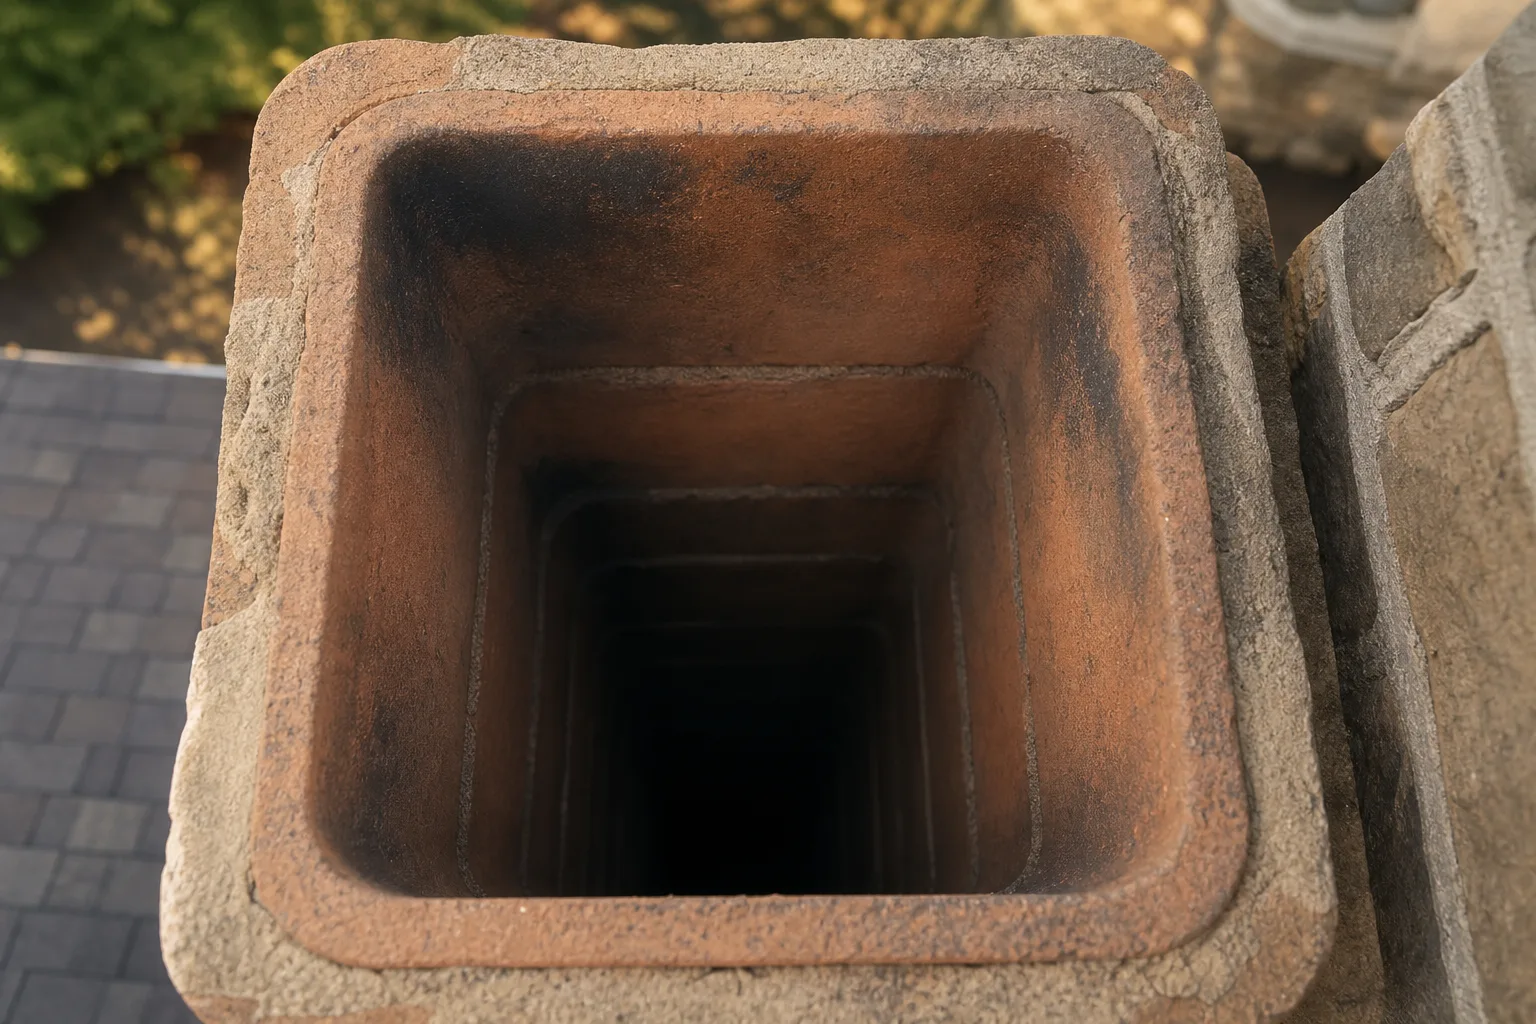
The inspection should cover the exterior stack, crown, cap, flashing, accessible masonry, firebox, smoke chamber, damper, and flue. Surface mortar may look tired while the liner remains sound, or the exterior may look acceptable while broken flue tiles sit inside. Separating those conditions prevents unnecessary work and helps keep hidden defects out of the final surprise list.
From the field: Technicians commonly find that water enters near the top, travels along masonry or framing, and appears indoors several feet from the opening. The wet spot is evidence, but it is not always the repair location.
Repair recommendations should connect the damage to a cause. Repointing joints without correcting a failed crown may buy only a short pause, while sealing an interior stain does nothing for flashing that lifts whenever the roof moves. Movement, drainage, appliance changes, and repeated water entry all need to be considered before materials are selected.
Chimney height and roof access affect equipment, setup, and working time. Construction type matters too, since a masonry fireplace, factory built system, and appliance vent do not share the same repair methods. The scope also changes with the damage location, the condition of the interior flue, and whether walls or roof framing limit access.
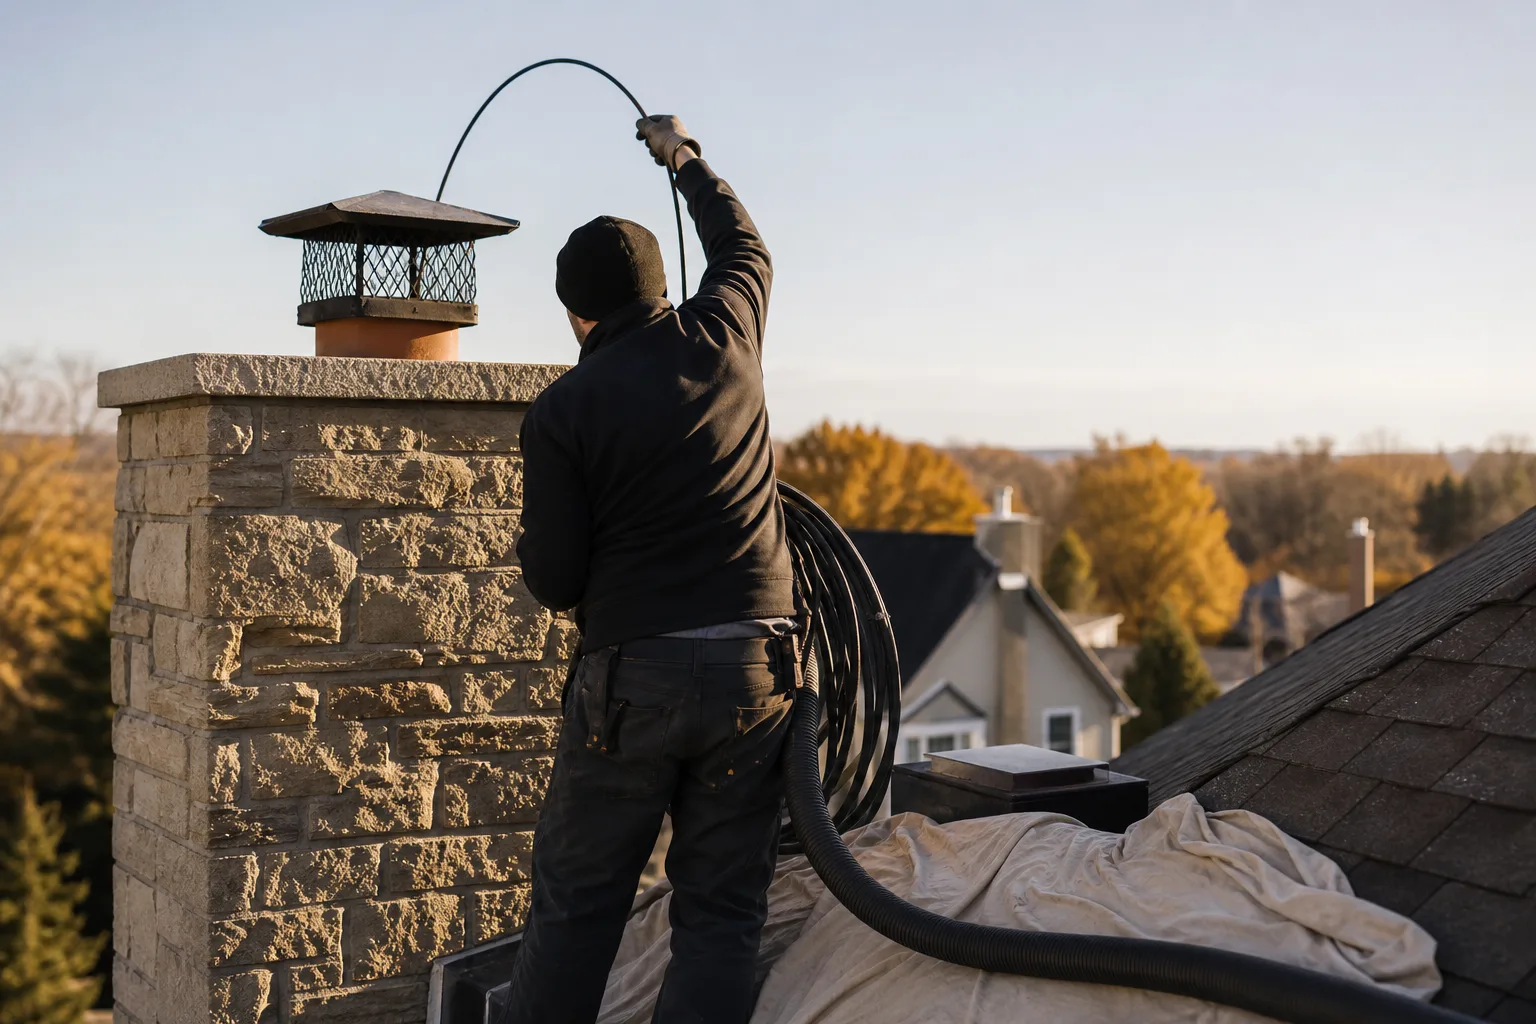
A basic visual inspection may not be enough after a suspected chimney fire, a property transfer, or a change to the heating system. NFPA 211 describes inspection levels based on the circumstances, and a Level 2 inspection commonly includes video scanning of accessible flue interiors. More involved access may be appropriate when hidden damage is suspected and cannot be evaluated through normal openings.
Need the cause identified before approving work? Schedule a chimney inspection, or call (513) 655-6702 for a straightforward review of the problem.
Common Chimney Repairs and What They Fix
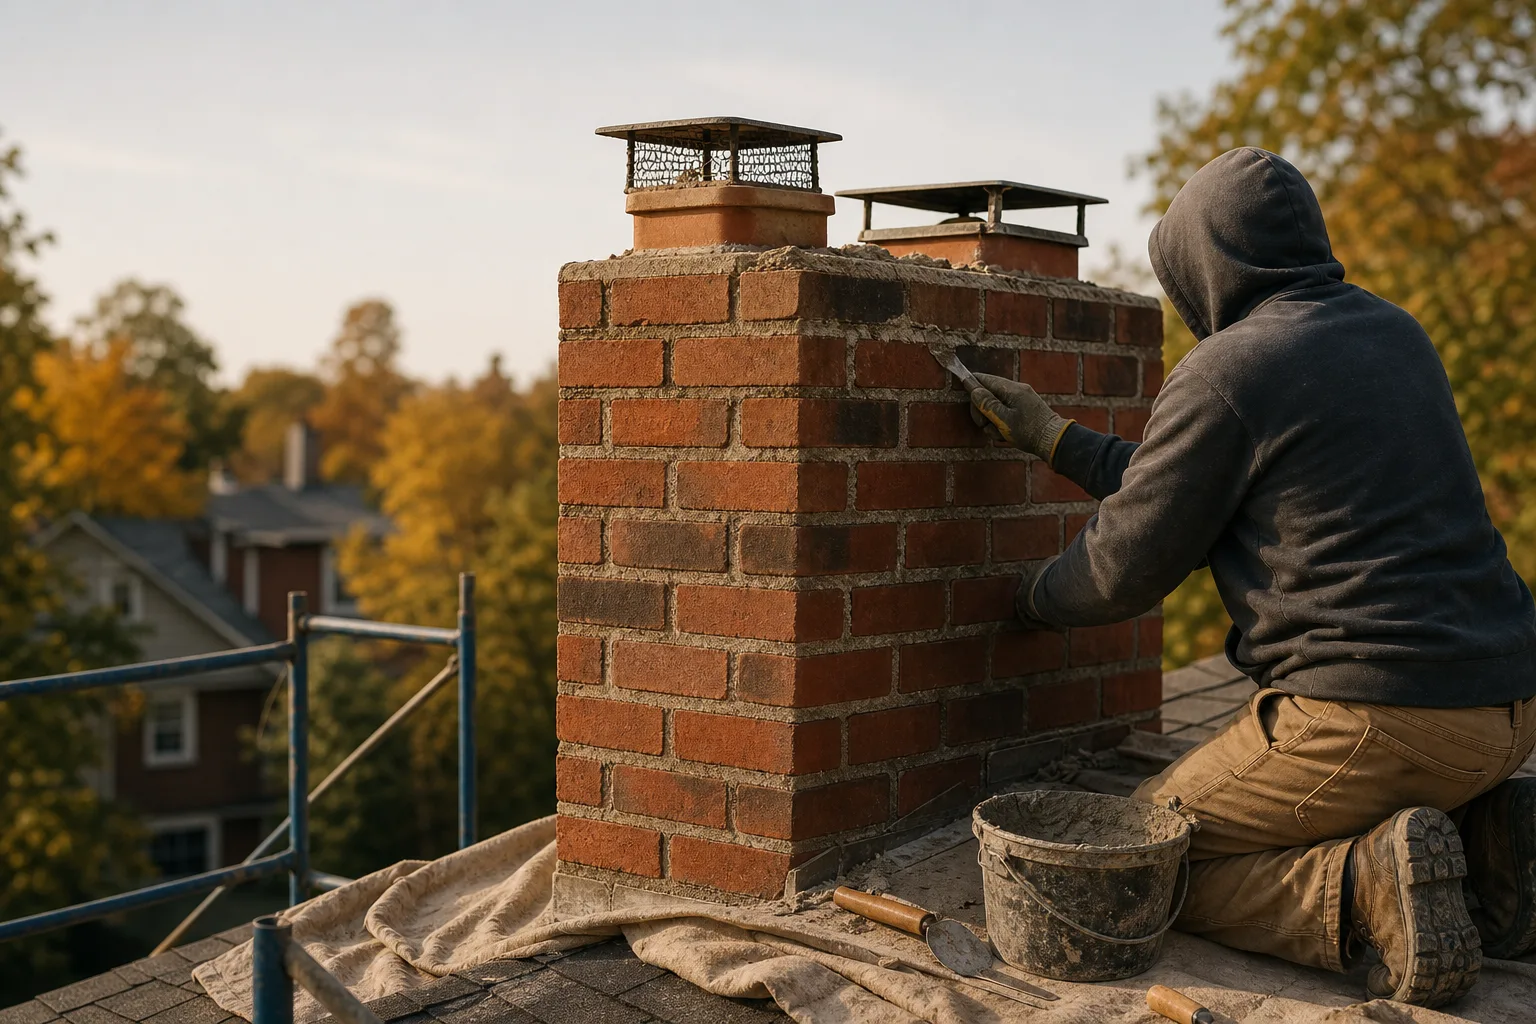
Chimney repairs range from replacing a few failed mortar joints to rebuilding masonry and installing a new flue liner. The right method depends on where the damage sits, how far it extends, and what caused it. A repair that works on one chimney may be unsuitable for another with a different flue, masonry assembly, or appliance connection.
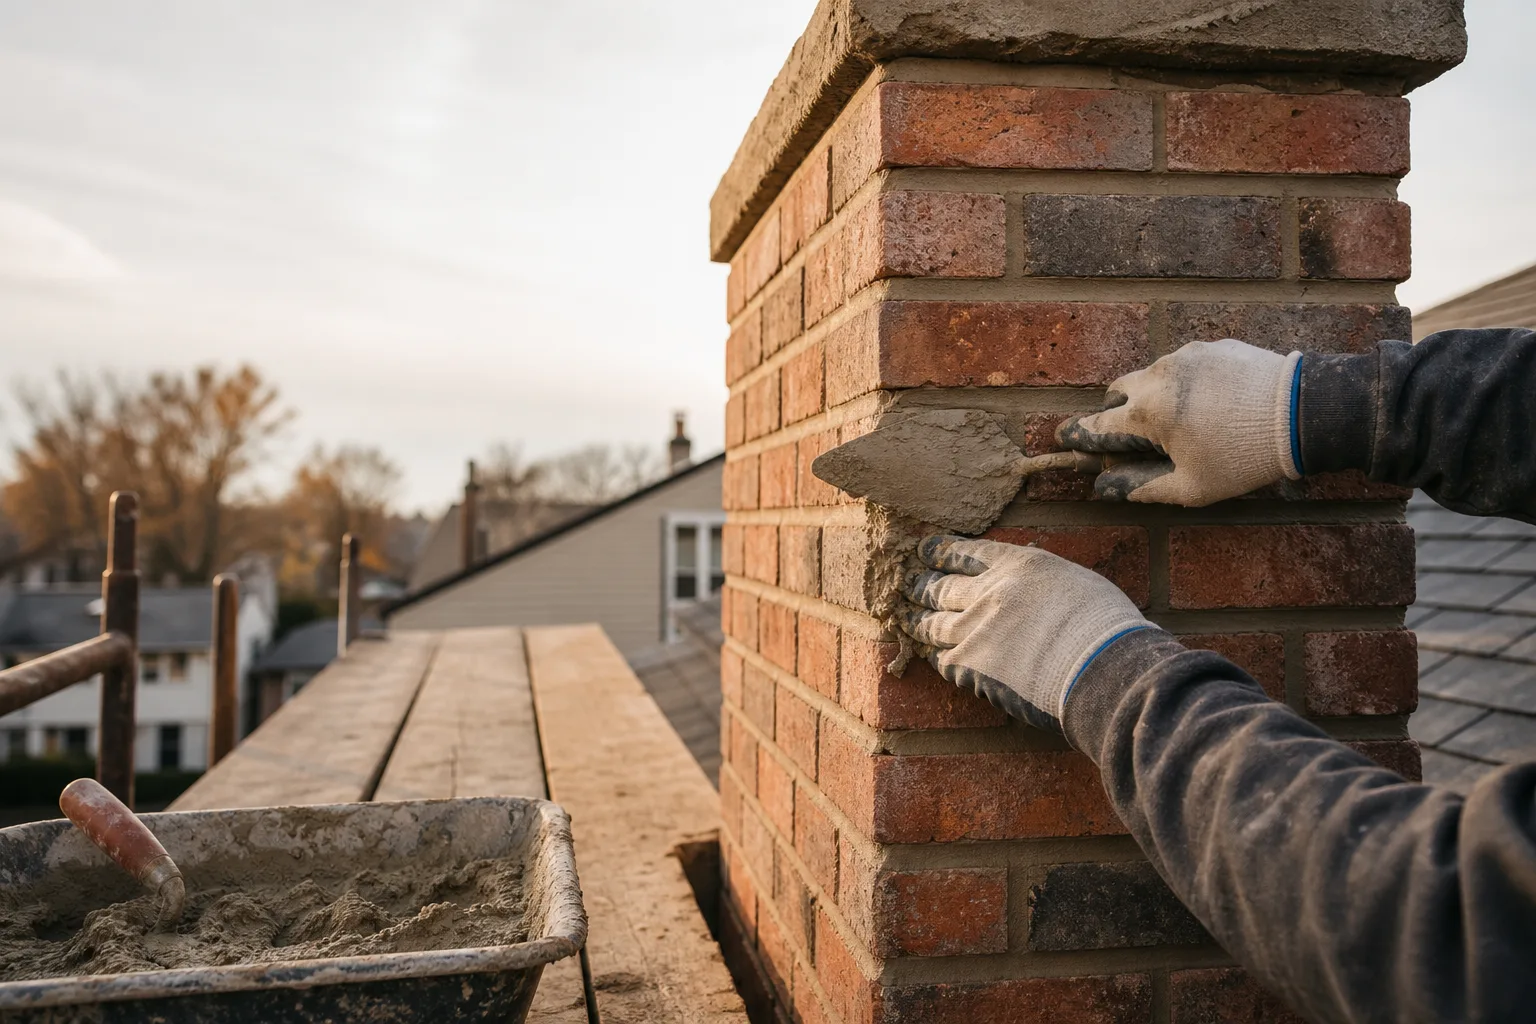
Tuckpointing removes deteriorated mortar to a suitable depth and replaces it with compatible new mortar. It works well when brick units remain stable and joint failure is localized. If the chimney is leaning, courses have shifted, or brick faces are breaking across a broad area, fresh joints alone will not correct the underlying instability.
Crown repair addresses cracks, failed edges, and poor drainage at the top masonry surface. A properly formed crown sheds water away from the flue and projects beyond the stack so runoff does not pour directly down the brick faces. Minor defects may allow a targeted repair, while extensive cracking or a poorly shaped crown may justify replacement.
A damaged or missing cap can admit rain, leaves, animals, and wind driven debris. Replacement should match the flue arrangement and remain securely anchored without damaging the crown or liner. A cap helps protect the opening, but it cannot compensate for failed flashing or saturated masonry below it.
Myth vs. fact: The myth is that one coat of sealer will stop every chimney leak. The reality is that flashing gaps, open crown cracks, loose caps, and damaged mortar need direct repairs before a compatible masonry water treatment can help reduce absorption.
Flashing correction focuses on the joint where the chimney passes through the roof. Step flashing and counterflashing must work together while allowing normal movement between the roof and masonry. Smearing more sealant over loose metal may hide a gap for a while, but it is not the same as rebuilding a failed flashing assembly.
Masonry water protection may be appropriate after open joints, crown defects, and flashing problems are repaired. The selected treatment should be intended for masonry and allow trapped vapor to escape. Dense surface coatings can hold moisture inside brick, where freezing weather may cause further face loss and cracking.
Flue liner repair or replacement may be needed when clay tiles are cracked, joints are open, metal is corroded, or an existing passage is improperly sized for the connected appliance. The choice depends on fuel type, flue dimensions, chimney condition, and applicable listing and code requirements. Some localized defects may qualify for a repair system, while widespread damage often calls for a properly sized replacement liner.
Firebox repairs restore damaged firebrick and refractory joints where the fire burns. Smoke chamber work addresses gaps, rough transitions, and deteriorated surfaces above the firebox, helping contain heat and guide smoke into the flue. Damper repairs deal with rust, warping, broken controls, or poor closure that can interfere with fireplace operation.
These components work as one venting path, so repairing only the easiest area can leave the system unsafe or frustrating to use. The contractor should explain how each proposed repair improves containment, water control, structural stability, or draft. Materials also need to be compatible with the existing chimney and the temperatures they will face.
If cracks, leaks, loose masonry, or venting problems are affecting your chimney, request an inspection and repair plan or call (513) 655-6702 before using the fireplace again.
When Repair Is Enough and When Rebuilding Makes Sense
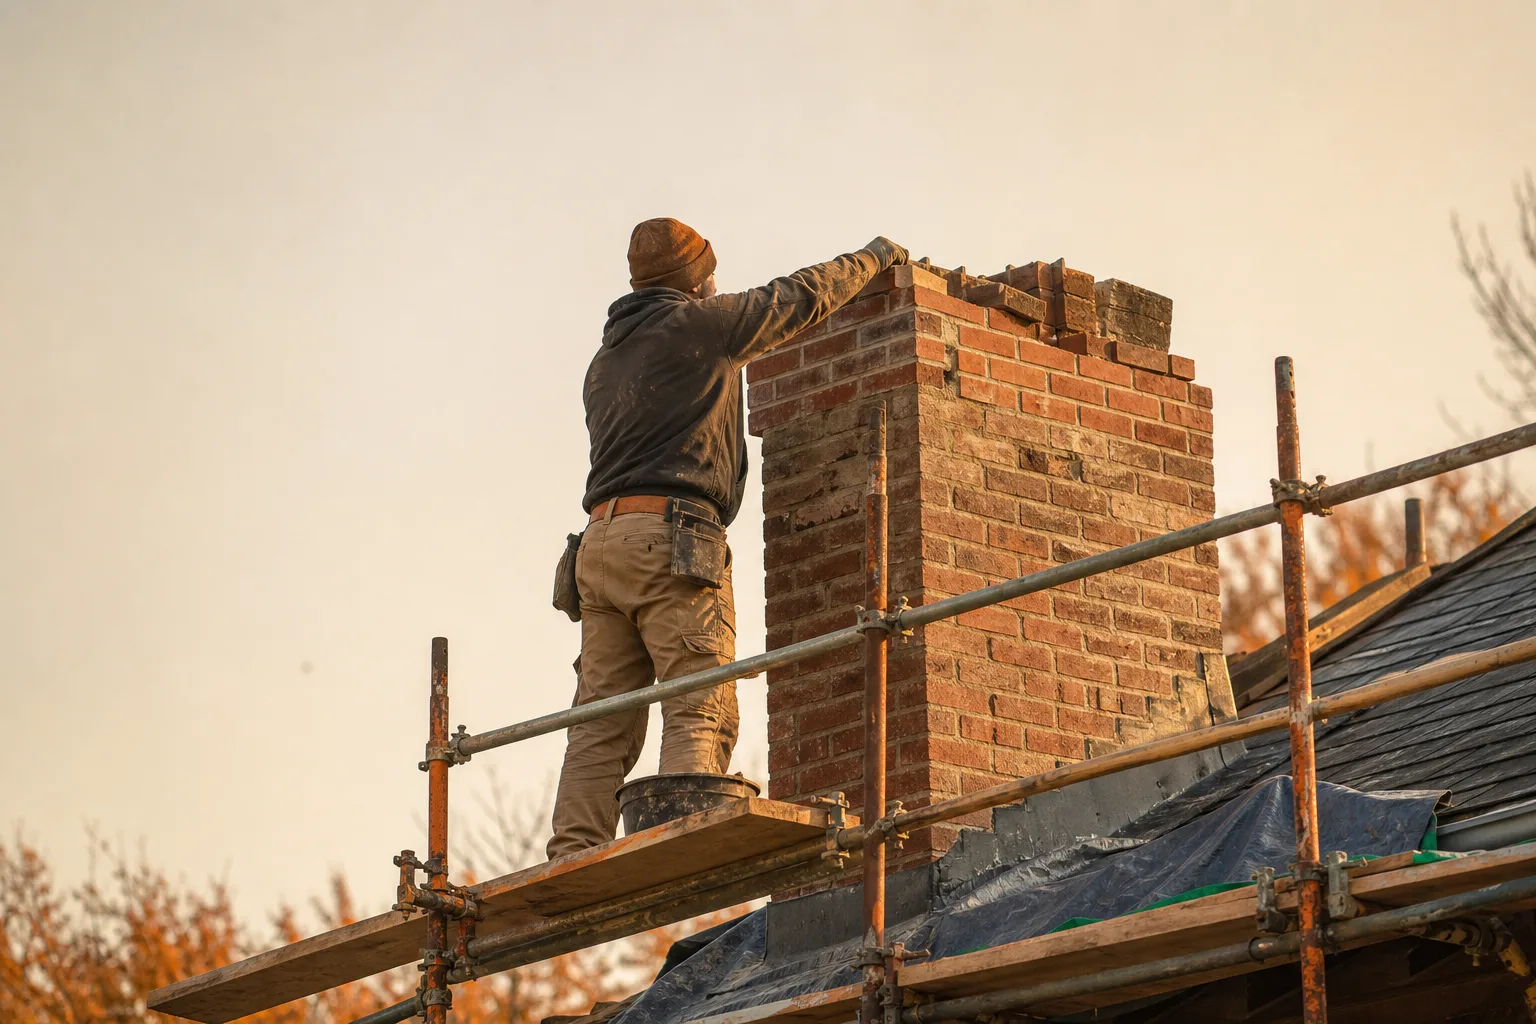
When a search for chimney repair near me produces different recommendations, repair is usually enough when the damage is limited and the surrounding masonry remains stable. Rebuilding makes more sense when deterioration extends deep into the stack, bricks have shifted, or previous patches no longer hold. The decision should come from an inspection, not a quick look from the driveway.
Localized mortar erosion, a few damaged bricks, or a cracked crown can often be corrected without dismantling sound masonry. The contractor should remove failed material back to a solid surface, match compatible replacement materials, and address the water source or movement that caused the damage.
A partial rebuild may be appropriate when the upper courses have loosened while the lower chimney remains stable. This is common above the roofline, where brick faces, mortar joints, and crown edges take the full force of rain, freezing weather, and sun exposure.
| Observed condition | Likely approach | Reason |
|---|---|---|
| Limited joint erosion with stable bricks | Targeted mortar repair | Sound masonry can remain in place |
| Loose or deteriorated upper courses | Partial rebuild | Removing unstable courses creates a firm base for new work |
| Widespread cracking, leaning, or deep masonry failure | Major or full rebuild evaluation | Spot repairs cannot restore stability throughout the stack |
| Repeated patch failure around an active leak | Correct the leak, then repair or rebuild affected areas | New patches will fail if moisture keeps entering |
Cosmetic coatings can hide cracks for a short time, but they do not lock loose masonry back together. Some coatings also trap moisture behind the surface, where freezing conditions can push brick faces apart. Repeated spot repairs have the same weakness when failed flashing, an open crown, or structural movement remains untreated.
From the field: Technicians often find that a chimney with many small patches has one unresolved source of damage, usually water entry or movement. The patchwork tells part of the story, but opening loose areas shows how far the deterioration has traveled.
A rebuild recommendation should include photographs and a clear description of which sections are unstable or too deteriorated to retain. Ask the contractor to identify the planned demolition line, the materials that will be replaced, and how adjoining roof surfaces will be protected. If the recommendation changes after work begins, the added damage and revised scope should be documented before you approve it.
Service life, access, disruption, and future maintenance all matter when comparing options. A small repair may cause less disturbance, but it offers poor value if nearby masonry is already failing. A properly planned rebuild takes more work and roof access, yet it may prevent another round of scaffolding, debris removal, and patching soon afterward.
Ready for a clear repair plan? Request an inspection and written scope or call (513) 655-6702 to discuss what you are seeing.
Questions to Ask Before Hiring a Chimney Contractor
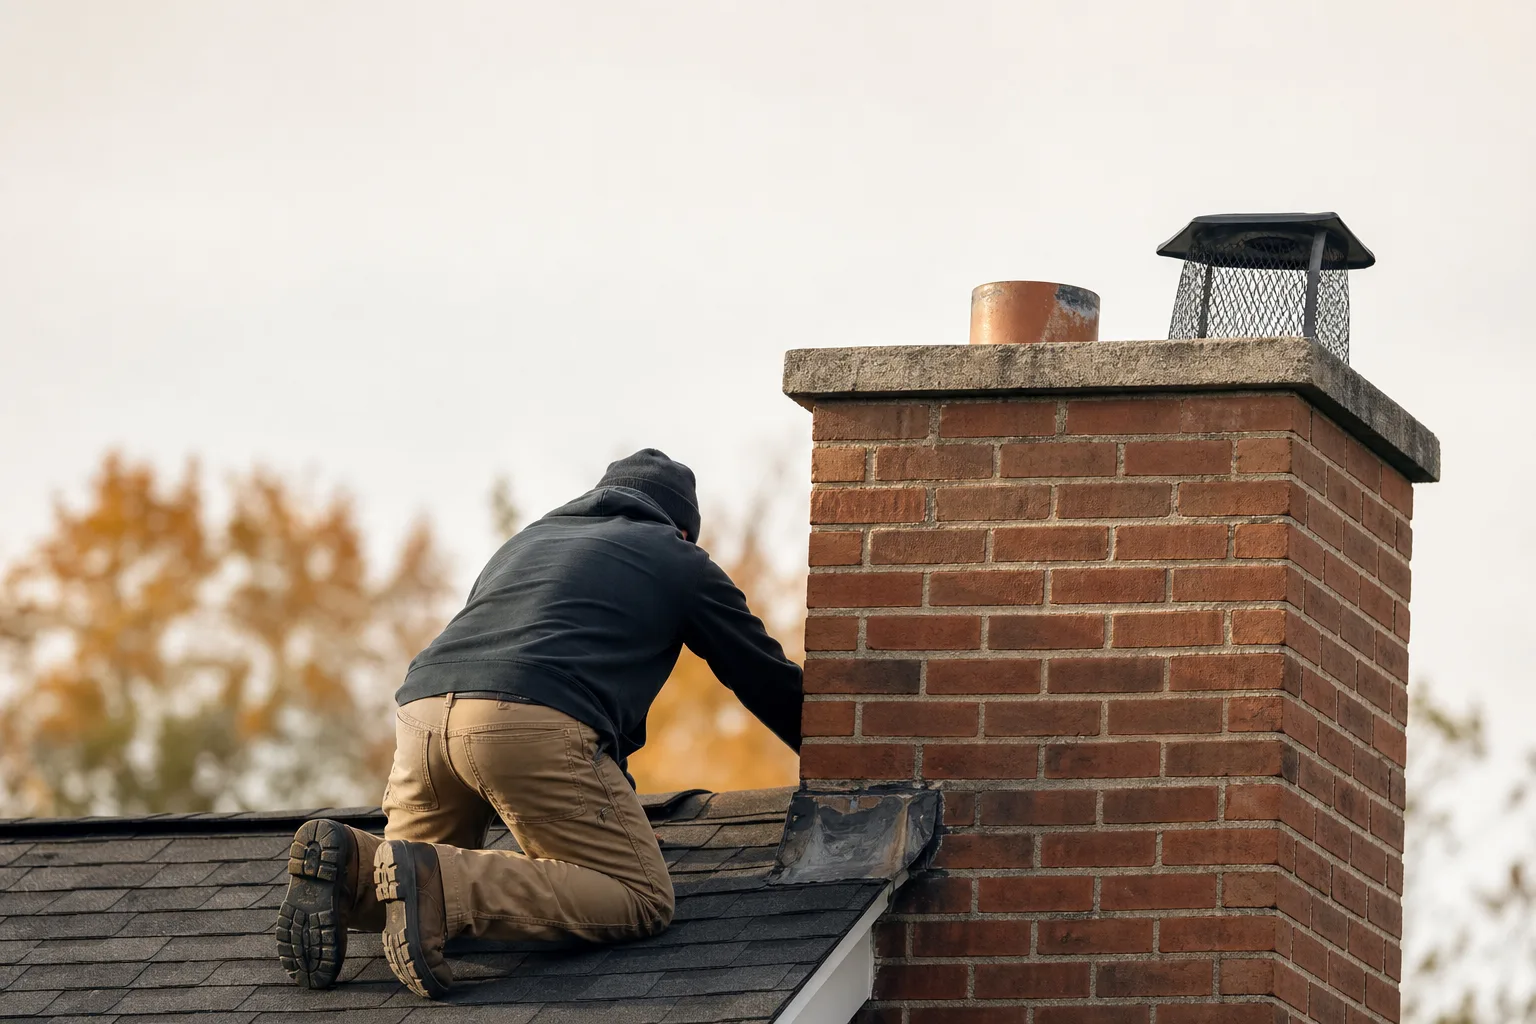
The right chimney repair near me should be willing to explain what is damaged, why it happened, and how the proposed work will correct it. Ask questions until you understand the repair area, materials, access plan, weather limits, and expected cleanup. Clear answers before signing usually lead to fewer surprises once ladders and staging go up.
Start by asking the contractor to show you the inspection findings. Photos should be close enough to reveal open mortar joints, cracked tiles, rusted metal, displaced flashing, or loose crown material, while wider views should show where each condition sits on the chimney. A vague statement that the whole chimney is bad is not a substitute for documentation.
Useful questions include:
- What caused the damage? Ask whether water, heat, settling, incompatible mortar, or another condition is involved.
- Which materials will be used? Confirm that mortar, brick, liner components, sealants, and metalwork suit the chimney and its appliance.
- How will the work meet applicable requirements? The contractor should be able to discuss local building codes and relevant NFPA 211 guidance without hiding behind jargon.
- Who will perform the repair? Ask whether the people inspecting, supervising, and completing the work have clearly assigned roles.
- How will access be arranged? Find out whether ladders, roof brackets, scaffolding, or a lift may be needed.
- What weather conditions could delay the job? Masonry, sealants, and coatings need suitable temperatures and dry conditions for proper installation and curing.
- How will the property be protected? Ask about roof coverings, landscaping, windows, walkways, interior dust control, and daily debris cleanup.
The written estimate should name the repair location and preparation method rather than using broad labels such as “masonry work.” It should also describe materials, access equipment, debris removal, anticipated scheduling, and warranty terms. If part of the work is excluded, that exclusion should be easy to find.
Pro tip: Ask what will happen if concealed damage appears after loose brick, flashing, or liner material is removed. A sound process pauses the affected work, documents the condition, and requires written approval before the scope or cost changes.
Insurance is another direct question, not an awkward one. Ask for current proof appropriate to the work and confirm who is responsible for any subcontracted labor. The contractor should also explain when a permit or code review applies instead of assuming every chimney repair is handled the same way.
Pressure is a reason to slow down. Warning signs include demands for immediate cash, unsupported claims that collapse or fire is certain, refusal to provide a written scope, and a repair offer made without an adequate inspection. Real hazards do occur, but a professional can point to the evidence and explain what should remain out of service.
Safety note: If a contractor identifies falling masonry, severe flue damage, or signs of a chimney fire, stop using the fireplace or connected appliance until the system is evaluated. Urgency should be supported by visible findings, inspection results, and a practical safety recommendation.
Warranty terms deserve more than a quick glance. Ask what workmanship and materials are covered, how long the coverage lasts, what maintenance is required, and whether water entry from an unrelated area is excluded. Keep the estimate, photographs, approvals, and completion notes together for future inspections.
Want to compare findings before approving work? Book a documented chimney assessment or call (513) 655-6702 for a straightforward review.
How to Protect the Chimney After Repairs
Routine inspections are the best way to protect repaired chimney areas and catch new trouble before it spreads. Fresh cracks, lifting seals, rust, staining, or a change in fireplace draft can point to movement or water entry. Inspection timing should reflect how the system is used, its condition, and any instructions provided after the repair.
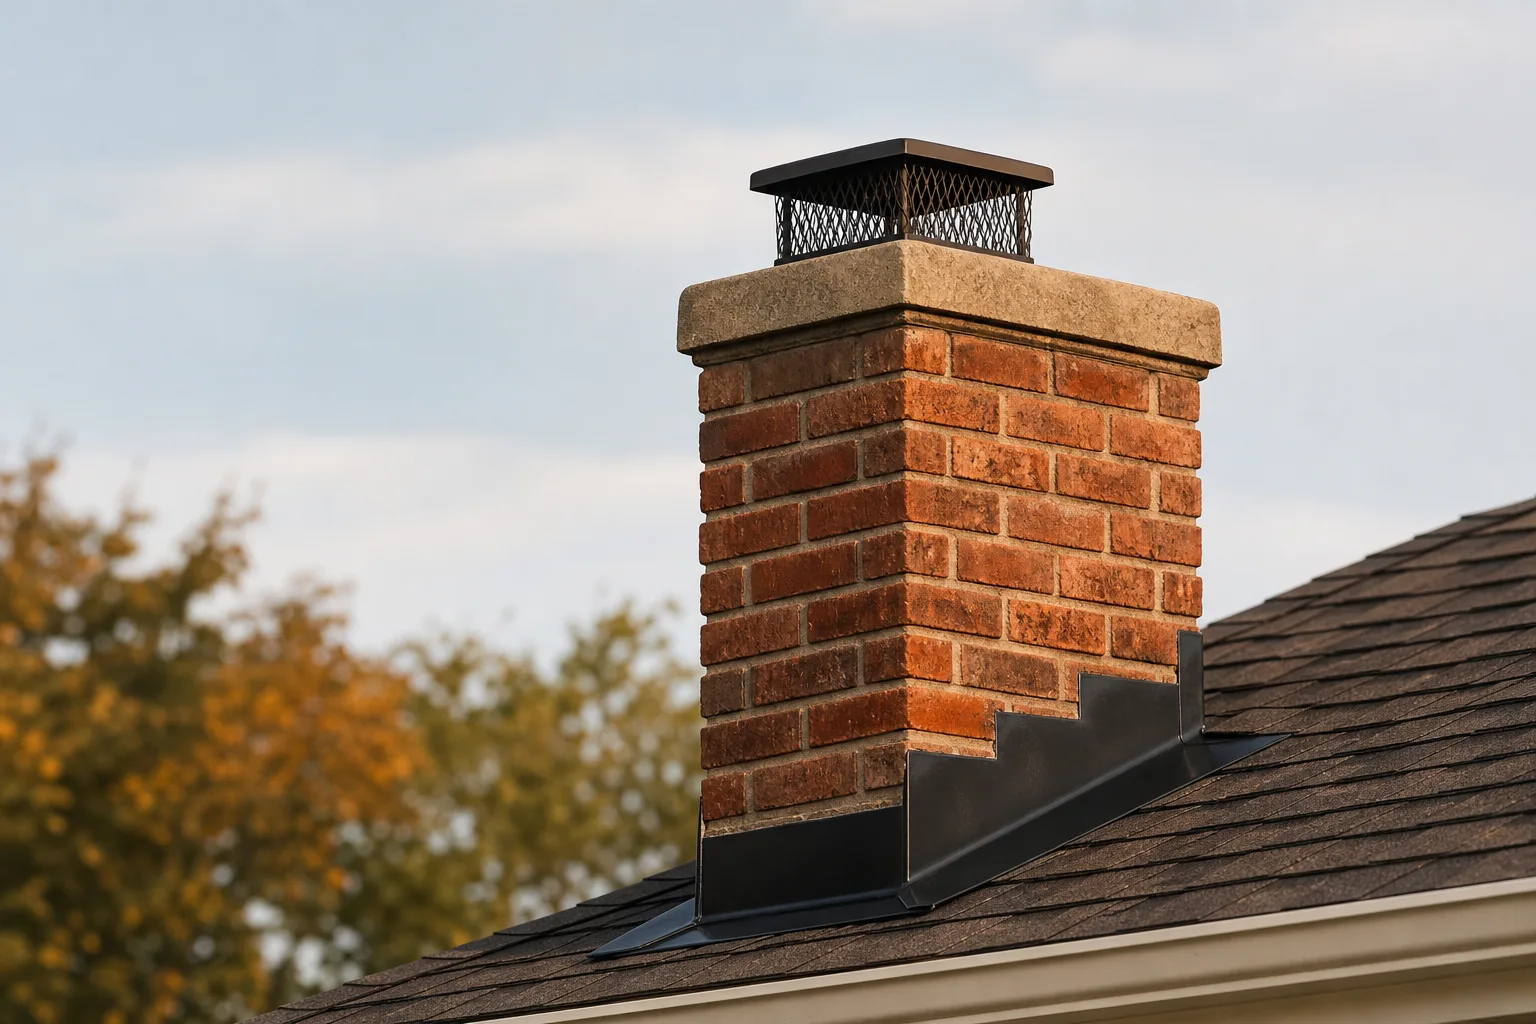
Moisture control starts at the top but includes the entire roof area around the chimney. A sound crown directs water away from masonry, a properly fitted cap limits entry through the flue opening, and flashing keeps the roof intersection dry. Gutters and roof drainage should carry runoff away rather than dumping it against the stack.
Use this quick exterior checklist from the ground, choosing a clear day and binoculars rather than climbing onto the roof:
- Check the crown. Look for open cracks, missing sections, or edges that no longer shed water cleanly.
- Check the cap. Look for a tilted top, damaged screen, corrosion, or a missing component.
- Scan the masonry. Watch for new white staining, dark wet areas, loose brick faces, or widening joints.
- Follow the flashing line. Look for lifted metal, gaps in sealant, or staining on the roof below the chimney.
- Watch roof drainage. Confirm that gutters are clear and downspouts do not discharge near the foundation or chimney base.
- Trim nearby growth. Keep branches from scraping the cap, blocking access, or dropping heavy debris onto the crown.
Good to know: Waterproofing is not a substitute for sound mortar, flashing, and crown work. A breathable masonry water repellent may help in suitable conditions, but damaged joints and active leaks should be repaired first.
Follow the contractor’s curing instructions after masonry, sealant, crown, firebox, or flue work. Lighting a fire too soon can expose fresh materials to heat before they have set as intended. Rain exposure, freezing temperatures, and cleaning methods may also be restricted during the curing period.
Keep the completion paperwork and final photographs where you can find them. These records give the next inspector a baseline for judging whether a hairline mark is unchanged, a seal has opened, or repaired masonry has begun moving. They also clarify which products were installed and what maintenance the warranty requires.
Pay attention inside the house as well. New smoky odors, water in the firebox, rust around the damper, bits of tile or mortar, and changes in draft deserve investigation. Stop using the system if you see fallen liner material, suspect blocked venting, or notice conditions that could allow smoke or carbon monoxide into living spaces.
Document leaks, cracks, or venting changes with dated photos, then arrange an inspection before the damage expands. Request service online or call (513) 655-6702 for a clear assessment and practical next step.
Symptom checker
What is your chimney doing?
Tap the closest match for an honest first answer.