



On this pageThe 3 Creosote Stages at a Glance7 sections+6
- The 3 Creosote Stages at a Glance
- Stage 1 Creosote: Flaky, Dusty, and the Easy One
- Stage 2 Creosote: Crunchy, Tar-Like, and the One People Misread
- Stage 3 Creosote: Hard, Glazed, and the One That Fuels Chimney Fires
- How to Tell Which of the Creosote Stages You Have
- Why Creosote Forms, and How to Keep It at Stage 1
- How VIO Helps With Creosote Stages
Quick answer
The three creosote stages describe how wood smoke deposits harden inside a chimney. Stage 1 is dry, flaky soot that a brush removes. Stage 2 is crunchy, tar-like buildup bonded to the liner, which needs a rotary tool. Stage 3 is hard, shiny black glaze that requires professional chemical treatment and fuels chimney fires. CSIA recommends cleaning at 1/8 inch of buildup, or at any sign of glaze.
The 3 Creosote Stages, and How to Tell Which One Is in Your Chimney
You are probably reading this with a flashlight in your hand. You opened the damper, pointed a phone light up into the dark, and saw something black up there that you did not like the look of. The three creosote stages are the industry's way of sorting what you just saw into one of three conditions, and the difference between them is the difference between a routine sweeping and a chimney you should stop using tonight.
Here is the part most guides skip. The stage people get wrong is not the scary one. It is the middle one, because stage 2 looks loose and crumbly to an untrained eye while it is already welded to your flue liner.
So let's do this properly. What each of the creosote stages looks like, how each one comes off, and then the section most guides leave out entirely: how to figure out which one you are actually looking at, from where you are standing.
The 3 Creosote Stages at a Glance
Creosote is what is left behind when the volatile gases in wood smoke do not burn. They ride up the flue, cool down, and condense on the liner wall as a deposit. The longer that deposit sits and the more heat it takes, the harder and the more flammable it gets.
That progression is what the three stages describe.
| Stage | What it looks like | How it feels | How it comes off | Danger |
|---|---|---|---|---|
| Stage 1 | Fine matte black or gray dust and loose flakes. The clay tile or steel liner is still visible through it | Powdery, puffs when disturbed | A standard chimney brush | Lowest of the three, but it still has to come out. CSIA says clean at 1/8 inch |
| Stage 2 | Thicker dull black. Brittle granules, crunchy chips, dried tar texture, often heavier on one wall | Hard chips that are stuck fast, not loose | A rotary loop tool driven by a drill. Brushing alone will not do it | Moderate and rising. It is real fuel |
| Stage 3 | Continuous glossy black glaze, like poured tar that set in place. Catches the light in a hard shine. Sometimes drips or ripples | Smooth, dense, will not scratch off | Professional chemical treatment. Sometimes the liner has to be replaced | High. This is the stage that feeds chimney fires |
Good to know: If a sweep told you that you have "third degree" creosote and every website you found says "stage 3," nobody is contradicting anybody. The trade uses both words for the same three conditions. The Chimney Safety Institute of America classifies creosote in three degrees, and the rest of the industry calls those same three things stages, so the creosote stages and the creosote degrees are one scale, not two.
One line of vocabulary, and an argument in somebody's kitchen is over.
Stage 1 Creosote: Flaky, Dusty, and the Easy One
What stage 1 looks like
Picture a fine layer of black soot dusted over the inside of the flue, the way dust settles on a shelf in a spare room. Gray to black, matte, never shiny. If your liner is clay tile, you can still read the terracotta color and the mortar joints through it. If it is stainless steel, you still see the dull silver underneath.
It is loose. Brush it and it comes away in a puff.
How it comes off
A chimney brush on rods. That is the entire technology. This is what a standard annual sweeping is designed to handle, and a sweep who finds nothing but stage 1 in your chimney is going to be in and out without much drama.
What it is telling you about your fires
Stage 1 sits at the bottom of the creosote stages, and it is not a sign you are doing something wrong. It still has to come out on schedule, at the 1/8 inch mark, but its presence is not a failure. Every wood fire leaves something behind, and a light dusting means your fires are burning hot enough and your flue is staying warm enough that most of the volatiles are going out the top instead of sticking to the walls.
What turns stage 1 into stage 2 is time and cool smoke. Let the deposits sit through another season, or spend that season running slow smoldering fires that never get the flue properly warm, and the powder starts taking on tar.
Stage 2 Creosote: Crunchy, Tar-Like, and the One People Misread
What stage 2 looks like, and why it fools people
This is the stage that costs people money, because it looks like the easy one.
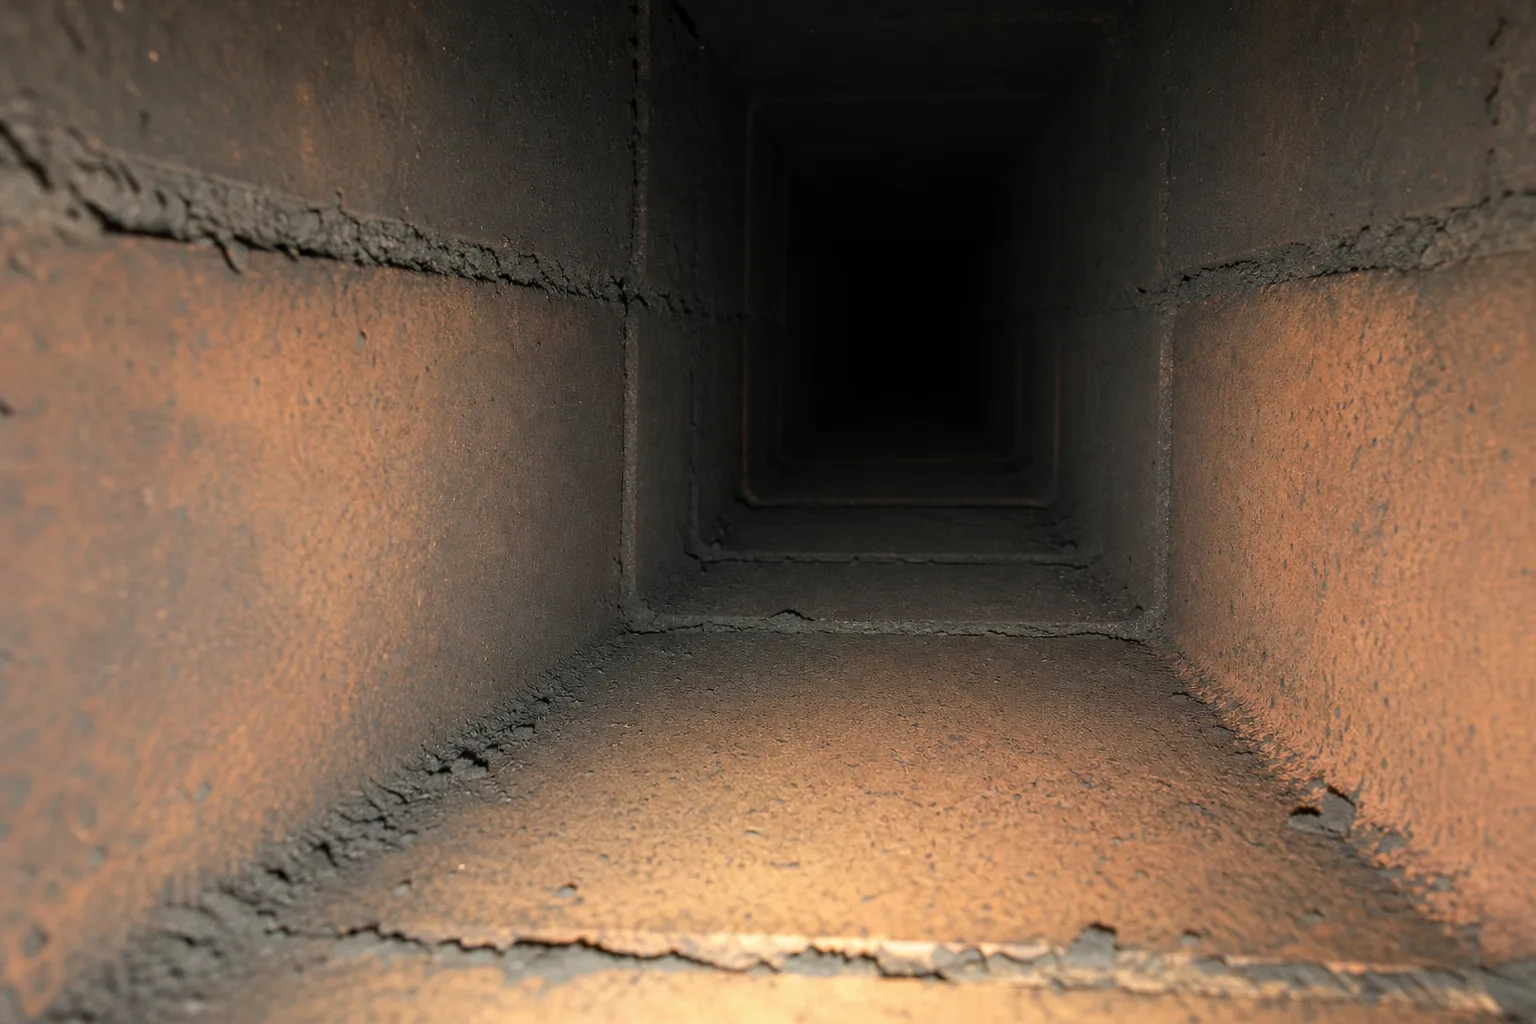
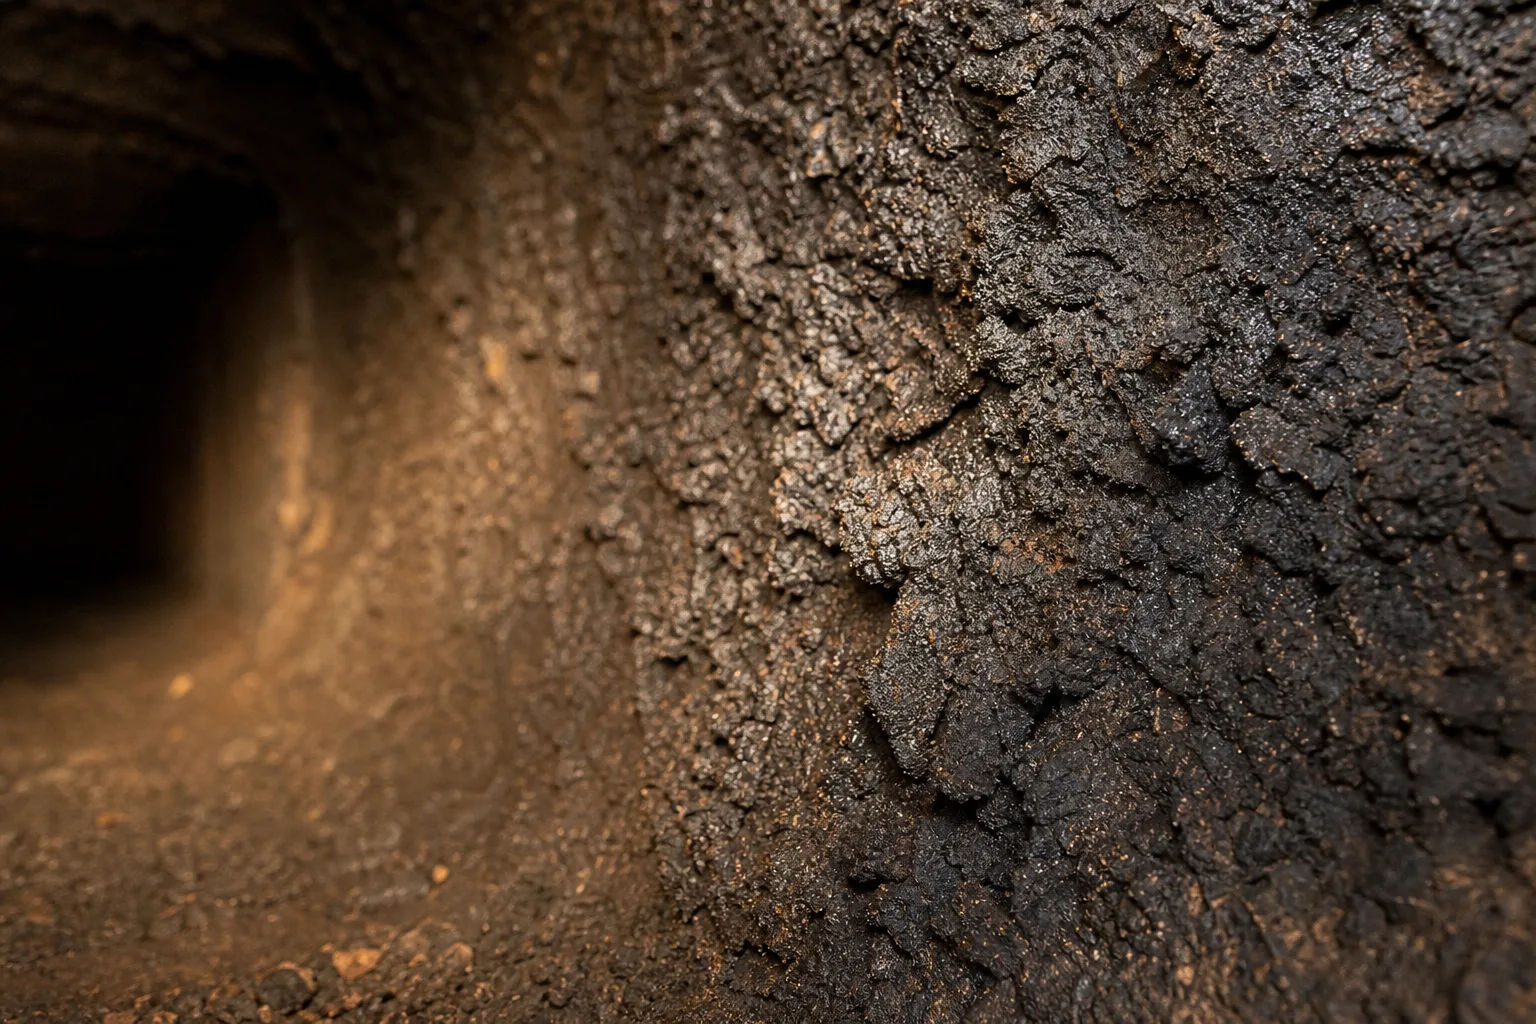
Stage 2 is thicker and darker than stage 1, with a texture somewhere between coarse crumbs and dried tar. Dark brittle granules. Crunchy chips. It tends to build unevenly, heavier on one wall of the flue than the others, sometimes in ridges. Where it has built up, you can no longer see the color of the liner underneath at all.
And here is the trap. From a few feet below, with a flashlight, those brittle chips read as flaky. Flaky reads as loose. Loose reads as "a brush will handle it."
It will not. Stage 2 has already adhered firmly to the liner. The flakiness is texture, not attachment.
Myth vs. fact: "It looks flaky, so it will brush off." The texture of stage 2 creosote is genuinely crumbly, and it is genuinely bonded to the flue wall at the same time. Those two things are not in conflict, and assuming otherwise is the single most common misread on this whole topic.
Why a brush stops working here
A chimney brush works by sweeping loose material down. It has no way to break a bond.
Stage 2 removal uses a rotary loop tool, a flexible head spun by a drill that runs the length of the flue and breaks up the deposit's structure mechanically. It is a different tool and a different job, and it takes longer. A sweep who quotes you for a standard sweeping and then finds stage 2 is going to come back to you with a different number, and that is not a bait and switch. It is a different piece of work.
Leave stage 2 alone and you do not get more stage 2. You get something else entirely, because of what repeated heat does to it.
Stage 3 Creosote: Hard, Glazed, and the One That Fuels Chimney Fires
What glazed creosote looks like
You will know it by the shine.
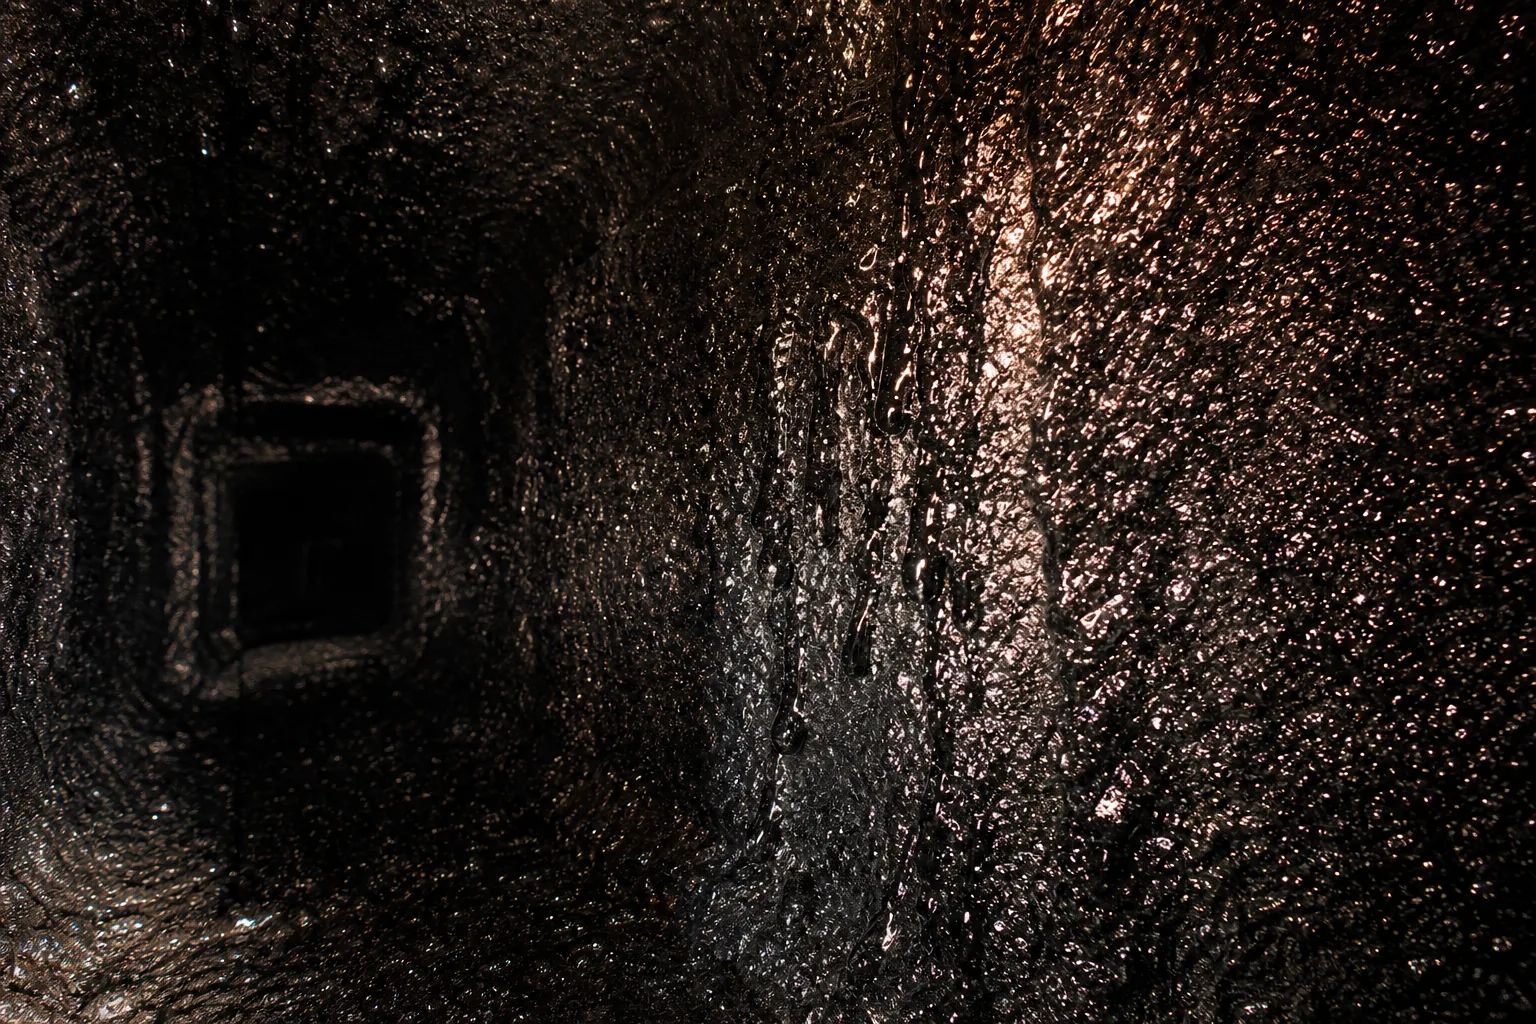
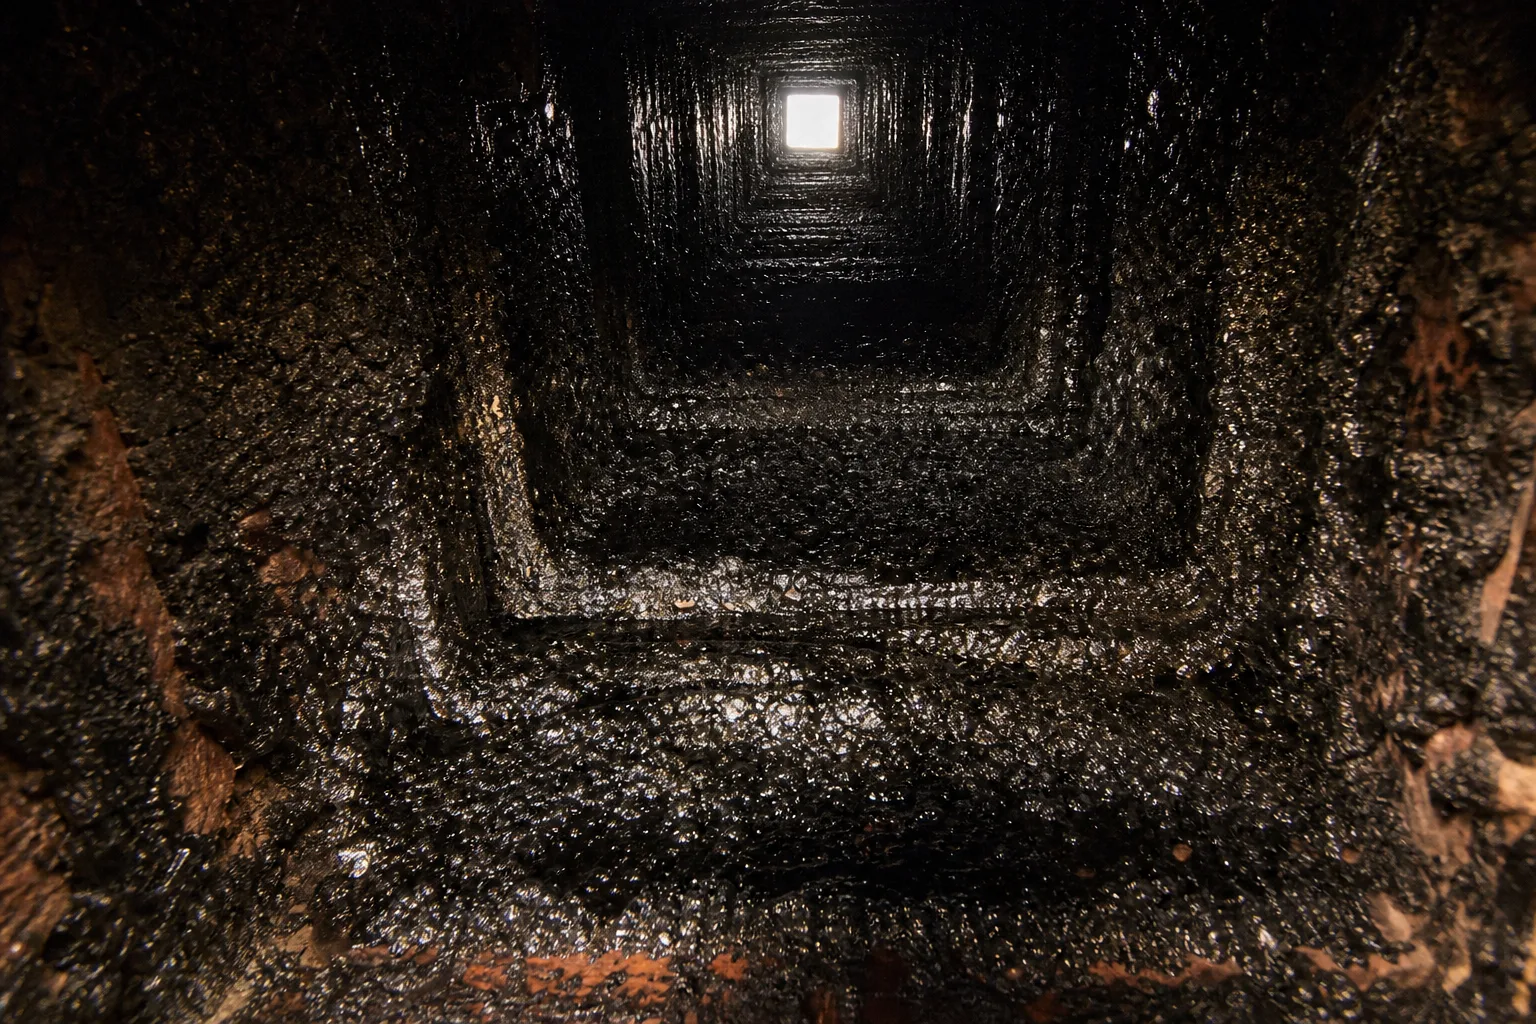
Stage 3 creosote is a continuous, hard, glossy coating on the flue wall. Sources in the trade describe it as black glass, as a thick candy shell, as poured tar that hardened in place, and all three are fair. Shine your light up and it does not absorb the beam the way soot does. It throws a hard highlight back at you.
Look closer and you will often see that it moved before it set. Drips. Bubbles. A rippled, run-down texture where it melted, flowed, and re-solidified. The mortar joints of a clay liner get blurred over and buried. In heavy cases it builds thick enough at the corners to visibly narrow the opening.
That is how it forms, by the way. Stage 3 is not a separate substance. It is earlier-stage deposit that has been subjected to high temperatures over and over, melting and re-hardening each time into something denser and glassier than what it started as.
Why it is the dangerous one
Concentration. Of the three creosote stages, stage 3 is the most concentrated and the most flammable form the deposit takes, and its practical role inside your chimney is to be fuel. A flue coated in glaze has a ready-made fire load lining it, sitting directly in the path of the next hot fire you light.
The CSIA position on this is not subtle. Their guidance is to address glaze forming on the flue walls without waiting.
Safety note: If what you saw was shiny, stop burning until someone has looked at the full flue. Not "book something for next month and keep having fires in the meantime." Stop. This is the one place in this article where hedging would do you a disservice, so I am not going to hedge: glaze is fuel, and you cannot see how much of it is up there from where you are standing.
How professionals actually remove it
Not with a brush, and not with a rotary head either in most cases. Glaze is usually treated chemically.
The standard approach is a poultice type creosote remover, often the product the trade calls PCR, applied to the glaze and left to slake, meaning it hydrates and reacts with the deposit over time. The dissolved material is then removed with the poultice. It works on clay tile and on stainless liners, it requires professional application, and depending on how thick the glaze is it can take more than one treatment.
Sometimes it is not enough. In some cases the liner itself is replaced, which is a much larger job. That is a real outcome and you should know it is on the table, but it is not automatic, and anybody who tells you stage 3 always means a new liner is skipping several steps.
Not sure which stage you are looking at? From the hearth you are seeing the smoke chamber, not the top of the flue, and stage 2 looks loose to an untrained eye when it is already bonded to the liner. A camera inspection settles it. VIO matches you with an independent local chimney company that can tell you which of the creosote stages you actually have. We ask every company in the network to put its estimate in writing before any work starts, and you should insist on exactly that. Call (513) 655-6702.
How to Tell Which of the Creosote Stages You Have
Every other guide on this topic describes the creosote stages and then stops, which leaves you holding a flashlight and three descriptions and no method. So here is the method.
What you can actually see from the hearth
Start with an honest limit, because it changes how much weight you should put on your own look.
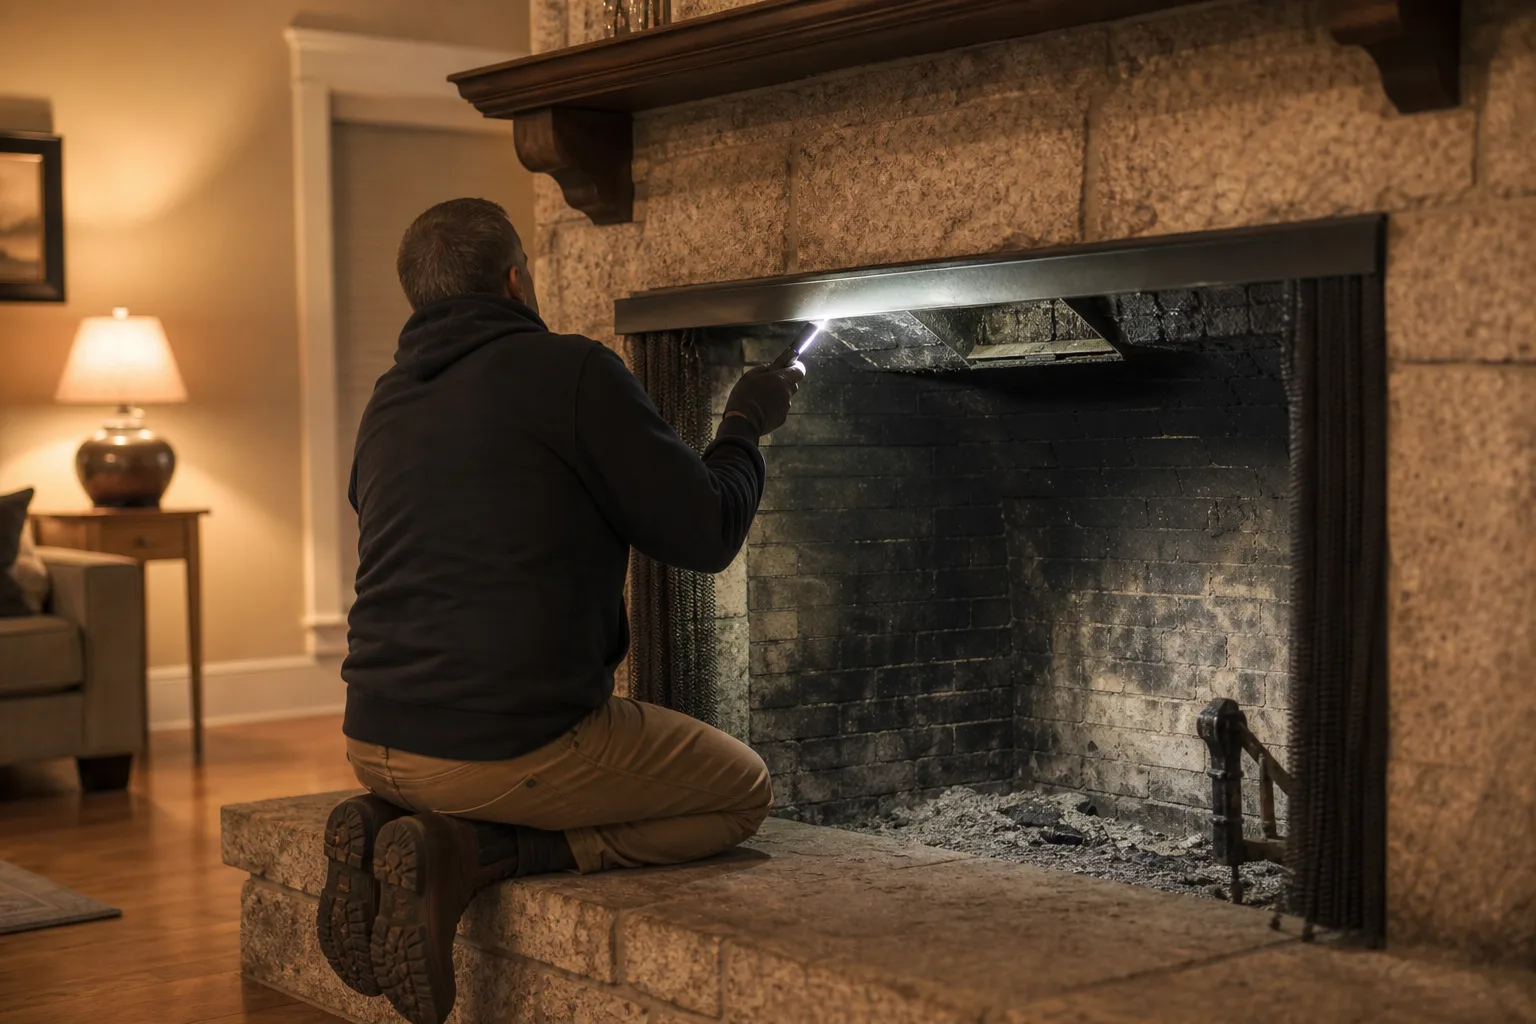
When you open the damper and shine a light straight up, you are looking into the smoke chamber. That is the sloped, funnel shaped space directly above the damper that gathers smoke and feeds it into the flue. It is not the flue. The flue is the long vertical liner above it, and most of its length is nowhere near your beam.
That matters in both directions. The smoke chamber and the smoke shelf sit directly in the path of everything leaving the firebox, so they are a genuinely useful place to point a light. But a clean looking smoke chamber does not tell you the flue is clean, and a bad looking one does not tell you how far up the trouble goes.
From the field: The smoke chamber above the damper is the only part of the venting path a homeowner can get a real look at without equipment. Treat whatever you find there as a data point, not a verdict. The flue above it is where the question actually gets settled.
The fingernail test
If you can get a fingertip on the deposit safely, with the fire long cold, this is the one self check on this page that is actually diagnostic.
Stage 1 comes away as dust on your skin. Stage 2 is hard, and chips of it may break loose, but it is clearly stuck to the wall rather than sitting on it. Stage 3 will not scratch. You can drag a fingernail across glaze and leave nothing behind, because there is nothing loose to take.
Pro tip: Shine, plus it will not scratch, equals stage 3. That combination is the clearest line in the whole subject. If you get it, you have your answer, and the rest of this section is about how much you still cannot see.
How much is too much: the 1/8-inch line
There is an actual number here, and it is worth more than any adjective.
The Chimney Safety Institute of America recommends scheduling a cleaning once creosote accumulation reaches 1/8 inch in the flue, which is about 3 millimeters, or roughly the thickness of two stacked pennies. The same guidance says to act on any glaze forming on the flue walls, regardless of thickness.
So the threshold is not "when it looks bad." It is one eighth of an inch, or any shine at all.
Why a camera sees what your flashlight cannot
A professional inspection of a flue is done with a camera on a flexible rod, fed the full length of the liner, sending video back to a monitor. There is a reason that exists. Liner cracks, displaced tile sections and glaze higher up the flue are simply not visible from the firebox opening, no matter how good your flashlight is.
That kind of inspection has a name in the standard. NFPA 211, the standard that CSIA certified sweeps work from, defines three levels of chimney inspection, and a Level 2 is the one that includes the video scan of the full flue and access to spaces like the attic, crawlspace or basement.
A Level 2 is not optional in certain situations. Under NFPA 211 it is required when a property is sold or transferred, when changes are made to the system such as a new appliance, a change of fuel or a reline, when the system malfunctions, after a chimney fire, and after an external event such as a natural disaster.
Read that list again if you have had a chimney fire, even a small one you thought you got away with. That is a Level 2 trigger, and a chimney fire is exactly the event that bakes earlier deposits into glaze.
Why Creosote Forms, and How to Keep It at Stage 1
The 250 degree rule
The mechanism is simple enough to hold in your head, and once you have it, every piece of burning advice you have ever been given stops sounding like nagging and starts sounding like physics.
Wood smoke carries unburned volatile gases. Those gases rise up the flue. When they cool to somewhere around 250 degrees Fahrenheit, they condense onto the liner wall and solidify there as deposit. Below that range, the colder the flue gets, the faster the deposits build.
That is the whole game. Everything that keeps your flue warm and your combustion complete produces less creosote and keeps you at the bottom of the creosote stages. Everything that cools the flue or leaves fuel unburned produces more.
Burn habits that move you down the creosote stages
Pro tip: A brisk, hot fire deposits less than a slow smoldering one, even though the smoldering fire produces less visible flame. The hot fire keeps the flue above the condensation range. The smoldering fire fills a cool flue with unburned volatiles, which is the exact recipe for a deposit.
The habits that matter, in the order they matter:
- Burn dry, properly seasoned wood. Split ends should show checking and cracks, and the wood should sound hollow when two pieces are knocked together.
- Stack firewood off the ground, covered on top, open on the sides so it can breathe.
- Never burn green or wet wood. Driving off that moisture absorbs heat that would otherwise have gone up the chimney, so the flue runs cooler and the gases condense sooner.
- Do not burn treated or painted lumber, plywood, or trash.
- Run smaller, hotter fires rather than large damped down ones.
- Stop the habit of choking the air down for an overnight burn. It is the most reliable creosote factory there is.
- Make sure the flue is actually drawing before you load it up. A cold flue on a mild day can be slow to establish draft.
- Have the chimney inspected once a year. NFPA 211 calls for annual inspection covering structural integrity, creosote deposits and clearances.
What will not save you
Chimney sweeping logs and hardware store powders get sold as an alternative to a sweeping. They are not one. At best they are marketed as conditioners that may make deposits easier to brush out later, and no reputable source treats them as a removal method for glaze. Burning one does not replace a brush, a rotary head, or a poultice.
The other thing that will not save you is a clean looking firebox. The firebox is the room you see. The deposits are in the flue above it.
How VIO Helps With Creosote Stages
Here is what we actually do, stated plainly, because this is the part where most sites get vague.
VIO is a referral network. We do not sweep chimneys ourselves. You call, or you tell us what you saw up there, and we match you with an independent local chimney company that handles this work in your area. The company that shows up is its own business, with its own certifications and its own crew.
For your situation specifically, the job you are hiring for is an inspection first. You want someone who can put a camera up the full flue and tell you which of the creosote stages you are actually dealing with, because stage 2 and stage 3 are different jobs with different tools and very different amounts of work.
Cost tracks the stage. A standard sweeping of stage 1 is one thing. A rotary job on stage 2 is more work. A chemical treatment of glaze is more again, and a reline is a different category altogether. Any company that names a number before it has seen the inside of your flue is guessing.
Which is why the estimate matters. We ask every company in the network to put its estimate in writing before any work starts, and you should insist on exactly that, from us or from anybody else you call. A written scope is what lets you tell the difference between a fair price for a hard job and a number somebody made up on your hearth.
Get eyes on the part of the flue you cannot see. You now know the three creosote stages, what each one looks like, and which one you are hoping not to have. The one thing you cannot do from the floor is see the full length of the liner, which is exactly where glaze likes to hide. Call (513) 655-6702 and VIO will match you with an independent local chimney company. If you already have a quote in hand, get a second one and compare them side by side.
If you saw dust, book the routine sweeping and have the full flue checked while somebody is there, because the part you could see is not the part that decides it. If you saw crunch, you need a rotary job and you should not push it into a second season. If you saw shine, stop burning and make the call today.
Symptom checker
What is your chimney doing?
Tap the closest match for an honest first answer.