



On this pageWhat a chimney brush actually is, and the four kinds you'll see7 sections+6
- What a chimney brush actually is, and the four kinds you'll see
- Sizing a chimney brush: measure first, buy second
- Poly or steel wire? The rule is your liner, not your soot
- Rods, rope, or a drill: how the brush actually moves
- How to sweep with a chimney brush, step by step
- What a chimney brush cannot do
- How VIO helps when the brush stops being the right tool
Quick answer
A chimney brush is a stiff-bristled head sized to scrub soot and light creosote from the inside of a flue. Choosing one comes down to three things: the size and shape of the flue, what it is lined with (steel wire for clay tile, polypropylene for metal liners), and how the brush is driven, by push rods, a weighted rope, or a drill-powered rotary head. Glazed creosote does not come off with bristles.
You went looking for a chimney brush and found forty of them. Round ones, square ones, stiff steel wire, pale plastic bristles, some with rods and some without, and almost none of the listings explain why you would pick one over another.
The brush is the easy part. What you have to know first is the shape and size of your flue, what that flue is lined with, and how you intend to move the brush up and down inside it. Get the second one wrong and you can damage the chimney you were trying to take care of, at a cost far past what the brush was. That mistake has nothing to do with price or quality. I'll come back to it.
This guide settles all three decisions, walks through the sweep, and then tells you the one thing no product listing will: where the bristles stop working.
What a chimney brush actually is, and the four kinds you'll see
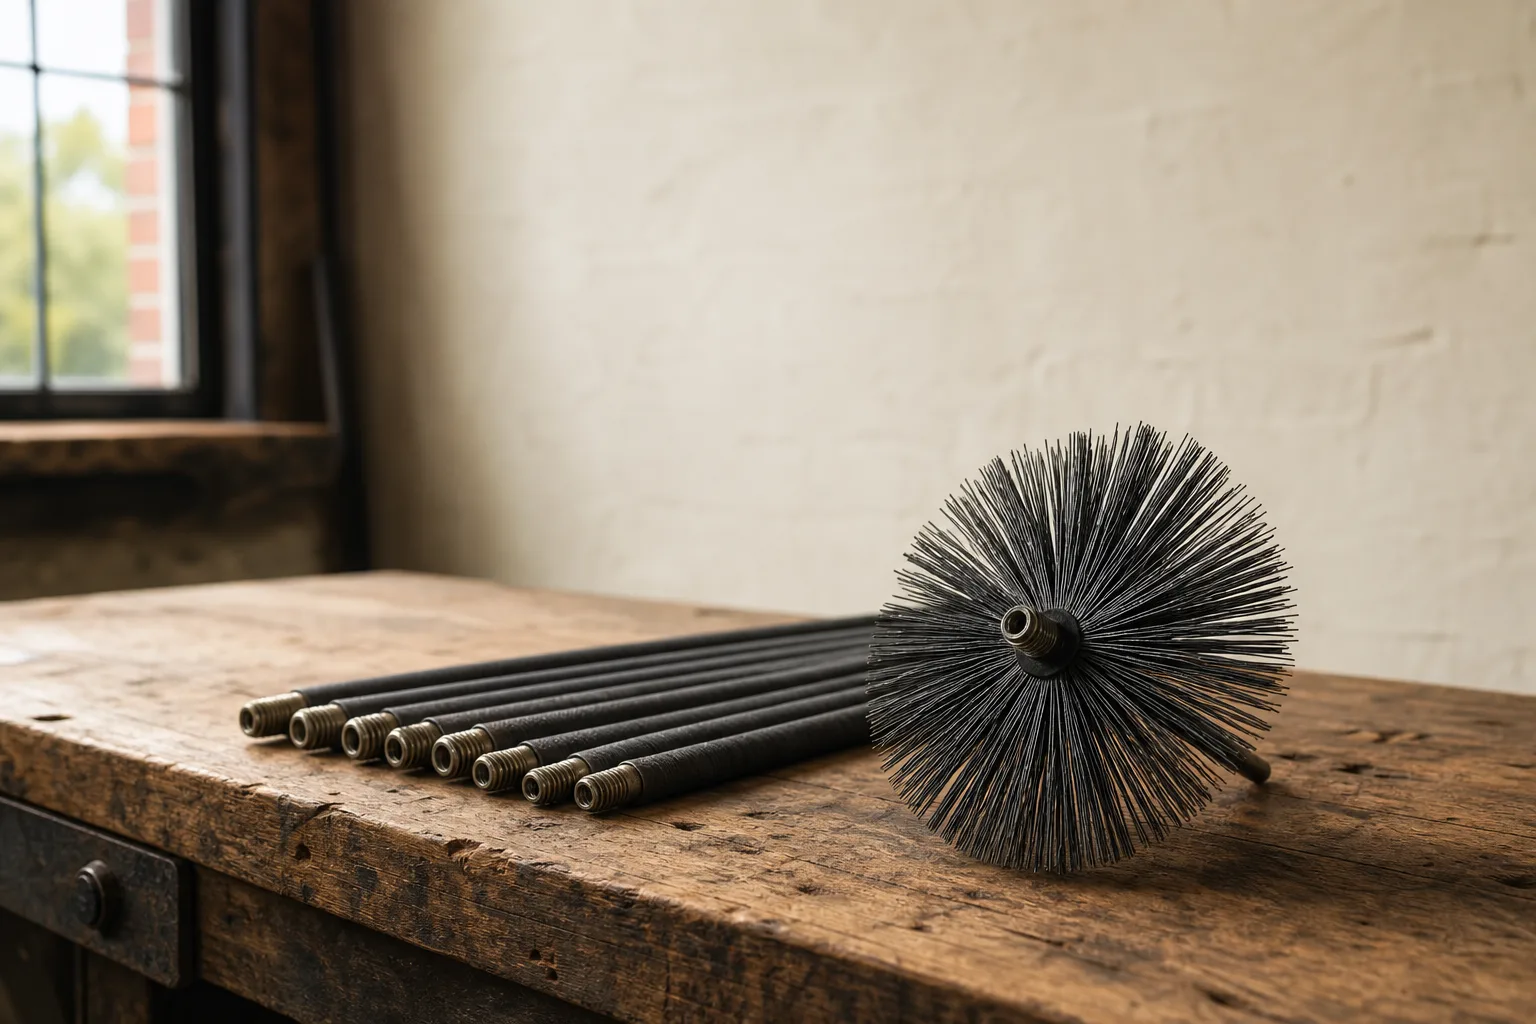
Strip away the marketing and a chimney brush is a stiff-bristled head sized to press against the inside walls of a flue, attached to something that pushes or pulls or spins it. The bristles knock loose the soot and light creosote that condensed there while you were burning. It's a scrub brush for a vertical tunnel you can't see into.
Good to know: "chimney brush" names a whole family of tools rather than a single product. That's why the listings look interchangeable when they aren't, and why two brushes at the same price can be right and badly wrong for the same chimney.
Round brushes
A round head with bristles radiating out in all directions, sized by diameter. These are made for round flues, which in practice means most metal liners, most stove pipe, and factory-built fireplaces. If your chimney has a stainless steel liner running up the middle of it, you almost certainly want a round brush.
Square and rectangular brushes
Clay tile flues are usually square or rectangular, and they come in a handful of standard interior sizes. A flat-sided brush is built to reach into the corners that a round head skates past. If you have an older masonry chimney with terra cotta tile inside it, this is your shape.
Rotary heads and flexible whips
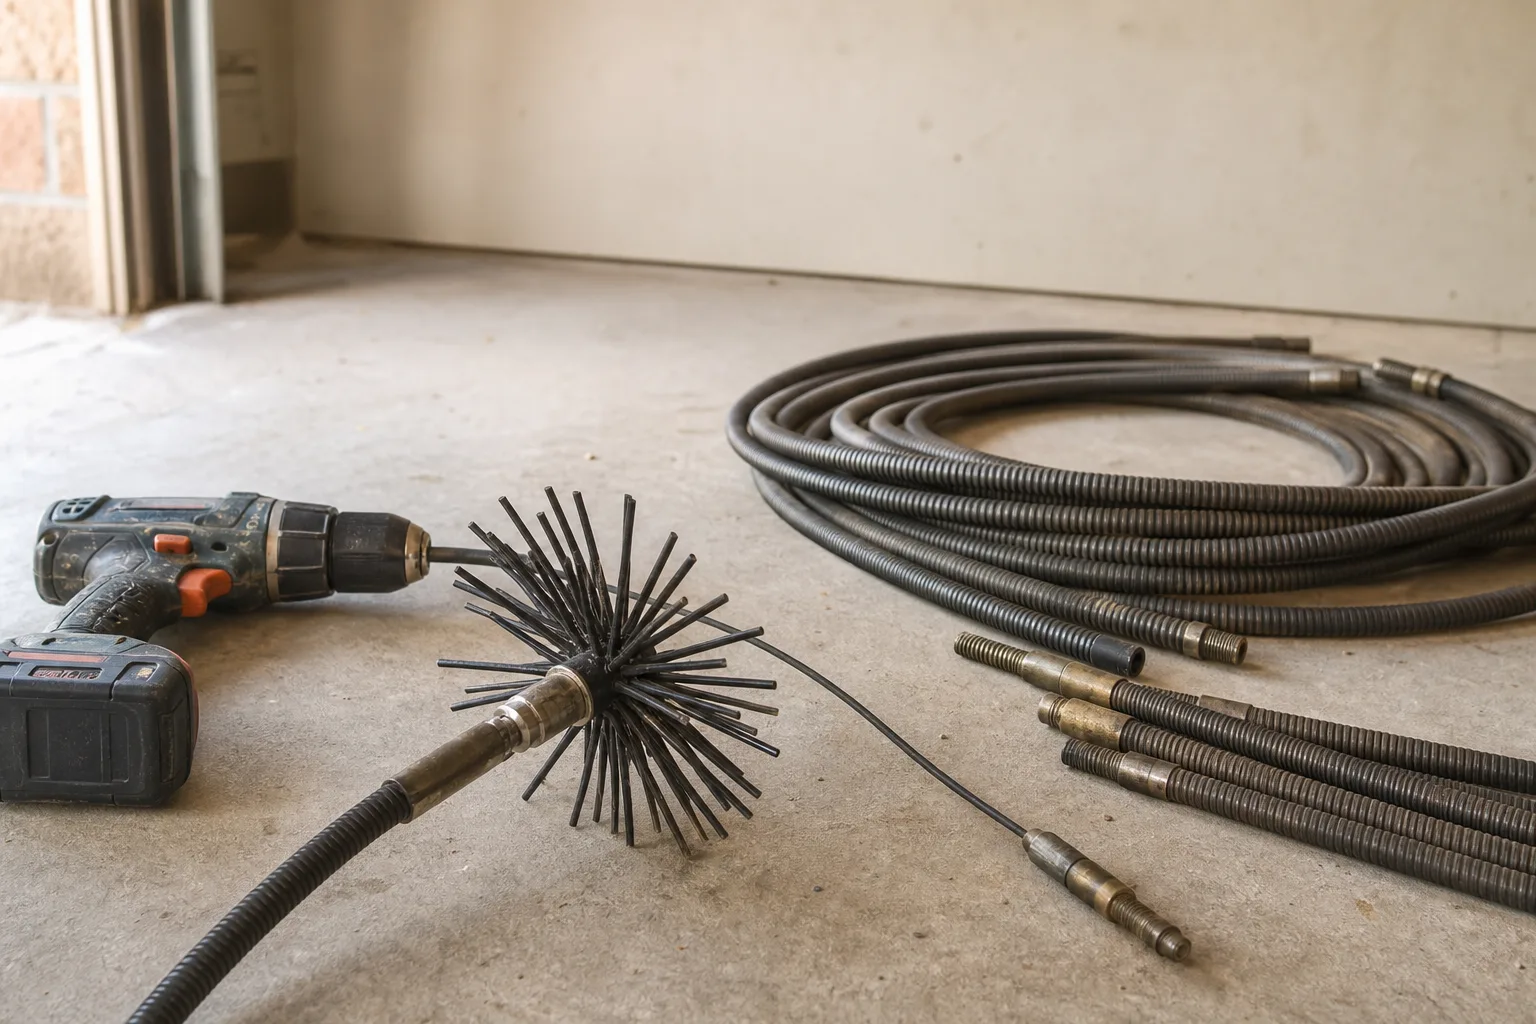
The newer category, and the one that confuses people most. Instead of a rigid brush on rigid rods, you get a flexible head, sometimes with plastic lashes rather than bristles, on flexible rods driven by a cordless drill. The head spins as it travels. These are sold hard on the promise that you can sweep the whole flue from inside the house without going on the roof, which is true.
Small brushes for stove pipe and liners
The connector pipe between a wood stove and the chimney needs cleaning too, and it's usually a different diameter than the flue above it. Plenty of first-time buyers get the flue brush right and then discover that the wood stove pipe is a separate job with a separate size.
Sizing a chimney brush: measure first, buy second
Sizing is where this project goes wrong first, and the fix costs nothing but a few minutes with a tape. So measure before you order.
How to measure your flue
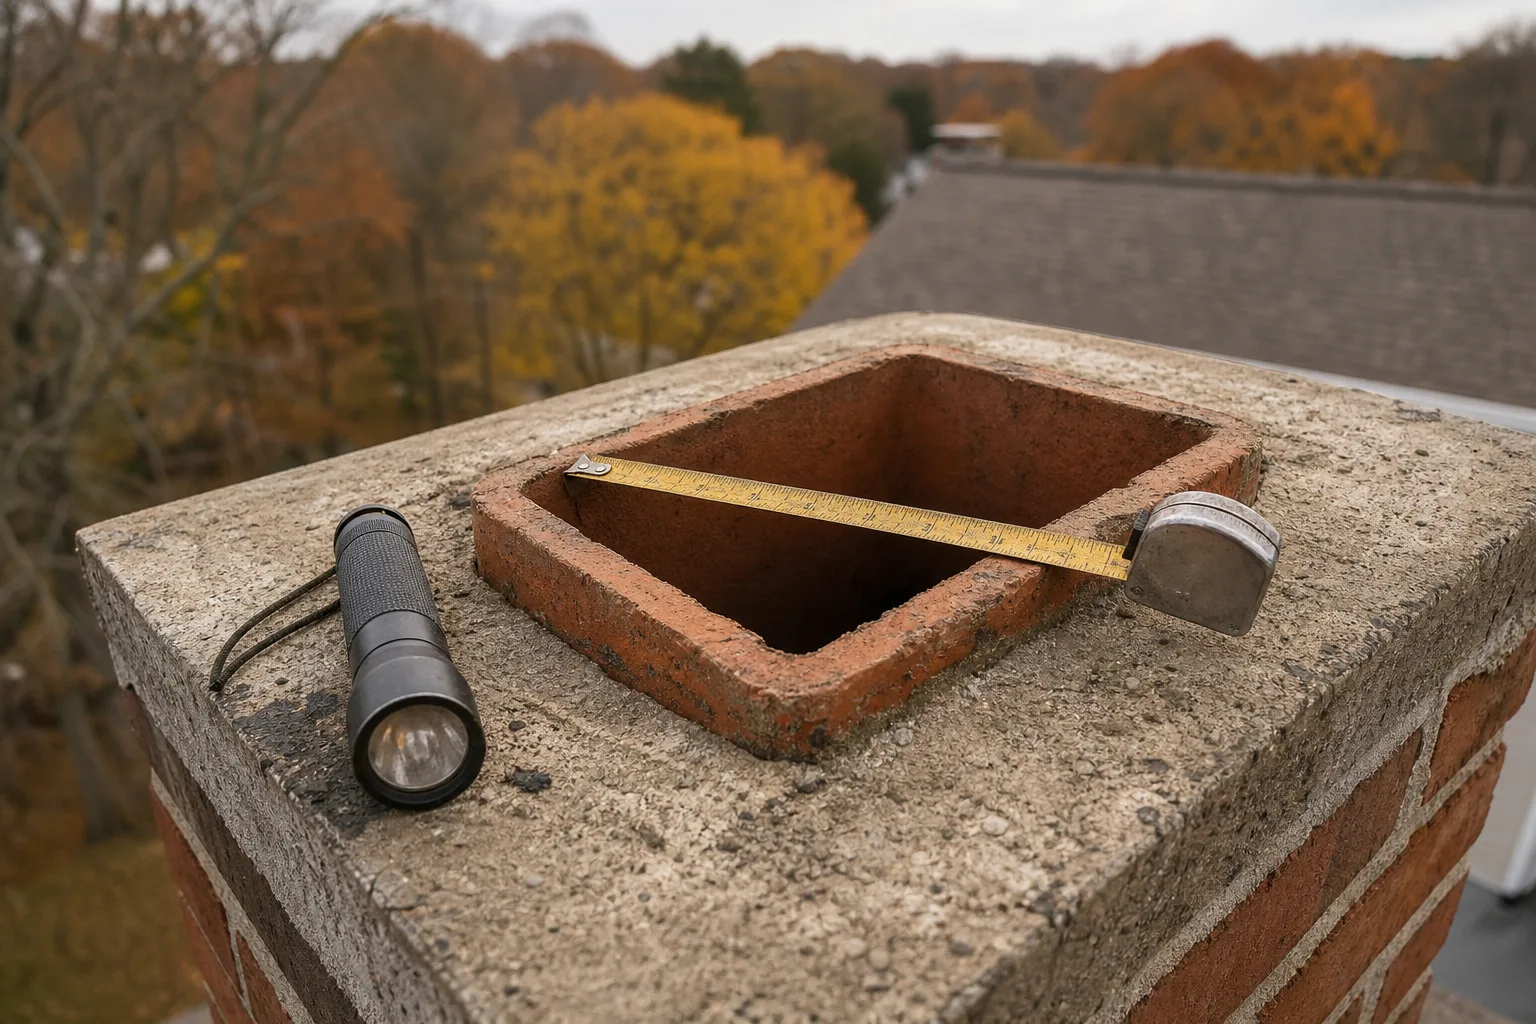
You need the interior dimensions of the flue, not the exterior of the chimney stack. The masonry outside can be a foot across while the passage inside is eight inches.
On a masonry chimney with clay tile, the easiest place to measure is the top, at the flue tile projecting above the crown. Put a tape across the inside of the opening in both directions. Standard tile sizes cluster around 8 by 8, 8 by 12, 12 by 12, and 13 by 13 inches, and if your measurement lands within a quarter inch of one of those, that's what you have.
With a metal liner, measure the inside diameter at the top, or check the installation paperwork. Common wood-burning liner sizes run 5.5, 6, 7, and 8 inches, and a liner installed for a wood stove is often 6 inches even when the chimney around it is much larger.
If you can't safely get on the roof, you can sometimes take the measurement from below with a flashlight and a tape, looking up past an open damper. It's an awkward angle and worth double-checking.
Why the brush should be slightly bigger than the flue
Here's the part that trips people up. You don't want a brush that slides freely. You want one sized to the flue or a touch over, so the bristles bend and load against the wall as it passes. A brush that fits perfectly is a brush that polishes air.
For a round flue, matching the diameter exactly is the standard advice, because round bristles compress evenly. For square and rectangular clay tile, a brush sized to the nominal tile dimension will bind slightly and that's intended. If it takes real effort to start it down the flue, that's usually the right amount of drag.
Pro tip: you can feel the difference through the rods. A brush loading properly gives you steady resistance and a dry scraping sound as it works. A brush that's too small drops fast and quiet. If it feels easy, it probably isn't doing much.
A round brush in a square flue leaves the corners
People do this, usually because the round brush was cheaper or the square size was out of stock, and it half works. The flats get swept. The four corners keep their soot, and corners are exactly where deposits like to accumulate. If your flue is square, buy square.

Poly or steel wire? The rule is your liner, not your soot
This is the decision I promised to come back to, and it's the one that can cost you.
The intuition almost everyone has is that stiffer bristles equal a better clean, so a dirty chimney calls for steel wire. That intuition is wrong, because the choice isn't governed by how dirty the flue is. It's governed by what the flue is made of.
When steel wire is the right choice
Steel wire bristles belong in clay tile flues. Terra cotta is hard, abrasive-tolerant, and doesn't care about a wire brush passing over it. Wire cuts through packed soot on a rough surface better than plastic does, and on a tile-lined masonry flue that's genuinely what you want.
If you look up and find no lining at all, bare brick with no tile and no metal inside it, that is not a brushing question. NFPA 211 treats a suitable liner as standard for a chimney in service, so an unlined flue is something to have evaluated before you plan the next fire, let alone the next sweep.
When poly is the only safe choice
Polypropylene bristles belong in metal. Stainless steel liners, aluminum liners, and stove connector pipe all have thin walls and a surface finish that steel wire will score. Those scratches give future deposits something to grip, and on top of that, most liner manufacturers are explicit in their instructions that a wire brush is not to be used on their product. Running one anyway can put the warranty in question.
Safety note: if you have a metal liner and you are holding a steel wire brush, put it down. This is the single most expensive mistake available in this project, and it is completely invisible from outside the chimney. Poly bristles clean a metal liner perfectly well.
How to find out what your flue is lined with
If you don't know, don't guess.
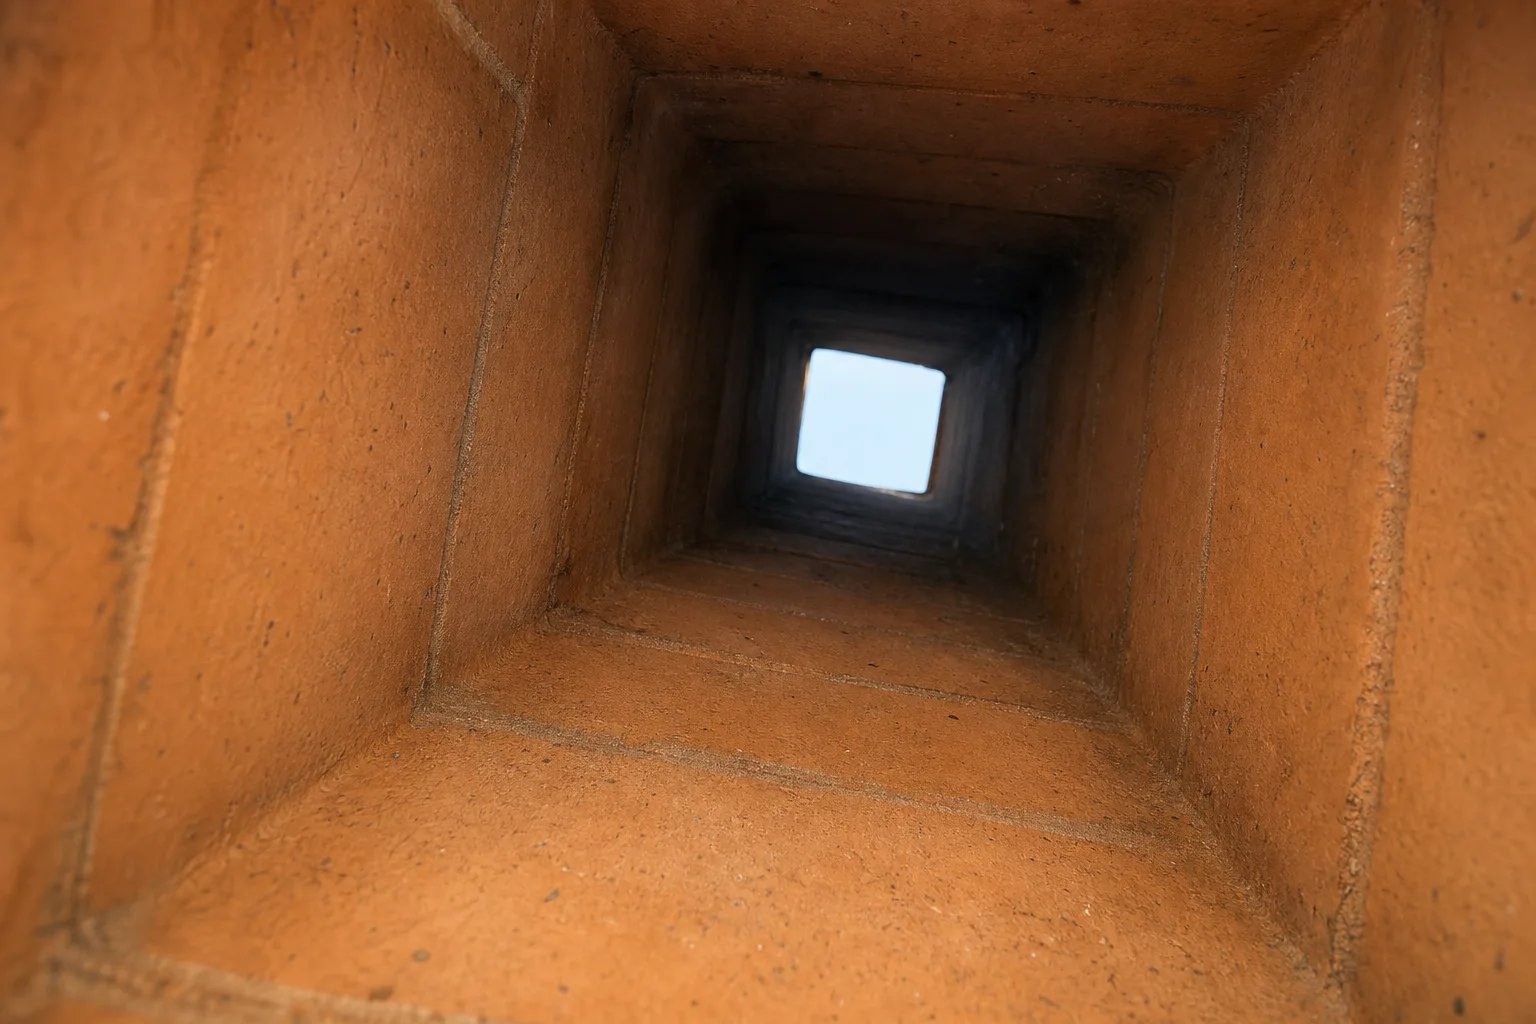
Look down from the top with a flashlight, or up from the firebox with the damper open. Clay tile reads as an orange-brown or buff square shaft with visible horizontal joints every couple of feet. Stainless liner reads as a continuous metal tube, often corrugated, usually round, and noticeably smaller than the masonry opening around it.
Paperwork helps too, since a liner installed in the last couple of decades usually came with documentation. Failing all of that, this is the first of a few points in this article where the honest answer is that a camera up the flue settles in minutes what you cannot work out from the hearth.
Rods, rope, or a drill: how the brush actually moves
The head does the scrubbing. Something has to carry it. This is where the real money and the real difference in your afternoon live, and it's the part buyers think about last.
Good to know: the brush head is the cheap part. The rod system is the actual decision, and it's the thing you'll still be using in ten years after you've worn out three heads.
Push rods
Threaded sections, usually fiberglass or polypropylene, that screw together as you feed the brush in. Fiberglass is stiffer and pushes better. Polypropylene bends more, which matters if your flue has an offset in it. You add sections as you go and unscrew them coming back, which is straightforward and slightly tedious.
One warning that catches people: rods thread together, so spinning the brush while pushing can unthread a joint inside the chimney and leave the head up there. Some systems use locking connectors to prevent exactly this. If yours doesn't, keep your rotation consistent.
The weighted rope-and-pulley method
The old way. Two ropes with a weight below the brush, worked by two people or by one with a pulley. Nothing to unthread, and it handles tall straight flues well. It needs roof access and a flue with no offsets for the weight to hang up on.
Drill-driven rotary systems
A flexible shaft and a spinning head, driven by a cordless drill, fed up from the firebox. The appeal is real: no roof, no ladder, and the spinning action reaches corners a straight push doesn't. The trade-offs are that you're working from inside the house, so containment matters enormously, and that these systems have direction-of-rotation rules and speed limits that you actually have to follow. Read the instructions that come with yours. They're not generic.
| Drive system | Best for | Effort | Mess | The catch |
|---|---|---|---|---|
| Push rods, top-down | Straight masonry flues, roof access available | Moderate, mostly ladder work | Low, debris falls to the firebox | You're on the roof |
| Push rods, bottom-up | Stoves and inserts, low-slope or unsafe roofs | Moderate, awkward overhead | High unless the opening is sealed | Soot comes back down at you |
| Weighted rope and pulley | Tall straight flues, no offsets | Low once rigged | Low | Rigging time, roof access, offsets are a problem |
| Drill-driven rotary | Corners, offsets, no-roof jobs | Low physically | High without containment | Rotation and speed rules must be followed |
How to sweep with a chimney brush, step by step
Before you start
The sweep itself is not difficult. The preparation is where people either have a clean afternoon or a black living room.
- The appliance is fully cold, not warm, with no live embers anywhere.
- The flue is measured and the brush matches its size and shape.
- The liner type is confirmed and the bristle material matches it.
- The damper is open, and you know how it operates and how it closes.
- Rods are counted against the height of the chimney, with a couple spare.
- Drop cloths cover the hearth and the floor well past where you think you need them.
- The fireplace opening or stove door is sealed if you're working bottom-up.
- A vacuum rated for fine ash is on hand. A household vacuum will pass soot straight through its filter and back into the room.
- Eye protection and a proper respirator, not a dust mask.
- If you're going up, the ladder is on firm level ground and tied off or footed.
Sweeping top-down
Get on the roof with the brush, the rods, and a bucket for crown debris. Remove the cap if there is one. Feed the brush in, adding rods as you go, and work it in short strokes of a couple of feet rather than long slow passes. Short strokes load the bristles against the wall and knock deposits loose. Long passes just move the brush.
Work down the full length until the brush reaches the smoke chamber, then bring it back up, unthreading as you go. Everything you knocked loose is now on the smoke shelf and in the firebox. Give it fifteen or twenty minutes to settle before you open anything downstairs, because the airborne portion is finer than you expect and it hangs.
Sweeping bottom-up
Same brush, opposite direction, completely different mess problem. You're pushing soot up and it's coming down on you, so the seal at the fireplace opening or the stove door is the whole game. Most rotary kits include a collar or a sheet with a port for exactly this. Use it, tape it properly, and run the vacuum inside the sealed space so the enclosure stays under slight negative pressure.
Feed the brush up through the damper opening, usually the tightest point in the system, and work in the same short strokes. Expect the first section to be the dirtiest.
From the field: the two things that go wrong most predictably are buying before measuring and underestimating the corners. A round brush in a square flue leaves four dark stripes running the height of the chimney, and the homeowner has no way to see them from the firebox. Neither problem announces itself. That's what makes them worth naming.
Containing the mess
Chimney soot is not like sawdust. It's fine, it's greasy, it stains porous surfaces on contact, and it stays airborne long after you think you're finished. Carry the drop cloths out through a door rather than shaking them, vacuum with an ash-rated filter, and wipe rather than sweep. If there's carpet near the hearth, cover more of it than seems reasonable.

What a chimney brush cannot do
Everything above assumes the brush is the right tool. Sometimes it isn't, and the honest version of this article has to say where that line is, because the listing you're about to buy from won't.
Glazed creosote
Creosote doesn't arrive in one form. In its lightest state it's a dry, flaky, sooty layer, and that's what a chimney brush is built to remove. Burn wetter wood, or run a stove damped down for long smoldering fires, or vent into an oversized cold flue, and the deposits get denser: crunchy, shiny flakes that take more work but still come off.
Then there's the third form. Glazed creosote is hard, shiny, and tar-like, fused to the flue wall in a layer that looks almost lacquered. Shine a light up, and if what you see is glossy and black and looks painted on rather than dusted on, that's it.
No chimney brush removes glazed creosote. Not a stiffer one, not a wire one, not a rotary one on a bigger drill. The material doesn't respond to bristles. Getting it off takes a chemical treatment applied over time, or specialized powered equipment in trained hands, and sometimes the liner has reached the end of its service life and the answer is replacement rather than cleaning. It's also the form of buildup most associated with chimney fires, which is why recognizing it beats scrubbing at it and assuming you won.
If you look up and see glaze, stop. The brush wasn't a waste, you'll use it every year once this is dealt with. You've just found something it was never going to fix.
Sweeping is not inspecting
Myth vs. fact: the myth is that a swept chimney is a checked chimney. The fact is that they're two separate jobs and doing one tells you almost nothing about the other. You can run a brush the full height of a flue, get it beautifully clean, and never learn that a tile is cracked, that a liner has a gap at a joint, that flashing is leaking, or that mortar between tiles has washed out.
Those findings are visual. They come from a camera and a trained eye going up the flue and looking at it, not from bristles going past them. A brush tells you the flue is clean. It cannot tell you the flue is sound, and a cracked tile or a washed-out joint is a repair question rather than a cleaning one.
There's a formal version of this distinction. NFPA 211 defines inspection levels, and a Level 2 inspection, which includes video scanning of the flue interior, is called for at specific triggers: when a property is sold or transferred, when the system is changed (a different fuel, a different appliance, a change to the flue's shape or material), after a malfunction, after a chimney fire, and after an external event likely to have caused damage. Those are the moments where booking a chimney inspection matters more than cleaning. The Chimney Safety Institute of America's general guidance on when to sweep is roughly an eighth of an inch of buildup on the flue walls, which is a separate question with a separate answer.
The tool isn't the risk, the roof is
I want to be plain about this one because it gets skipped. The chimney brush is not dangerous. The ladder is. A wet or steep or moss-covered roof in the fall, which is exactly when people sweep, is a bad place to learn your limits.
If your roof is steep, or high, or you're working alone, or you just look at it and feel wrong about it, that's a complete and sufficient reason to have someone else do the part that happens up there. It isn't a failure of nerve. Bottom-up rotary systems exist partly for this reason, and hiring out the rooftop portion is a normal thing people do.
Ready for a second set of eyes? You measured, you bought the right brush, and you did the work. If the flue told you something the bristles couldn't fix, glazed buildup, a liner you can't identify, a crack you weren't expecting, a camera answers what the brush can't. VIO connects homeowners with independent local chimney companies that can take a look. Call (513) 655-6702 or request service online.
How VIO helps when the brush stops being the right tool
Plainly: VIO does not sweep chimneys. VIO is a referral service. We don't employ chimney technicians and we don't send crews. What we do is connect homeowners with independent local chimney companies, and the company we match you with does the work under its own name. Ask that company directly for its license and insurance details, and check them yourself, the same as you would with any contractor.
That's a useful thing specifically at the four points this article keeps arriving at. You can't identify what your flue is lined with, and that answer decides which brush is even safe to use. You looked up and found hard, glazed buildup that no brush will touch. You swept successfully but saw a crack, a gap, or something you couldn't interpret. Or you looked at the roof and decided, reasonably, that it isn't yours to climb. Every one of those is a question for someone with a camera and a ladder, and none of them is a reason to stop doing your own maintenance.
On money: we ask every company in the network to put its estimate in writing before any work starts, and you should insist on exactly that. Ask what the inspection covers, ask whether video scanning is included, and ask for the findings in a form you can keep. A professional from an independent local chimney company you connect with should have no problem with any of those requests.
Still holding the brush? Good. Keep it. Call when the chimney shows you something it can't fix: glazed creosote, an unknown liner, a crack or gap you spotted mid-sweep, or a roof you've decided against. VIO will match you with an independent local chimney company in your area. (513) 655-6702.
Symptom checker
What is your chimney doing?
Tap the closest match for an honest first answer.