



On this pageWood Stove Pipe Installation Starts With Two Different Pipes8 sections+7
- Wood Stove Pipe Installation Starts With Two Different Pipes
- The Parts, In Order, From The Stove Upward
- Clearances To Combustibles, And Why Your Number Is Not The One Online
- Two Routes Out: Straight Up, Or Through The Wall
- What If You Already Have A Masonry Chimney?
- Permits, Inspection, And Where A Wood Stove Pipe Installation Should Stop Being A DIY Project
- How VIO Helps With A Wood Stove Pipe Installation
- Getting A Wood Stove Pipe Installation Right The First Time
Quick answer
A wood stove pipe installation uses two different listed products. Black connector pipe runs from the stove toward the ceiling and is permitted only inside that room. Where the run crosses a ceiling, wall or floor, it must change to listed Class A chimney pipe built to UL 103 HT. Clearances come from the manufacturer's listed manual, and the chimney must meet the 3-2-10 height rule above the roof.
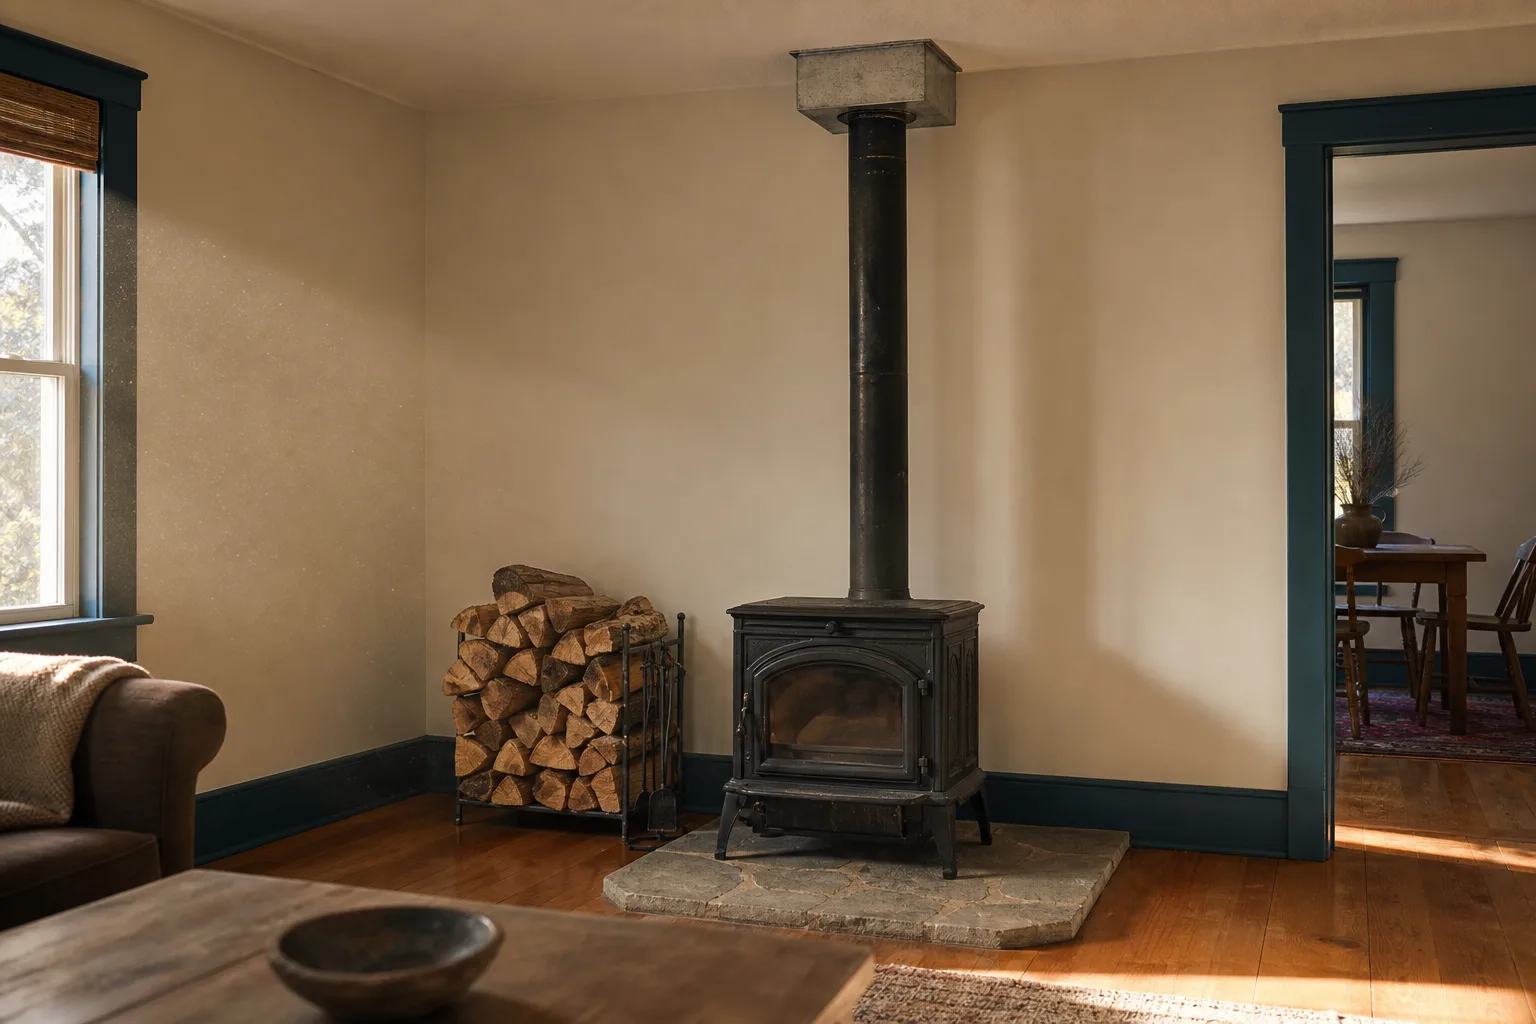
There is a moment in a wood stove pipe installation where a homeowner ends up standing in the living room holding two sections of pipe, and neither end looks obviously like the top. That moment is harmless. The mistake that actually matters happens about six feet higher, at the ceiling, and it happens because of a distinction that belongs at the top of every guide on this subject.
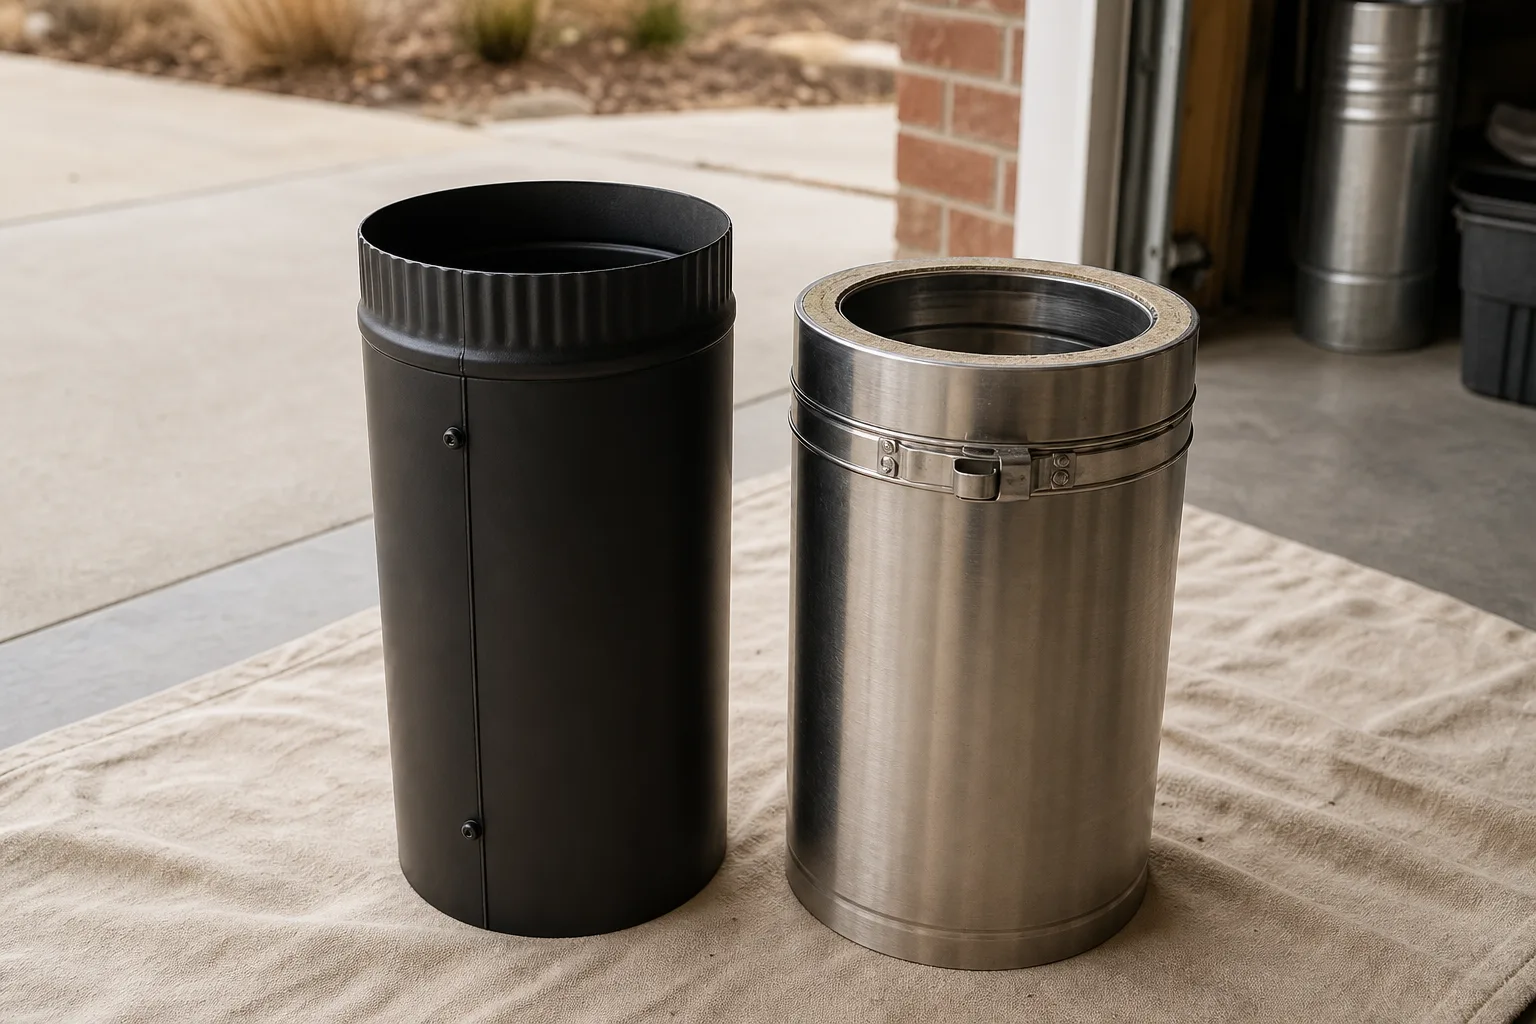
The black pipe that leaves your stove and the chimney that stands above your roof are not the same product. They are not even close. One of them is allowed in the room and nowhere else. The other one is the only thing permitted to cross a ceiling, a wall, or a floor.
Get that swap point wrong and you have built something an inspector will fail, and you will find out after the hole is already cut.
So this guide is built from the stove upward. What each piece is, where one ends and the next begins, how far everything has to sit from anything that can burn, and which of the two routes out of your house actually fits the house you own.
One more thing worth saying early. We do not sell pipe. That changes what we are willing to tell you, including where you should stop.
Wood Stove Pipe Installation Starts With Two Different Pipes
Here is the single sentence that unlocks this entire topic.
Stove pipe stays in the room. Chimney pipe crosses the building.
The connector pipe that stays in the room
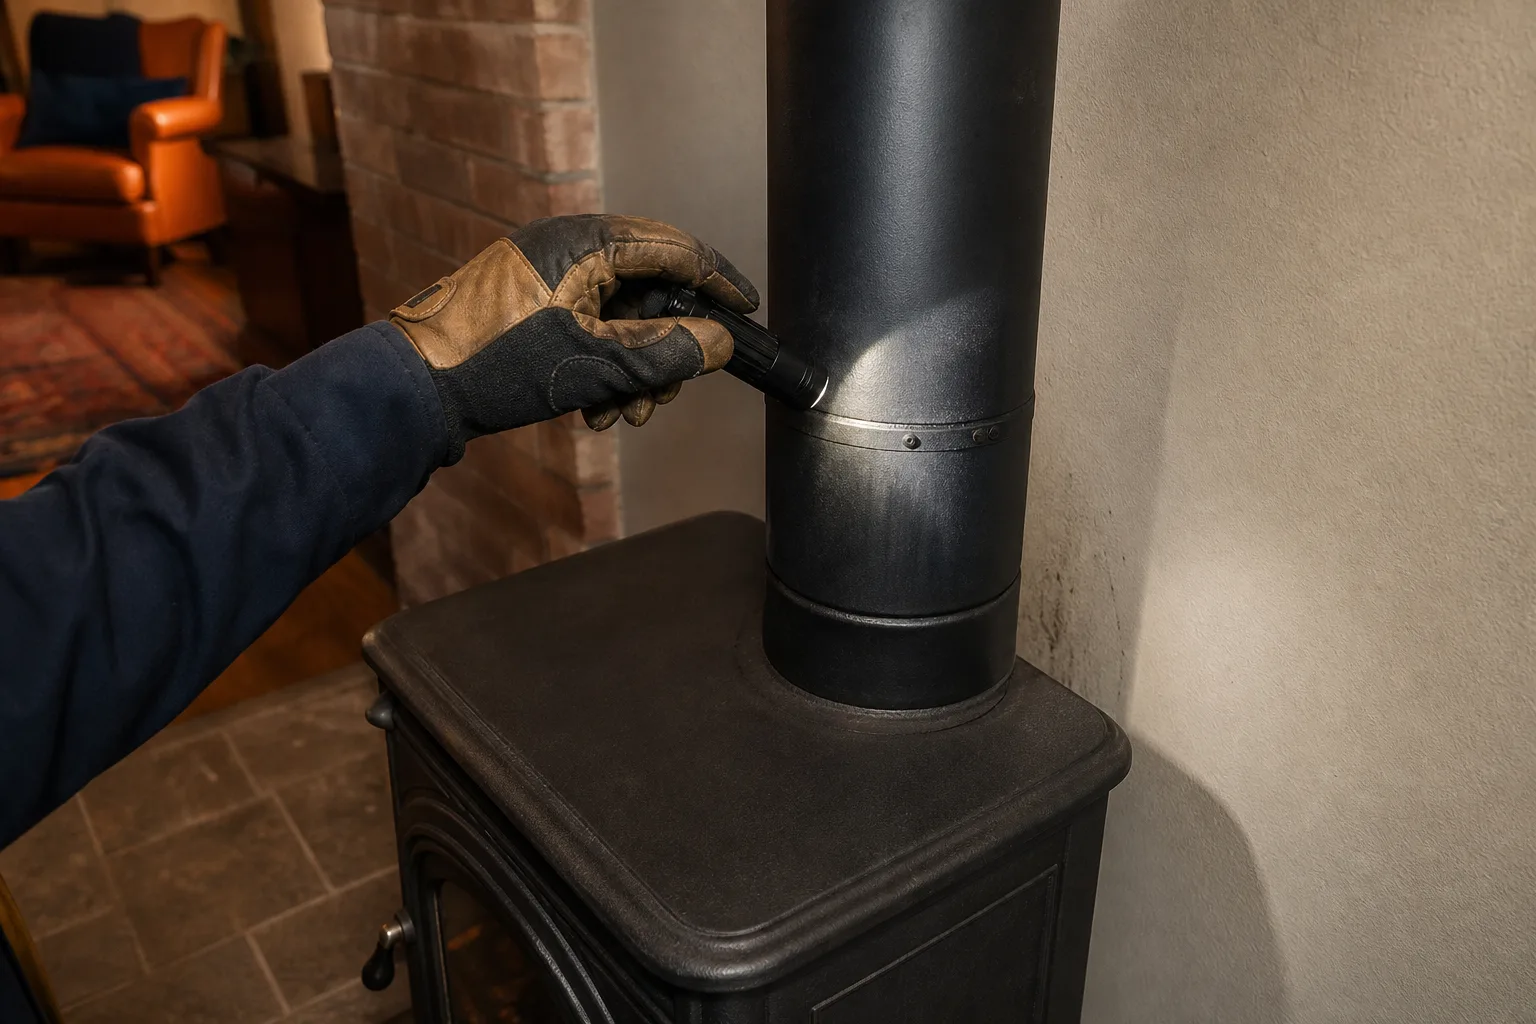
The pipe that runs from the flue collar on the back or top of your stove up toward the ceiling is called connector pipe, or stove pipe. It is the black one. It is thin, it is meant to be seen, and it radiates heat into the room on purpose.
Connector pipe is permitted only inside the room where the stove sits. That is the whole extent of its job.
The Class A chimney pipe that crosses the building
The moment the run passes through a ceiling, a wall, or a floor, it has to change to listed Class A chimney pipe, built and tested to UL 103 HT. Class A is the bright stainless product with the twist-lock bands at every joint. It is insulated, it is heavy, and it is the only part of the system rated to sit inside your house's structure and stand above your roof.
You cannot run black stove pipe through the ceiling and call it a chimney. It is a different listing and a different product.
Good to know: The swap from connector pipe to Class A chimney pipe is not a style decision or a budget decision. It is defined by where the pipe crosses the building envelope, and it is the first thing an inspector will look for.
Once you have that distinction, the rest of a wood stove pipe installation is mostly a matter of putting the right parts in the right order and holding the right distances.
The Parts, In Order, From The Stove Upward
People go wrong here by shopping before they have sequenced. Walk the run first, in order, and the parts list for a wood stove pipe installation writes itself.
Inside the room
Start at the stove's flue collar. Connector pipe rises from there, either straight up or with a turn to reach the chimney's position.
Two rules shape this stretch. The connector should slope upward toward the chimney rather than running level or downhill. And the run should contain no more than two ninety degree turns, because every turn adds resistance that impedes the flow of smoke and gases.
Joints get three sheet metal screws each. Furnace cement seals between the pieces.
Pro tip: The male end of connector pipe points down, toward the stove. It feels backwards the first time. The logic is simple: anything that runs down the inside of the pipe should stay inside the pipe rather than finding a seam and dripping onto your floor.
Through the ceiling and the attic
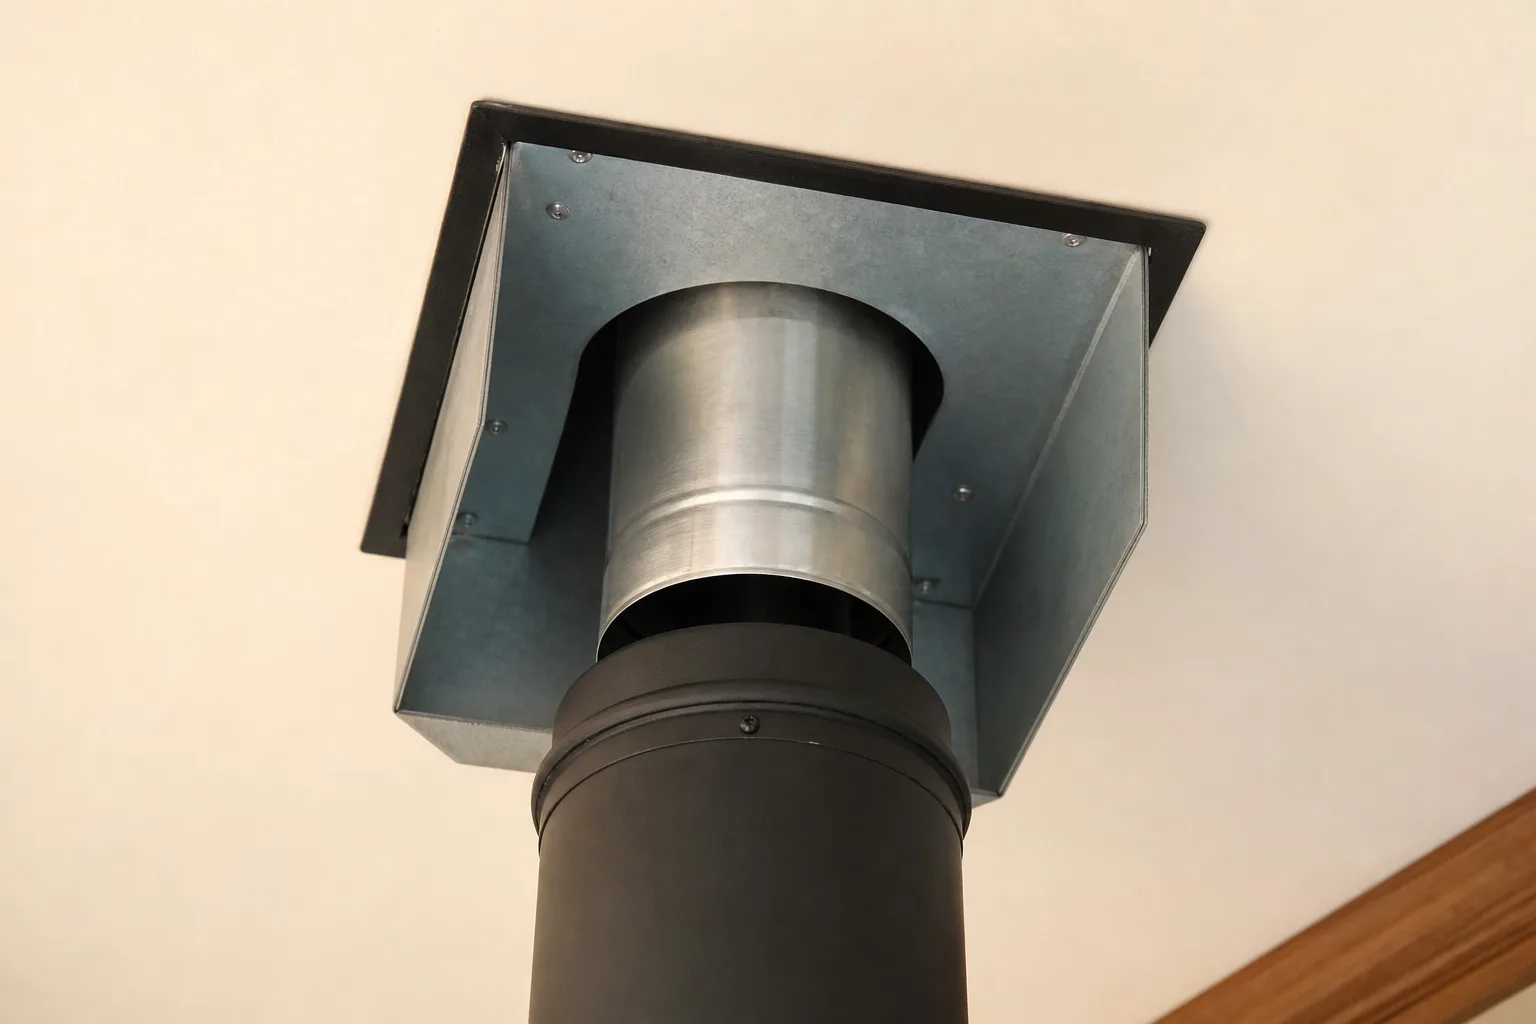
At the ceiling, a support box gets framed in and fastened to the ceiling joists. That box is the structural handoff. The connector pipe ends at the bottom of it, and the Class A chimney pipe begins at the top of it and is carried by it.
In the attic, the Class A run continues upward, and an insulation shield stands around it to hold blown or batt insulation back off the pipe. That shield is not optional trim. It is what keeps insulation from resting against a hot chimney.
Through the roof
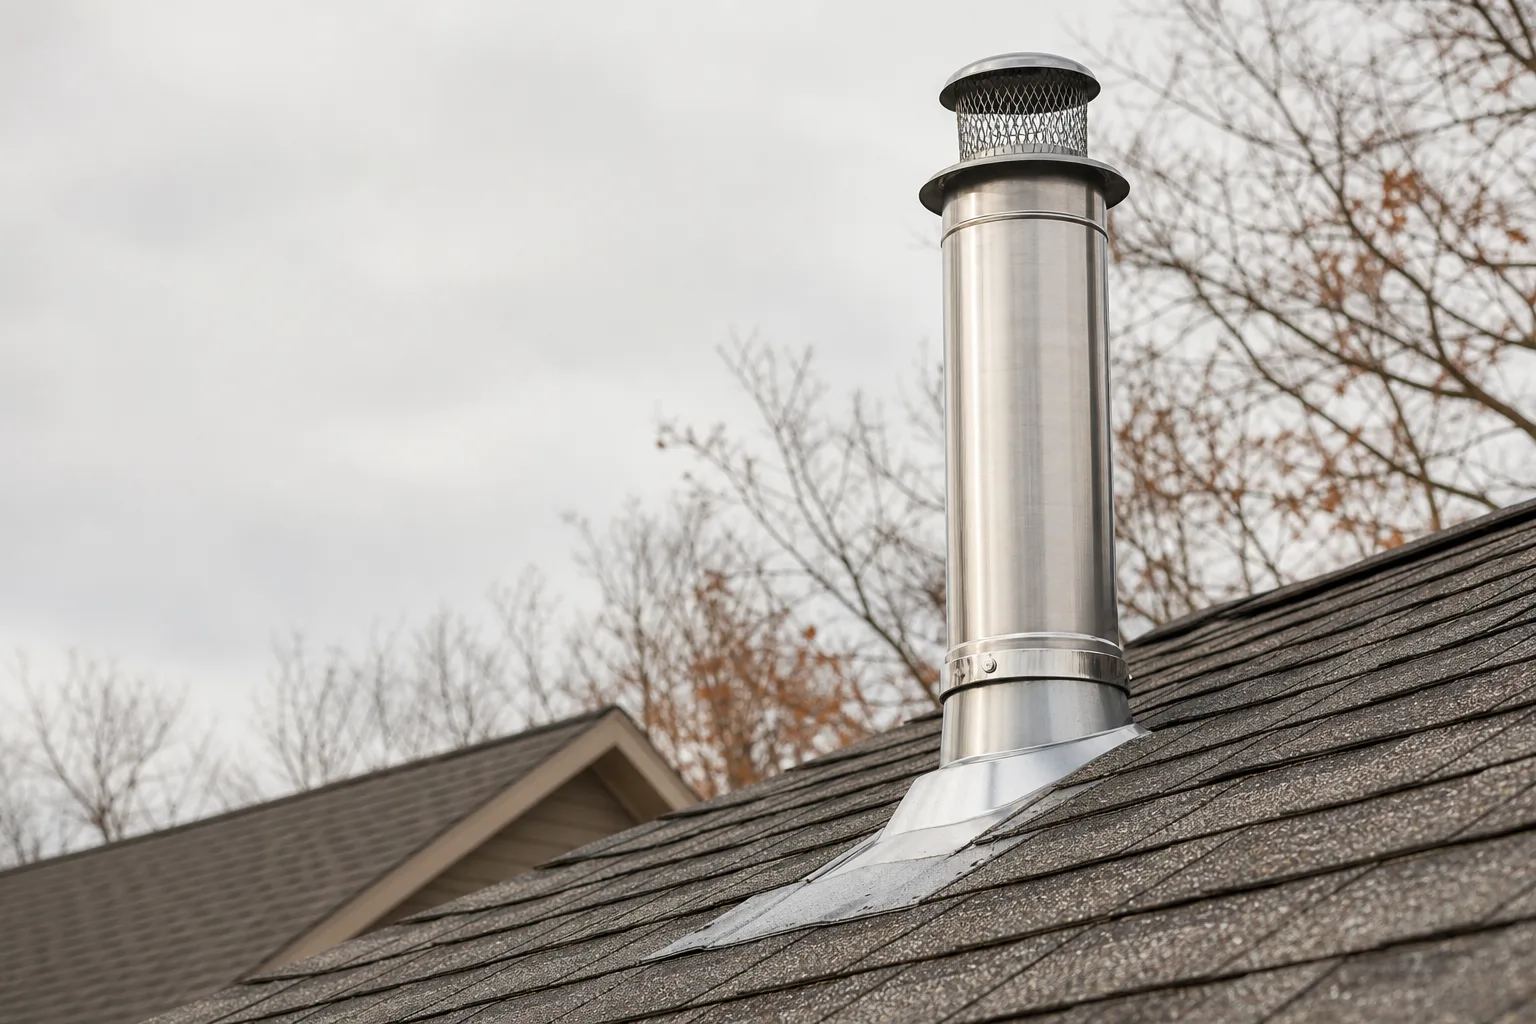
At the roof, flashing tucks under the shingles on the uphill side and lies over them going down. A storm collar clamps around the pipe just above the flashing and gets sealed.
Above that, the chimney continues to its required height and terminates in a cap with a spark arrestor screen.
That is the whole sequence for a straight-up run. Nine parts, in order, and each one hands off to the next.
Clearances To Combustibles, And Why Your Number Is Not The One Online
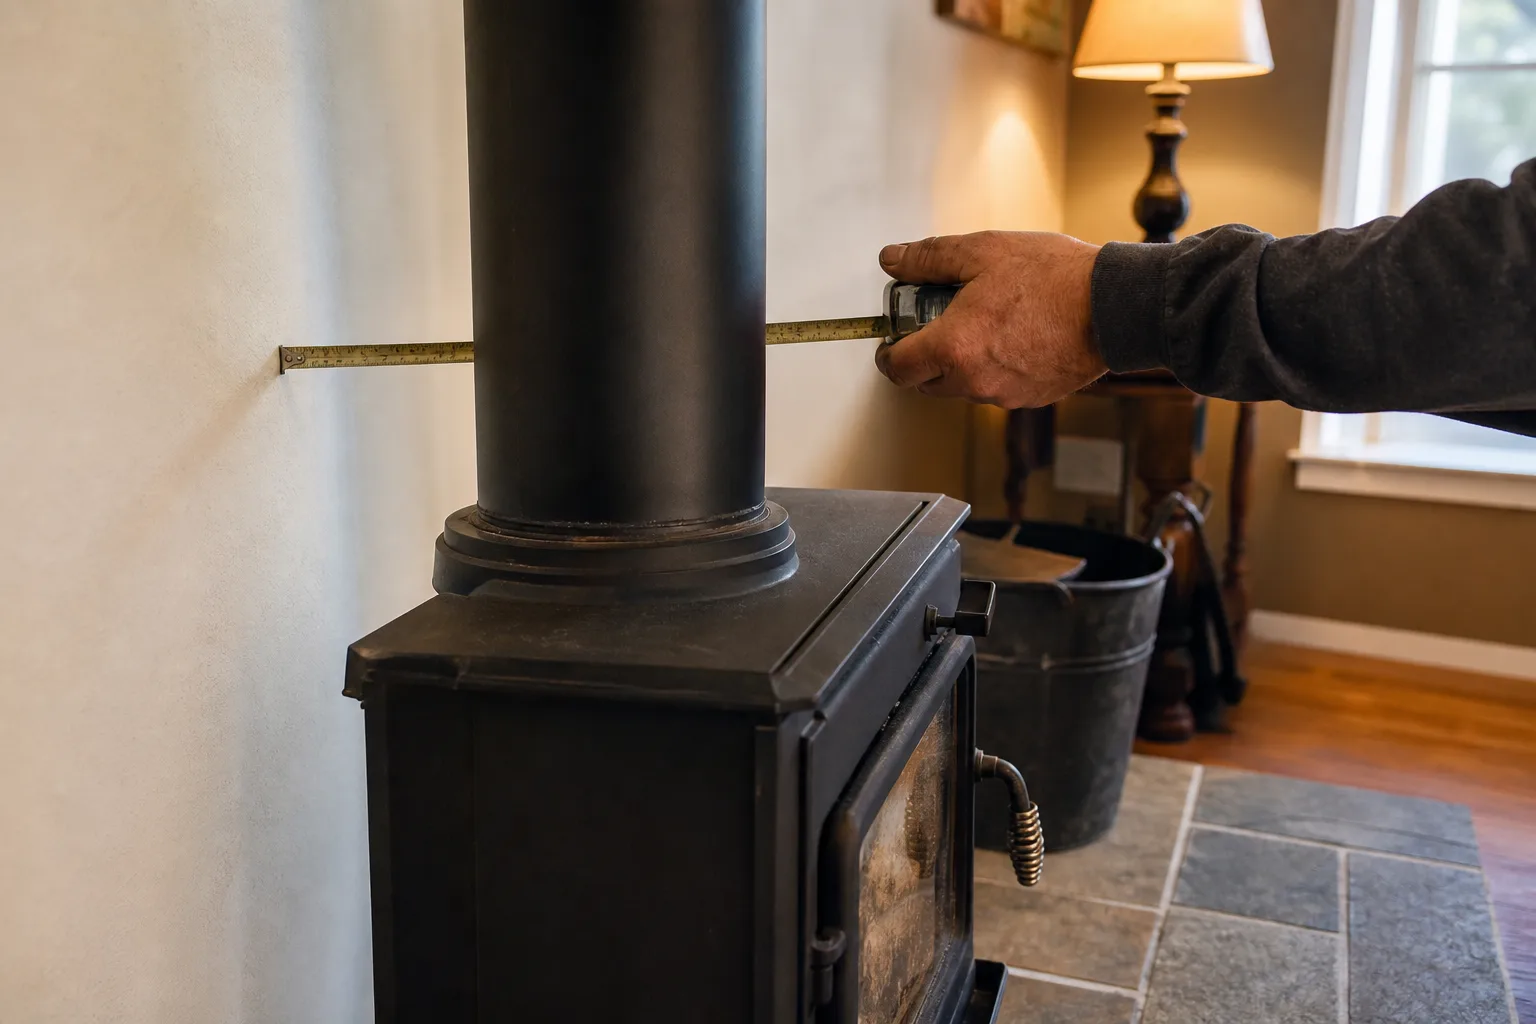
This is the section where most articles hand you a number and move on. The number matters. What governs the number matters more.
Here are the NFPA 211 defaults.
Single-wall connector
Single-wall black stove pipe holds 18 inches to a combustible wall. That is a lot of room, and it is the reason many planned installs get redrawn once someone actually measures.
Fit a listed heat shield to single-wall pipe and that distance drops to 6 inches to the wall and 9 inches to the ceiling.
Double-wall connector
Double-wall connector pipe is built with a stainless inner wall, a painted outer wall, and an insulating air layer between them. The gap keeps the outer surface cooler, which is why its listed clearance is shorter: commonly 6 inches to a combustible wall and 8 inches to a combustible ceiling.
Double-wall is the answer when 18 inches simply is not there.
Class A chimney pipe
Class A chimney pipe carries 2 inches of clearance to combustibles. That tight number is possible because the insulation is built into the product, and it is why the ceiling support box and the attic insulation shield exist: to guarantee those 2 inches at every point where the pipe passes through framing.
Safety note: Every clearance above is measured to a combustible assembly, meaning framing, drywall on wood studs, trim, joists, and anything else in that class. The manufacturer's UL-listed installation manual that came in the box with your pipe and your stove takes priority over these defaults, and some listings permit shorter distances than NFPA 211 does. Your local building department can also require more. The manual governs, not the internet, and not this page.
That last point deserves repeating in plain language, because it is the most useful thing anyone will tell you about a wood stove pipe installation. The clearance figure you read in a blog post is a default. The figure that applies to your house is printed in the instructions for the specific pipe you bought and the specific stove you own. When they disagree, the manual wins.
Two Routes Out: Straight Up, Or Through The Wall
Every wood stove pipe installation leaves the building one of two ways, and your house is going to pick for you more than your preference will. Still, you should understand what you are choosing between before you look up at the ceiling and guess.
The through-ceiling route
The pipe rises from the stove, crosses the ceiling in a support box, continues through the attic in an insulation shield, and exits through the roof.
It is the shortest path, it keeps the whole chimney warm inside the building, and it gives the straightest run with the fewest turns. It also means cutting into finished ceiling, working around joists and rafters that will not move for you, and finishing on the roof.
The through-wall route
The pipe turns behind the stove, passes through the exterior wall in an insulated wall thimble, meets a tee on the outside, and climbs the exterior of the house on standoff brackets.
No ceiling gets cut. No attic gets involved. The tee at the bottom gets a capped cleanout, which is genuinely convenient for sweeping.
The tradeoff is that the chimney now lives outside, cold, on the windward face of whatever weather your town gets, and it adds turns to the run.
How to choose for your house
| Through the ceiling | Through the wall | |
|---|---|---|
| What gets cut | Ceiling, attic floor if finished, roof | One exterior wall |
| Roof work | Yes, flashing and storm collar | None at the penetration |
| Framing to work around | Ceiling joists and rafters | Wall studs at one point |
| Where the chimney sits | Inside the heated envelope | Outside, on the exterior wall |
| Turns in the run | Fewest | At least one, often two |
| Cleaning access | From the cap, or from the stove | Cleanout tee at the base |
| Fits best when | There is a clear vertical path up through the house | The path up is blocked by framing, a second floor, or a room above |
Myth vs. fact: People assume the wall route is the easy shortcut because it avoids the roof. It avoids one kind of work and adds another. You trade roof flashing for an exterior chimney that needs bracing, and you trade a straight run for turns. Neither route is the simple one.
Pick the route your framing allows, then design the parts list around it. Doing it the other way around is how people end up with a hole in a ceiling and a joist exactly where the pipe needs to be.
Not sure which route your house actually allows? Tell us about your stove and your roof, and we will match you with a local chimney company that can look at the actual framing before anything gets cut. Call (513) 655-6702 or request service online.
What If You Already Have A Masonry Chimney?
Some of the people reading this are not building a chimney at all. They have one. It came with the house, it served a fireplace, and now there is a stove that needs somewhere to vent.
That is a different project from a from-scratch wood stove pipe installation, and the pages ranking for this subject are quiet about it.
Connecting a stove to an existing flue
The short version: an existing masonry flue is a candidate, not a given. It was sized and built for whatever appliance it originally served, and a wood stove is a different appliance with different requirements.
What has to be established before anything gets connected is whether the flue is sound, whether it is correctly sized for this stove, and whether it needs a liner. Connector pipe still applies the same way, running from the stove to the thimble in the masonry, with the same clearance rules to a combustible assembly along the way.
From the field: The chimneys that cause the most trouble in this situation are the ones that look perfectly fine from the driveway. Condition lives on the inside of the flue and at the top of the stack, and neither is visible from the ground.
If you are weighing a liner as part of this, the material and sizing decisions are their own subject, and they belong to whoever inspects the flue rather than to a parts catalog.
Permits, Inspection, And Where A Wood Stove Pipe Installation Should Stop Being A DIY Project
Permit requirements for this work vary by jurisdiction. Call your building department before you buy anything, and confirm which permits yours requires, whether a mechanical permit comes with the building permit, and when the inspector wants to see the work.
Pulling the permit is not the obstacle people expect it to be. Skipping it is the choice that comes back on you, because an unpermitted install gets discovered at the worst possible time, which is when someone else is inspecting your house for their own reasons.
What the inspector is looking at
Run this before you call anyone. Every item on it is something the standards or the listing actually address.
- Connector pipe present only inside the room, with listed Class A chimney pipe everywhere the run crosses a ceiling, wall, or floor
- Male ends of connector pipe pointing down toward the stove
- Three sheet metal screws at each connector joint
- Connector sloping upward toward the chimney, no downhill sections
- No more than two ninety degree turns in the connector run
- Clearance to every combustible assembly measured and met, checked against the listed manual rather than a default
- Heat shields, if you are relying on reduced clearances, listed for that use and installed the way the listing describes
- Ceiling support box fastened to the joists, and an insulation shield in the attic holding insulation off the pipe
- Flashing under the shingles uphill and over them downhill, with a sealed storm collar
- Chimney height meeting the 3-2-10 rule: at least 3 feet above the point where it exits the roof, and at least 2 feet higher than any part of the building within 10 feet horizontally
- Listed cap with a spark arrestor at the top
- Stove sitting on floor protection as its own manual requires
The honest line on a DIY wood stove pipe installation
Assembling connector pipe in a room, on a floor you can stand on, measuring to a wall you can reach, is ordinary careful work. Plenty of capable people do it well.
The work changes character at three points.
The first is the ceiling penetration, because you are now cutting structure, and the clearance you create has to be right permanently, inside a cavity nobody will look into again.
The second is the roof, which is a fall risk and a water intrusion risk at the same time.
The third is any existing masonry chimney, because assessing a flue is an inspection skill, not an assembly skill.
Safety note: Stop and bring in a chimney professional if you cannot confirm what is above the ceiling before cutting, if the clearance you can achieve is shorter than the listed manual allows, if the roof pitch or height is beyond what you can work on safely, or if you are tying into masonry whose condition has not been established. None of these are judgment calls you want to make optimistically.
How VIO Helps With A Wood Stove Pipe Installation
VIO is not a chimney company. VIO is a matching service that connects homeowners with independent chimney companies working in their area, and those companies do the work.
For this situation, that means you describe what you have. The stove and its make, the room, whether the path up is clear, what is above the ceiling, whether there is an existing masonry chimney in play, and what your roof looks like. We match you with a local company that handles wood stove pipe installation. We ask every company in the network to work to the manufacturer's listed instructions for your stove and your pipe and to handle the permit your town requires, and you should confirm both of those with the company directly before anything gets scheduled.
On estimates: we ask every company in the network to put its estimate in writing before any work starts, and you should insist on exactly that. Ask what route they are proposing, what clearance figures they are working to, and where those figures come from. A company that answers those three questions clearly is a company worth hiring.
And if you plan to do most of the assembly yourself, you can still bring in a local company for the ceiling penetration and the roof work alone. That is a normal way to split this job.
Getting A Wood Stove Pipe Installation Right The First Time
The thing to carry away from all of this is smaller than it looks. The run is one continuous path from the flue collar to the cap, and it changes product at exactly one place: where it leaves the room.
Know where that place is in your house. Choose the route your framing allows rather than the one you pictured. Hold the clearance the listed manual specifies, to every combustible assembly, and meet the 3-2-10 rule at the top.
Do that and you walk into the inspection with a wood stove pipe installation built to the documents that actually govern it, which is the strongest position you can be standing in.
Then go sort out the firewood, because that turns out to matter more than people expect.
Ready to get your wood stove pipe installation planned properly? VIO connects you with independent chimney companies in your area. Describe the stove, the room and the roof, and we will match you with a local company. Ask it which listed instructions it is working to and who is pulling the permit, before anything gets scheduled. Call (513) 655-6702 or request service online.
Symptom checker
What is your chimney doing?
Tap the closest match for an honest first answer.