



On this pageWhat Fireplace Restoration Actually Means7 sections+6
- What Fireplace Restoration Actually Means
- Start With a Flashlight: Reading Your Own Fireplace
- The Structural Half of Fireplace Restoration
- The Cosmetic Half: Making It Look the Way You Want
- Restore, Rebuild, Insert, or Refinish: Choosing a Fireplace Restoration Path
- What Fireplace Restoration Will Not Fix
- How VIO Helps With Your Fireplace Restoration
Quick answer
Fireplace restoration covers two kinds of work under one word: structural repair of the firebox, firebrick, refractory mortar, smoke chamber, damper and flue liner, and cosmetic work on the surround, hearth, mantel and brick finish. The order matters. An inspection comes first, structural repairs second, and finishes last, because tile or limewash applied over failing masonry has to come off again when the masonry is addressed.
Two people type fireplace restoration into a search box on the same afternoon and mean opposite things by it.
One is standing in front of a dark brick wall built in 1974, a fireplace that works perfectly well and looks like a bad memory. The other just bought a 1926 colonial and was told, in passing, at the closing table, that the previous owners "never really used" the fireplace.
Same two words. Completely different job.
That confusion is the whole problem with this subject, and almost every page you will find on it makes it worse by listing services instead of helping you figure out which half of the work you are actually in.
So let us do it the other way around. What follows is how to look at your own fireplace, tell cosmetic from structural, and decide what gets done first.
What Fireplace Restoration Actually Means
Fireplace restoration is an umbrella word covering two trades that happen to meet at the same wall.
On one side there is the safety and structural work: the firebox, the firebrick and the mortar holding it together, the smoke chamber, the damper, the flue liner. This is the part that decides whether you can light a fire.
On the other side there is everything you can see from the couch: the surround, the hearth, the mantel, the finish on the brick. This is the part that decides whether you want to.
Good to know: One word, two trades. The person who can rebuild a firebox to code is not necessarily the person with an eye for a limewash finish, and the tile installer is not qualified to judge your smoke chamber. Plenty of restoration projects involve both, sometimes on different days.
Two people, the same two words
If your fireplace still draws properly and your complaint is visual, you are in a finish project, and your main risk is spending money on a surface that sits in front of a problem.
If your fireplace has not been lit in years, or smells, or smokes into the room, you are in a repair project first. The good news is that the visual upgrade you wanted is usually still on the table afterward, often for less disruption than you feared.
Most people, once they look closely, find they are somewhere in the middle.
Restoration, repair, and remodel are not synonyms
Repair is narrow. Something specific failed and it gets fixed: a cracked panel, a seized damper, a course of spalled brick.
Remodel is aesthetic. The fireplace functions, and you are changing how it looks and how it sits in the room.
Fireplace restoration is the word that covers both, plus the diagnostic work in front of them. It is what you say when you want the fireplace returned to a condition where it is safe, functional, and something you are glad to look at, and you do not yet know how much of each that will take.
The order that saves money
Here is the sentence nobody selling you a mantel is going to lead with.
Finish work goes last. Always. Structure, then surface.
Tile set over a firebox with failing joints has to come off when the joints get addressed. A new stone surround built around a chimney with a water problem gets stained from behind. Every dollar spent on looks before the bones are sound is a dollar you have a decent chance of spending twice, and the repair work underneath still has to happen.
That is not a sales position, it is just sequence. And it is the single most useful thing to take away from this page.
Start With a Flashlight: Reading Your Own Fireplace
You can learn a surprising amount in ten minutes with a flashlight, a cold fireplace, and no money spent.
Do this when the fireplace has not been used for at least a day. Open the damper, put down a towel, and get your head in there.
The firebox
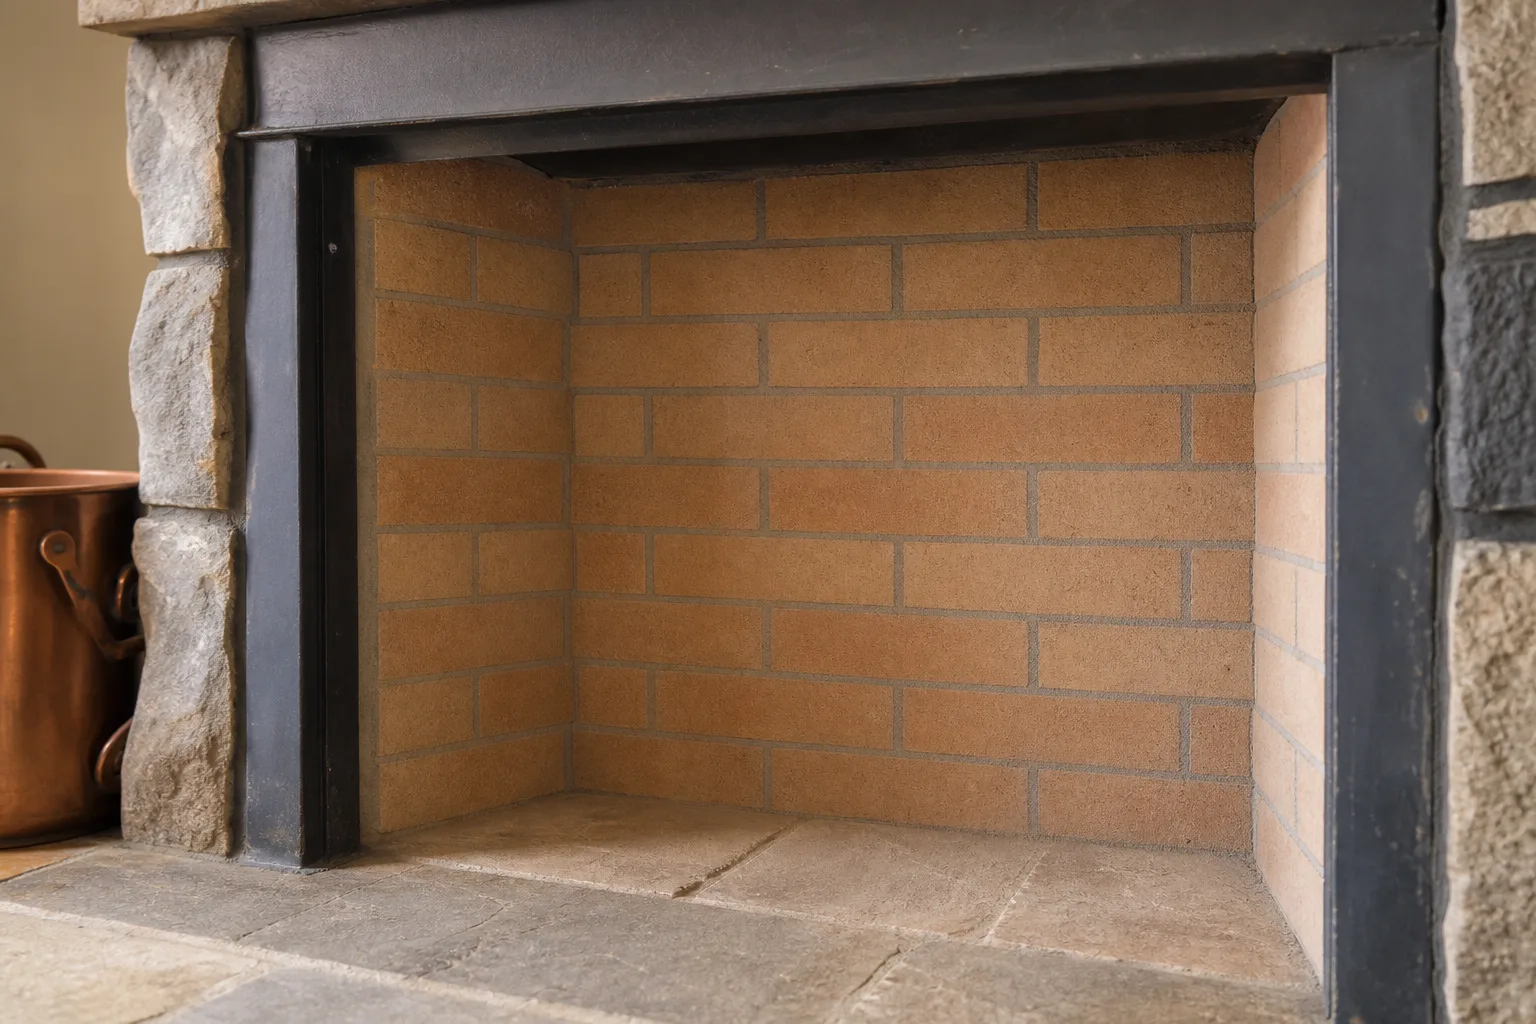
The firebox is the chamber the fire sits in. In a masonry fireplace it is built from firebrick, which is buff or tan colored, not the red brick of the outside of the house, with thin light gray joints between the bricks.
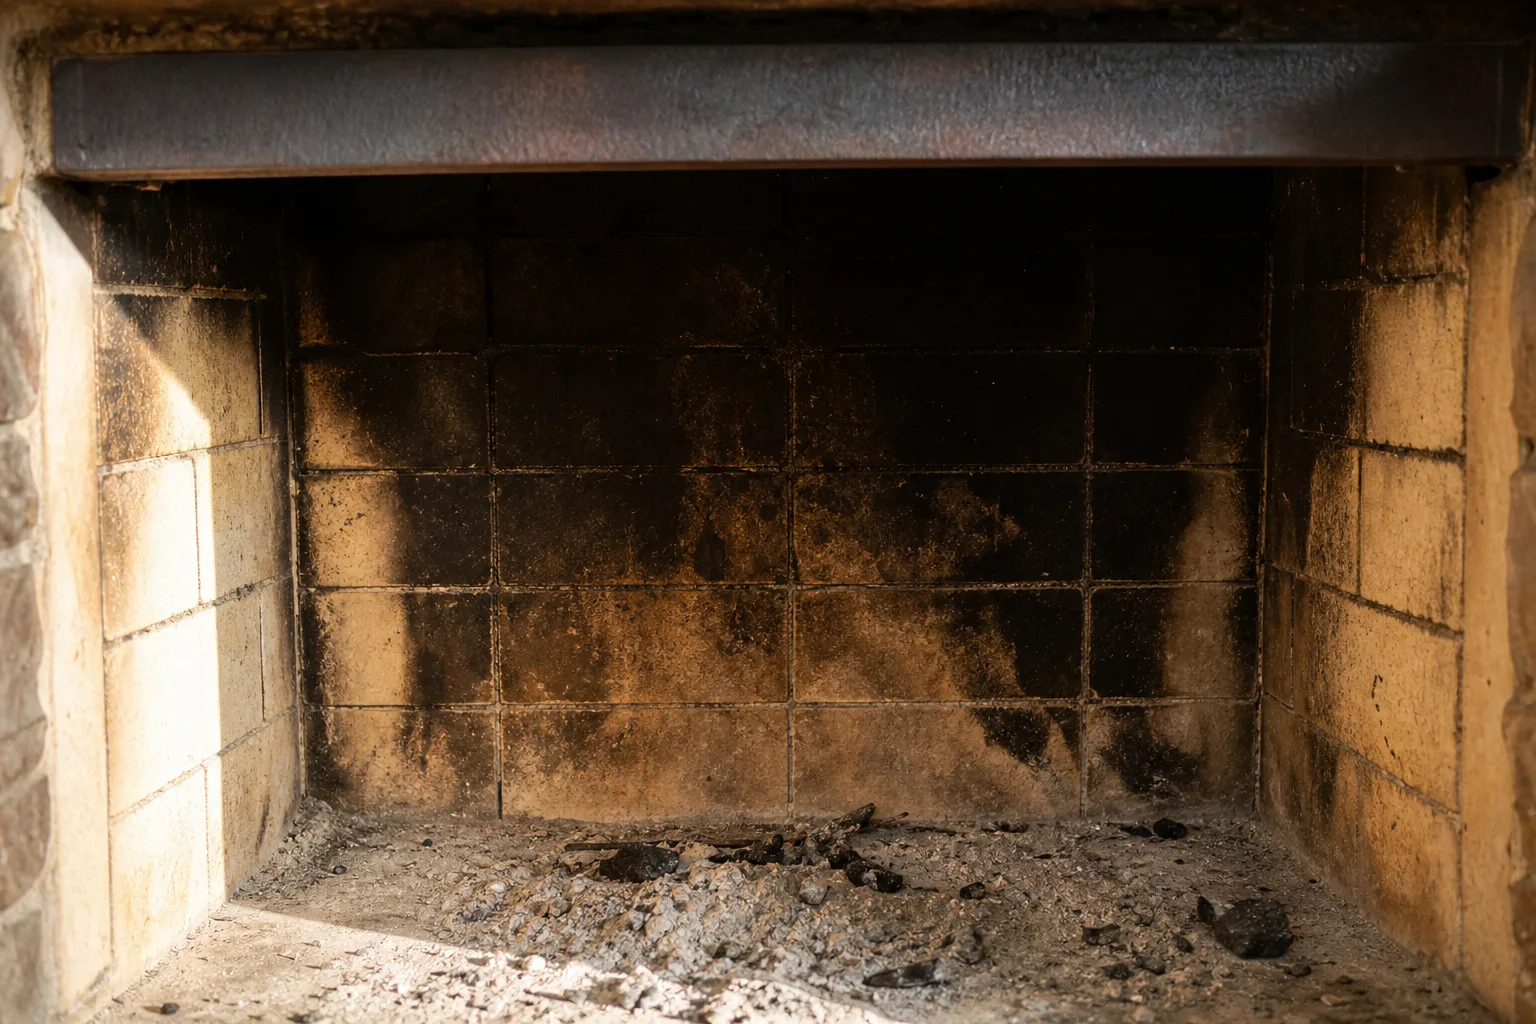
Real fireboxes are black with soot. That is not a defect. What you are looking for is what the soot hides.
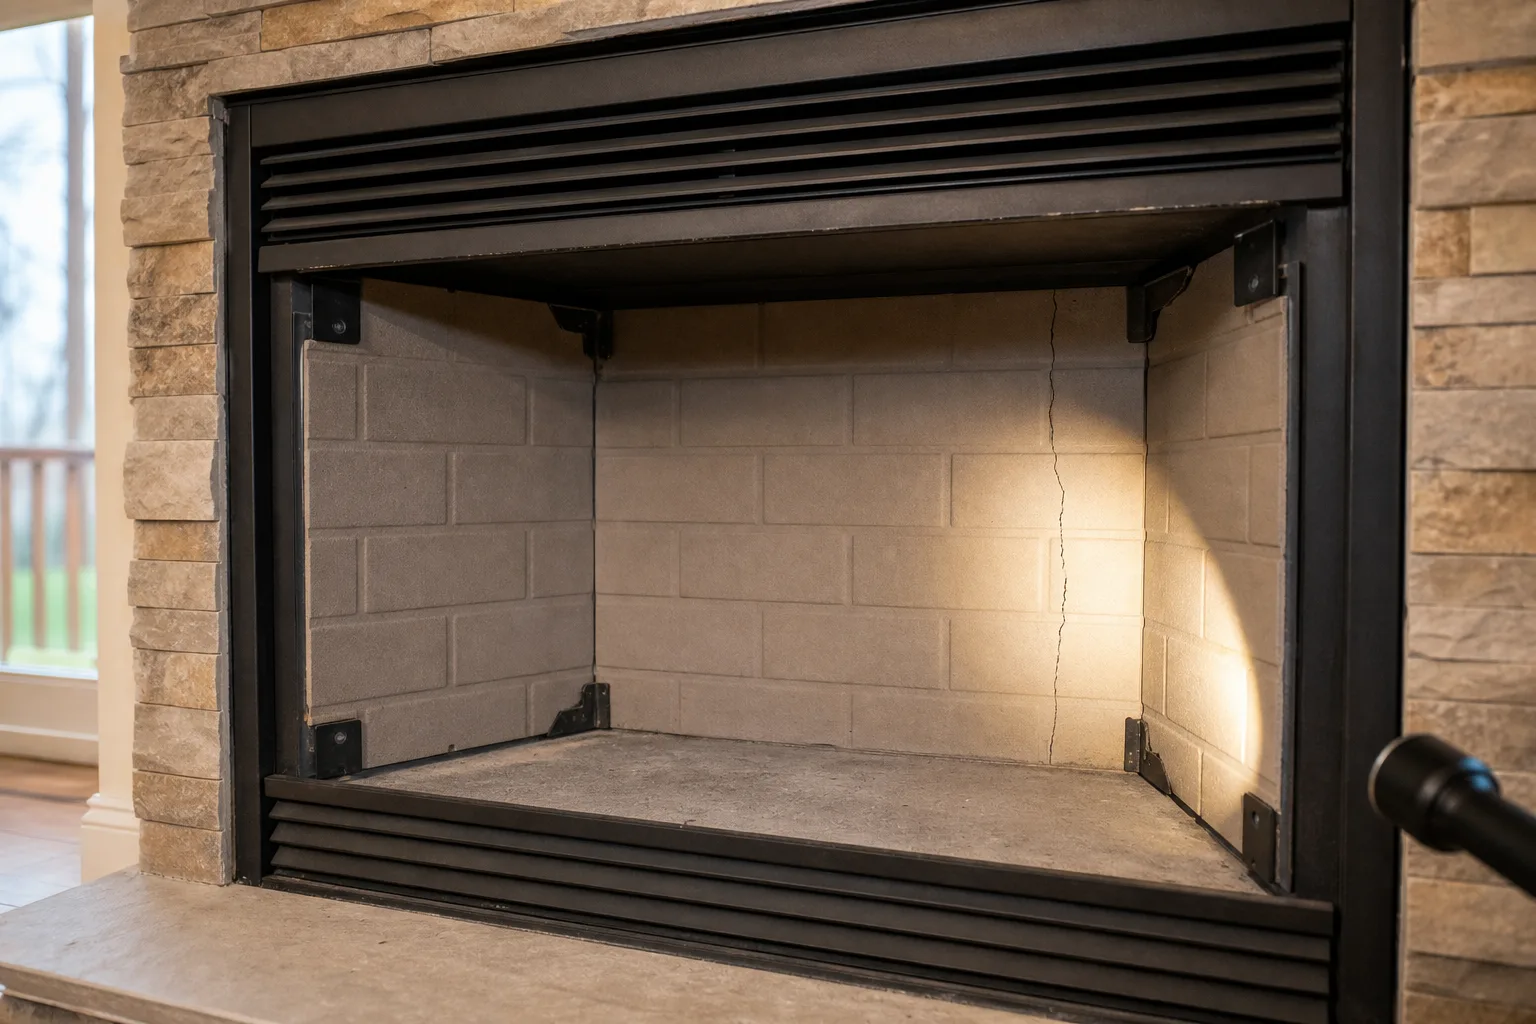
Run the light across the back and side walls. You want to find cracks that run through the face of a brick rather than along a joint, brick faces that have sheared off and left a pale raw patch against all that black, and joints that have receded into dark gaps where mortar used to be. White chalky staining is worth noting too, because it usually means water is getting in from somewhere.
If your firebox is smooth molded panels with a brick pattern pressed into them rather than individual bricks, you have a factory-built fireplace, and the rules are different. Those are refractory panels, and they are a manufactured component with their own replacement path.
The damper and the smoke chamber
Reach up past the top of the firebox opening. The damper is the metal plate that opens and closes the throat, usually operated by a lever or a twist handle.
Work it. It should move without a fight and seat flat when closed. Warped, rusted solid, or clearly not sealing are all findings worth writing down, and a damper that does not seal is quietly costing you heated air all winter whether or not you ever light a fire.
Above the damper is the smoke chamber, the funnel-shaped space that narrows into the flue. Shine the light up. If you see rough stair-stepped brick ledges, it was never parged smooth. If you see a smooth gray cone, it was.
The flue liner
Look straight up if you can see past the damper. A masonry chimney is usually lined with stacked clay flue tiles, orange-tan, square or round, with mortar joints between them.
You are not going to be able to inspect a flue properly from the firebox floor, and anyone who tells you otherwise is selling something. A real look means a camera.
Safety note: Under NFPA 211, a flue liner with cracked tiles or missing mortar at the joints does not meet the standard, and the chimney is considered unsafe to use until it is corrected. That is not a maybe. If you can see a cracked tile from below, stop planning finishes and get the flue scanned.
The surround, hearth, and mantel
Now back out and look at the room-facing part. The surround is the face, brick or stone or tile or marble. The hearth is the floor slab extending into the room. The mantel is the shelf.
Check for loose or drummy tiles, cracked grout, chips in stone, and a mantel that is pulling away from the wall. None of this is dangerous in the way a cracked liner is. All of it is on the list for later.
When the standard says stop and get a Level 2 inspection
NFPA 211 calls for a Level 2 inspection, the kind that includes a camera scan of the flue interior, in five specific situations:
- when a home with a chimney is sold or transferred to a new owner
- when the system changes (a new appliance, a different fuel, a new liner)
- after a malfunction, including smoking into the room or a draft that reversed
- after a chimney fire
- after an external event such as a storm, an impact, or an earthquake
Read that first line again if you bought your house recently. That inspection is the one most people never get, because a general home inspection is not a chimney inspection and does not pretend to be. Local adoption and enforcement of the standard vary, so what your jurisdiction requires is worth asking about.
Here is your walk-through list, in order:
- Firebox brick: cracks through brick faces, spalled or missing pieces, receded joints
- Firebox panels (factory-built): cracks across a panel, gaps where a panel has shifted
- Damper: opens freely, seats flat, not warped or rusted through
- Smoke chamber: smooth parged surface or bare stepped brick
- Flue liner: visible cracked tiles or open joints (camera needed for the real answer)
- Firebox floor and hearth: cracks, settlement, gaps at the joint with the room
- Surround and mantel: loose tile, cracked grout, chipped stone, separation from the wall
- Smells and stains: damp odor, white staining, water marks on the wall above the opening
Not sure if what you are looking at is cosmetic or structural? Tell us what you see in your firebox and we will match you with an independent chimney and masonry company in your area that handles fireplace restoration. No pressure, no obligation. Get matched with a local pro, or call (513) 655-6702.
The Structural Half of Fireplace Restoration
This is the work that has to happen before anything decorative, and most of it is invisible once it is done. That is exactly why it gets skipped.
Firebrick and refractory mortar
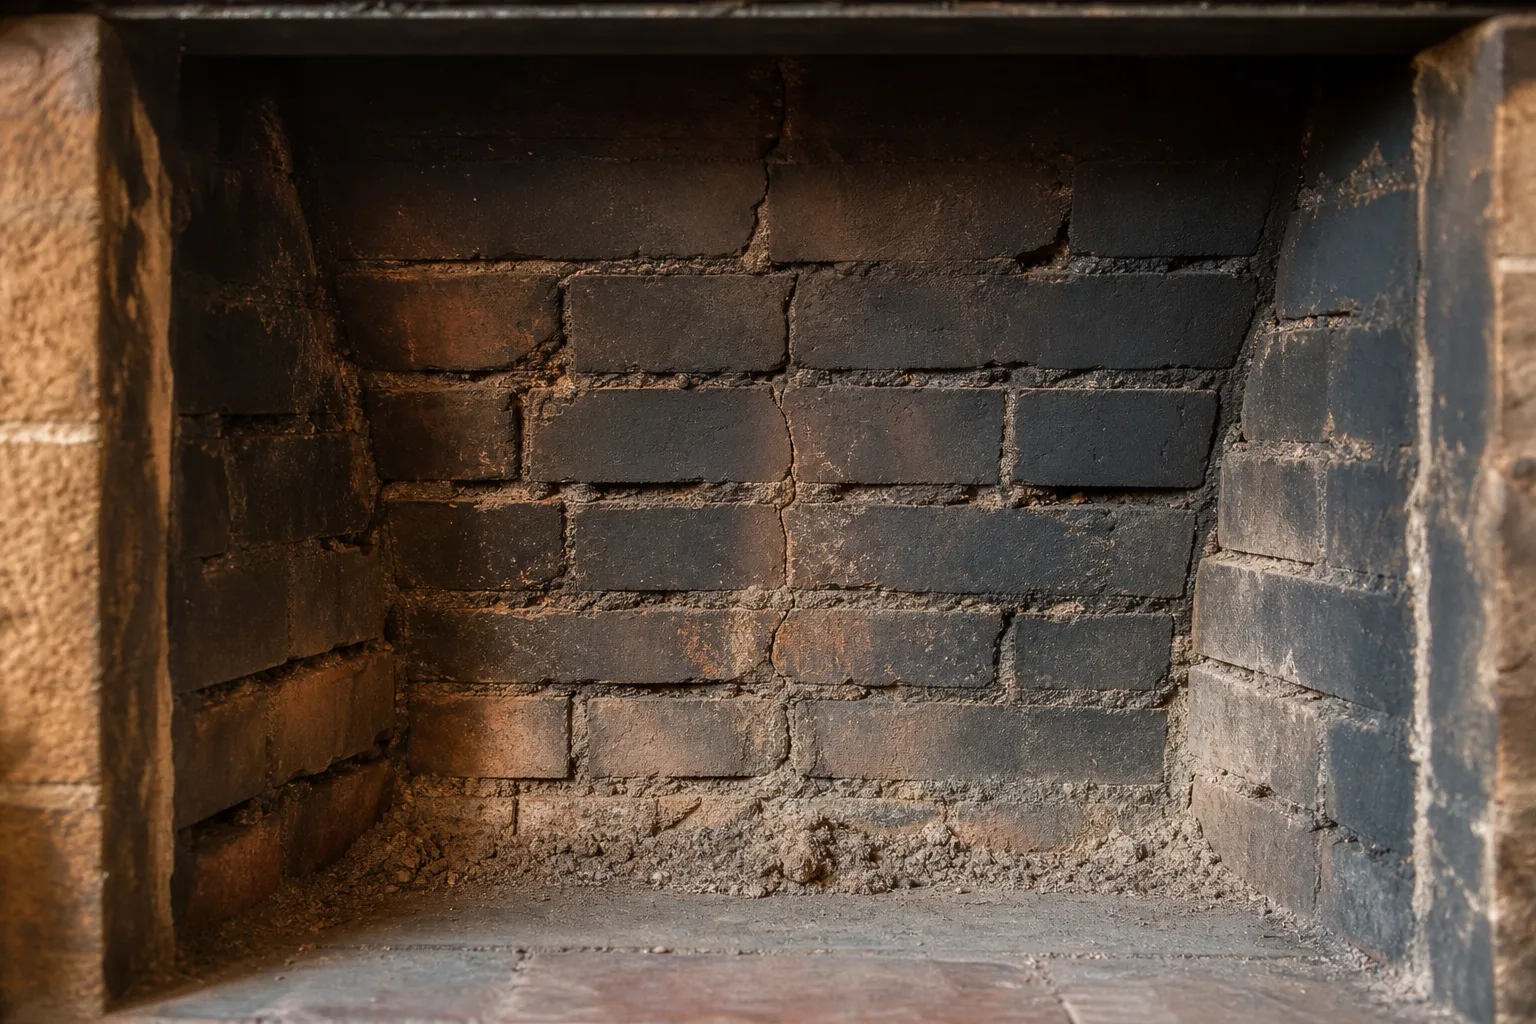
Firebrick is built to take direct flame, but it does not take it forever, and how long a given firebox holds up depends on how hard it has been burned. Heat cracks brick, and the mortar in the joints is usually the first thing to go.
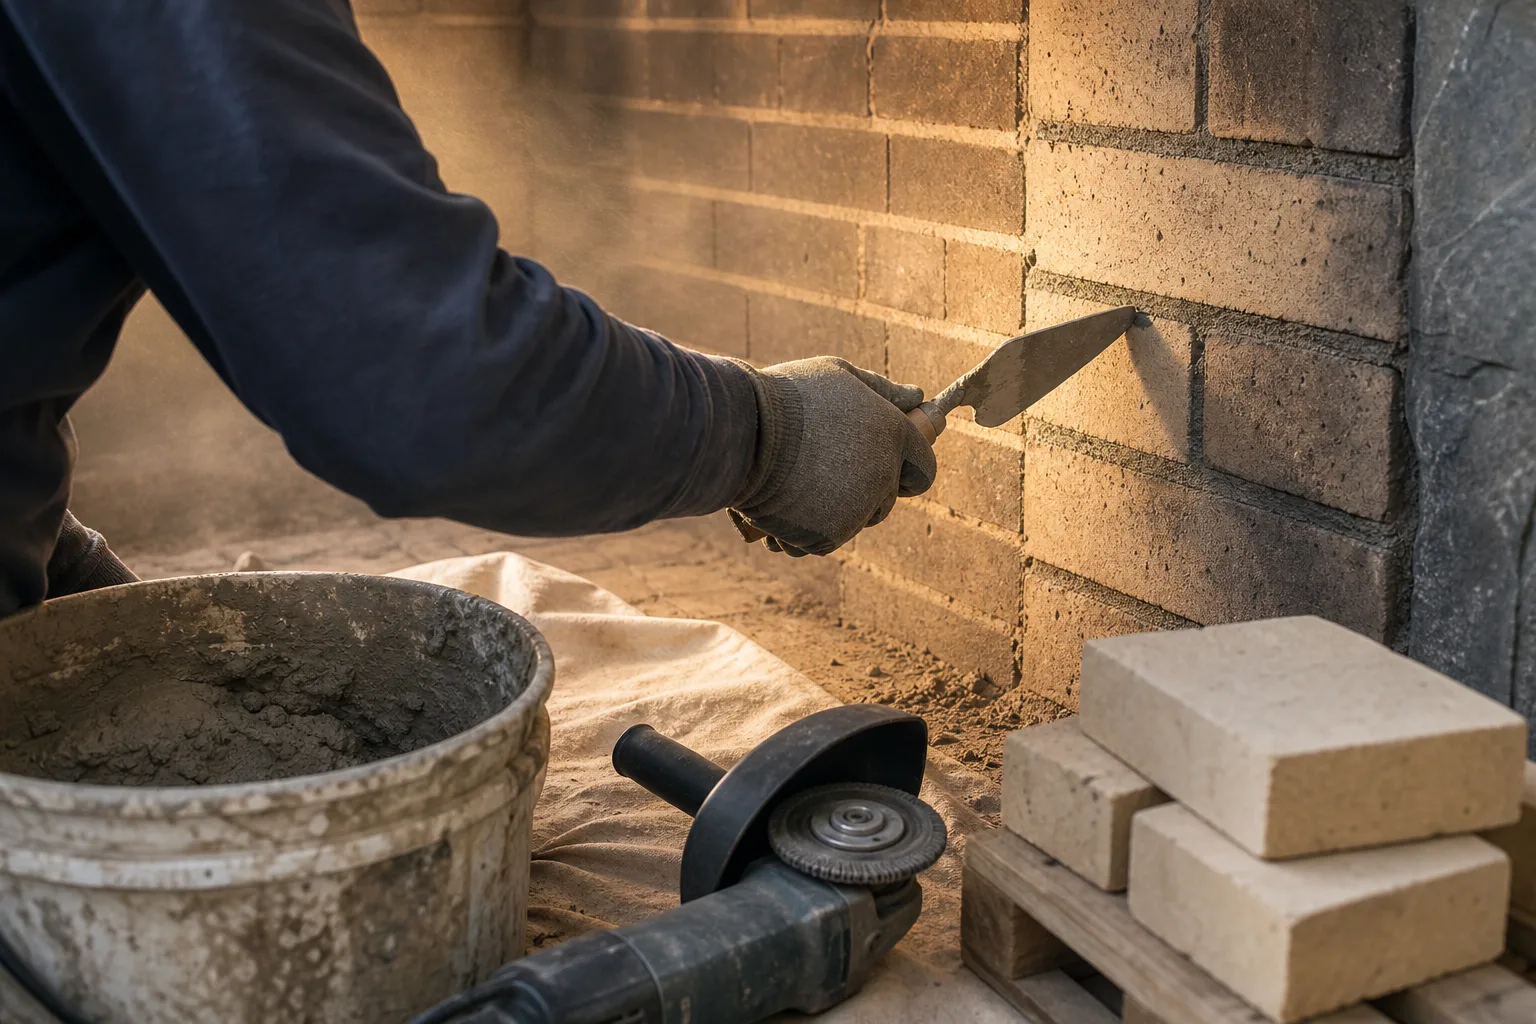
Where the brick is sound and only the joints have failed, the fix is to cut out the decayed mortar and repoint with fresh refractory mortar, color matched to what is there. Where brick faces have spalled off or pieces are missing, individual bricks come out and get replaced with refractory brick matched to the firebox dimensions.
The specification matters here more than anywhere else in a fireplace restoration. The residential code calls for firebrick to be laid with medium duty refractory mortar conforming to ASTM C199, a material that has to survive 2,550°F for six hours without melting out of the joints. It uses calcium aluminate or sodium silicate as a binder rather than portland cement, which is why it outlasts ordinary mortar in a firebox. Joints between firebricks are not supposed to exceed a quarter inch.
Myth vs. fact: The myth is that a tub of fireplace patch from the hardware aisle is the same thing. It is not. Products rated for high heat and products tested to ASTM C199 medium duty are different categories, and the code names the second one. If someone is repointing your firebox, the mortar spec is a fair question to ask out loud.
Refractory panels in a factory-built firebox
A factory-built fireplace is a manufactured appliance, and its firebox is lined with molded refractory panels rather than laid brick.
Cracked or shifted panels are replaced as components, matched to that manufacturer and model. You do not repoint them and you do not improvise, because the whole assembly was listed and tested as a unit.
Parging the smoke chamber
The smoke chamber is the transition between the firebox and the flue, and it does real work guiding smoke upward without turbulence.
Built correctly, it is parged smooth with mortar. Plenty of older ones never were, or were parged badly, and inspectors specifically look for it. Depending on what they find, it gets patched or fully parged.
A rough smoke chamber is one of the quiet reasons a fireplace smokes into a room even though the flue is clear.
Dampers that no longer seal
A warped or seized throat damper gets replaced, and there is a decision hiding in that replacement.
A conventional throat damper sits where the old one was. A top sealing damper is different: a gasketed metal lid that sits on the flue at the crown, operated by a stainless cable that runs down inside the chimney, closing off the whole flue rather than just the throat.
Both are legitimate. The argument for the top sealing type is that it closes the entire flue against outside air rather than only the throat; the argument for a throat damper is that it is the simpler component, sitting where the original one did.
The liner question
If the camera comes back showing cracked tiles or open joints, you are into relining, and that is a bigger project than anything else in this article.
It is also the one that most often decides whether a long unused fireplace comes back to life or stays decorative. Worth knowing where you stand before you fall in love with a tile sample.
The Cosmetic Half: Making It Look the Way You Want
Now the fun part, and the part that sells itself.
Once the bones are sound, the visual range is wider than most people expect, and a lot of it does not involve tearing anything out.
Limewash, German smear, and paint
These three get used interchangeably online and they are not the same thing at all.
Limewash is a thin coating of slaked lime and water. It soaks in, it leaves brick reading as brick under a chalky veil, and it breathes, meaning moisture can still move through the masonry.
German smear (also spelled schmear) is a masonry technique rather than a paint. Mortar is spread thinly over the brick and partly wiped back before it sets, leaving material caught in the joints and texture ghosting through. It reads heavier and more rustic.
Paint is paint. It covers, it is the hardest of the three to undo, and on an old exterior stack it is generally a bad idea.
Pro tip: Limewash breathes and German smear does not. On a 1920s interior surround that stays dry, either one is a reasonable choice. On masonry that has any moisture history, the breathable option is the safer bet, and sealing a damp wall under a layer of mortar is how you turn a cosmetic project into a masonry problem.
Tile, stone, and a new surround
Tiling over an existing brick face, setting stone veneer, or replacing a dated marble slab are all common moves in a fireplace restoration, and all of them are reversible in a way paint is not.
Marble and other stone surrounds have their own specialist trade. Chemical cleaning, honing and polishing, chip and crack repair with color matched epoxy fill, then sealing, which is restoration in the conservator's sense of the word rather than the contractor's.
If your surround is original to an older house, get somebody who does stone work to look at it before you decide it is beyond saving. Quite a lot of what looks ruined is dirty.
The mantel and the hearth
A mantel swap is the highest visual return for the least structural involvement, which is why it shows up on every design list.
Raised hearths are the other lever. Removing one opens the room and changes the proportions of the whole wall; adding one gives you a place to sit and changes the fireplace from a hole in the wall into furniture.
Clearance rules apply to both, especially with a wood mantel above a working firebox, so this is not purely a taste decision.
Restore, Rebuild, Insert, or Refinish: Choosing a Fireplace Restoration Path
At some point the diagnostic ends and you have to choose a direction. There are four, and they answer different problems.
| Path | What it is | When it makes sense | What it does not solve |
|---|---|---|---|
| Restore | Repair the existing firebox, smoke chamber, damper and finishes, keeping the original structure | The masonry is fundamentally sound and the damage is localized | A chimney that was built wrong or a structure that has moved |
| Rebuild | Take the firebox, and sometimes the stack, apart and build it back | Widespread failure, previous bad repairs, or damage that keeps returning | Your budget's peace of mind, and it is the most disruptive option |
| Insert | Install a listed wood, gas, or pellet appliance into the existing opening | You want real heat output and a fireplace that is efficient rather than ornamental | The look of an open fire, and it usually requires a new liner sized to the unit |
| Refinish | Surface only: limewash, tile, stone, new mantel, new hearth | Everything behind the finish has already been checked and cleared | Anything structural, and applied too early it hides what you need to see |
Most projects end up as a combination. Restore the firebox, then refinish the surround. Or reline, drop in an insert, and rebuild the hearth around it.
The insert path deserves a specific note, because it changes the question from "how do I fix this" to "what do I want this fireplace to do." A converted opening with a modern appliance behaves like a heating system. An open masonry fireplace, restored beautifully, is mostly an experience with modest heat to show for it. Both are valid answers. They are just different answers.
From the field: Sequence is where this goes wrong, not materials. A firebox put right before the tile goes on stays put right. Finish work laid over masonry nobody looked at has to come back off when the masonry gets addressed, and that is a self-inflicted problem rather than an unlucky one.
What Fireplace Restoration Will Not Fix
An honest list, because every other page skips this.
It will not fix a fireplace that was built undersized for its flue, or a flue that was built undersized for its fireplace. Those are proportion problems baked in at construction, and no amount of new mortar changes them.
It will not fix a house that is fighting the chimney for air. Tight modern construction, a powerful kitchen exhaust fan, and a cold flue can beat a perfectly sound fireplace on draft.
It will not make an open masonry fireplace efficient. That is what an insert is for.
And it will not fix water. Water gets in from the top, at the crown, the cap over the flue, the flashing where the chimney meets the roof, and it comes down through the structure to appear as staining around the firebox. Restoring the inside while the top stays open is a temporary arrangement.
Problems that live above the roofline
Worth saying plainly: a good share of what shows up inside your firebox started outside, above your head.
Missing or cracked crown, no cap over the flue, failed flashing, deteriorated mortar joints in the exposed stack. Any real assessment of your fireplace includes somebody getting on the roof, and if nobody proposes to look up there, that is information about them.
Hiring for a fireplace restoration: what to ask
Ask what level of inspection they are performing and what it includes. Ask whether the flue is being scanned with a camera. Ask what the report will say and whether you get a copy.
Ask what mortar is specified for firebox work, and expect a specific answer. Ask who does the cosmetic portion, because it may not be the same crew.
Safety note: Get the inspection findings in writing before you agree to any scope of work. A verbal "it needs a lot" is not a diagnosis, and you cannot compare two companies fairly without two documented findings.
And ask what they are not doing. The scope that gets left out is where the surprises come from.
How VIO Helps With Your Fireplace Restoration
Here is the straight version of what we are.
VIO is a referral service. We match homeowners with independent local chimney and masonry companies that handle fireplace restoration in their area. We do not perform the work, we do not employ the crews, and the company that shows up at your house is an independent business that stands behind its own work.
What that means in practice for this particular project: you describe what you found with the flashlight, and we point you at a company that does this kind of work near you.
We ask every company in the network to put its estimate in writing before any work starts, and you should insist on exactly that, from us or from anyone else you call.
The pro we send should look at the whole system, inside and above the roofline, before quoting finish work. If the conversation starts with tile samples, ask about the firebox.
Start your fireplace restoration with the inspection, not the demolition. Describe your fireplace, your house, and what you want it to become. We will connect you with a local company that does this work, and you take it from there. Request service, or call (513) 655-6702.
You have a fireplace that somebody built to last a century. Most of them are still worth the trouble. Find out which half of the work you are in, do that half first, and the rest gets a lot easier to decide.
Symptom checker
What is your chimney doing?
Tap the closest match for an honest first answer.